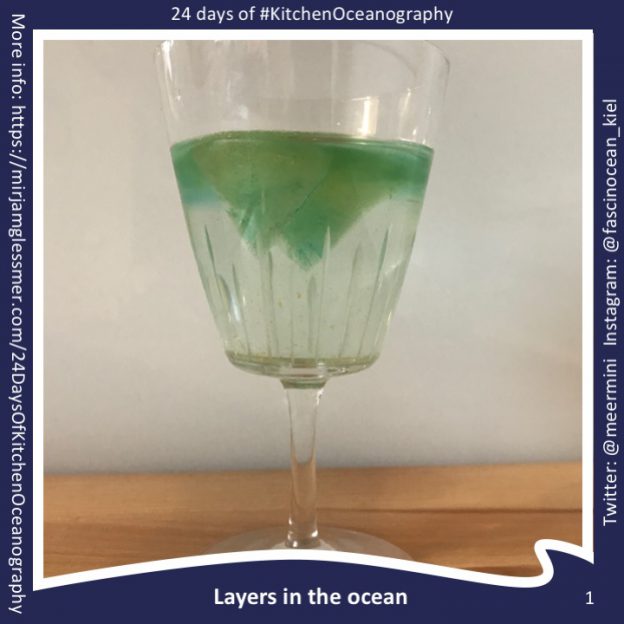
24 Days of #KitchenOceanography — Surface waves and internal waves
Leave a reply

We’ve become quite experienced with remotely-controlled rotating tank experiments, but the current lockdown brought us into yet another new-to-us situation: We had plans to film and live-stream tank experiments from Geomar, but not being employed there, I am currently not allowed in the building! So what happened this morning is that Torge and I met up on Zoom and I watched from home as he had all the fun.
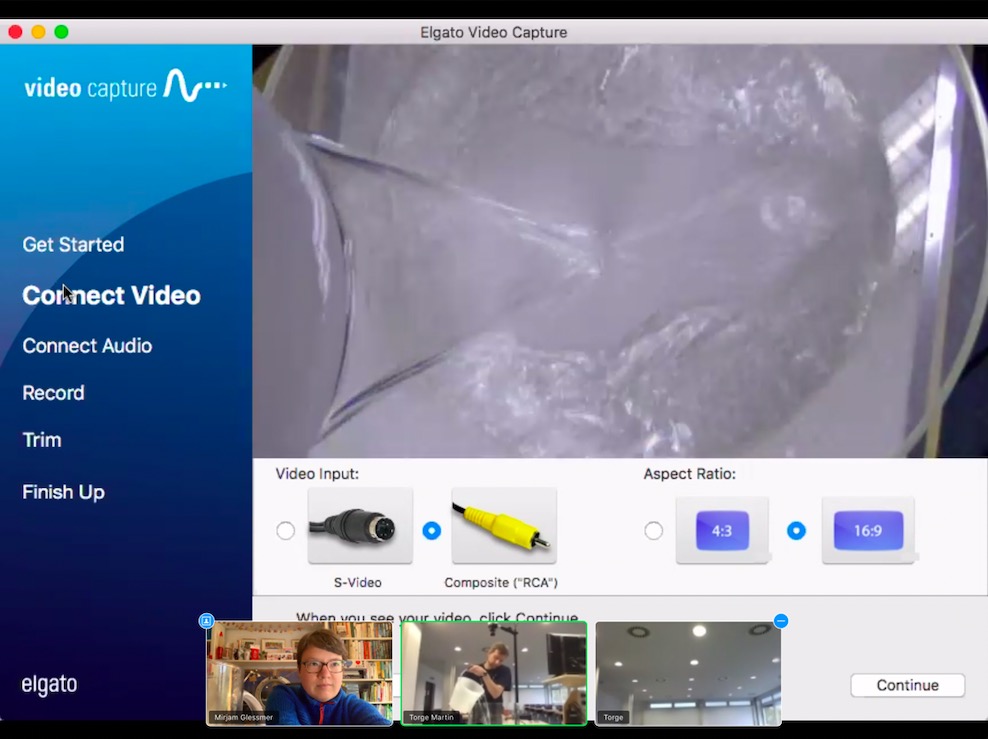
It all started out quite well — camera tests worked well, water was in the tank, I was having fun taking screenshots. Well, and I was wishing I was there, playing, rather than watching and occassionally interrupting with instructions or unsolicited advice!

When we were done setting things up, students joined in for their exercise session (no, it’s not me three times in the meeting below, I just edited that in for privacy because we didn’t ask students for permissions to use their pictures), and a lively discussion ensued. Topic of the day were eddies in the ocean, and it was all leading up to the Taylor column experiment that we had only recently figured out.
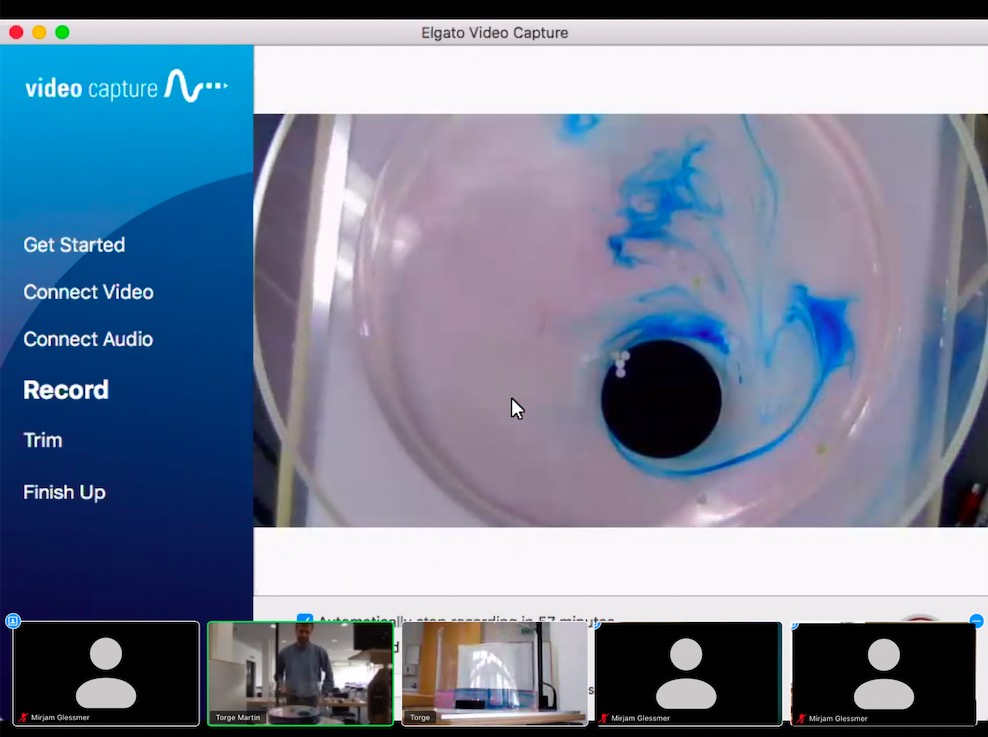
The Taylor column experiment basically shows that rotating flows cannot just flow across an obstacle, they have to stay 2D and thus move around it. Which worked out beautifully! The blue dye started out upstream of the obstacle and got deformed into these beautiful filaments as it is moving around the hockey puck and the Taylor column on top of it (The puck is only blocking the lower part of the water column, above it there is just water!).
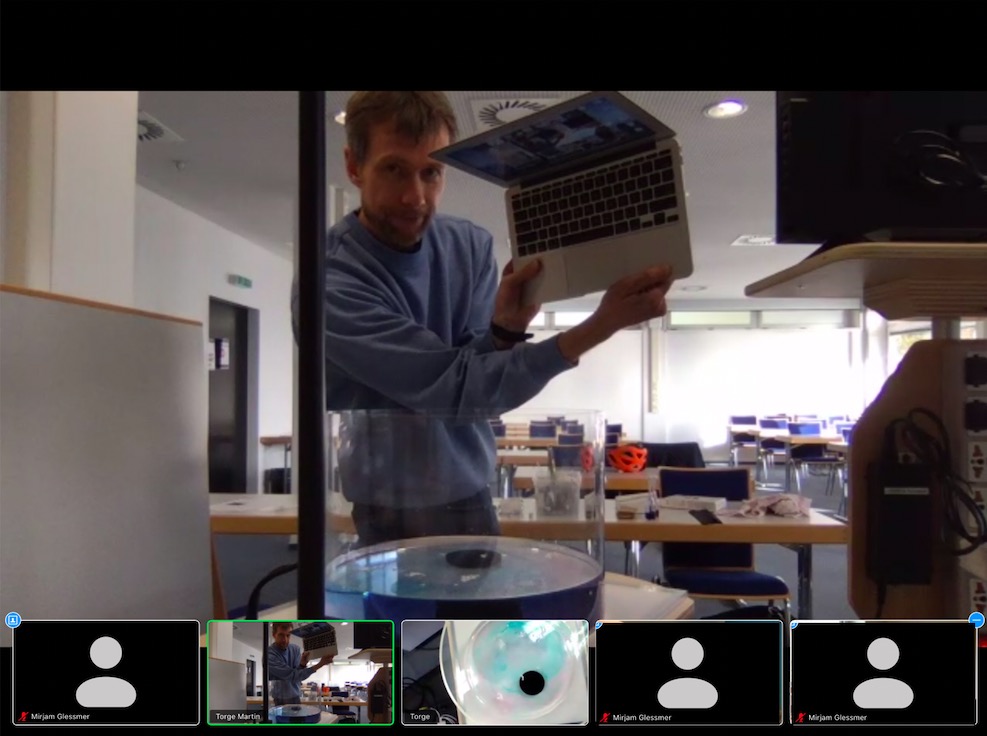
It all went super well until we fell into the trap we’ve been falling in ever since we started working with the tank: The co-rotating camera switches off when the power to the rotating table is switched off, which is the easiest way for the rotation to be switched off. So yeah. Below you see Torge trying to save the day by holding his laptop above the tank to give students a look into the tank after it stopped. Oh well…
But all in all, it worked super well and it’s great to see how virtual teaching and learning can be a really good substitute for in-person classes. But we are still looking forward to the times when we can all play together again!
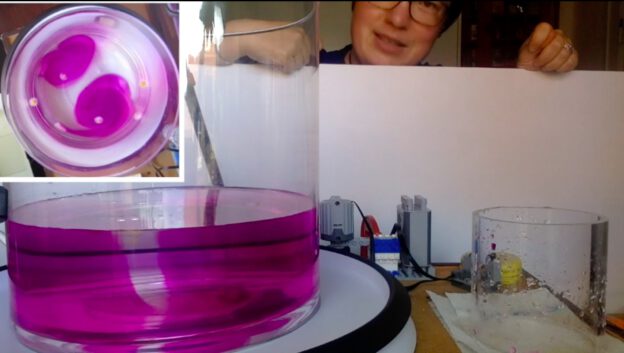
Torge and I are planning to run the “tilting of a frontal surface under rotation / cylinder collapse” experiment as “remote kitchen oceanography” in his class on Thursday, so I’ve been practicing it today. It didn’t work out quite as well as it did when Pierre and I were running it in Bergen years ago, so if you are looking for my best movie of that experiment, you should go read the old blog post.
The idea is that a density front is set up by spinning up a tank in which a bottom-less cylinder contains a denser fluid, set up into a less dense fluid. Once the tank is spun up, the cylinder is removed, releasing the denser fluid into the less dense one. In contrast to the non-rotating case, where the dense water would sink to the bottom of the tank and form a layer underneath the less dense water, here the cylinder changes its shape to form a cone that retains its shape. The slope of the front is determined by both the rotation rate and the density contrast.
What I can show you today is what it looks like on my DIYnamics rotating table in my kitchen (and it’s pretty cool that all these different experiments can be run on such a simple setup, isn’t it?!). This is from two weeks ago:
And a second attempt done today (I’m not showing you all the failed ones in between, and since I’m a little sick, I’m also not showing you what I look like, and spare you the sound of my incoherend explanations ;-)). But: Now everything is set up so I can use my right hand to pull out the cylinder to introduce fewer disturbances (spoiler alert: didn’t work out — see all the waves on the tank after I remove the cylinder?)
Check out the flower “floats” — the ones on the remains of the cylinder are rotating in the same direction as the tank, only faster! That’s something we didn’t show in Bergen and that I think is really neat.
What I learned about how to set up the experiment: I filled the cylinder with ice cubes and then filled water into the donut outside of the cylinder. That way, water pressure would push water through the petroleum jelly seal at the bottom of the cylinder inside, but the dye of the melting ice cubes would not seep out (very much). Also, the cold melt water would make the water inside the cylinder denser (make sure to stir!). The whole fancy “get water out and refill using a syringe” stuff sounds nice but just isn’t feasible in my setup…
In this case, having a larger tank would be really helpful, because the disturbances introduced in either case are probably more or less the same, but the smaller the tank, the larger the relative effect of a disturbance… Also, my tripod was making it really difficult for me to reach into the tank without hitting it, both for filling the tank and for removing the cylinder. I guess if we didn’t need a top view, things would be a lot easier… ;-)
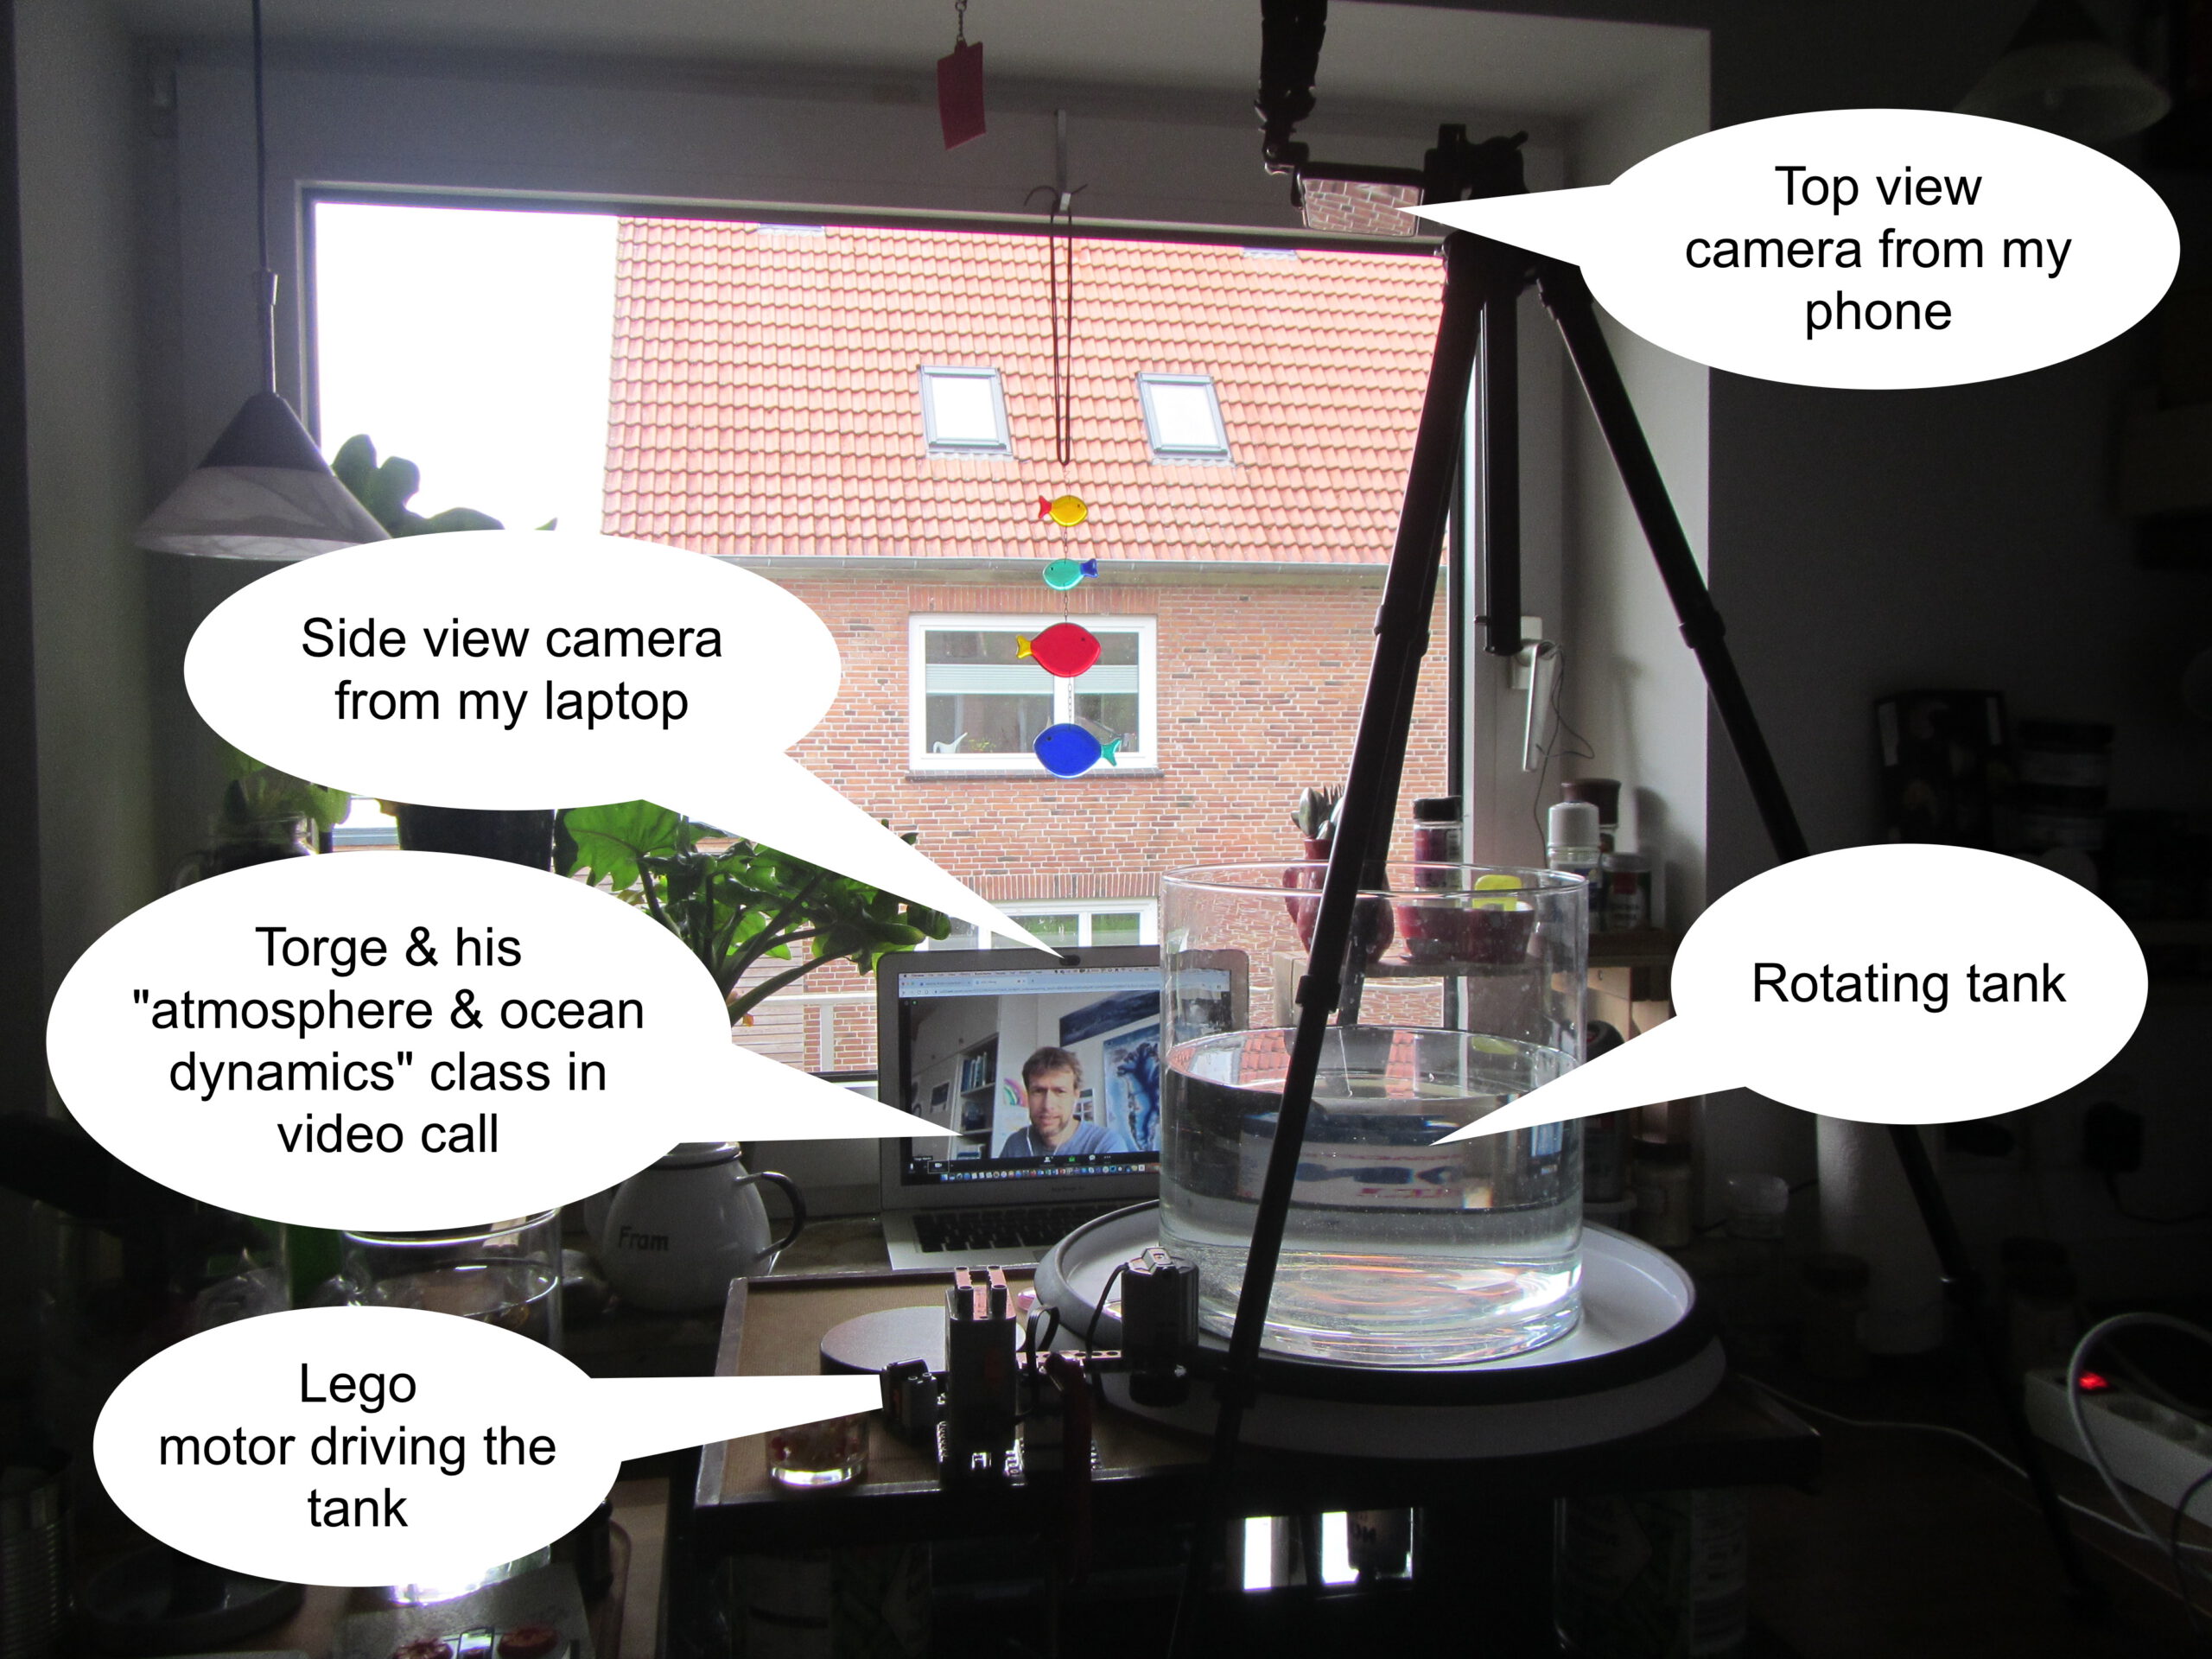
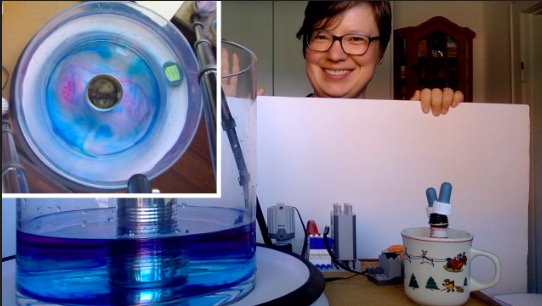
Last Thursday, Torge & I invited his “atmosphere & ocean dynamics class” to a virtual excursion into my kitchen — to do some cool experiments. As you know, I have the DIYnamics rotating table setup at home, so this is what it looked like:
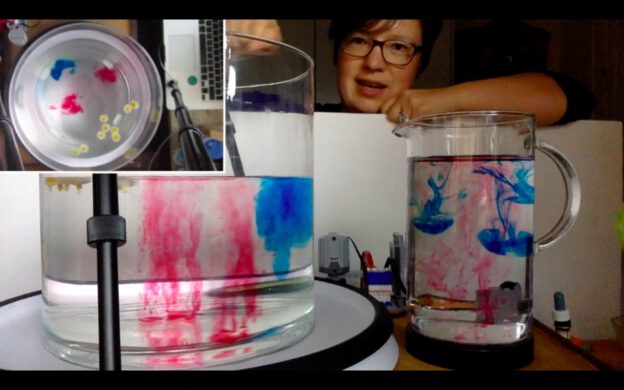
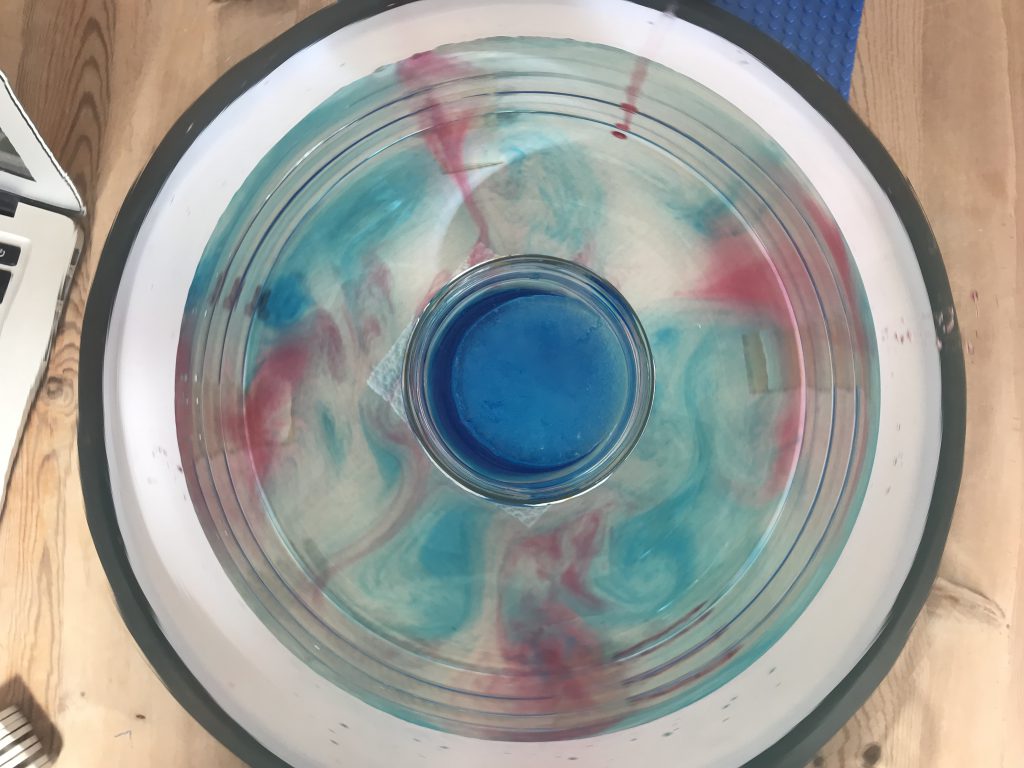
We did two experiments, the very boring (but very important) solid body rotation, and then the much more exciting (and quite pretty, see pic at the very top or movie below!) comparison of turbulence in a non-rotating and a rotating system.
We didn’t manage to record the class as we had planned, so I redid & recorded the experiments. Here are 8 minutes of me talking you through it. Enjoy!
A very common misconception when looking at atmosphere & ocean dynamics in a rotating tank is that the center of the tank represents one of the poles and the edge of the tank the equator. And there is one experiment that — I fear — might reinforce that misconception, and that is the one we love to show for rotation vs thermal forcing, baroclinic instabilities (fast
rotation), Hadley cell circulation (slow rotation).
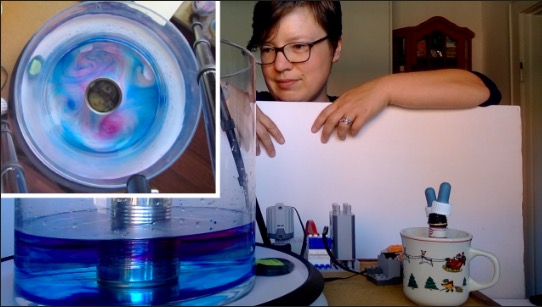
When we do this experiment, the tank looks like a polar stereographic view of the Earth, with the pole (represented by the blue ice in the picture below) in the center and the equator at the edge of the tank. And when we then talk about the eddies we see as representing weather pattern, it’s all too easy to assume that the Coriolis parameter also varies throughout the tank similarly as it would on Earth, only projected down into the tank. Which is not the case!
But the good news is that it’s super easy to drive this experiment by heating rather than cooling in the center of the tank. The physics are exactly the same, only the heat transport is now happening radially outward rather than radially inward. And that it’s now not the easiest assumption any more that we are looking down at the pole.
Also: Heating in the middle is a lot easier to do spontaneously than cooling using ice — no overnight stay in the fridge required, just a kettle! :-)
What are other misconceptions related to rotating tanks that you commonly come across? And do you have any advice on how to prevent these misconceptions or elicit, confront, resolve them?
This is the long version of the two full “low latitude, laminar, tropical Hadley circulation” and “baroclinic instability, eddying, extra-tropical circulation” experiments. A much shorter version (that also includes the end cases “no rotation” and “no thermal forcing”) can be found here.
Several of my friends were planning on teaching with DIYnamics rotating tables right now. Unfortunately, that’s currently impossible. Fortunately, though, I have one at home and enjoy playing with it enough that I’m
Here is me introducing the setup:
Today, I want to share a video I filmed on thermal forcing vs rotation. To be clear: This is not a polished, stand-alone teaching video. It’s me rambling while playing. It’s supposed to give students an initial idea of an experiment we’ll be doing together during a video call, and that they’ll be discussing in much more depth in class. It’s also meant to prepare them for more “polished” videos, which are sometimes so polished that it’s hard to actually see what’s going on. If everything looks too perfect it almost looks unreal, know what I mean? Anyway, this is as authentic as it gets, me playing in my kitchen. Welcome! :-)
In the video, I am showing the two full experiments: For small rotations we get a low latitude, laminar, tropical Hadley circulation case. Spinning faster, we get a baroclinic instability, eddying, extra-tropical case. And as you’ll see, I didn’t know which circulation I was going to get beforehand, because I didn’t do the maths before running it. I like surprises, and luckily it worked out well!