Tag Archives: tank experiment

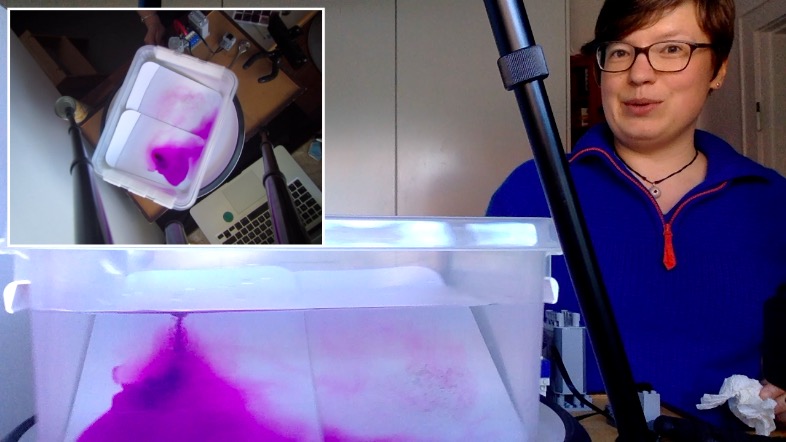
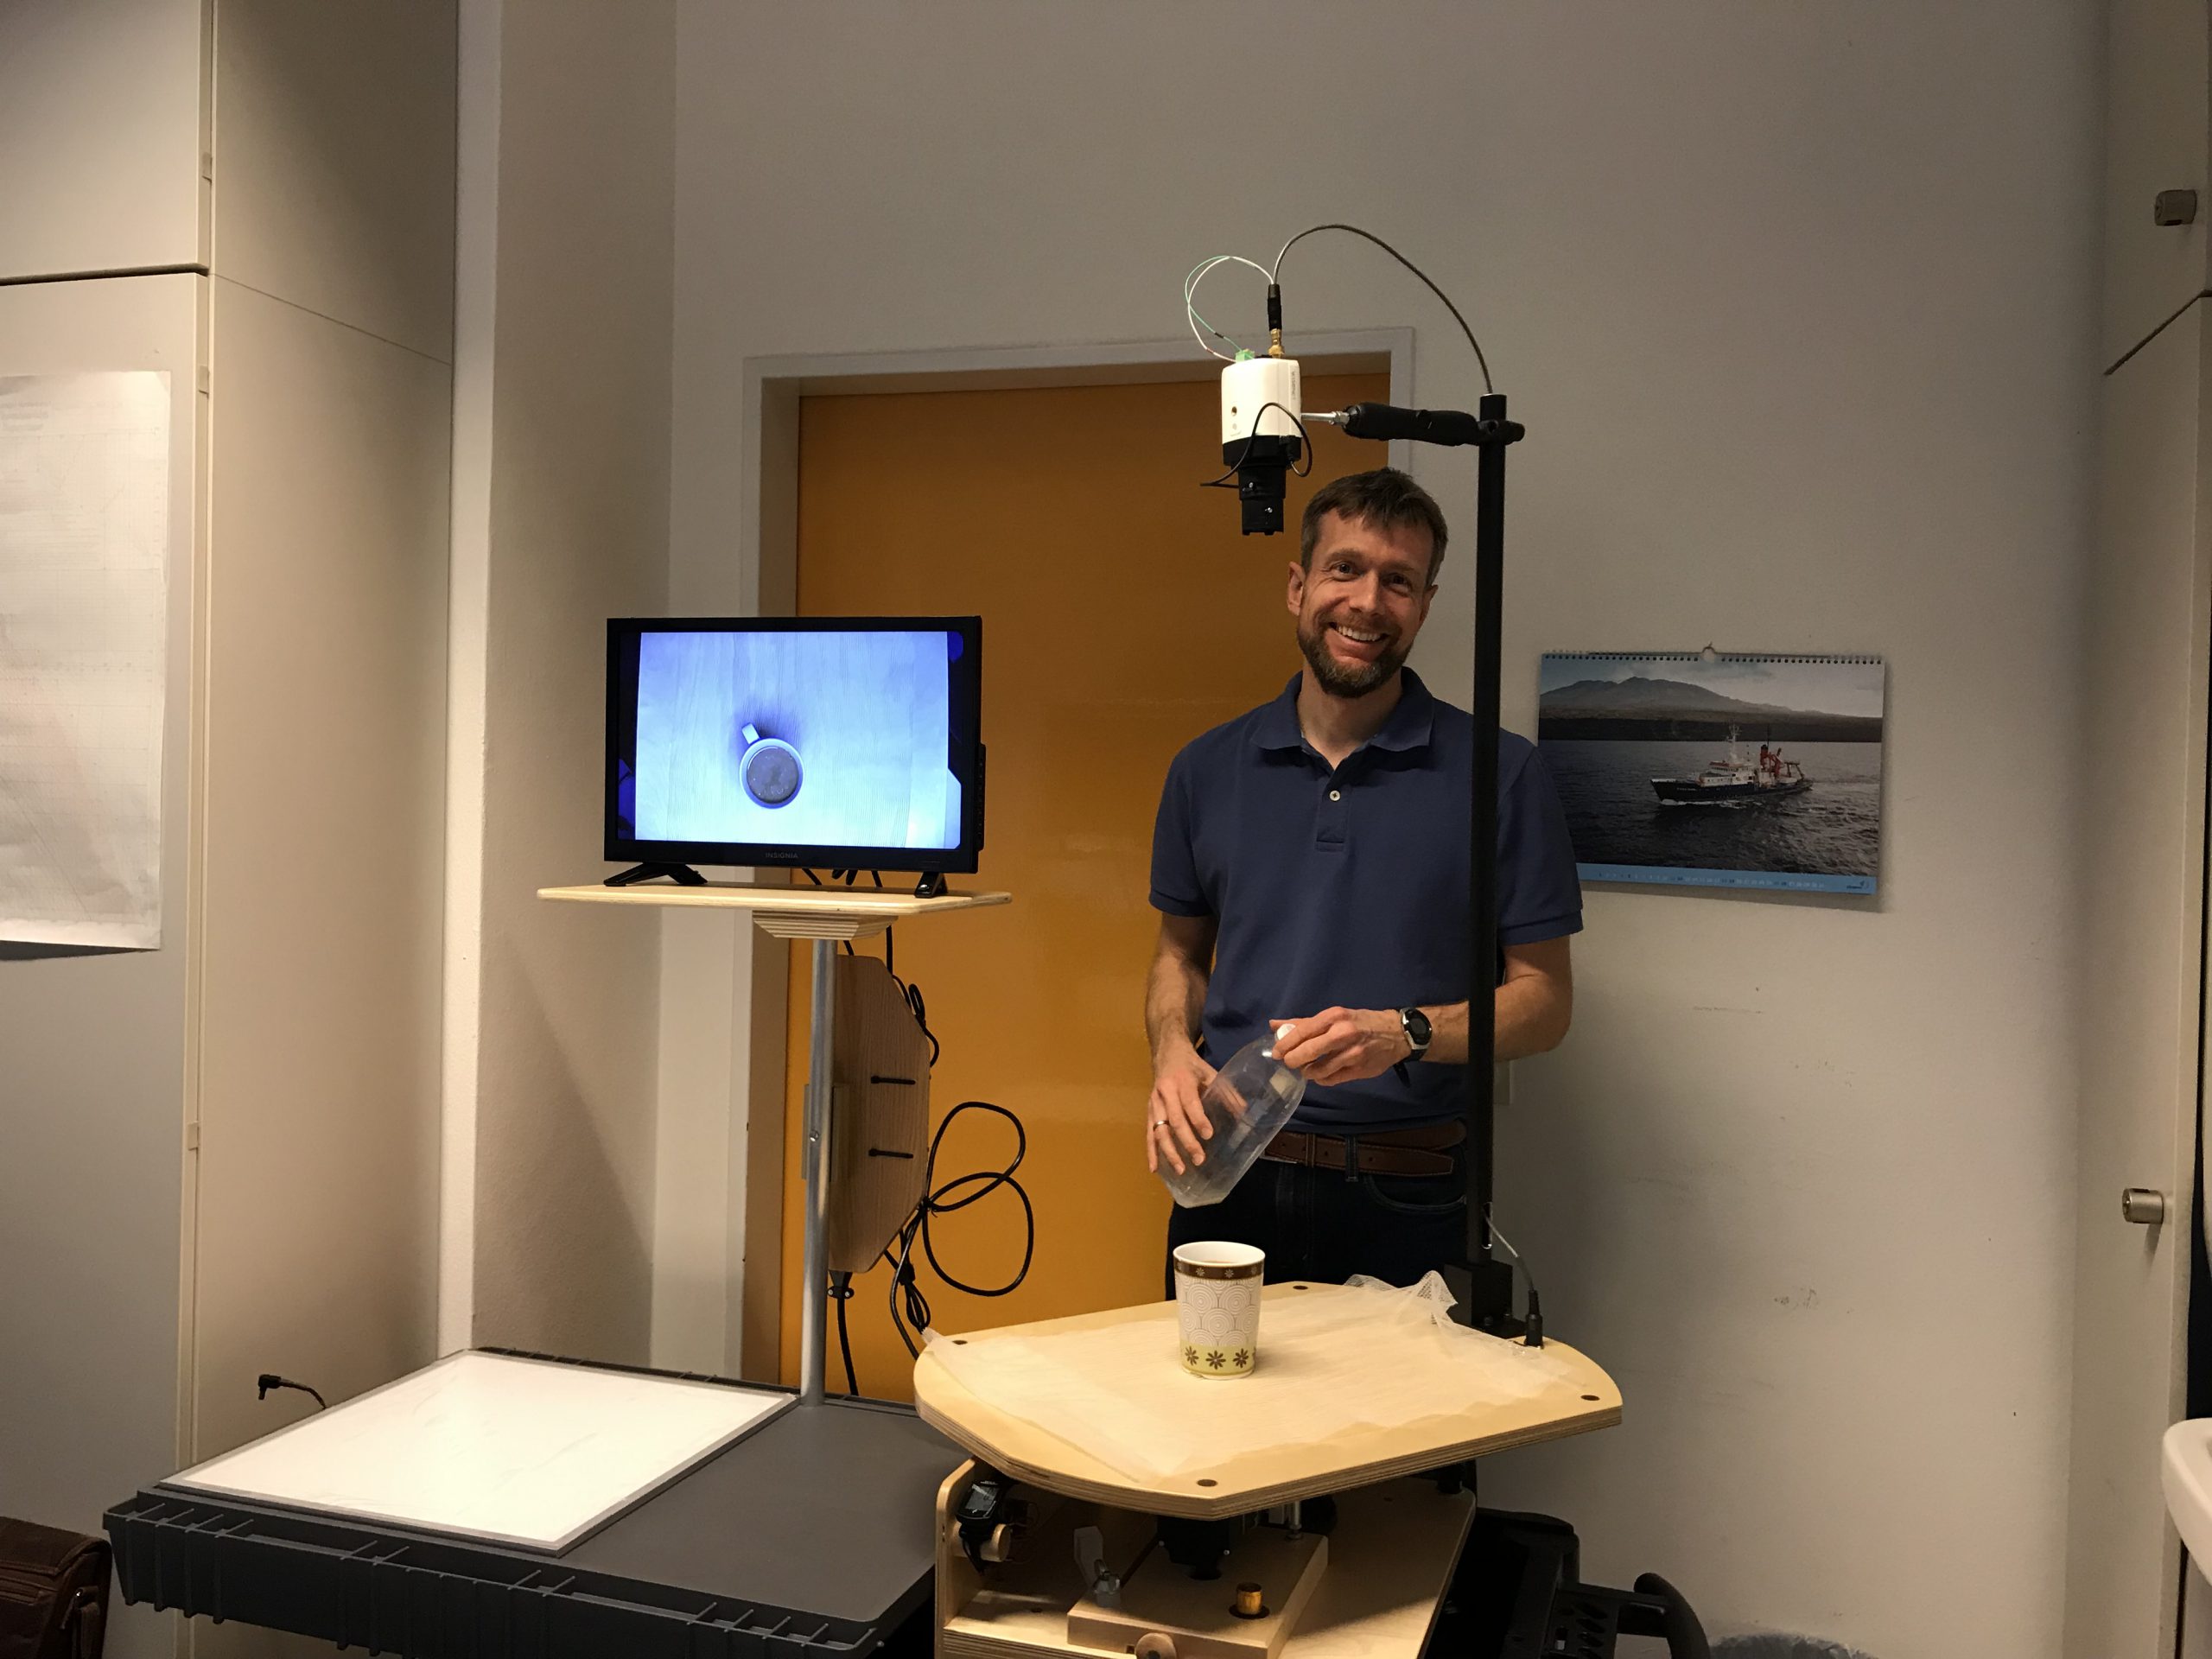
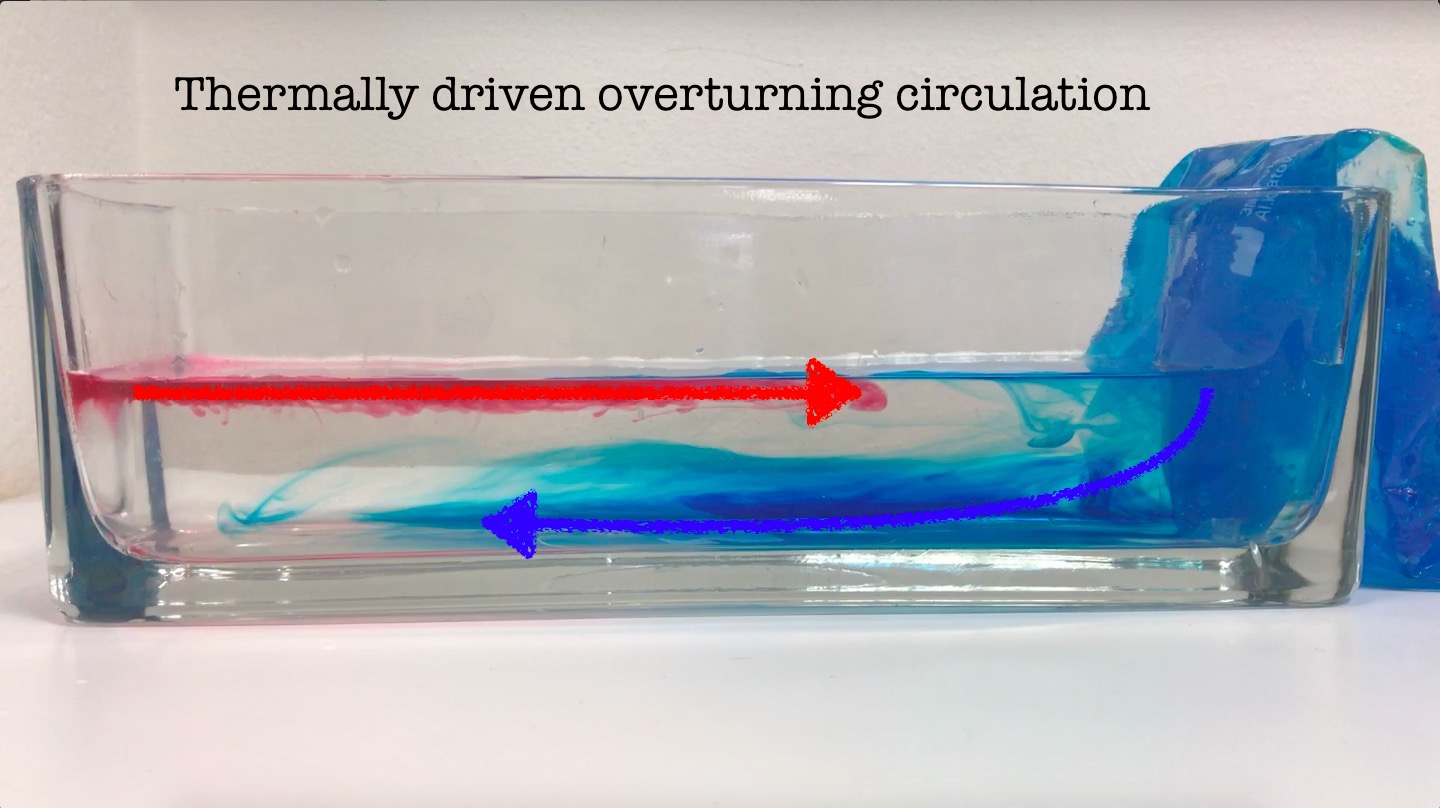
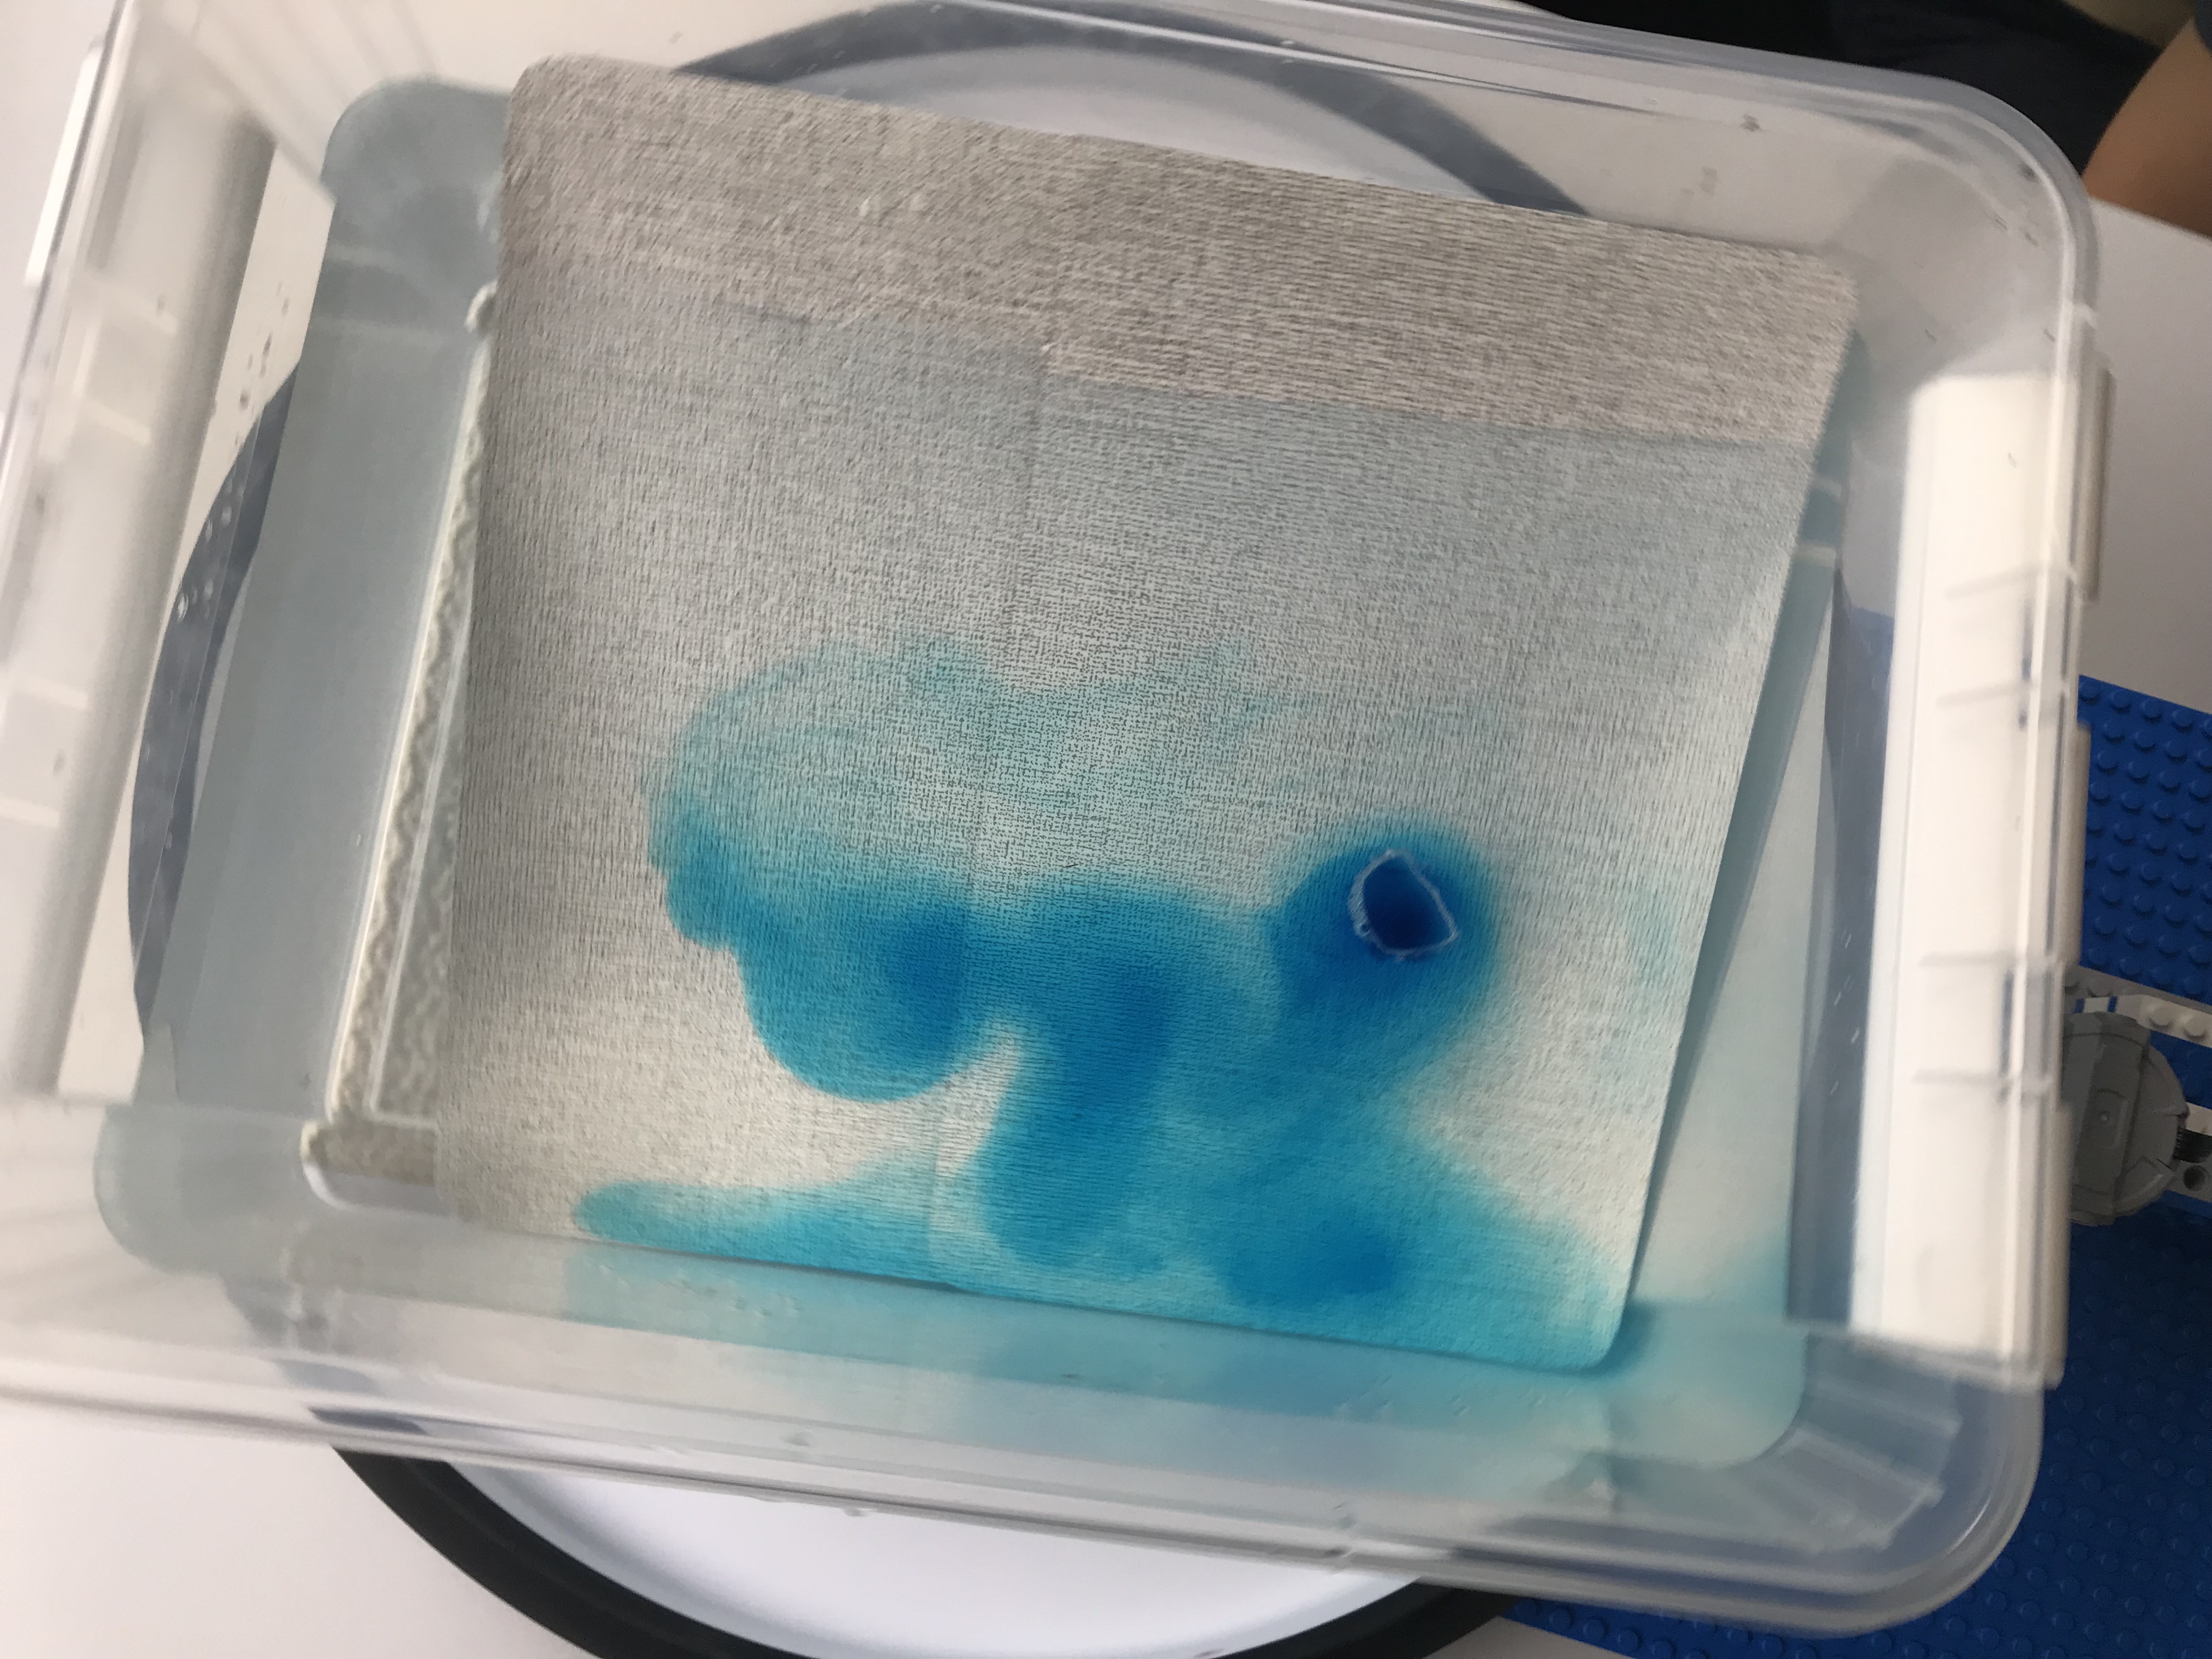
Finally published yesterday: “Student guides: supporting learning from laboratory experiments through across-course collaboration” by Daae et al. (2023)

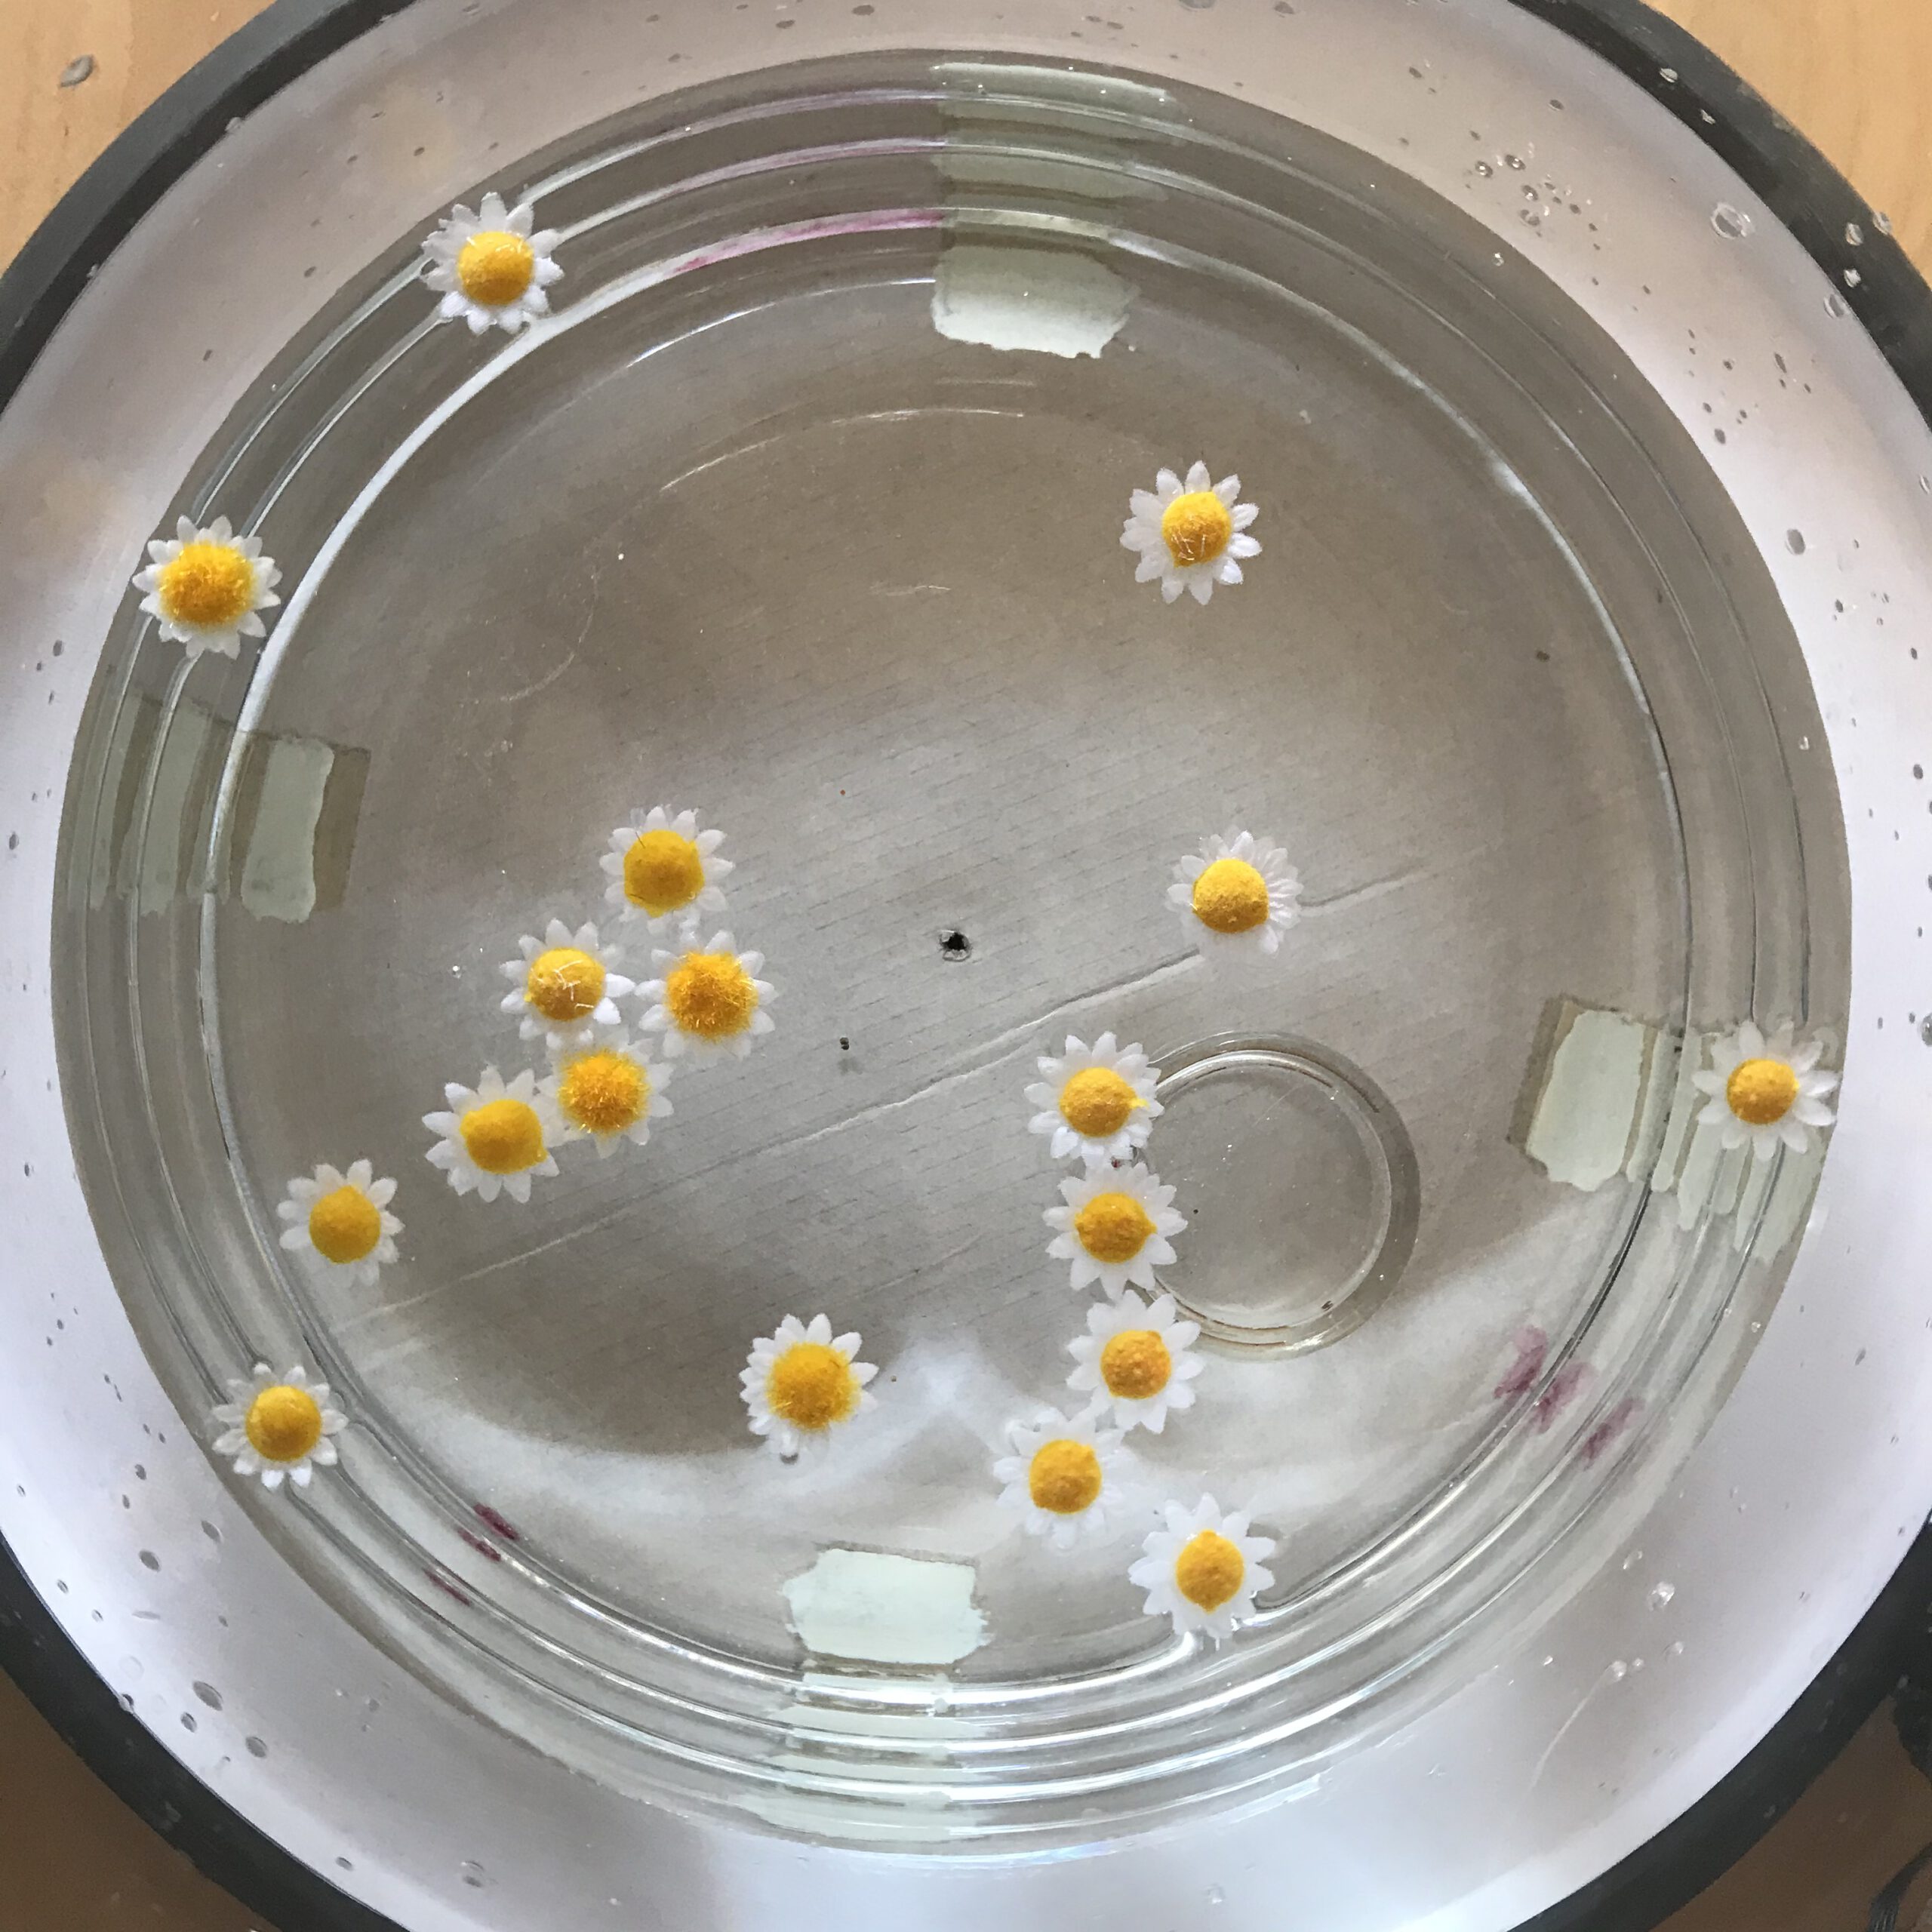
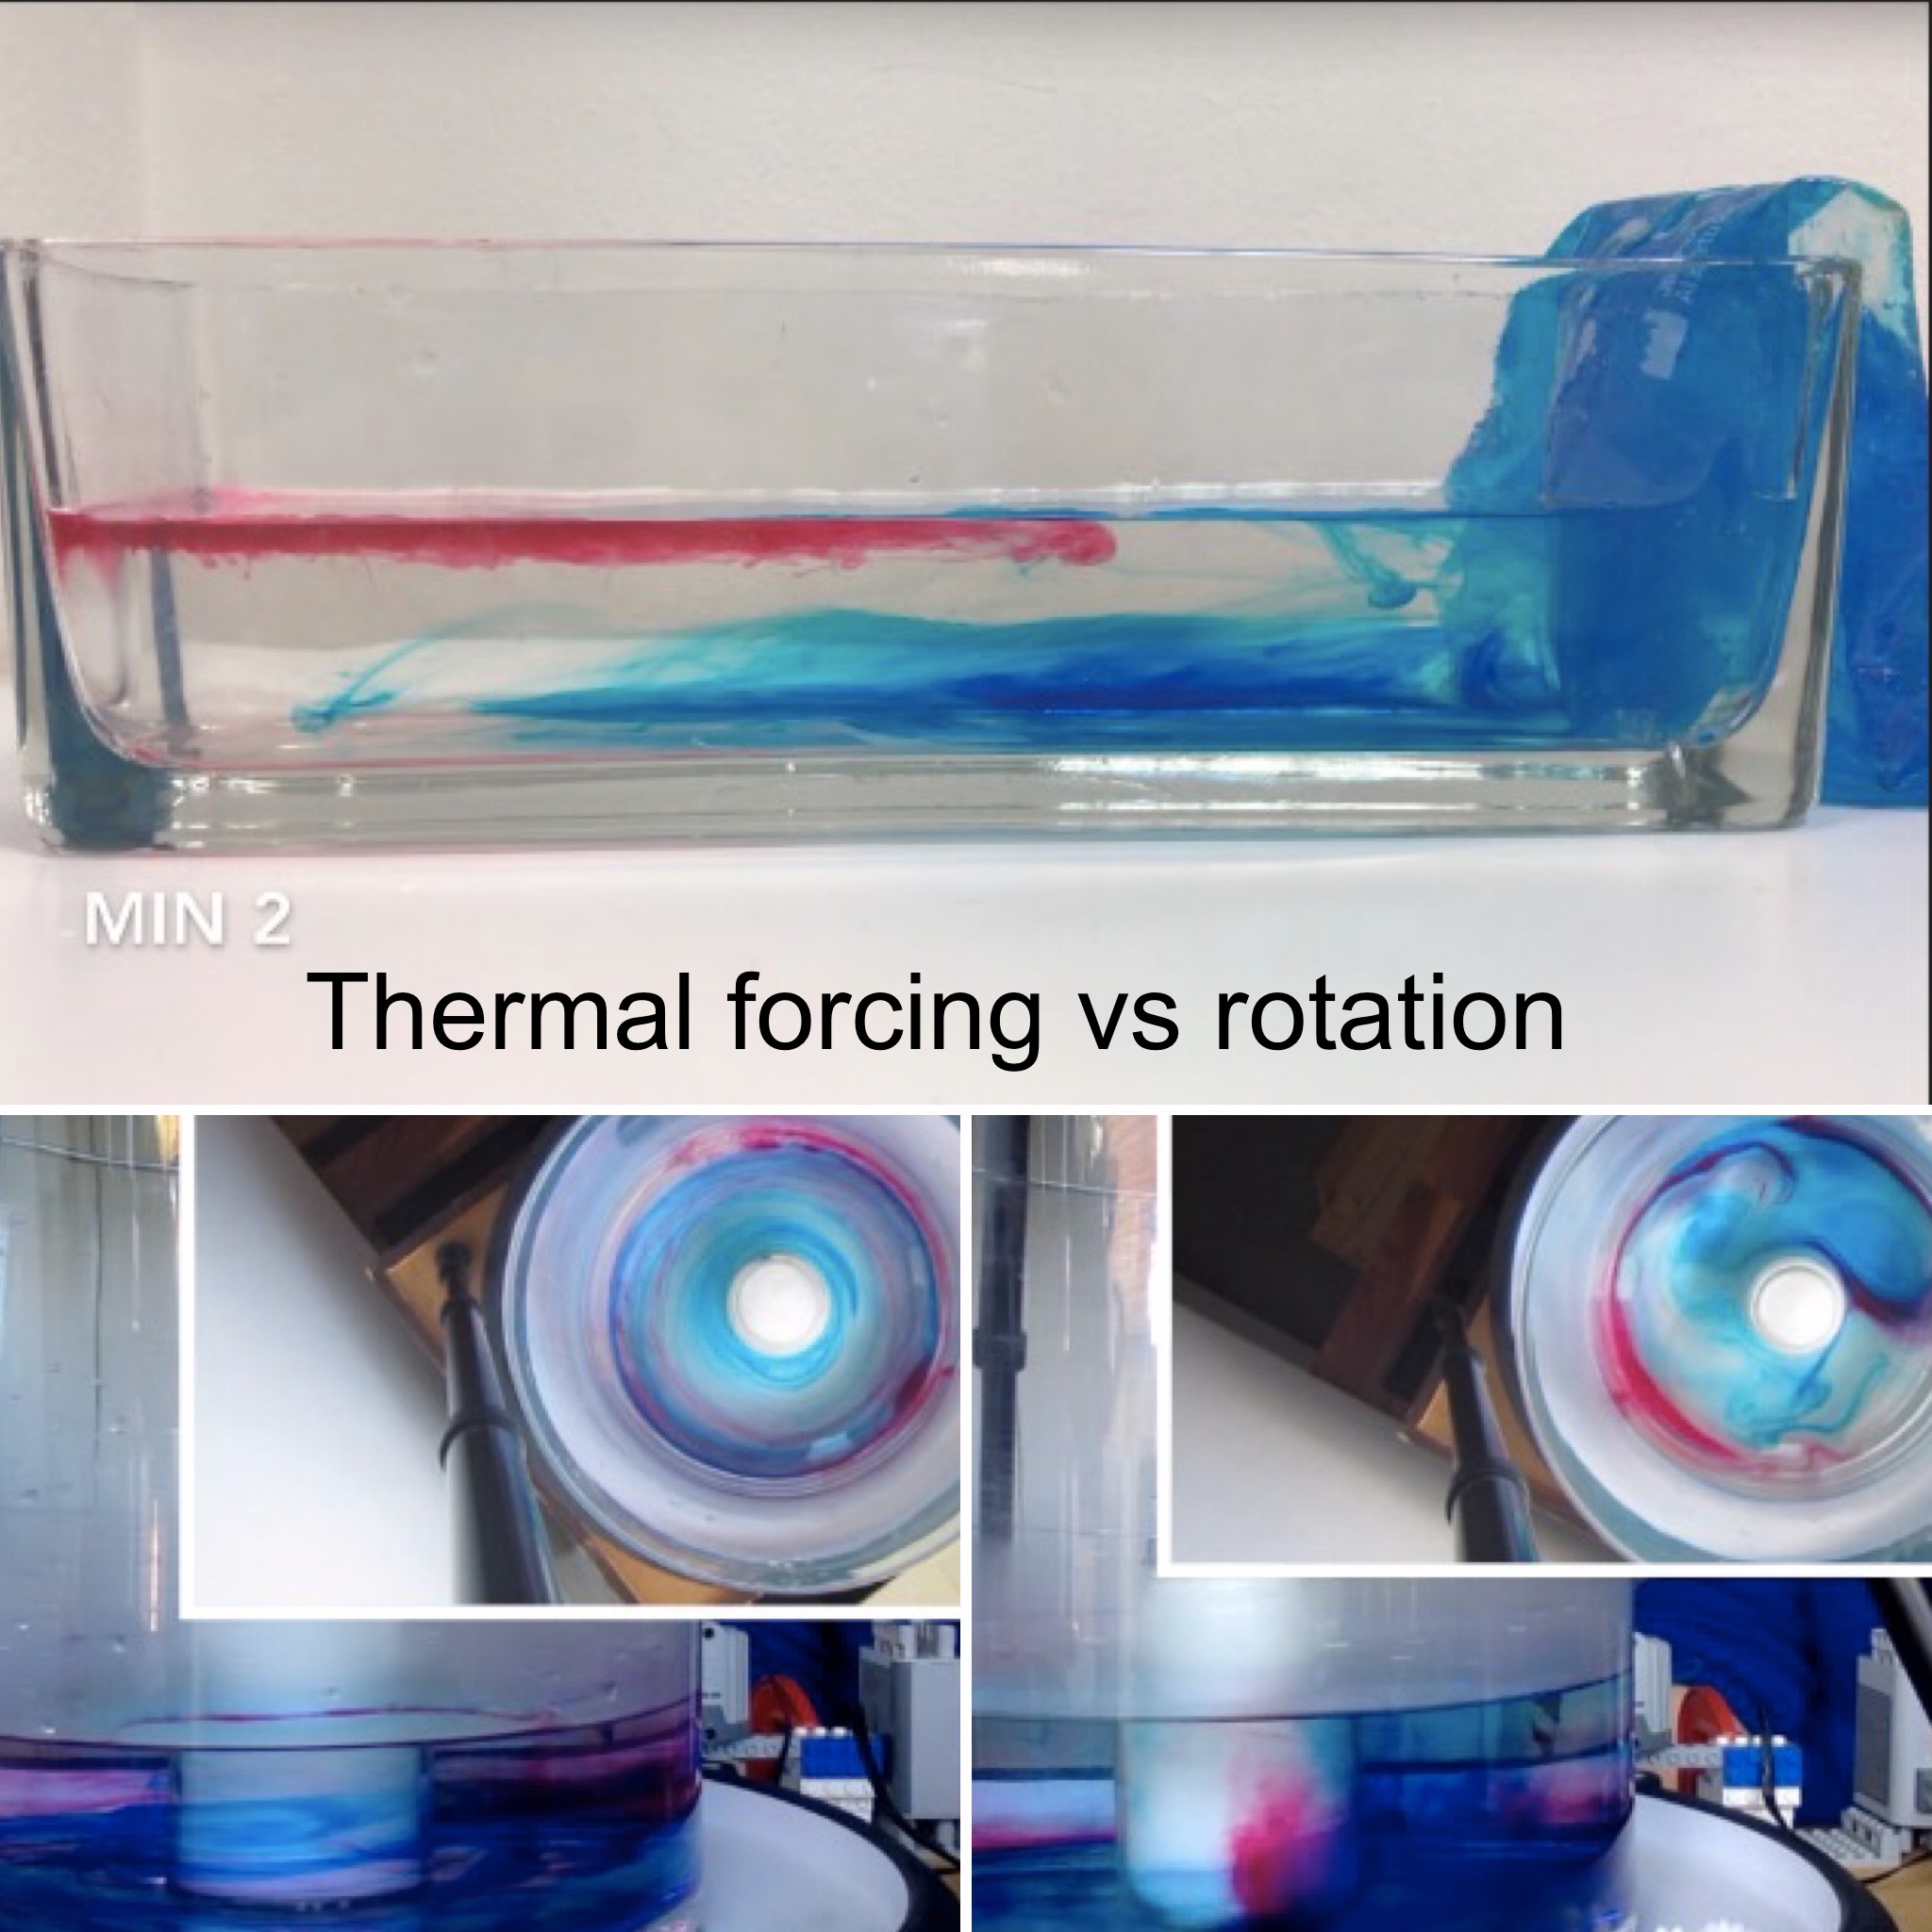
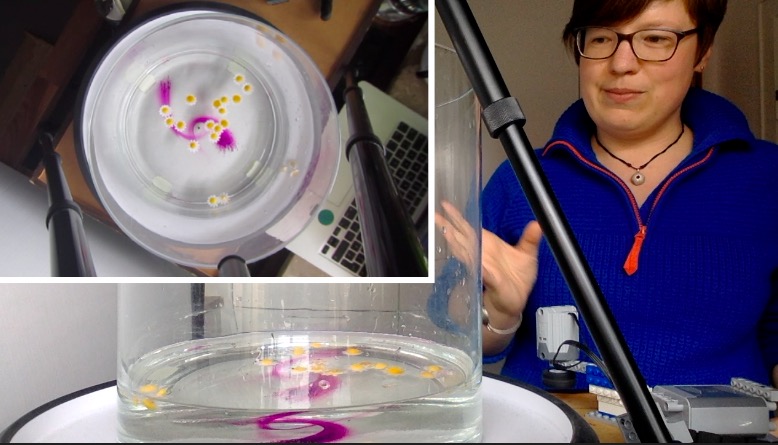
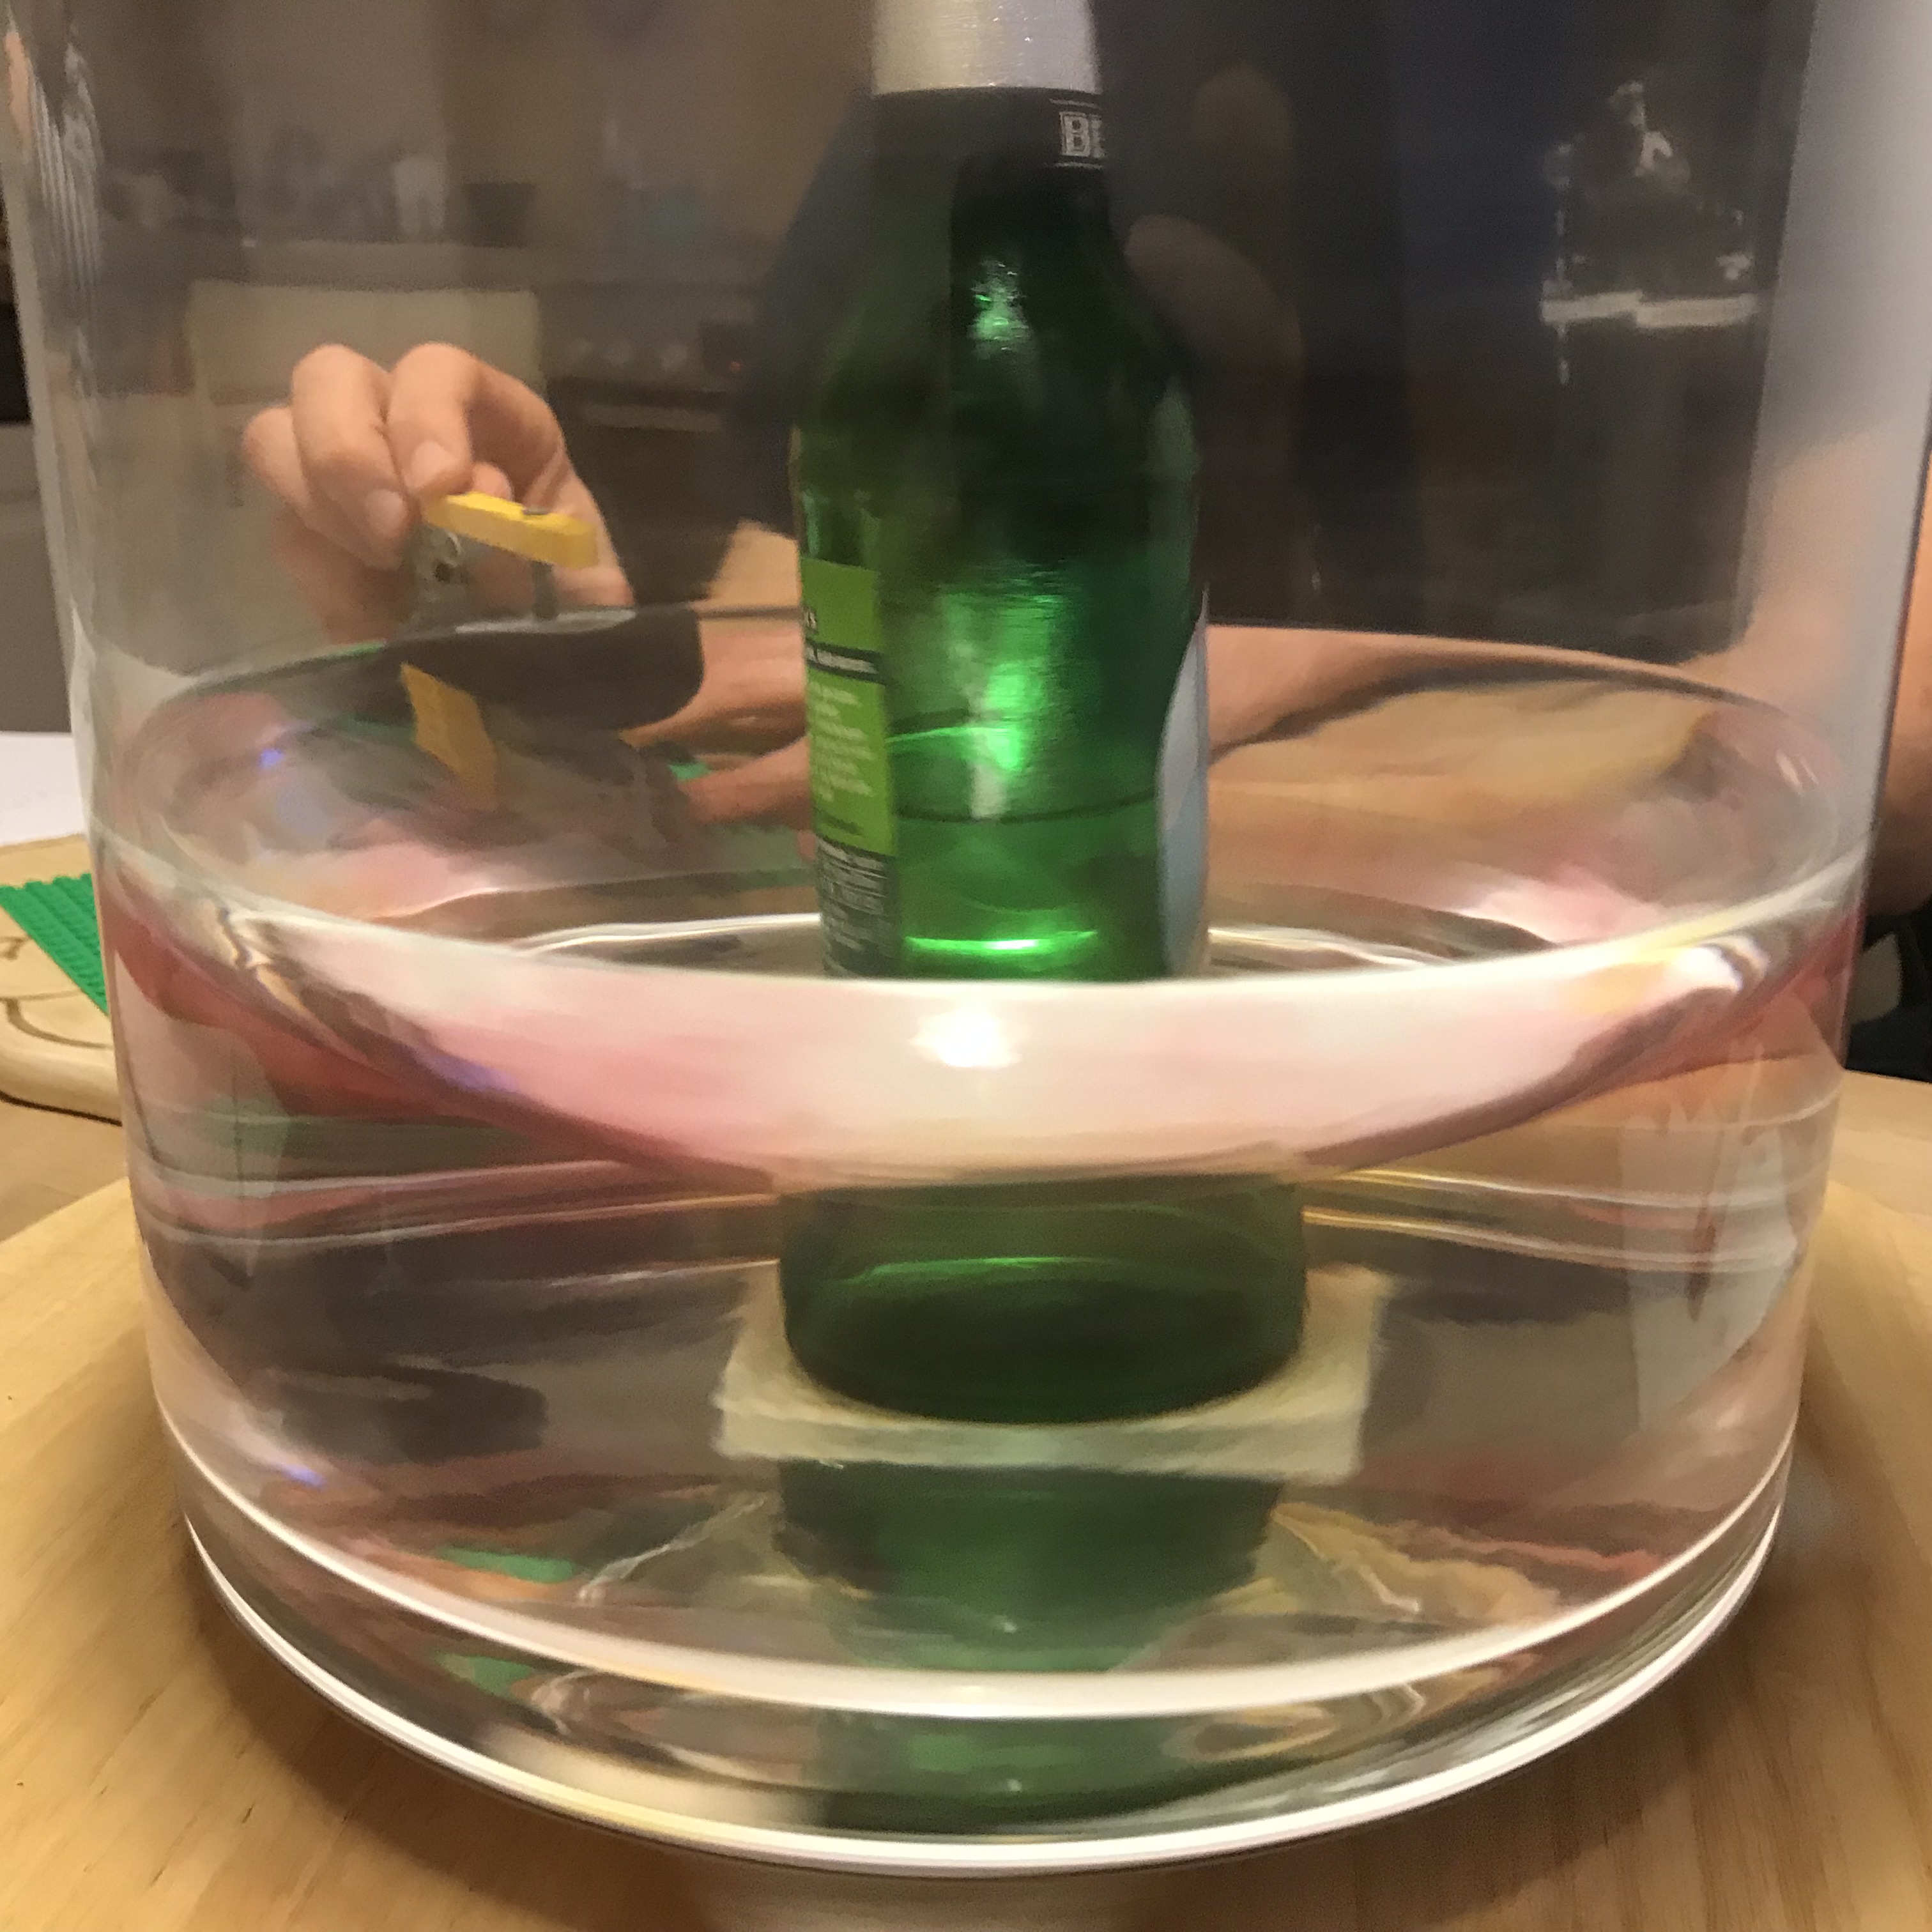
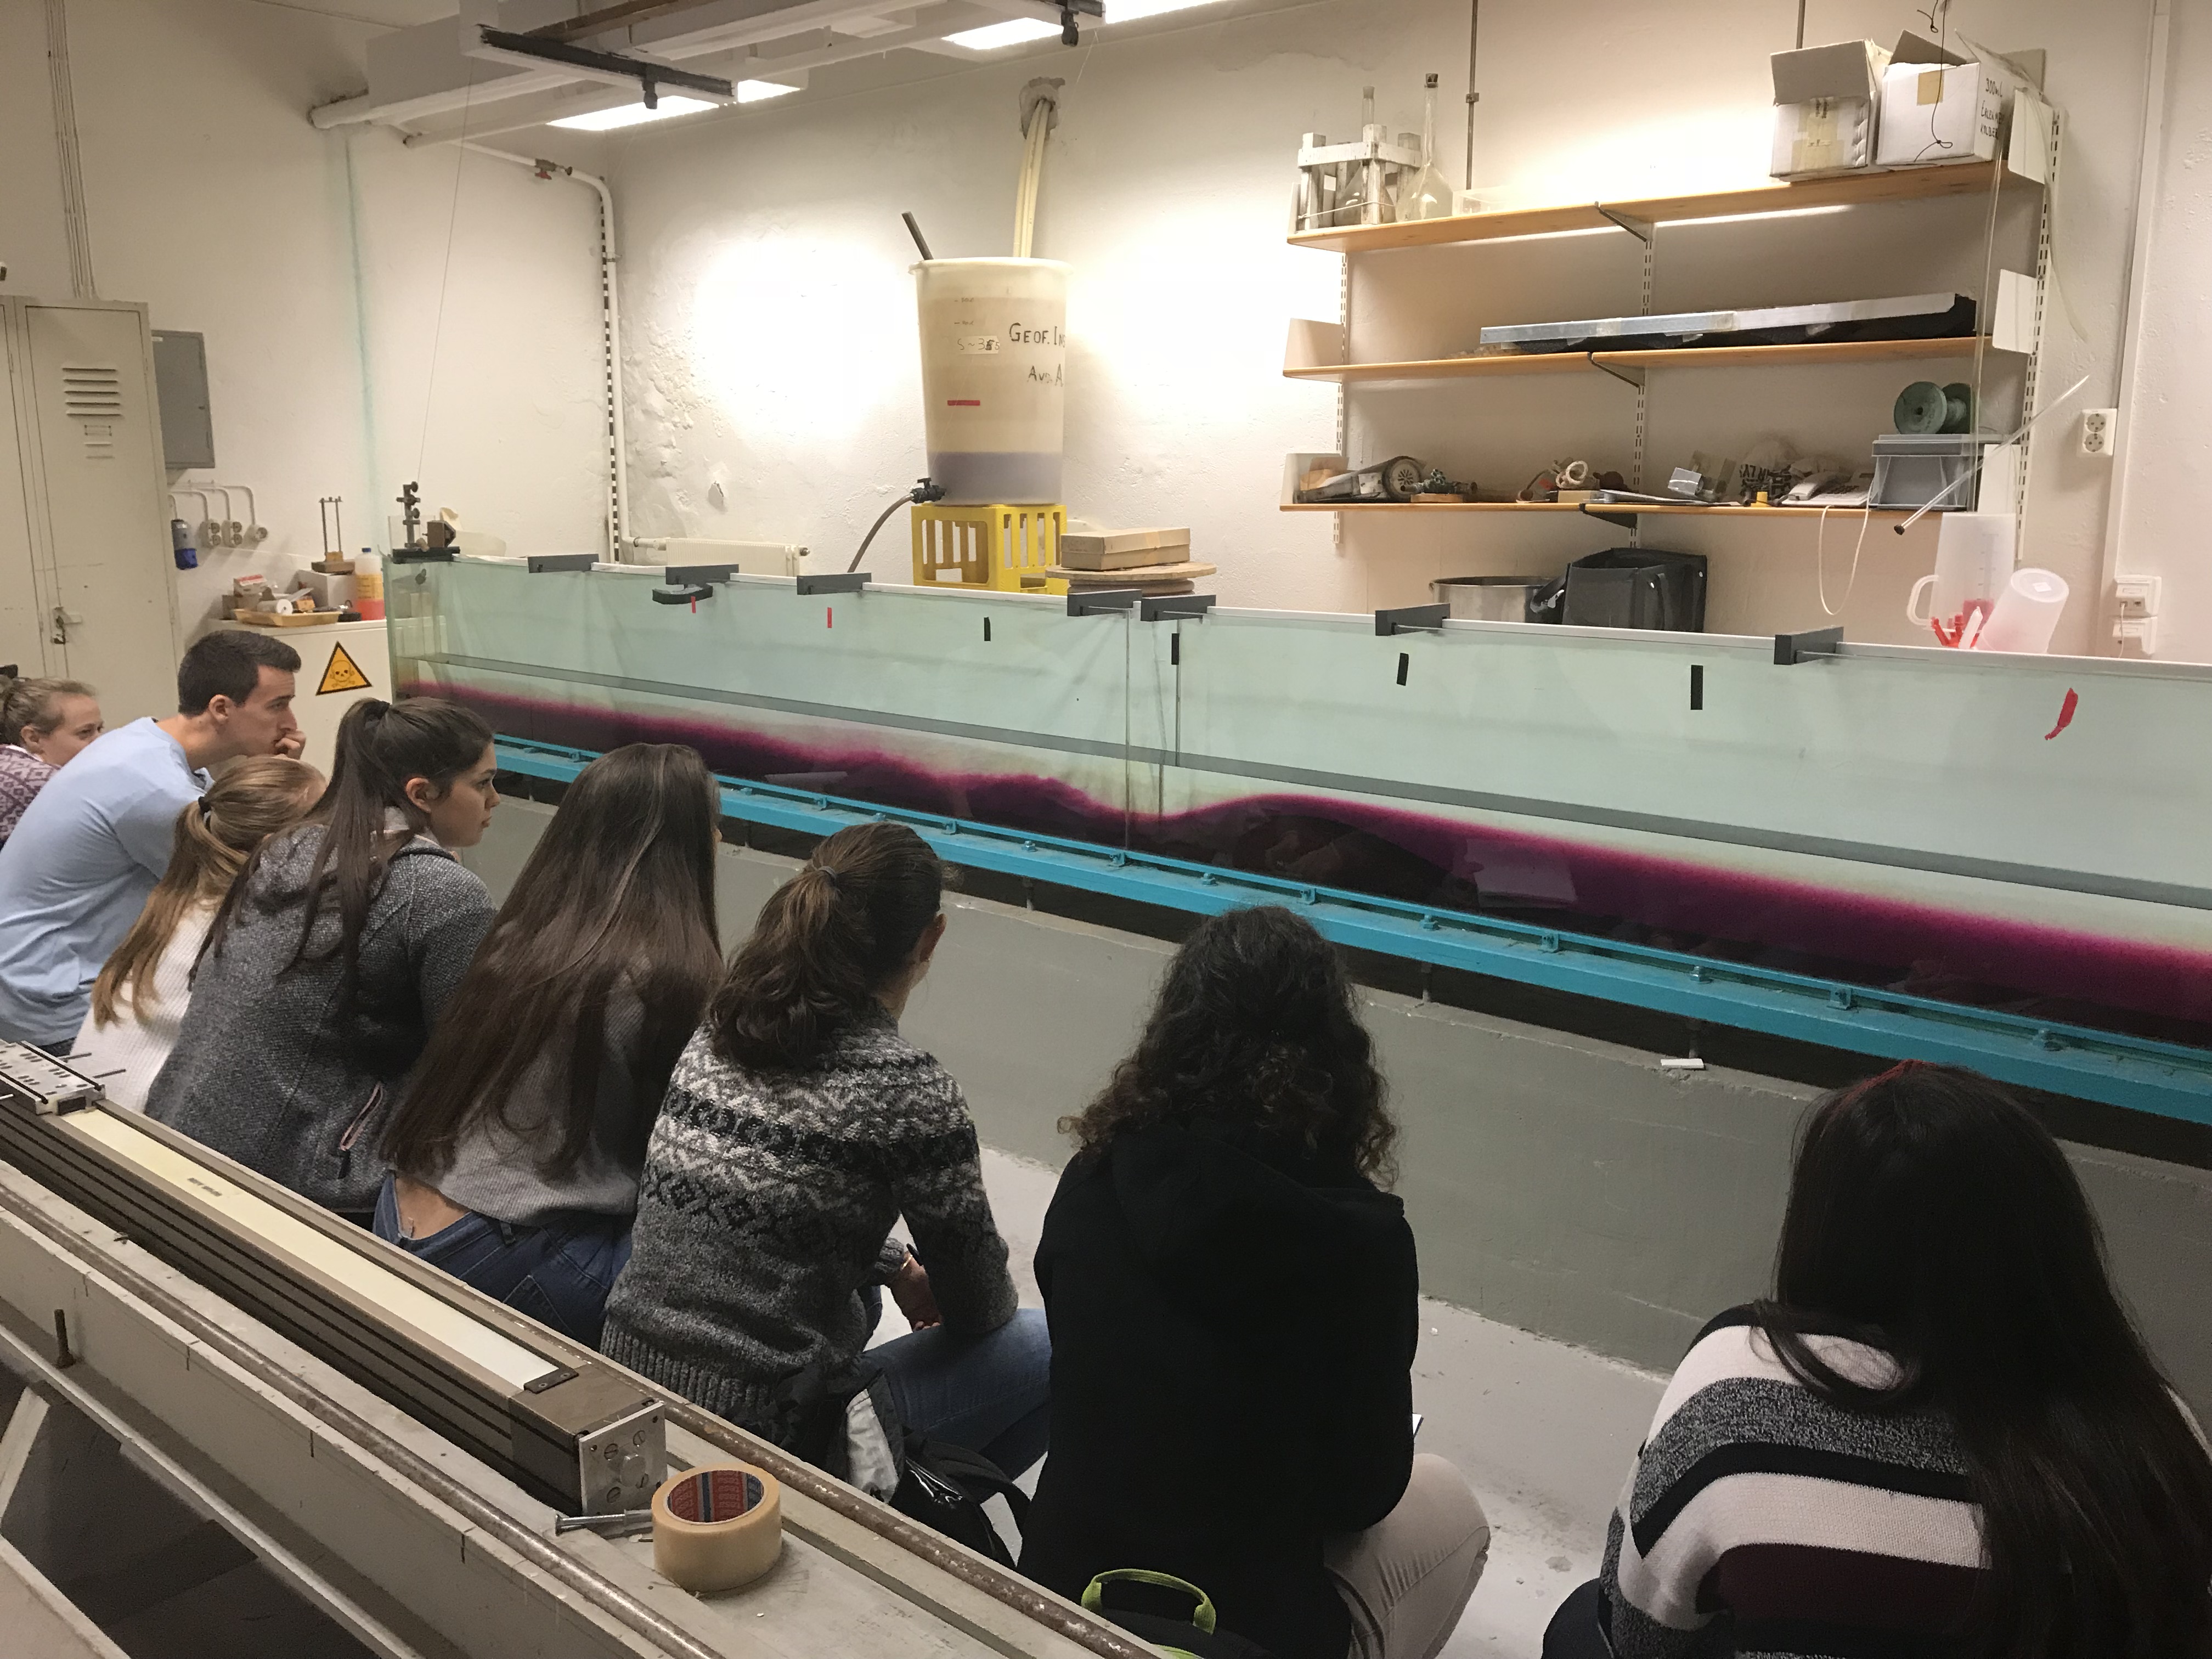
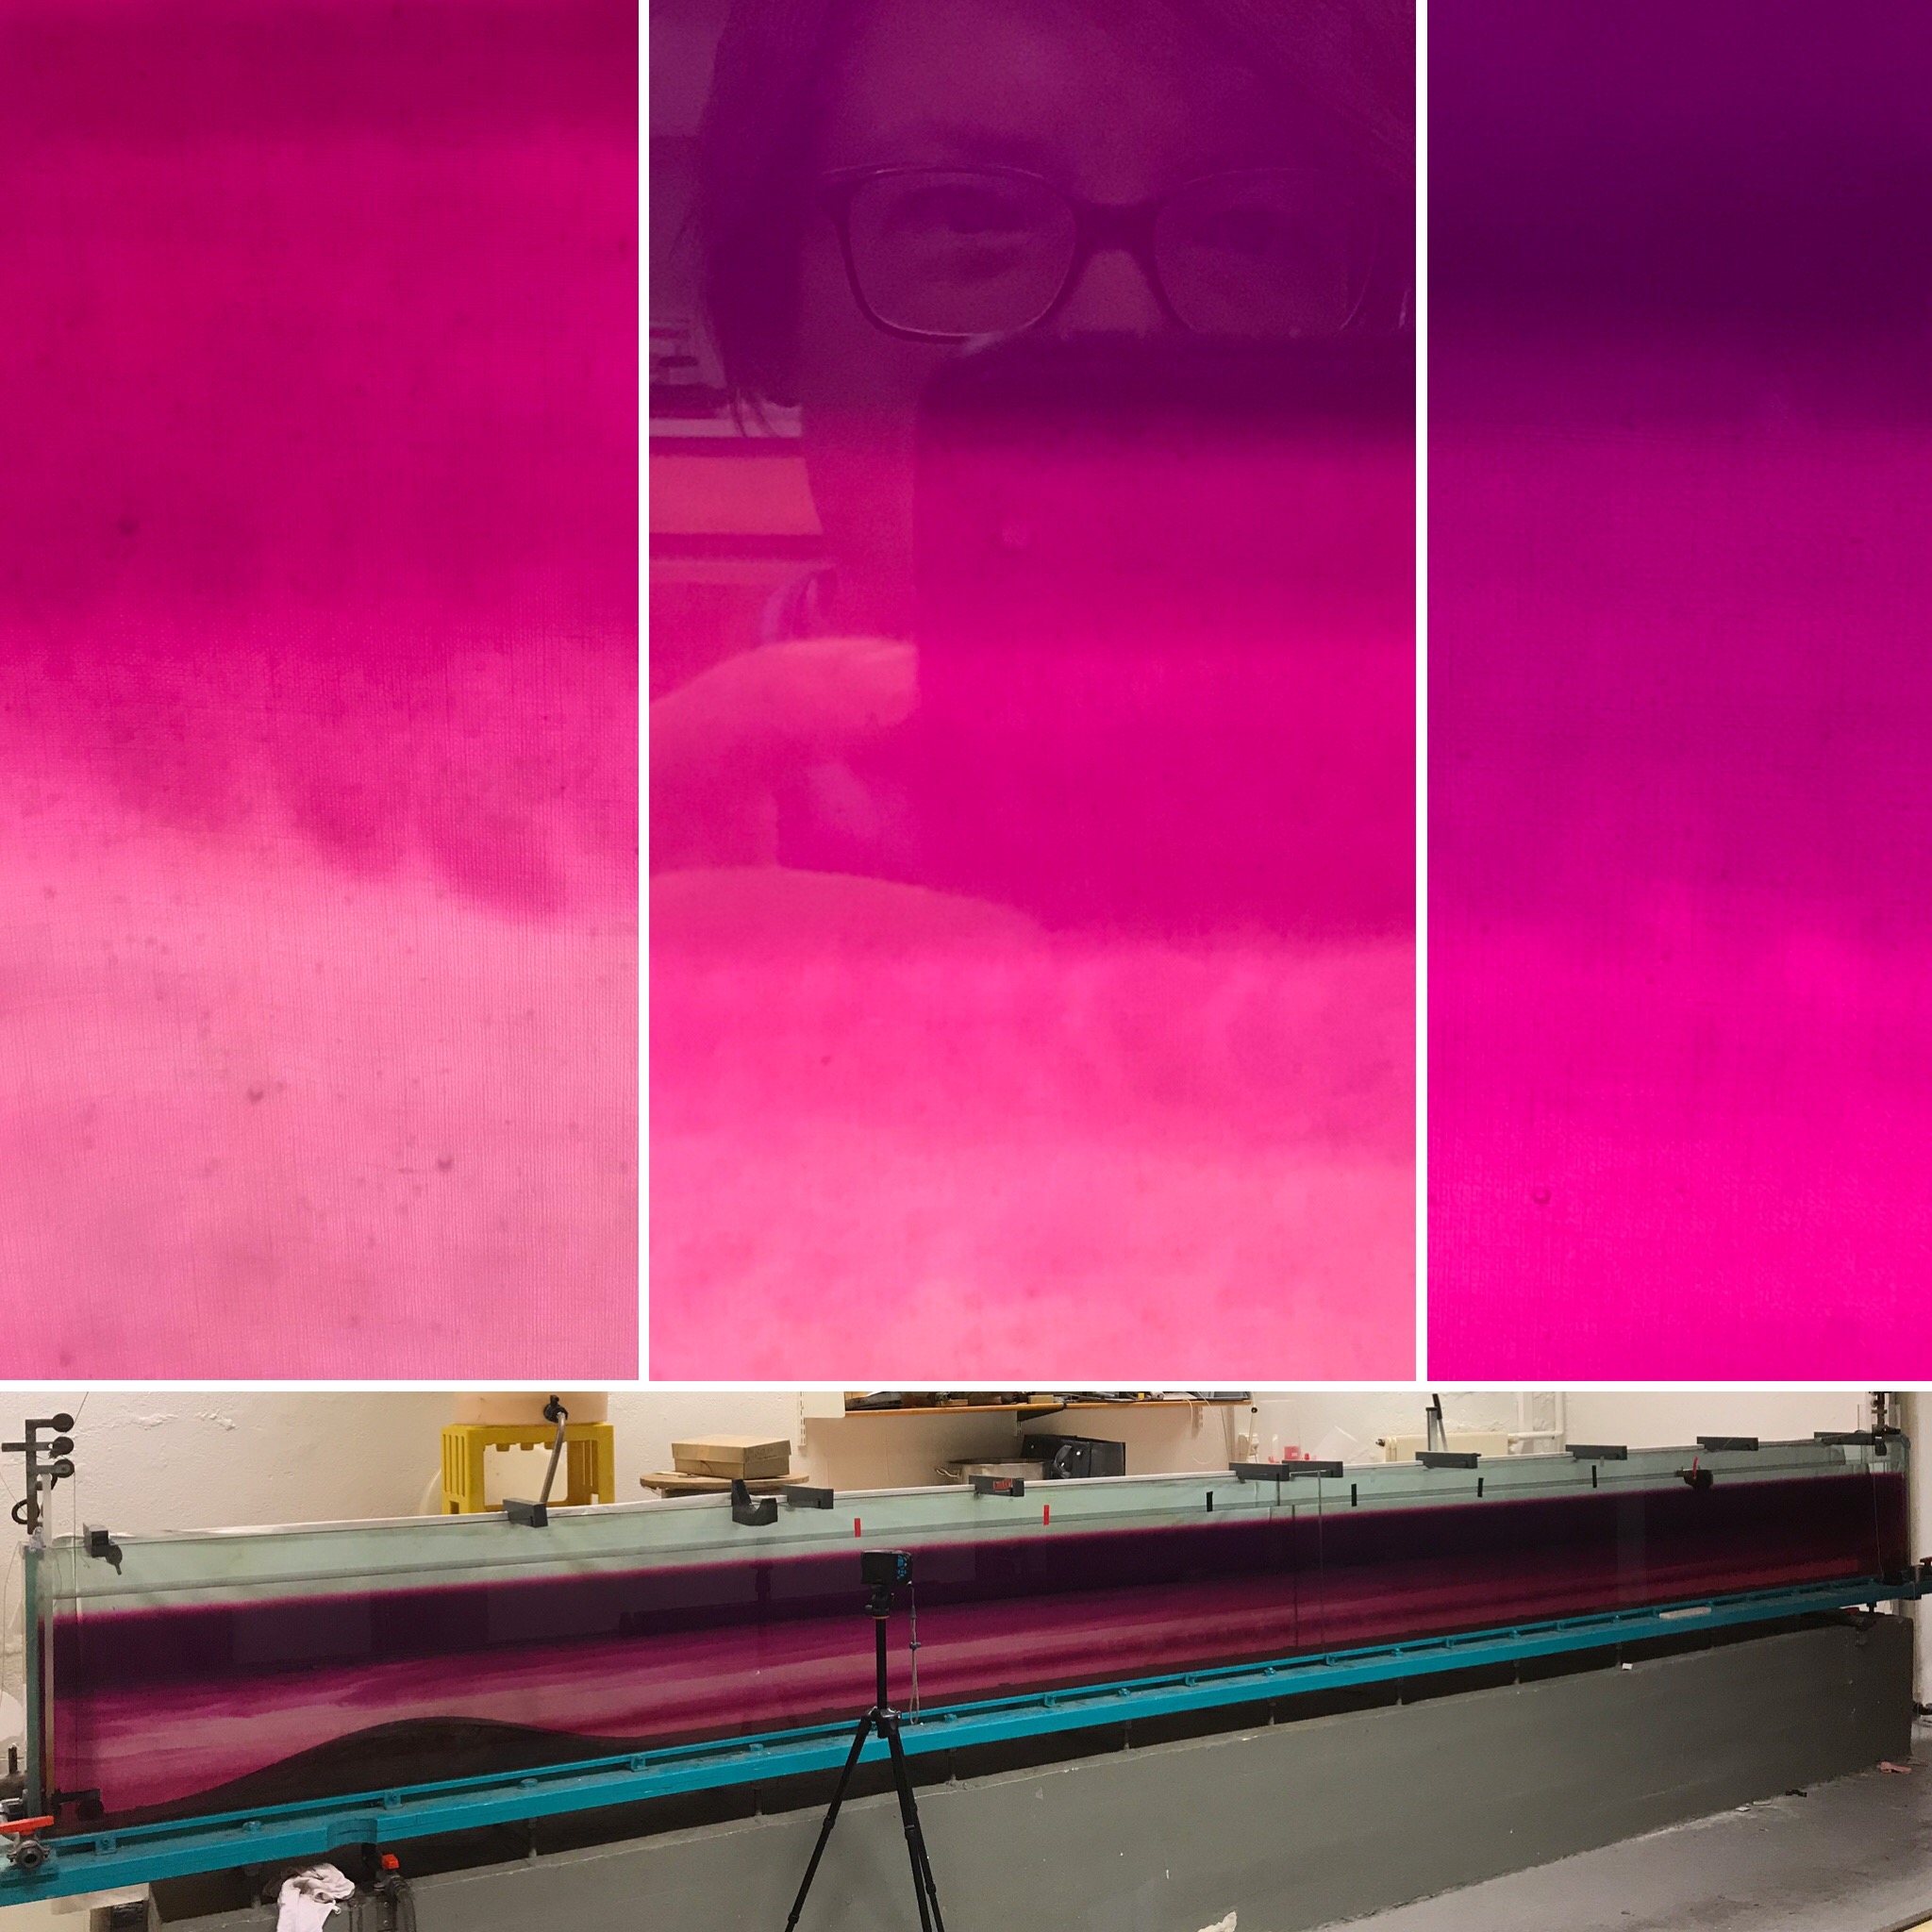
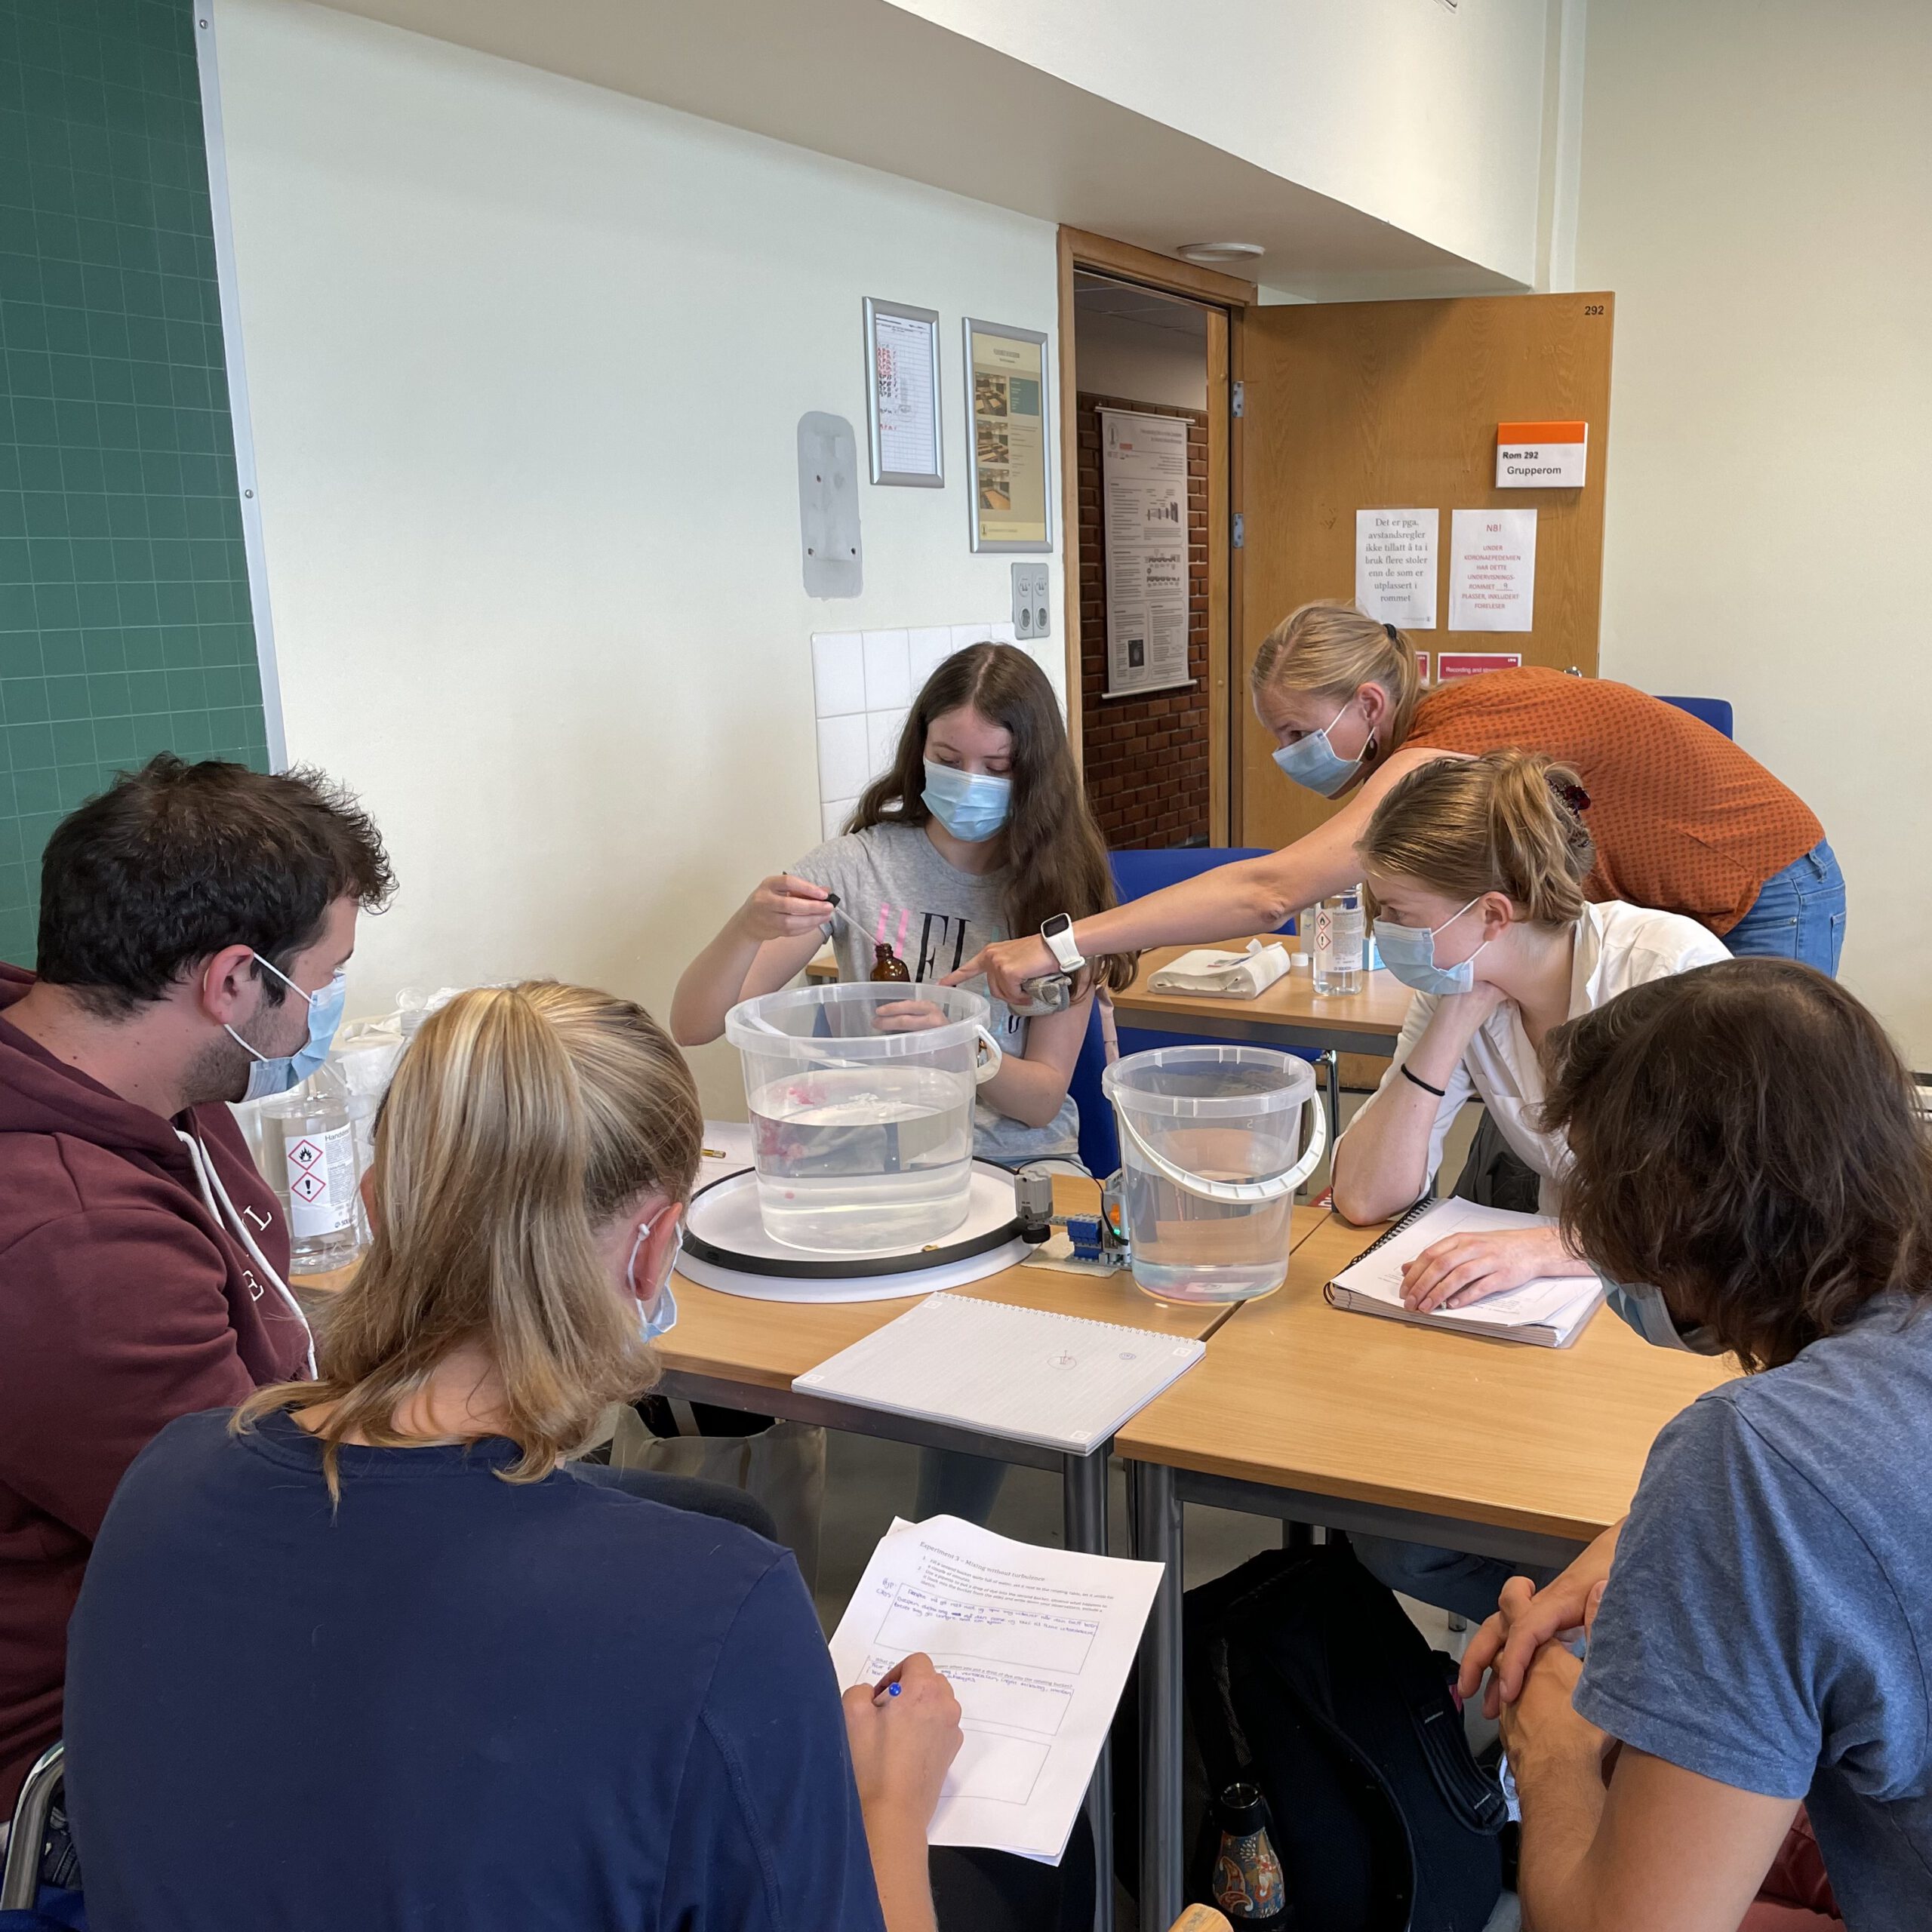
A project near and dear to my heart is using the DIYnamics rotating tank experiments in across-course collaborations. “Older” students, who did experiments the previous year, are trained to then act as guides to “younger” students when they do experiments for the first time, thus lowering the threshold of engaging with equipment, acting as role models when it comes to experimentation, the way to talk about the experiments, and much more. The “younger” students appreciate the interaction, support, and guiding questions, the “older” students realize how much they learned in only a year and what an important role questions play in the learning process.

We started planning this project already before the pandemic, then ran the very first test with 3 paid “older” students in 2020, and then with both full courses, “older” and “younger” students, in 2021 (which is when I took the pictures in this blog post). Then in 2022, we made sure to evaluate the whole thing properly, and that is what, after we presented this project at several conferences already (for example this spring: poster here), is now finally published as

Daae, K., Årvik, A. D., Darelius, E., Glessmer, M. S. (2023). “Student guides: supporting learning from laboratory experiments through across-course collaboration”. Nordic Journal of STEM Education, Vol. 7 No. 1: full papers 2023, p 98-105, DOI: 10.5324/njsteme.v7i1.5093

You can download the pdf here (and you should, it’s a pretty cool project!).

Learning together across courses — our iSSOTL presentation

Last week, Kjersti Daae and I gave a virtual presentation at the iSSOTL conference, and here is a short summary.

We presented an ongoing teaching innovation project, funded by Olsen legat and conducted together with Jakob Skavang, Elin Darelius and Camille Li, that we started last year at the Geophysical Institute in Bergen: Bringing together third semester and fifth semester students to do tank experiments.

In our presentation, we touched on the literature inspiring the design of the teaching project, the study we have conducted, and then our results and conclusions.

Our main goal was to change the way students look at the world around them, by giving them a new perspective on things. A framework that describes this well are “transformative experiences” that I wrote about in more detail here.

Transformative experiences are awesome, because they trap you in a feedback loop: Once you have changed the way you look at the world and notice new things, this feels good and makes life more fun. Therefore you continue doing it voluntarily, noticing more cool things in a new way, feeling happier about it, and so on and so on.

One example of a transformative experience happening was described by Dario after we did some kitchen oceanography (more on that here).

But we don’t want people to go through the transformative experience alone, we want them to do it in a community of practice to support one another and create even more of a feedback. In our case, the community are our students at the Geophysical Institute, who share the interest in dynamics of the atmosphere and ocean and learn more about them by having shared experiences and discussions that they can refer back to.

The topic we wanted to address in our course and make the central topic of this community of practice is the influence of rotation on movement in the atmosphere and ocean. This is the central concept of geophysical fluid dynamics, but it is difficult to grasp because the scales in question are so large that they are difficult to directly observe, and the mathematical descriptions are difficult and unintuitive.

And here is where we invited the audience to become part of the very first steps in that teaching project.

We start out by making sure everybody has a good grasp of what happens in a non-rotating frame so we can later contrast the rotating case to something we know for sure people have seen before (we used to assume that people had a good grasp of what happens in non-rotating fluids, but this turns out to be very much not the case).

At this point in our demonstration, Kjersti showed a live demonstration! (And I was so fascinated that I forgot to take a screenshot)

Once we have established what pouring a denser fluid into a lighter fluid looks like in a non-rotating case, it is time to move on to a rotating case. Considering rotation when we talk about flows on the rotating Earth (in the atmosphere or ocean) needs to consider that the Earth has been spinning for a very long time. We can simulate that by rotating a bucket of water (which needs to rotate for a much shorter period of time because it is much smaller).

When we drip colour into a rotating bucket full of water, the way the colour distributes itself looks very different from what it looked like earlier in the non-rotating case. We now get columns of dye rather than the mushroom-like features.

These experiments are not difficult in themselves, but we wanted students to not just follow cookbook-style instructions, but to actively engage and discuss what they observe.

Therefore, we brought students in their third semester together with students in their fifth semester, who had done the same experiments in the previous year.

The idea was that the third semester students would receive guidance by the older students, and would be able to discuss hypotheses and make sense of their observations together. The presence of the fifth semester students would help them be less stressed about potentially making mistakes and help the labs run a lot smoother.

The fifth semester students had done the experiments in the previous year. We prepared them for their role (you don’t need to know all the answers! In fact, you are not supposed to even answer their questions. Help them figuring it out themselves by asking questions like “…”) and went through the experiments with them to refresh their memory and also talk about how they were understanding and seeing things differently now that they had another year of education under the belt compared to when they first saw the experiments.

And then for us: Distributing and sharing responsibility for learning is something we have been interested in for a while now (see blog post on co-creation here for more information). Having students so engaged in sense-making through discussions gave us a great opportunity to eaves-drop on their arguments and get a much better understanding of what they are thinking and which points we should address in more detail later.

In order to understand how this setup worked for the students, we collected several types of data: We had questionnaires aimed at the third semester students (testing specific learning outcomes, but also on their observations of roles and interactions, and interpretations of the situation) and fifth semester students (on observations of roles and interactions, and interpretations of the situation, and how they would compare the experience as “guide” to that the previous year). We instructors also took notes and reflected on our observations.

So what did we find?

The third semester students all perceived the presence of the older students as very positive and described the interactions the way we had hoped — that they weren’t being fed the answers, but asked questions that help them find answers themselves.

From the fifth semester students, we also got a very positive response. They especially focussed on how they had to think about what makes a good question or good instruction, and that that helped them reflect on their own learning. They also pointed out that the experience showed them how much they had learned during the last year, which they had not been aware of before.

They also really enjoyed the experience of being a teacher and interacting in that role.

Also looking at learning outcomes, we found that the third year students learned a lot more as compared to last year’s third year students (which is a bit of an unfair comparison since last year was dominated by covid-19 restrictions, but still that is the only data we have that we can compare to). Specifically, the misconception that “the centre of the tank is the (North) Pole” seems to have been eradicated this year (we’ll see if that holds over time).

One thing we noted and that students also pointed out as very helpful is that conversations did not just deal with the experiment itself, but that the younger students asked a lot of questions about other experiences that the older students had made already, like for example the upcoming student cruise. We had hoped that this would happen, and that these kind of conversations would continue beyond these lessons!

So this is where we ended our presentation and hoped to discuss a couple of questions with the audience. If you have any input, we would love to hear from you, too!

Solid body rotation

Several of my friends were planning on teaching with DIYnamics rotating tables right now. Unfortunately, that’s currently impossible. Fortunately, though, I have one at home and enjoy playing with it enough that I’m

  1. Playing with it
  2. Making videos of me playing with it
  3. Putting the videos on the internet
  4. Going to do video calls with my friends’ classes, so that the students can at least “remote control” the hands-on experiments they were supposed to be doing themselves.

Here is me introducing the setup:

Today, I want to share a video I filmed the spinup of a tank until it reaches solid body rotation. To be clear: This is not a polished, stand-alone teaching video. It’s me rambling while playing. It’s supposed to give students an initial idea of an experiment we’ll be doing together during a video call, and that they’ll be discussing in much more depth in class. Watching a tank until it reaches olid body rotation is probably the most boding tank experiment ever done, but understanding the concept of solid body rotation and why we need it in tank experiments is the foundation of everything we do on a rotating tank. So here we go!

Thermal forcing vs rotation tank experiments in more detail than you ever wanted to know

This is the long version of the two full “low latitude, laminar, tropical Hadley circulation” and “baroclinic instability, eddying, extra-tropical circulation” experiments. A much shorter version (that also includes the end cases “no rotation” and “no thermal forcing”) can be found here.

Several of my friends were planning on teaching with DIYnamics rotating tables right now. Unfortunately, that’s currently impossible. Fortunately, though, I have one at home and enjoy playing with it enough that I’m

  1. Playing with it
  2. Making videos of me playing with it
  3. Putting the videos on the internet
  4. Going to do video calls with my friends’ classes, so that the students can at least “remote control” the hands-on experiments they were supposed to be doing themselves.

Here is me introducing the setup:

Today, I want to share a video I filmed on thermal forcing vs rotation. To be clear: This is not a polished, stand-alone teaching video. It’s me rambling while playing. It’s supposed to give students an initial idea of an experiment we’ll be doing together during a video call, and that they’ll be discussing in much more depth in class. It’s also meant to prepare them for more “polished” videos, which are sometimes so polished that it’s hard to actually see what’s going on. If everything looks too perfect it almost looks unreal, know what I mean? Anyway, this is as authentic as it gets, me playing in my kitchen. Welcome! :-)

In the video, I am showing the two full experiments: For small rotations we get a low latitude, laminar, tropical Hadley circulation case. Spinning faster, we get a baroclinic instability, eddying, extra-tropical case. And as you’ll see, I didn’t know which circulation I was going to get beforehand, because I didn’t do the maths before running it. I like surprises, and luckily it worked out well!

Thermal forcing vs rotation

The first experiment we ever ran with our DIYnamics rotating tank was using a cold beer bottle in the center of a rotating tank full or lukewarm water. This experiment is really interesting because, depending on the rotation of the tank, it will display different regimes. For small rotations we get a low latitude, laminar, tropical Hadley circulation case. Spinning faster, we get a baroclinic instability, eddying, extra-tropical case. Both are really interesting, and in the movie below I am showing four experimentsm ranging from “thermal forcing, no rotation”, over two experiments which include both thermal forcing and rotation at different rates to show both the “Hadley cell” and “baroclinic instability” case, to “no thermal forcing, just rotation”. Enjoy!

Ekman layers in my kitchen

Several of my friends were planning on teaching with DIYnamics rotating tables right now. Unfortunately, that’s currently impossible. Fortunately, though, I have one at home and enjoy playing with it enough that I’m

  1. Playing with it
  2. Making videos of me playing with it
  3. Putting the videos on the internet
  4. Going to do video calls with my friends’ classes, so that the students can at least “remote control” the hands-on experiments they were supposed to be doing themselves.

Here is me introducing the setup:

Today, I want to share a video I filmed on Ekman layers. To be clear: This is not a polished, stand-alone teaching video. It’s me rambling while playing. It’s supposed to give students an initial idea of an experiment we’ll be doing together during a video call, and that they’ll be discussing in much more depth in class. It’s also meant to prepare them for more “polished” videos, which are sometimes so polished that it’s hard to actually see what’s going on. If everything looks too perfect it almost looks unreal, know what I mean? Anyway, this is as authentic as it gets, me playing in my kitchen. Welcome! :-)

In the video, I am stopping a tank that was spun up into solid body rotation, to watch a bottom Ekman layer develop. Follow along for the whole journey:

Now. What are you curious about? What would you like to try? What would you do differently? Any questions for me? :-)

Rossby-#WaveWatchingWednesday

Several of my friends were planning on teaching with DIYnamics rotating tables right now. Unfortunately, that’s currently impossible. Fortunately, though, I have one at home and enjoy playing with it enough that I’m

  1. Playing with it
  2. Making videos of me playing with it
  3. Putting the videos on the internet
  4. Going to do video calls with my friends’ classes, so that the students can at least “remote control” the hands-on experiments they were supposed to be doing themselves.

Here is me introducing the setup:

Today, I want to share a video I filmed on planetary Rossby waves. To be clear: This is not a polished, stand-alone teaching video. It’s me rambling while playing. It’s supposed to give students an initial idea of an experiment we’ll be doing together during a video call, and that they’ll be discussing in much more depth in class. It’s also meant to prepare them for more “polished” videos, which are sometimes so polished that it’s hard to actually see what’s going on. If everything looks too perfect it almost looks artificial, know what I mean? Anyway, this is as authentic as it gets, me playing in my kitchen. Welcome! :-)

In the video, I am using an ice cube, melting on a sloping bottom in a rotating tank, to create planetary Rossby waves. Follow along with the whole process:

Also check out the video below that shows both a top- and side view of a planetary Rossby wave, both filmed with co-rotating cameras.

Previous blog posts with more movies for example here.

Now. What are you curious about? What would you like to try? What would you do differently? Any questions for me? :-)

Brine rejection and overturning, but not the way you think! Guest post by Robert Dellinger

It’s #KitchenOceanography season! For example in Prof. Tessa M Hill‘s class at UC Davis. Last week, her student Robert Dellinger posted a video of an overturning circulation on Twitter that got me super excited (not only because as of now, April 15th, it has 70 retweets and 309 likes. That’s orders of magnitude more successful than any kitchen oceanography stuff I have ever posted! Congratulations!).

Robert is using red, warm water on one side and melt water of blue ice cubes on the other side to provide heating and cooling to his tank to create the overturning. Why did I get so excited? Because of this: the head of the meltwater plume was very clearly not blue (see above)! Rob kindly agreed to write a guest post about these observations:

“I first and foremost want to start off by thanking Dr. Mirjam Glessmer for doing a phenomenal job at SciCom through Kitchen Oceanography. I was able to replicate her physical oceanography experiment regarding oceanic overturning circulation for my oceanography class with Dr. Tessa Hill.

As mentioned in her previous post, oceanographic currents are often simplified to give an easier understanding of how oceanic overturning circulation operates. The top 10% of our oceans are controlled by wind-driven currents and tidal fluctuations while the bottom 90% of our ocean currents are controlled by density-dependent movements.Originally this process was defined as thermal circulation but was later expanded to thermohaline circulation. Thermohaline circulation is dependent upon both temperature (thermal) and salinity (haline.) These density-dependent reactions occur when either freshwater fluxes meet saltwater and from thermal differences in water masses. Due to differential heating in our planet, colder formations of dense water masses are formed at the poles, which in turn causes the convective mixing and sinking of water masses driving oceanic circulation.

(Video by Robert Dellinger; thanks for letting me use it!)

In this experiment, we primarily focus on the thermally dependent reactions between two water masses. As seen in the video, the warmer water mass is dyed red, while the cold water mass formed by ice melting, is blue. As expected the more dense water mass (cold) is pushed under the warmer mass once they meet. One feature I would like to point out is the clear plume head feature in my experiment (see picture on top of this post). My theory is that part of the ice cube that was not dyed melted first and was pushed under the warm water mass. This feature is most likely due to the ice cube experiencing unequal cooling, which in turn led to an uneven dye distribution as seen in the previous post “Sea ice formation, brine release, or: What ice cubes can tell you about your freezer.

As seen in the experiment, thermohaline circulation is thermally driven therefore, the role of salinity causes the system to be non-linear. Salinity serves as a positive feedback mechanism by increasing the salinity of deeper water and strengthens the circulation. Furthermore, current studies are focusing on how atmospheric warming is altering thermohaline circulation attributed by increases in ocean heat absorption and freshwater fluxes (primarily from melting ice caps.)”

New rotating table on #FlumeFriday! Welcome to the family!

In addition to our four DIYnamics-inspired rotating tanks, we now have a highly professional rotating table with SO MANY options! And also so much unboxing and constructing and trouble-shooting to do before it works. But we finished the first successful test: wanna see some rotating coffee in which milk is added? Then check this out!

Luckily Torge is patient enough to deal with me bossing him around, but it took forever to get the whole thing to work and I wanted my movie ;-)

Before we got to that point, though, did I mention that we had a lot of unboxing and constructing to do? But it was a bit like Christmas… And I can’t wait to play with every last piece of equipment! So many new and fun options for experiments I’ve always been wanting to do!

Happy #FlumeFriday! :-)

Thermally driven overturning circulation

Today was the second day of tank experiments in Torge’s and my “dry theory 2 juicy reality” teaching innovation project. While that project is mainly about bringing rotating tanks into the theoretical teaching of ocean and atmosphere dynamics, today we started with the non-rotating case of a thermally driven overturning circulation.

Very easy setup: A rectangular glass vase filled with luke-warm water. A frozen cool pack for sports injuries draped over one end (which we’ll think of as the northern end) provides the cooling that we need for deep water formation. The deep water is conveniently dyed blue with food dye. Red food dye is warmed up and added to the “southern end” of the tank, and voilà! An overturning circulation is set up.

Watch the sped-up movie to see what happens:

As you will notice, this circulation won’t last for a very long time. Since we are adding neither warming nor mixing, the cold water will eventually fill up the tank. But it’s still quite a nice experiment!

(And should you have noticed the “salt fingers” forming towards the end of the movie, I’ll write about those tomorrow)

And here is the nice group of students that humoured me and posed for this picture. It’s fun with such a motivated group that comes up with new things to try all the time! :-)