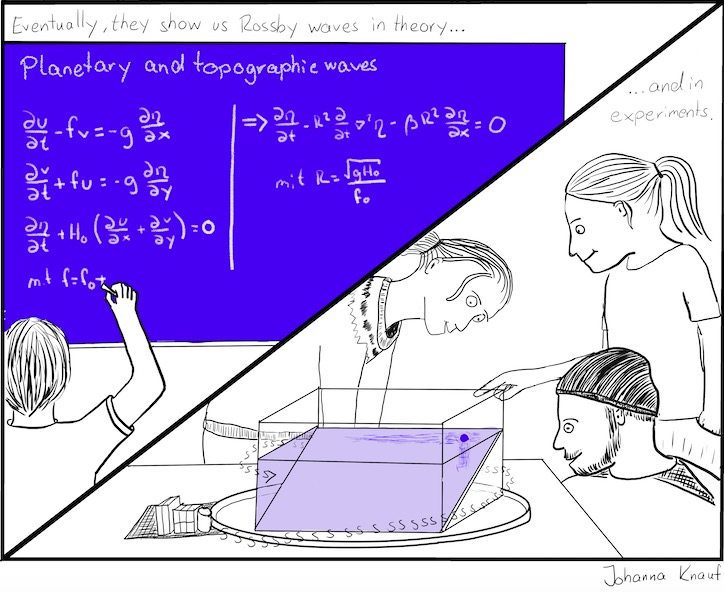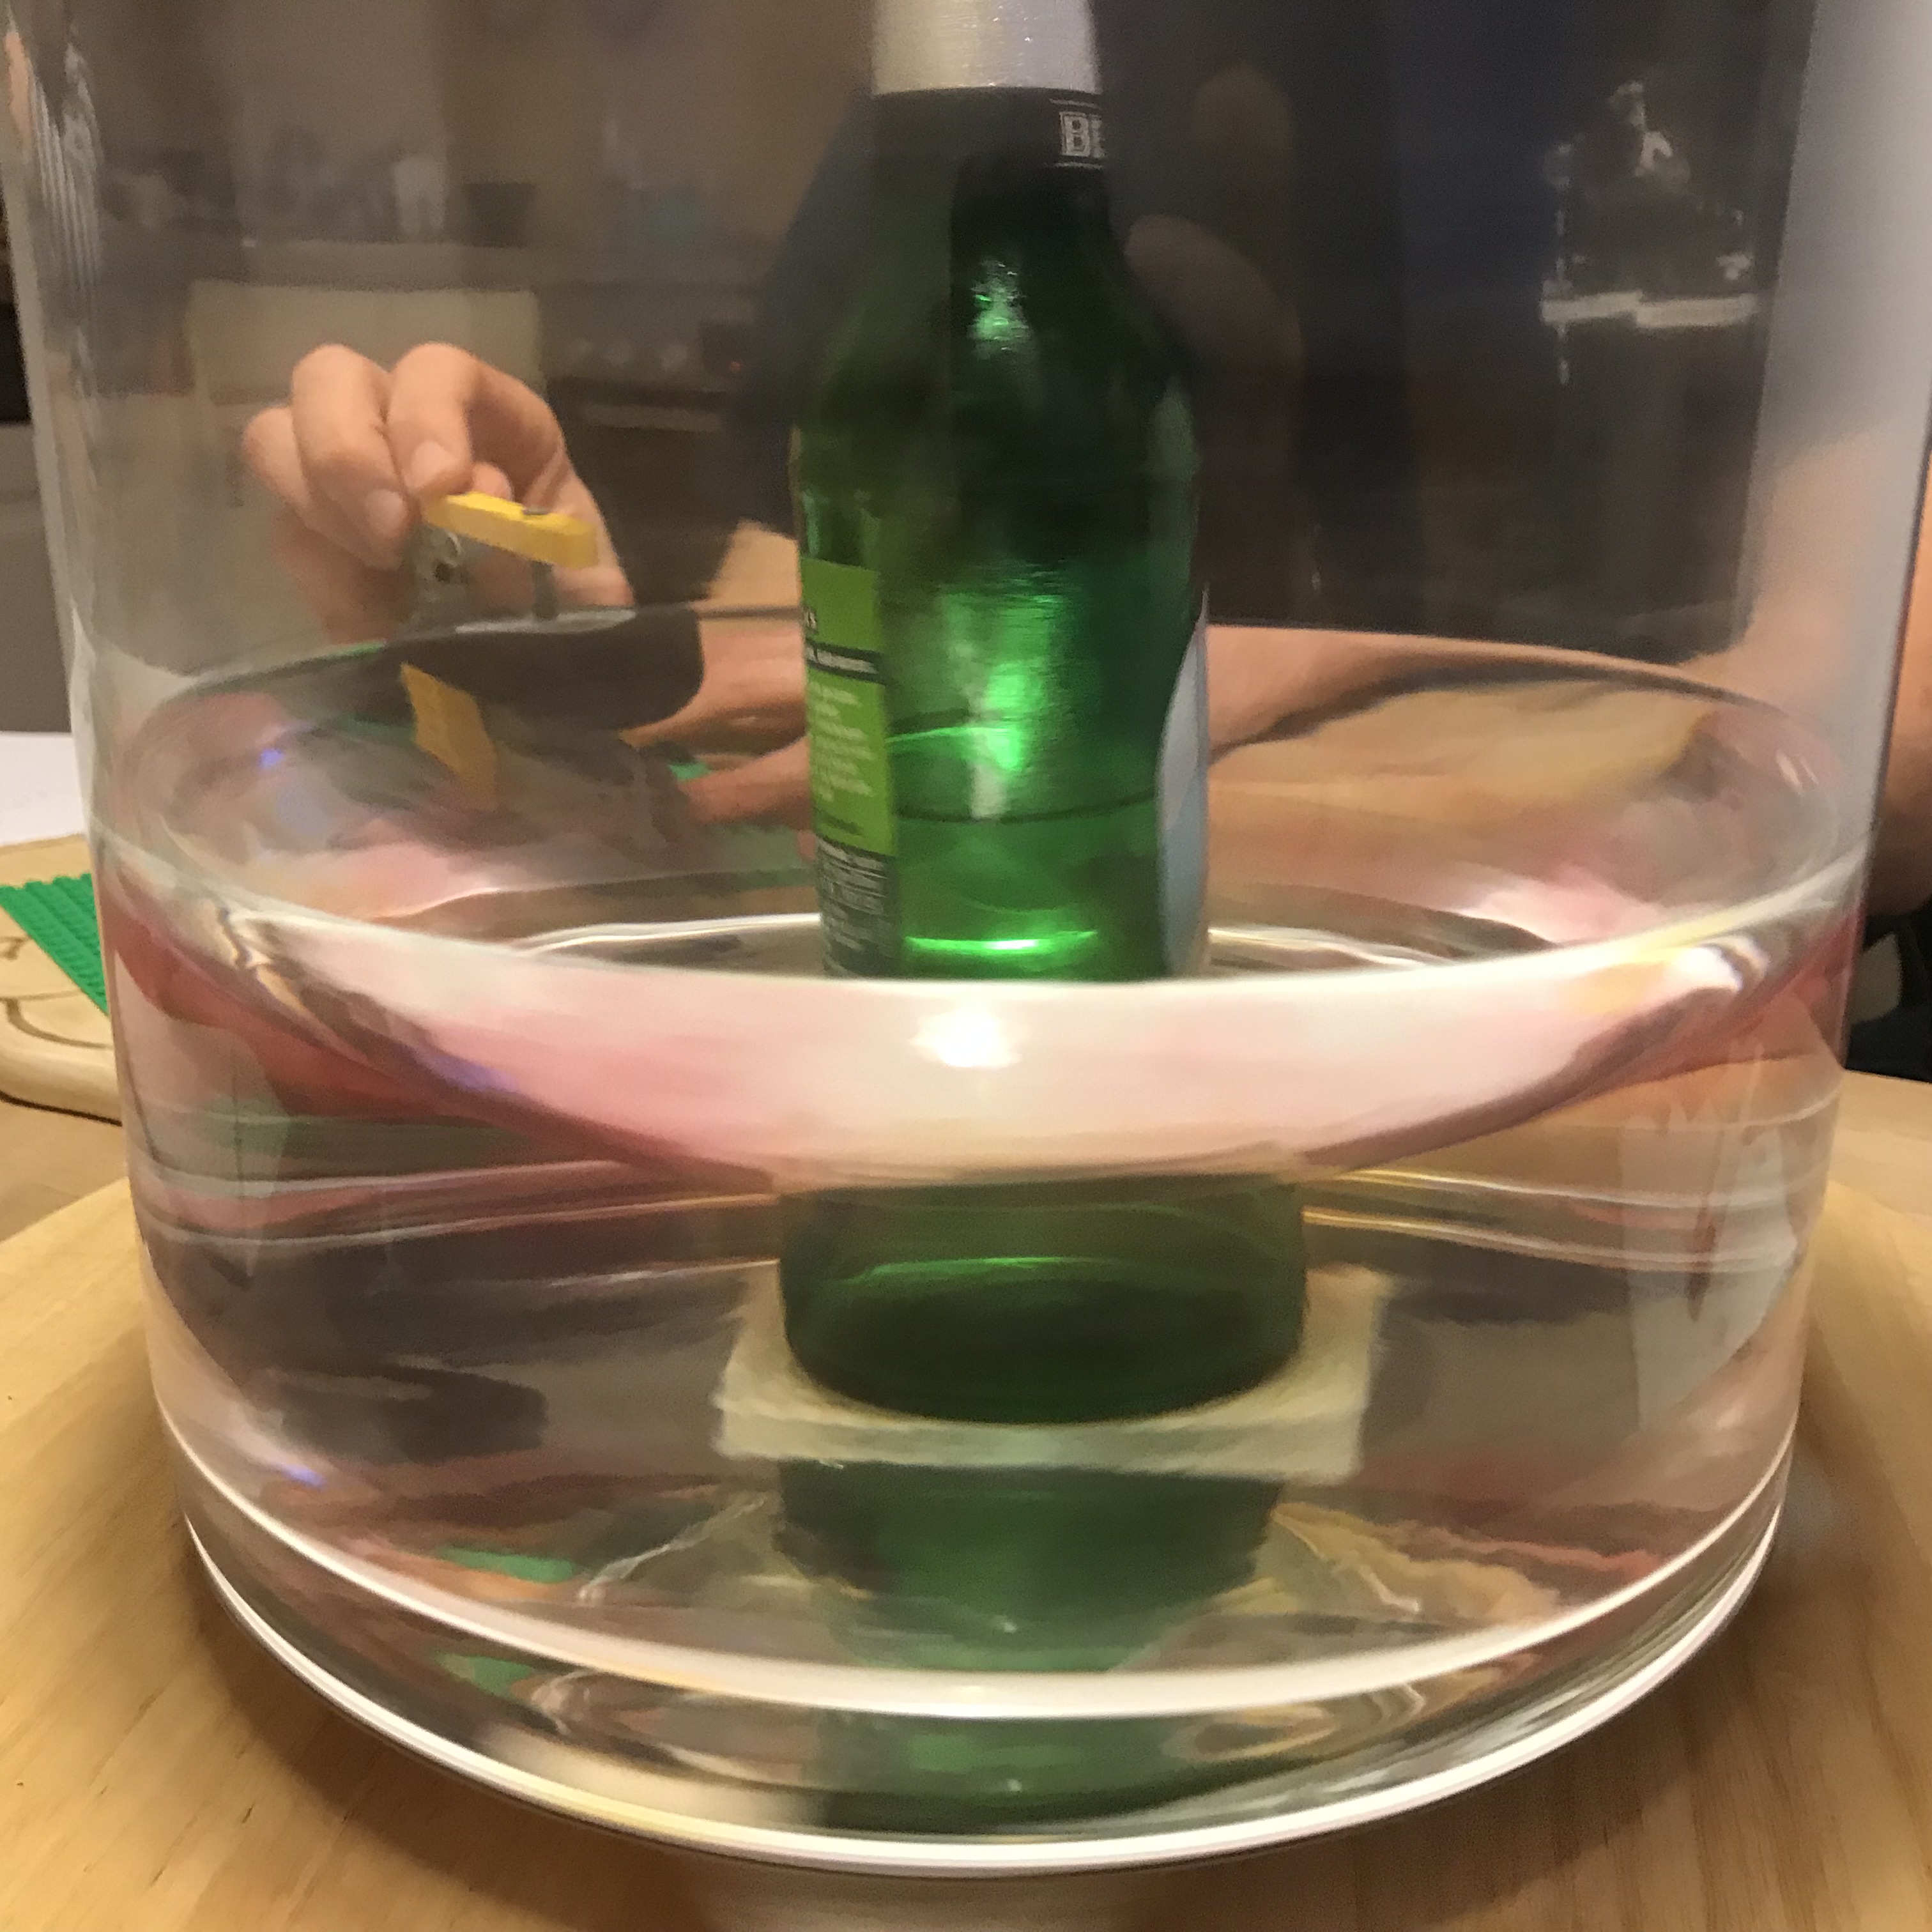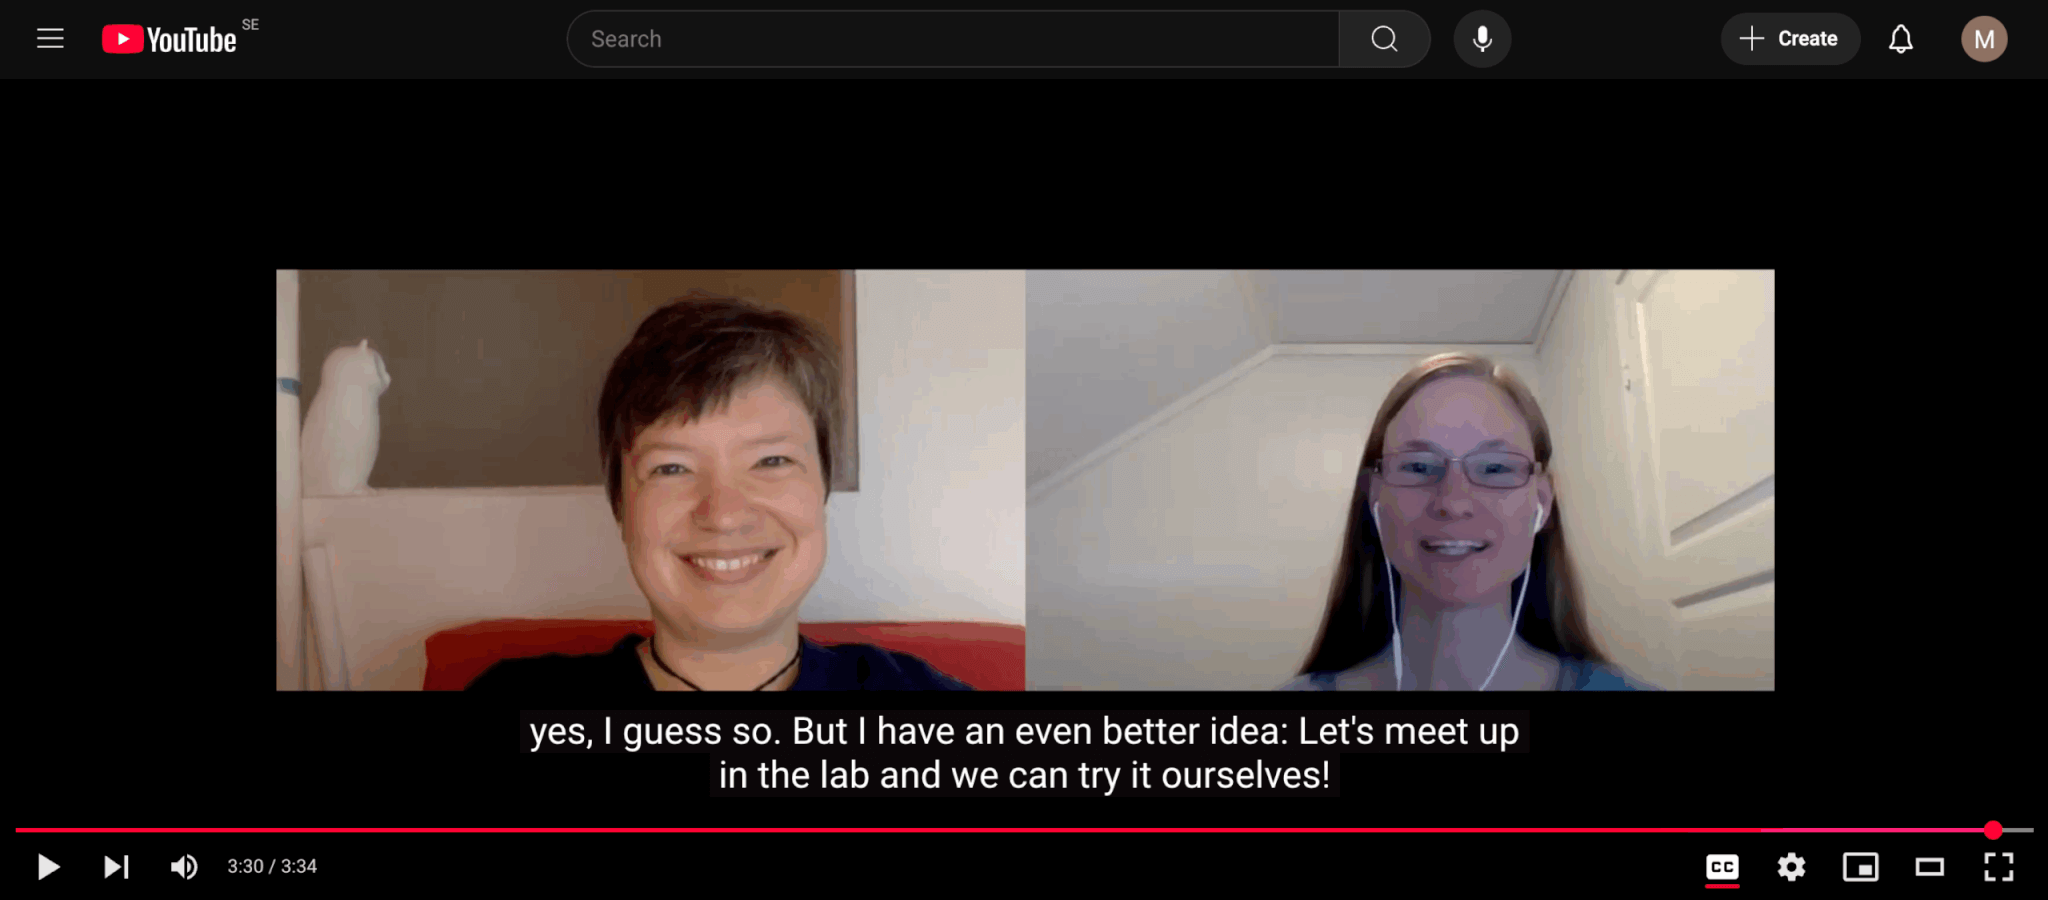
Throwback to the pandemic and teaching from home: “An ocean in a bucket”
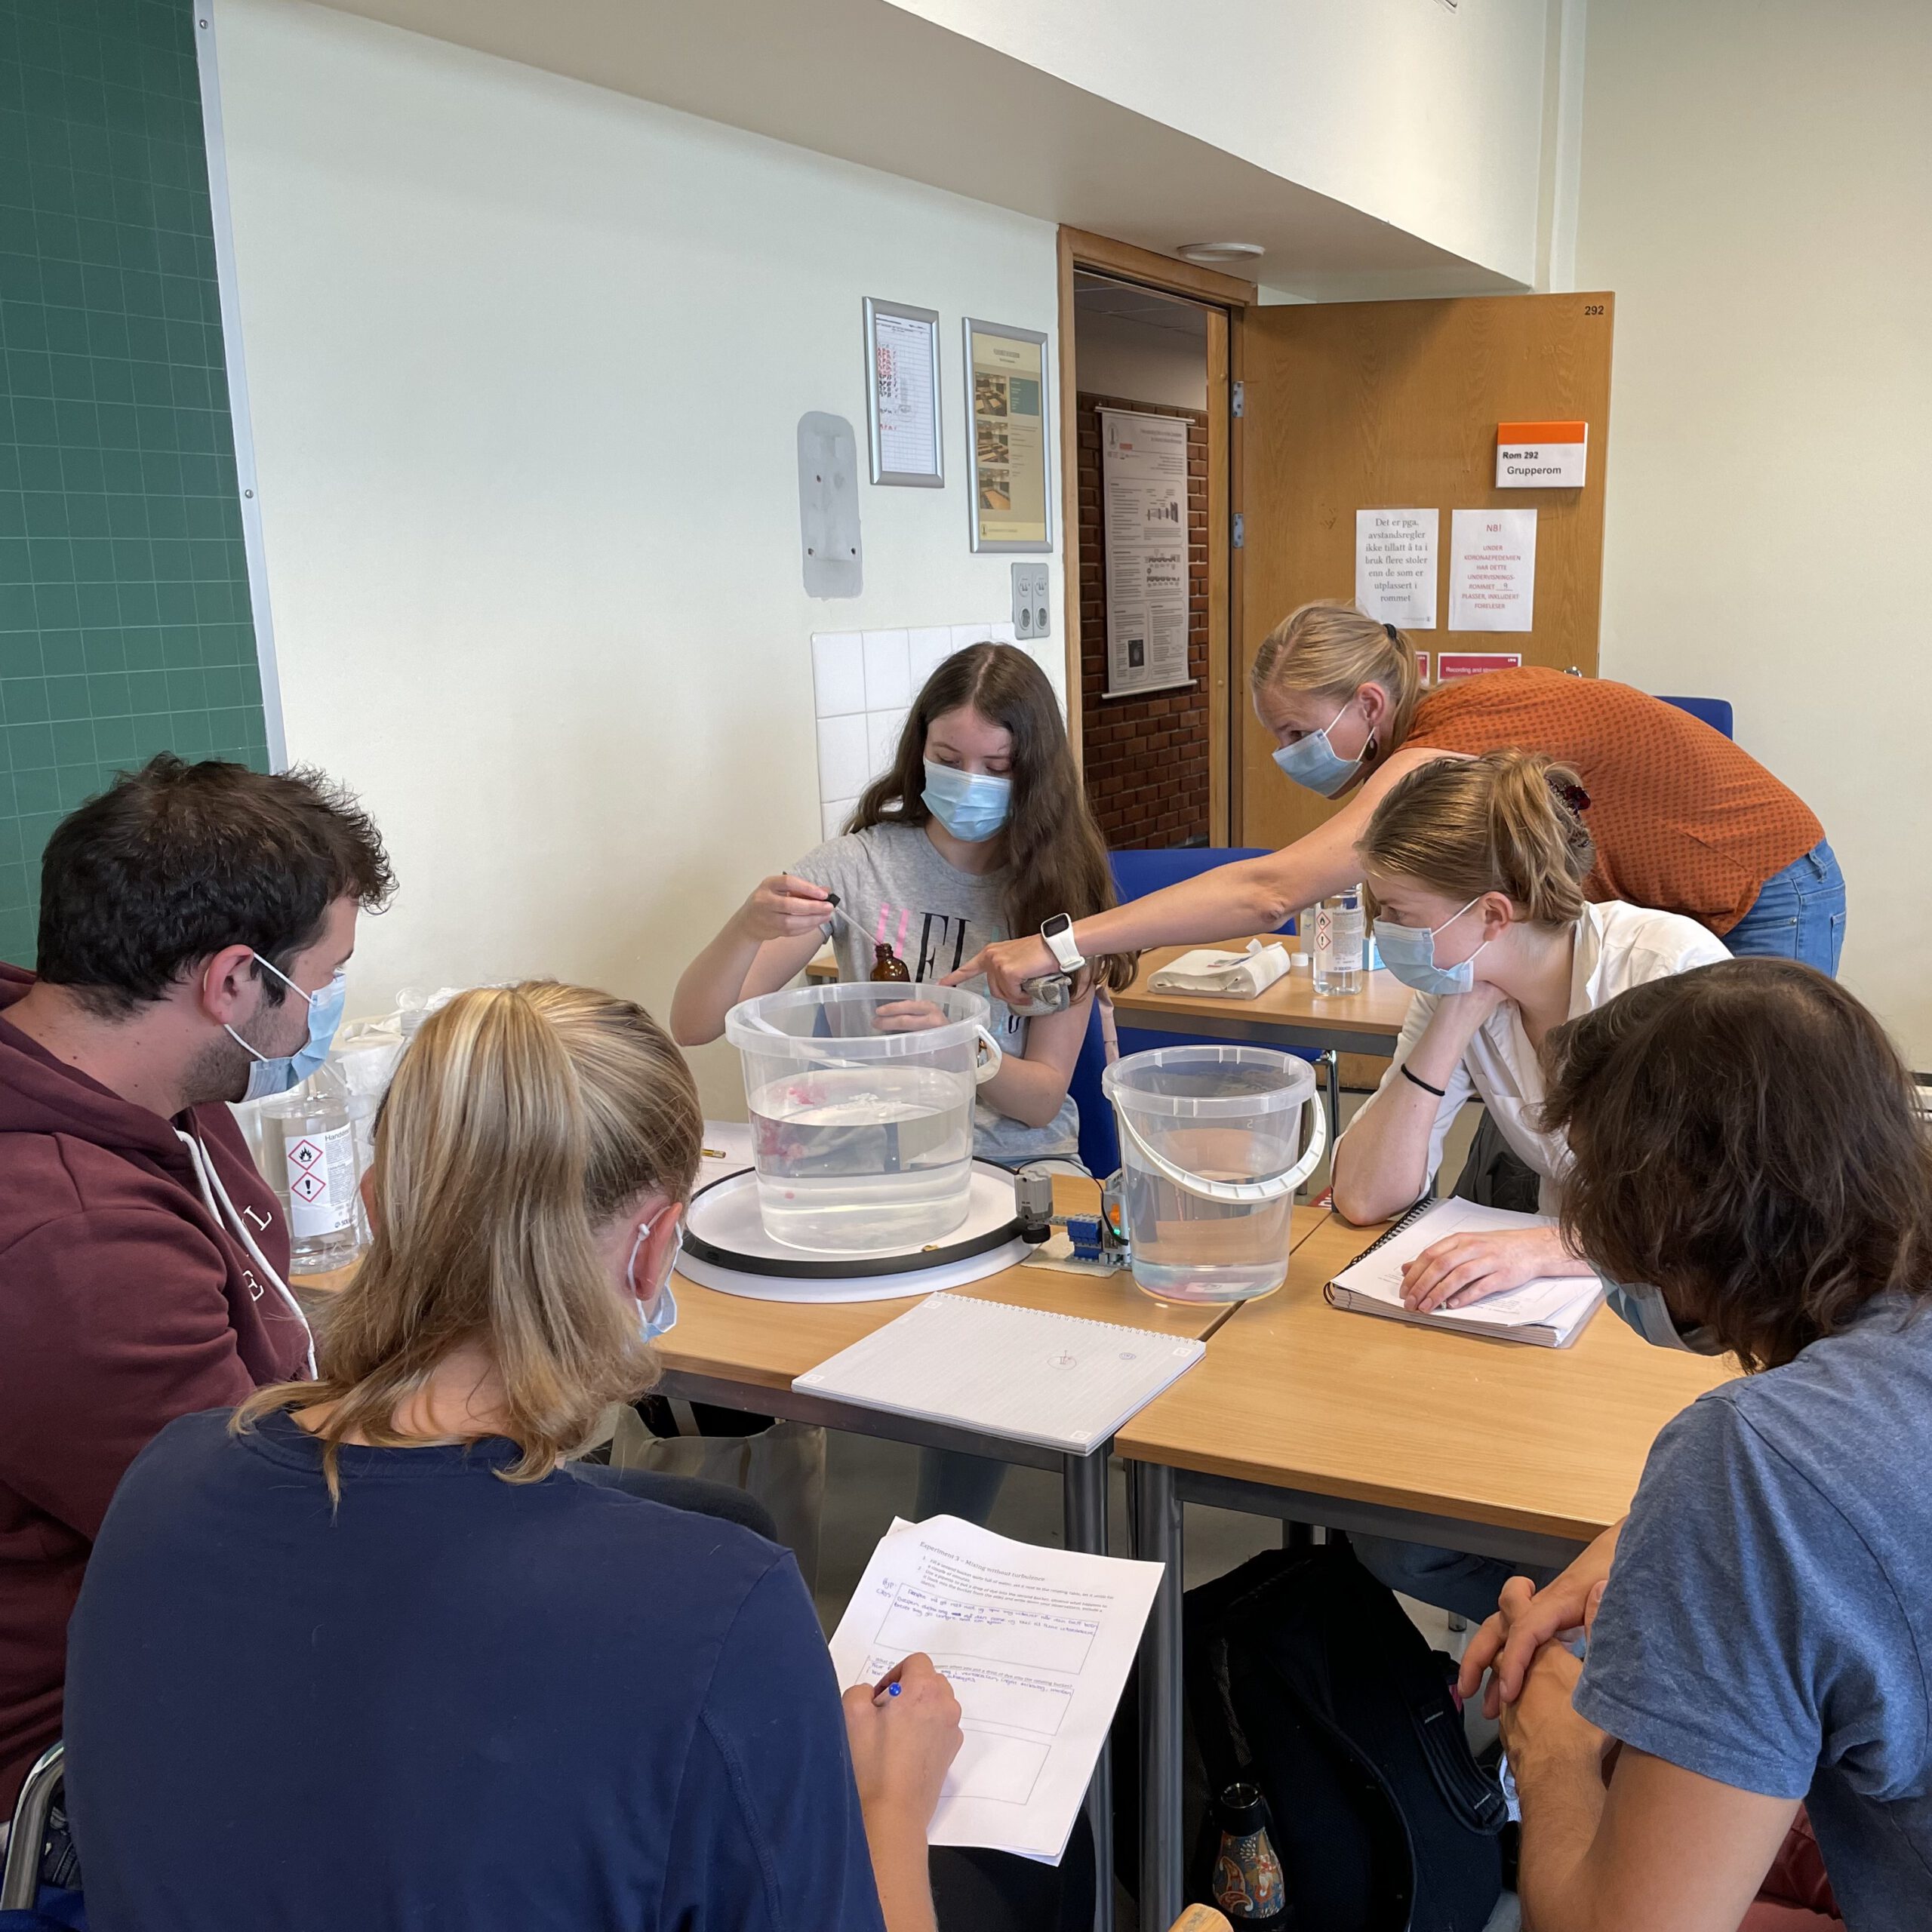
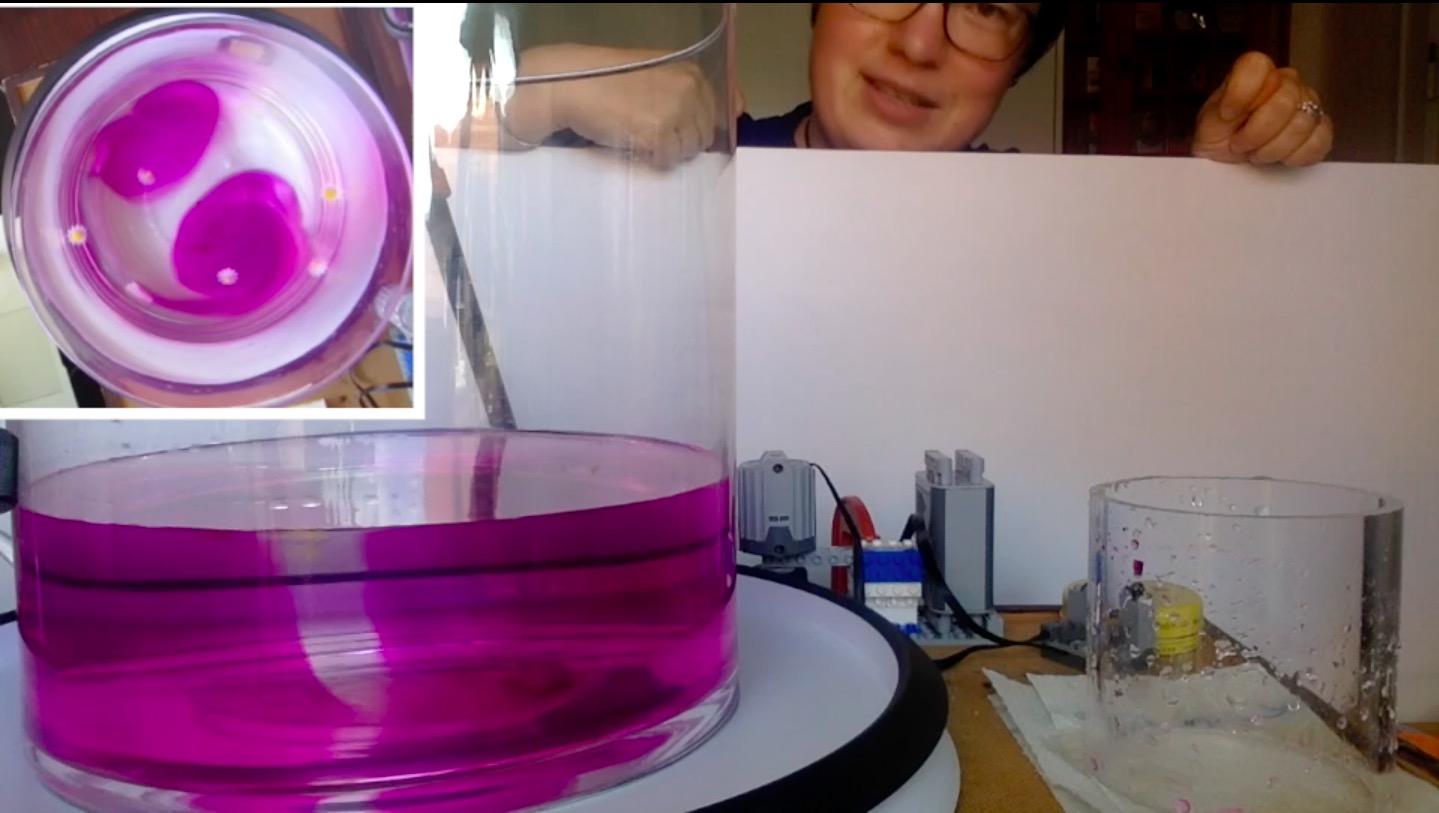
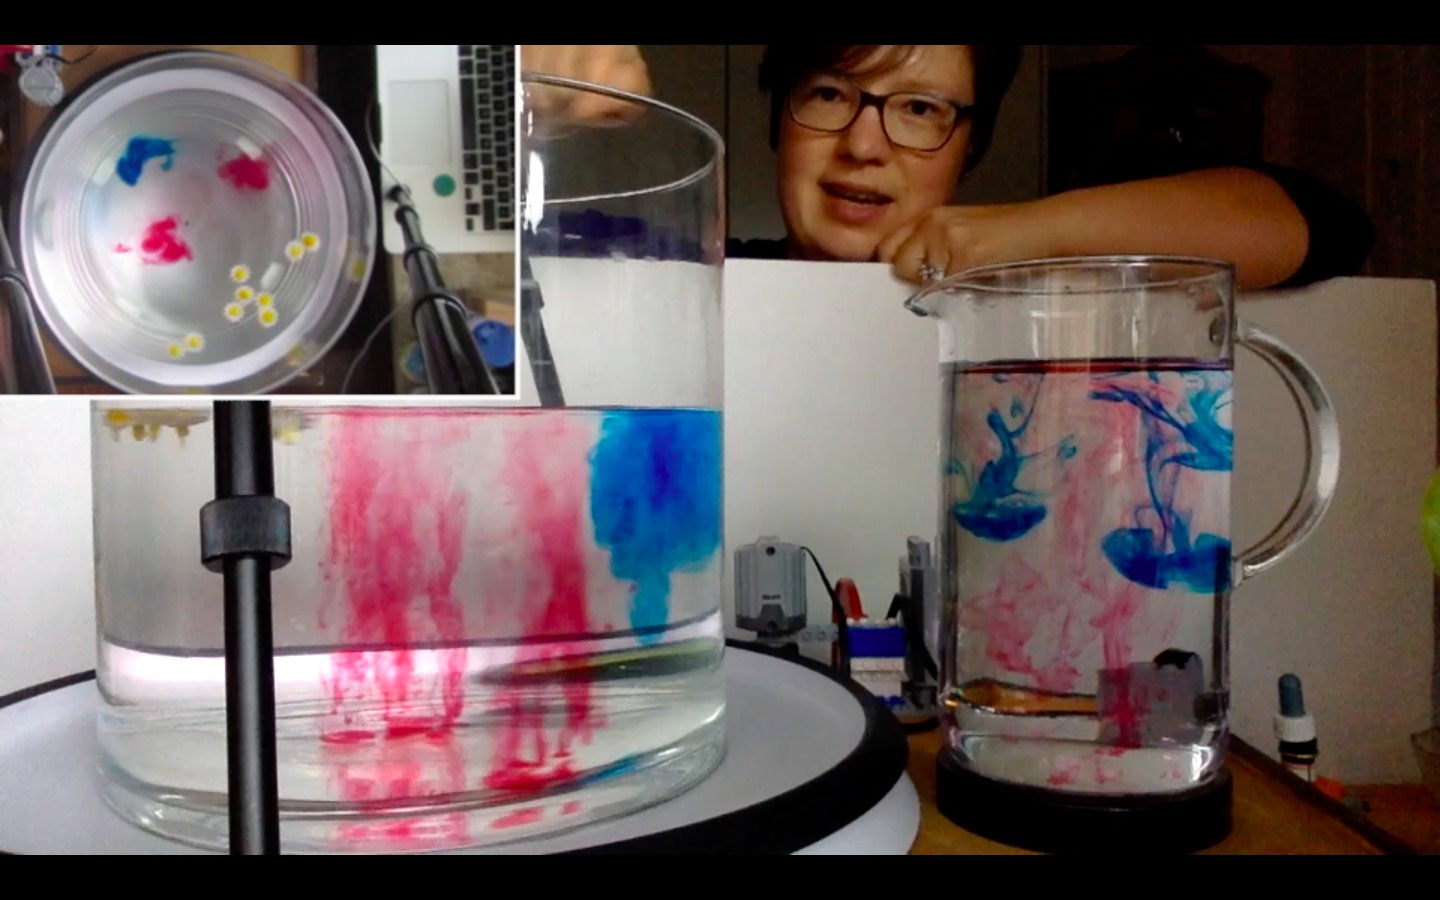
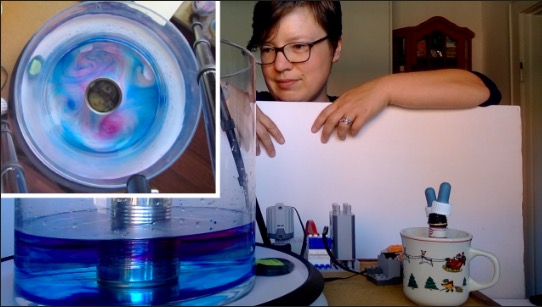
I had completely forgotten about a video that Kjersti and I produced in 2021 to prepare her students for rotating tank experiments by addressing a common misconception before they ever set foot in a lab. But since it is so hilarious and also such a throwback to how all our meetings looked for months and […]