Category Archives: method

Using rubrics

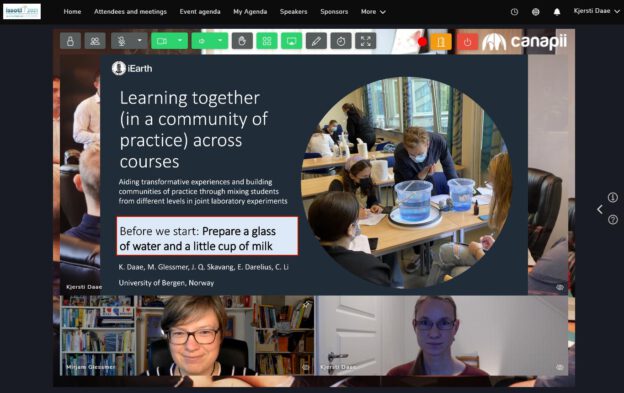
I’ve been a fan of working with rubrics for a long time, but somehow I don’t seem to have blogged about it. So here we go!

Rubrics are basically tables of learning outcomes. The rows give different criteria that are to be assessed, and then performance at (typically three) different levels is described. Below, I’ll talk about the benefits that working with rubrics have for both teachers and students, and give two concrete examples of how we used them and why that was helpful.

Rubrics are a great tool for teachers

  1. Designing a rubric makes you really think long and hard about what it is that you want students to be able to demonstrate for the different criteria, and how you would distinguish an ok performance from a good performance for each criterion.
  2. Once the rubric is set up, grading becomes a lot easier. Instead of having to think about how well any given response answers your question, now it’s basically about putting crosses in the relevant cells matching the performance you see in front of you.
  3. This makes it a lot easier when there are many people involved in grading — the dreaded “but x got a point for y and I didn’t!”-discussions become a lot fewer because now grading is a lot more objective
  4. Giving feedback also becomes a lot easier, since all the performance descriptions are already there and it’s now basically about copy&paste (or even sharing the crossed-through rubric) to show “this is where you are at” and “this is what I was expecting”.
  5. It also helps in course planning…

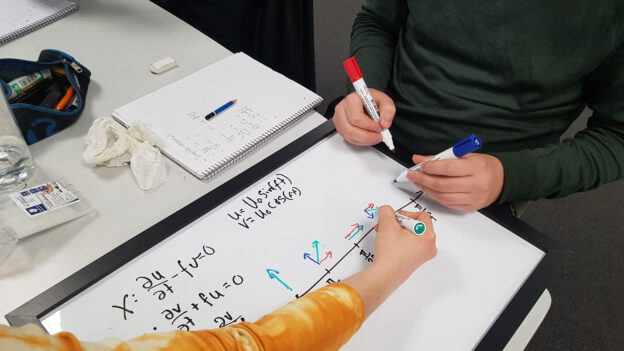
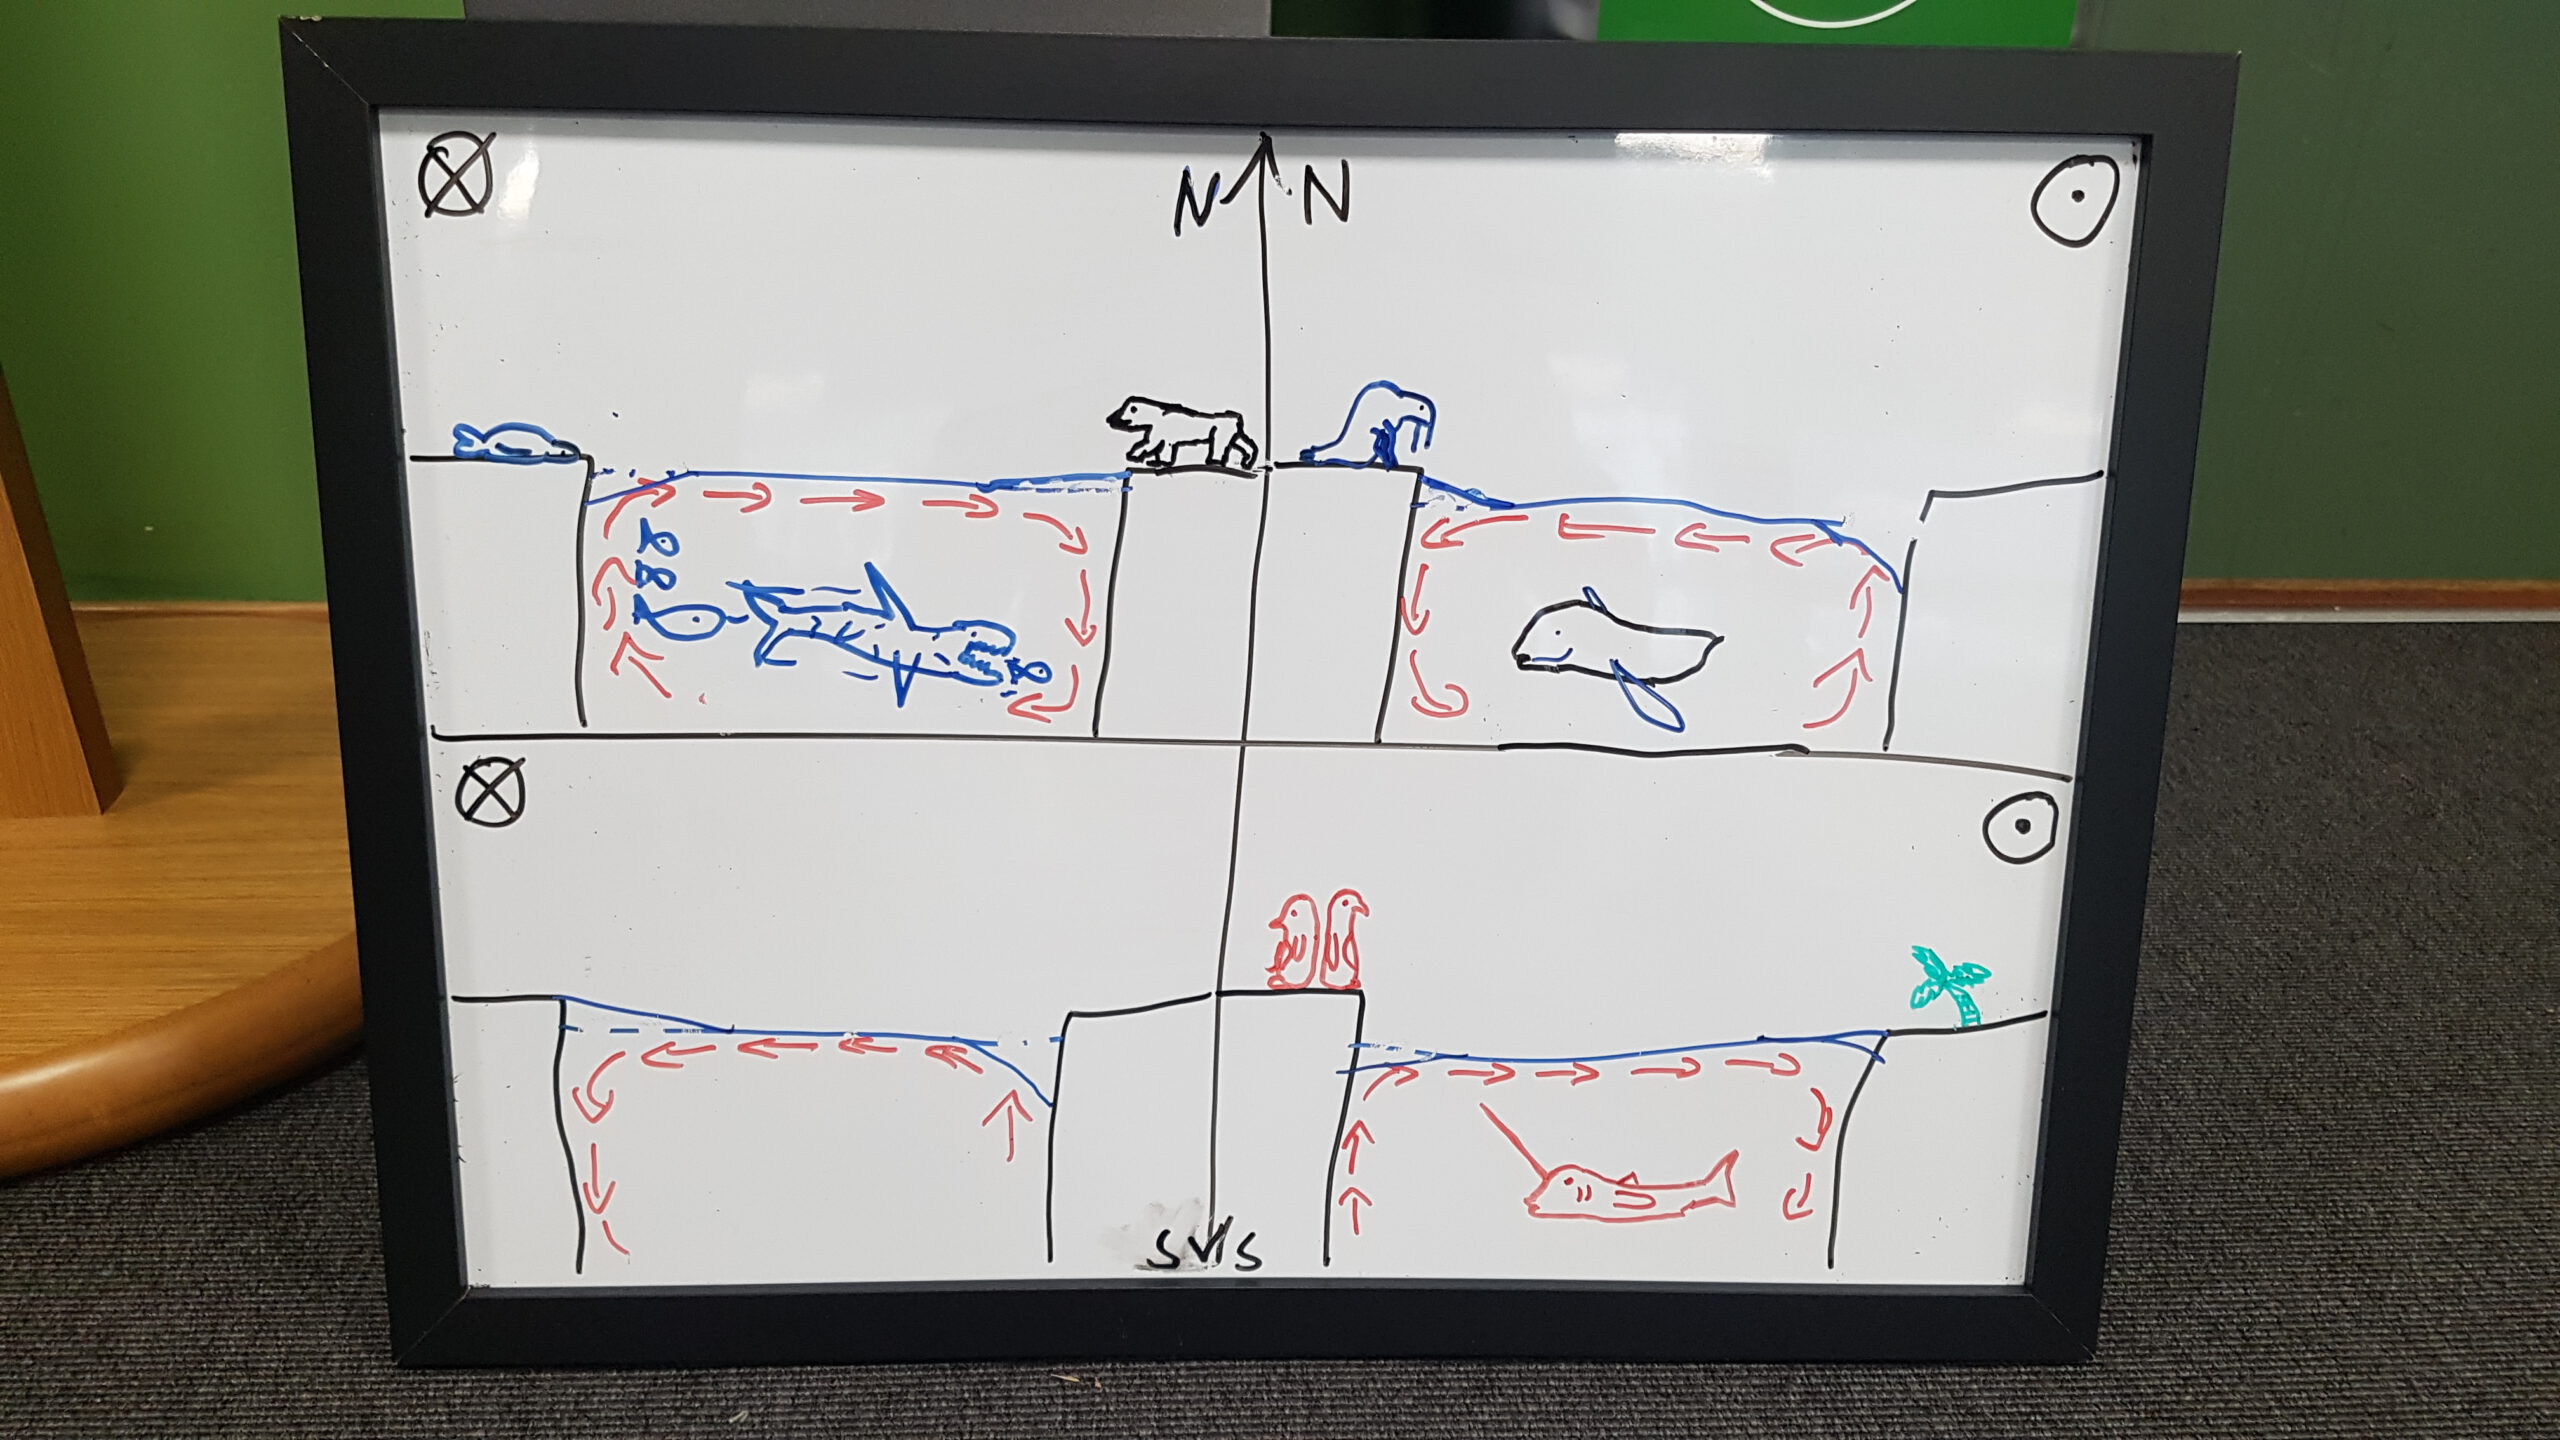
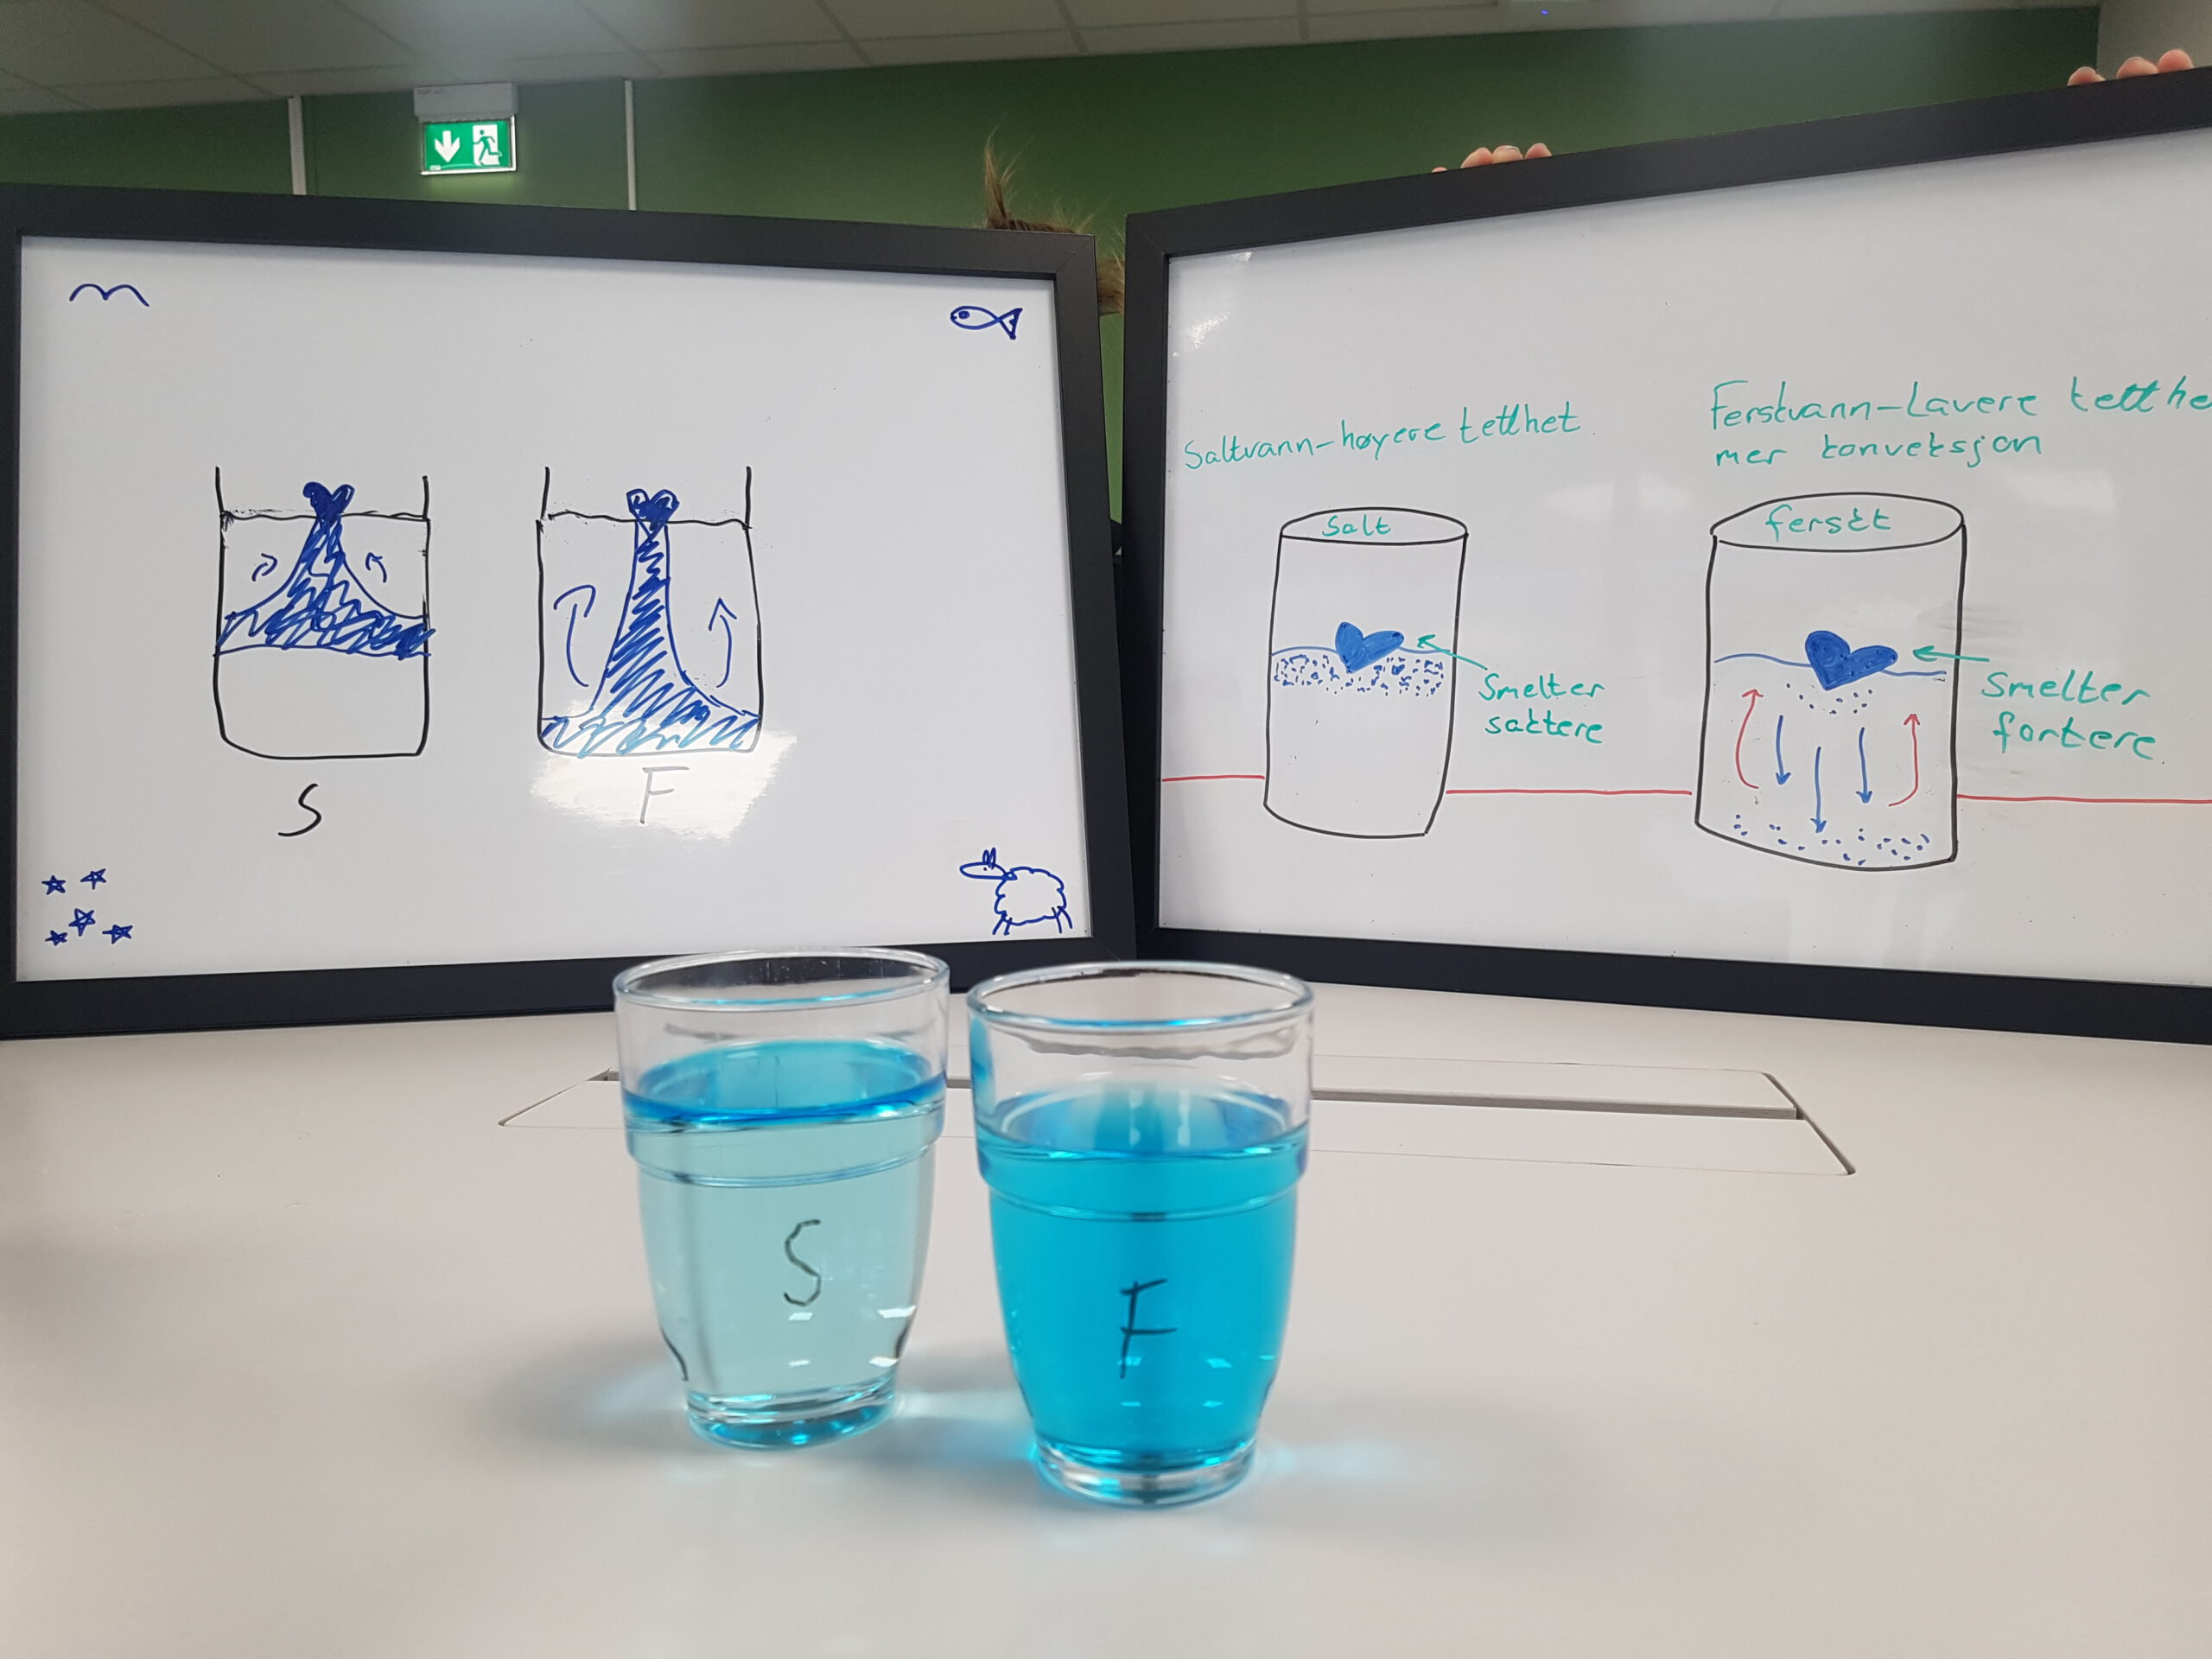
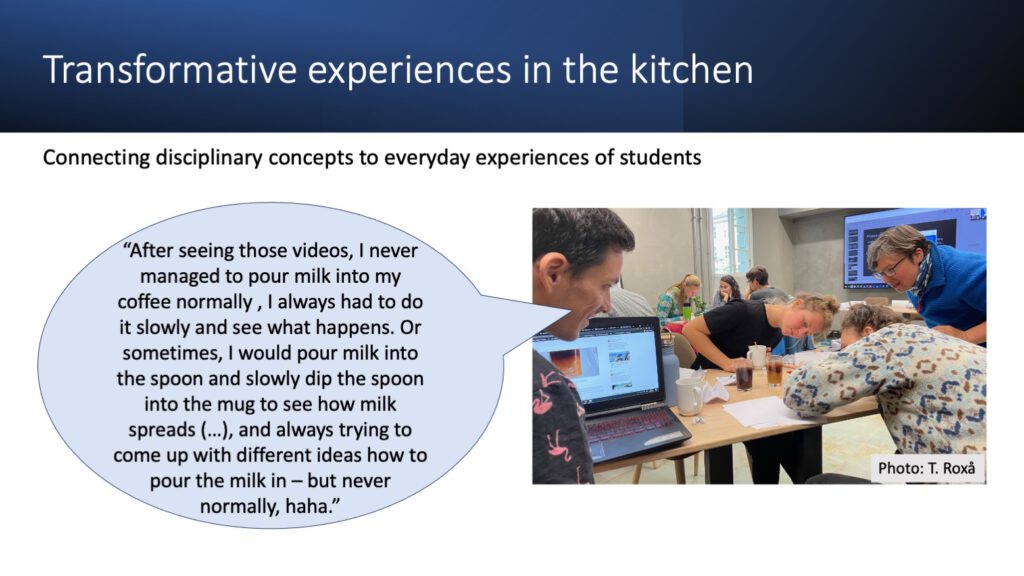
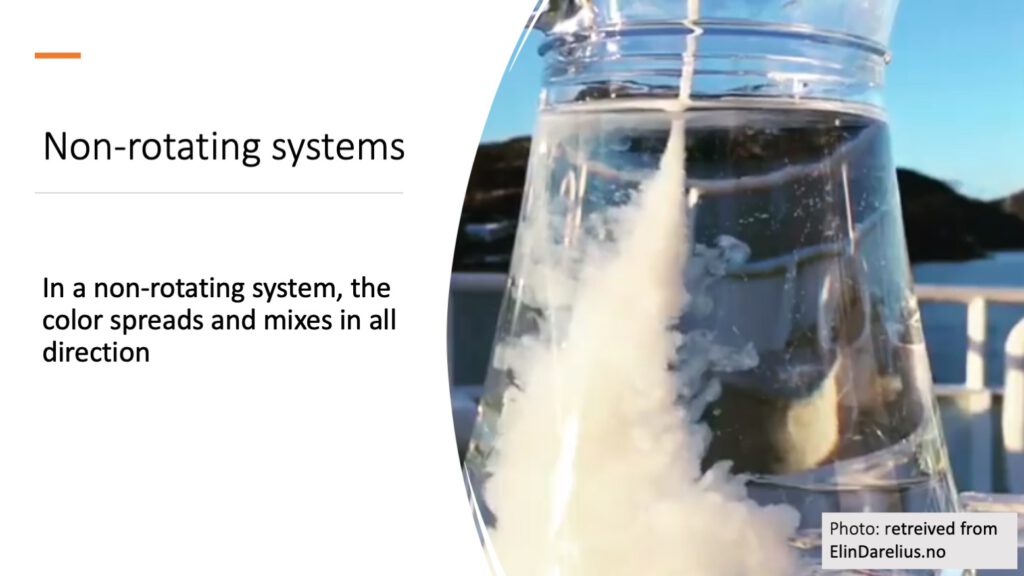
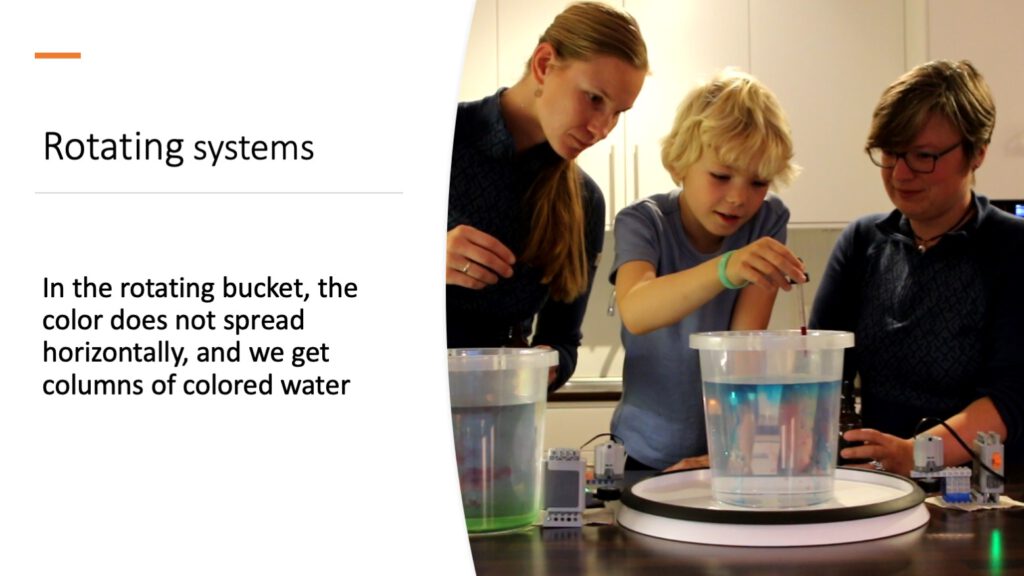
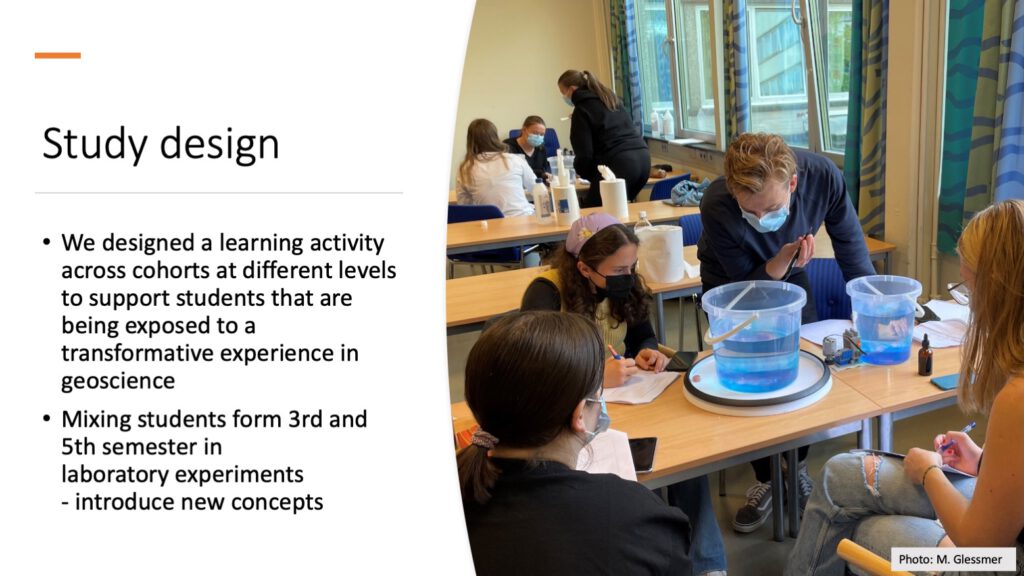
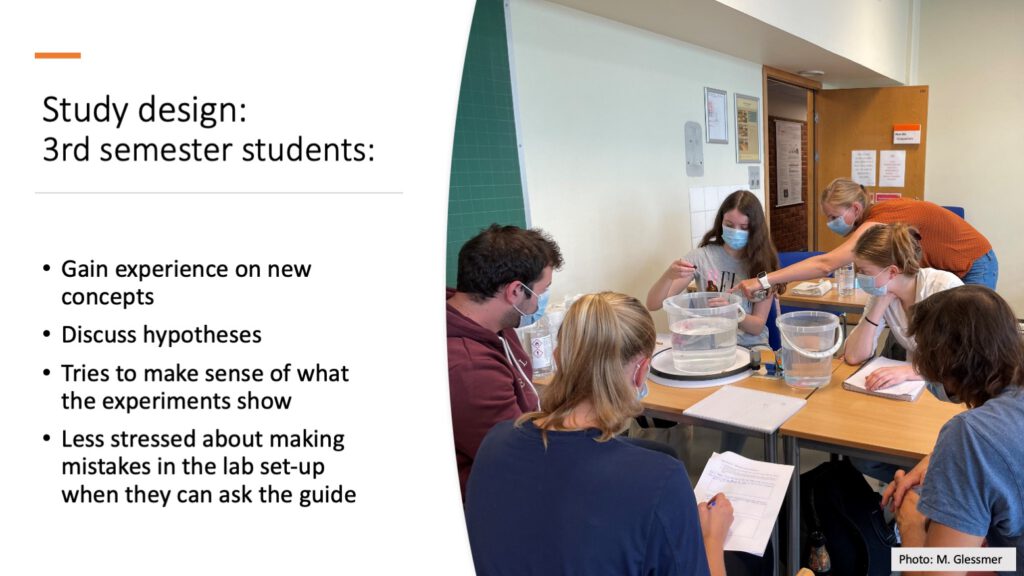
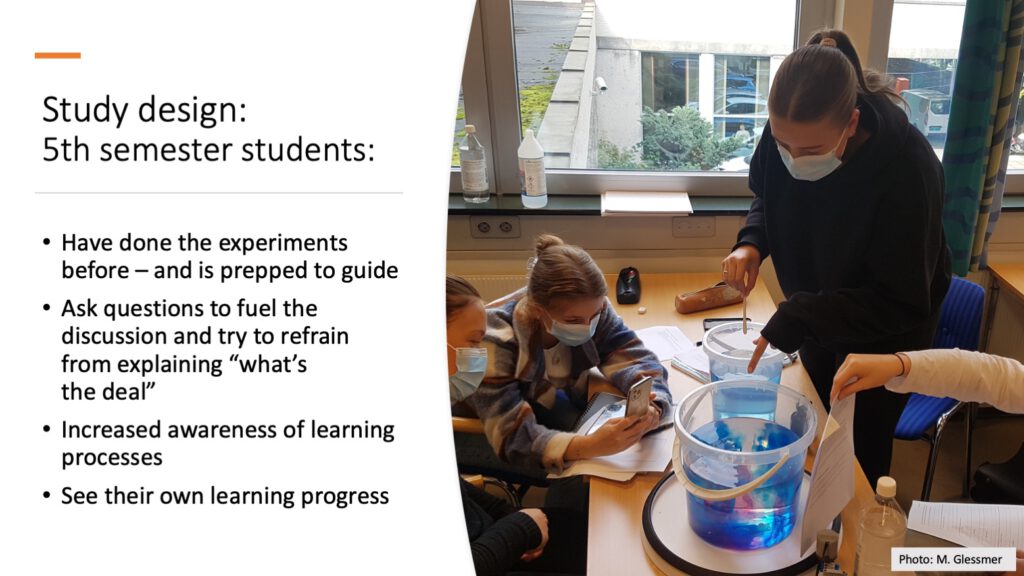
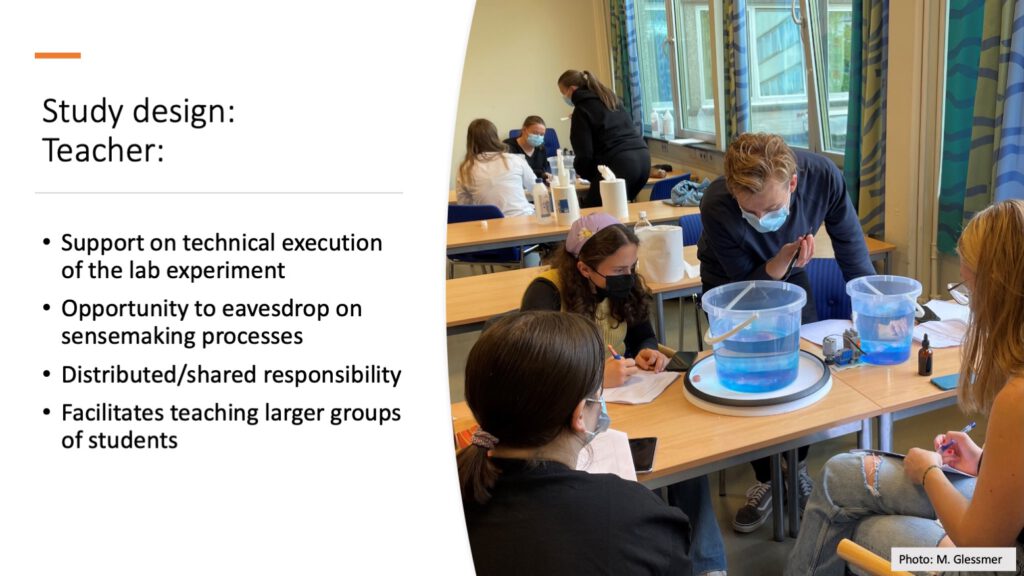
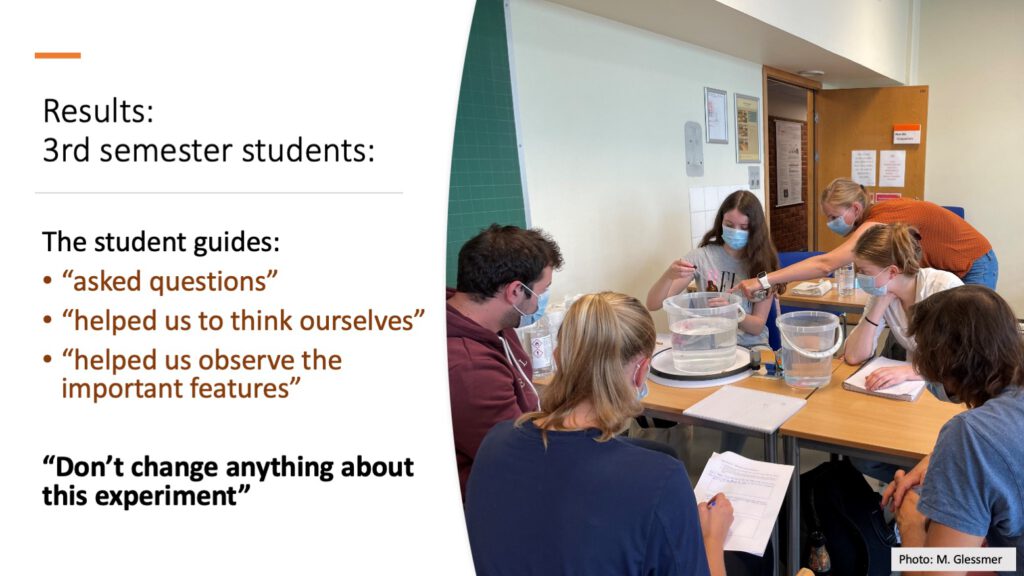
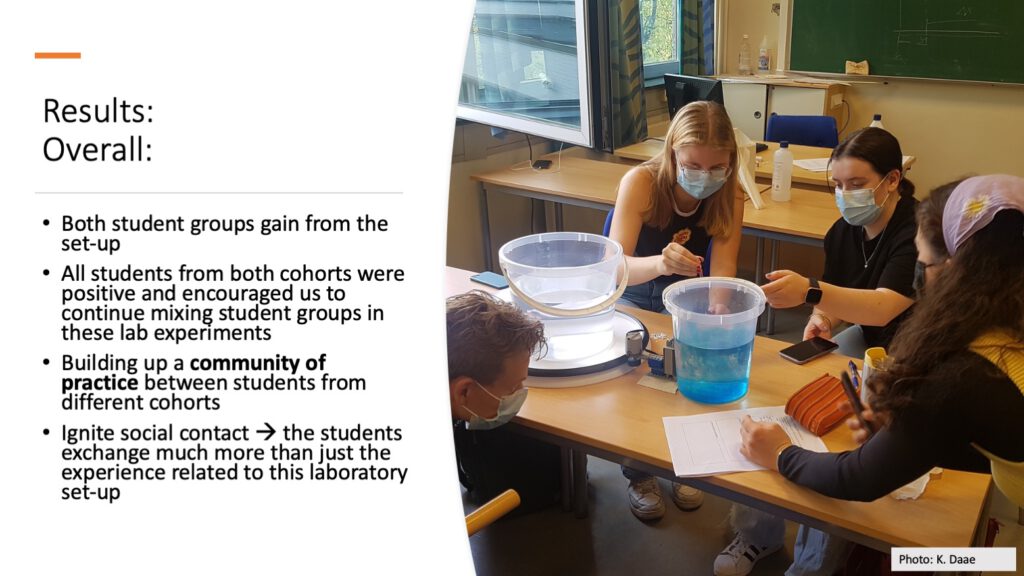
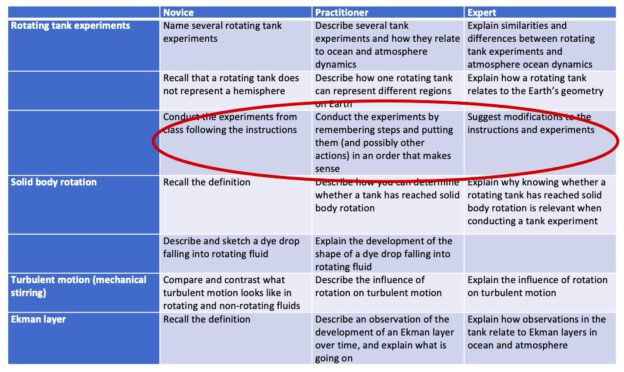
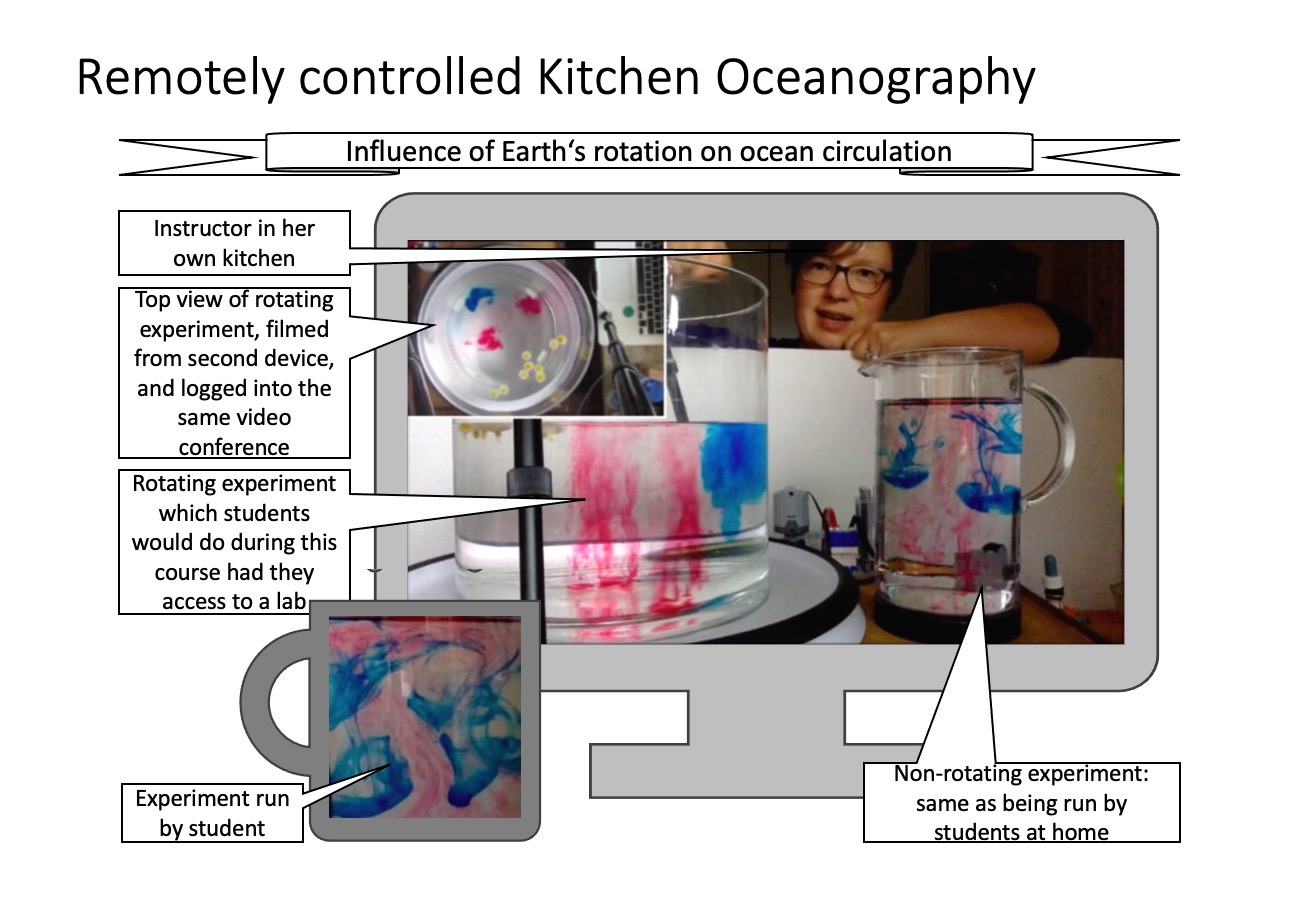
One example of where I was really glad we did have a rubric is the project that Torge and I collaborated on: We bought four cheap setups for rotating tank experiments and designed a course around making otherwise really unintuitive and difficult to observe concepts not only visible, but manipulating them in order to gain a deeper understanding. We had written down a rubric pre-corona, but when we went into lockdown in March 2020, having the rubric helped us a lot in quickly figuring out how to transfer a very much hands-on course online. Since we had clearly identified the learning outcomes, it became very easy to think of alternative ways to teach them virtually. The figure above shows part of the rubric, and circled in red is the only learning outcome in that selection (of a lesson that we thought was all about the hands-on experience!) that wasn’t just as well taught virtually. But looking closely at the rubric, we realised that the students did not actually need to necessarily do the rotating experiments themselves, as long as they were doing some kind of experiment themselves to practice conducting experiments following lab instructions. With the rubric, we had a checklist of “this is what they need to be able to do at the end of class” to directly convert into activities.  We ended up with me showing the rotating experiments from my kitchen, while the students were doing non-rotating experiments, using only readily available household items, from their homes. Without the very explicit learning outcomes in our rubric, converting the course would probably been a lot more difficult.

Rubrics are also great for students

  1. They get a comprehensive overview over what the instructor actually expects from them
  2. They can use the rubric to make sure they “tick all the boxes”, or strategically decide where to put their time and effort
  3. Instructor feedback is now a lot more helpful than “2 out of 5 points”.

Kjersti shares an example of how she “negotiated” rubrics in her GEOF105 class to co-create it with her students:

The goal is to invite students to negotiate an assessment rubric for written assignments. We have tested this out in the following way:

  • The teacher drafted a rubric and assigned an equal weighting of 5 points to each assessment criteria (15 criteria gave a total score of 75 points).
  • The students voted anonymously for which criteria they wanted to assign a stronger weighting. We made no limits in how many criteria each student could vote for.
  • The votes were counted up, and the remaining 25 points in the assessment were distributed based on the number of votes for each criterion.

The two criteria most students voted to weight stronger, were the structure of the lab report and the reflection part. I suspect they wanted more points for the structure partly because it is not too difficult, but also because they spend much time figuring out how a lab report should look. I also found it interesting that they wanted more points for reflection. Last year we asked the students to write a reflection paragraph that would not be assessed. We thought it would be stressful for the students to write the reflection knowing it would be evaluated. But, I guess we were wrong!

They also wanted more point for making/discussing hypothesis, using good illustrations and relating the experiment tank to the Earths geometry — all of which are objectively difficult parts of the lab report.

We found two main results after using the negotiated rubric:

  1. The students (on average) achieved higher scores than the previous year (were the rubric was fixed)
  2. The students made fewer complaints to the assignment score

We think the students achieved higher scores because they spent more time getting acquainted with the rubric before writing their assignments and could use it more constructively as a checklist.

So those are our experiences with using rubrics. How about you? We’d love to hear from you!

Small groups work on shared artefacts

Participation in shared production of artefacts is a great way to learn in a community, because putting things on paper (or, as we will see later, on online slides or physical whiteboards) requires a clearer articulation of the topic of discussion, and a level of commitment to a shared meaning (Wenger, 1998). We give two examples of methods we like to use, and then a trick to break up roles in student groups so it is not always the same person taking notes or reporting back to the group.

Physical whiteboards

One of Kjersti‘s favourite teaching techniques is the use of whiteboards, especially in GEOF105, a second-year course introduction to oceanography and meteorology (see many examples of great student artefacts on her Twitter; and multiple-choice questions to support discussions as her other favourite method here).

For in-person teaching with group discussions and exercises, the groups can draw or write their main results on portables whiteboards (best trick: Picture frames with just white paper behind the glass! Very cheap, very effective. Great idea, Elin!). When the students are asked to document their results on a whiteboard, they need to be concrete and agree on the level of details they provide.

In our GEOF105 course in undergraduate oceanography, we use many sketching exercises. We find that the sketching exercises provide many positive aspects:

  • Students like sketching. They often decorate the sketches with smiling suns or add wildlife to the sketches, contributing to a relaxed atmosphere and a positive learning environment.
  • Many questions arise when the students start sketching, because suddenly having a vague idea is not enough any more. First, they discuss, explain, and check if their ideas make sense. Then, they need to combine all the ideas into one concrete sketch.
  • The sketching activates more students in the discussions. Some students take responsible for sketching, some provide input, and some ask questions.

Below, you see an example of one group’s work on coastal up- and downwelling on the Northern vs Southern hemisphere (note the use of appropriate animals to illustrate the hemisphere ;-))

Shared online slides

But this type of negotiating of meaning can also happen in a virtual space. We have used shared online slides during group work in both digital and in-person teaching. The slides provide an easy way to provide figures and questions the groups can work on, and you can also add one slide for each group where they write down a summary of their discussion or answers key questions. The sharing of online slides and collaborative writing on them provides several opportunities:

  • You can keep track of the groups’ progress by looking at their slides. Especially in digital teaching, where you cannot as easily eavesdrop on the students’ discussions, it is difficult to visit all the different breakout groups and get an idea of their progress. Students often dislike it if the teacher jumps into their breakout-group unannounced (ehem, some teachers dislike doing it, too…). We have experienced that students prefer the teacher to pay attention to the slides and not visit the breakout-groups uninvited.
  • You can choose to allow the students to look at the other groups’ slides. This gives an opportunity to help the students if they feel they get lost or need some ideas to proceed with the discussions.
  • You can review the slides from the different groups and make a summary after the group activity, prepare how to structure a discussion based on the points different groups wrote down, or how to proceed (giving students more or less time in the group, picking up or dropping a topic, …).
  • The students have access to the shared slides — and thus their combined notes — after the lecture

Anecdotal evidence, but students that are asked “which ice cube will melt faster, the one in salt water or the one in freshwater?” without also being asked to sketch the mechanism they base their answer on, almost always get it wrong (or right only for the wrong reasons). This year’s class all came to the correct response based on the correct mechanism (see below)!

Assigning responsibilities to break up established roles

Group dynamics can be tricky, and groups very easily fall into pattern that might engage students very unequally. To facilitate shared responsibility for taking notes, sticking to the topic of discussion, or reporting back from group work, you can assign and re-assign the roles based on semi-random criteria. For in-person teaching, you can use their birthday (e.g. birthday closest to Christmas, or ’today’), or other semi-random information to distribute roles. In online teaching, you can also use the students’ physical location as a criterion. You can, for instance, ask the student located furthest south/north/east/west to report back from the group. The students will need to first figure out who is responsible for each role and then follow through with that. Great icebreaker, and not always the same person taking notes or reporting back!

Including missing topics that students suggest

I’ve been talking about the importance of leaving room for topics that students are really interested in for a long time. Today, I want to tell you about my first experience with this:

Back in 2012, in my first year teaching the “introduction to oceanography course”, a student came up to me after the first lesson and told me that she had a part-time job in a company that builds oceanographic instrumentation: She had spotted one of the instruments the company sells on one of the slides with research cruise pictures that I had shown for motivation and could add some details on how it works. I was obviously excited to hear about her experiences and asked a couple of questions, so after a short conversation about how we both thought that knowing about practical aspects of how measurements are done is super excited, she invited us to a guided tour in her company.

A couple of weeks later, the whole class went on an excursion — with packed lunches and the whole class-trip feeling — and my student’s line manager and the student herself gave us a tour of the company. We got to see a presentation as well as doing a tour of the labs. Especially the labs were cool: My student was wearing the special kind of shoes that allowed her to walk wherever she liked, but the rest of us had to stay within narrow walkways that were marked on the floor with yellow tape so as to not bring any electric signals too close to sensitive instrumentation (or something like this, this was a loooong time ago!). And we got to see how the kind of instruments were produced that we would use on our own student cruise in this course only weeks later!

Even though I can’t remember the technical details of what we were told there (but I DO remember how they had different standards to calibrate turbidity meters with and I thought that was sooo fascinating), I vividly remember the excitement of the class, but most importantly the pride of the student who got to show us her company. The next year we went back with the next class I taught, and it was again exciting, but there was something really special about making time and going to the hassle of driving out to visit the company of one of the peers in the class.

So what I try to do now is to create this excitement and feeling of relevance because we are talking about something that came from within the group of students, by opening up opportunities where I explicitly ask for suggestions. I reserve parts of the class specifically for whatever students want to talk about, and whenever students show a special interest in a topic, I am happy to re-arrange my plans to make time for whatever is on their mind. This does get me the occasional “the red thread of this class wasn’t always clear” comment in evaluations, but I think it is so worth it (also I’m working on making the red thread clear when I return to it after any detour I might take to follow student interest ;-)).

What do you think? Have you tried this and what were your experiences?

Guest post by Kjersti Daae: Using voting cards to increase student activity and promote discussions and critical thinking

I got permission to publish Kjersti Daae‘s iEarth conversation on teaching (with Torgny Roxå and myself in April 2021) on my blog! Thanks, Kjersti :-) Here we go:

I teach in an introductory course in meteorology and oceanography (GEOF105) at the geophysical institute, UiB. The students come from two different study programs:

Most students do the course in their third semester. They have not yet learned all the mathematics necessary to dive into the derivation of equations governing the ocean processes. Therefore, we focus on conceptual knowledge and understand the governing ideas regarding central ocean processes, such as global circulation and the influence of Earth’s rotation and wind on the ocean currents. The students need to learn how to describe the various processes and mechanisms included in the curriculum. I, therefore, use voting cards to promote student discussions during lectures.

I first heard about voting cards from Mirjam’s blog “Adventures in Oceanography and Teaching”. The method is relatively simple. You pose a question with four alternatives A,B,C,D, accompanied by different colours for easy recognition. The students have a printout each with the four letters on it.They spend a few minutes thinking about the question and prepare their answer. Then they fold their paper so that only one letter/colour shows, and hold it up and provide direct feedback to the teacher. The questions can, among others, be used to checking if the students understand a concept or let the students guess the outcome of something they haven’t learned yet.

However, I prefer to use voting cards to promote discussions among peers. This procedure is following the Think-pair-share method developed by Lyman (1981). By carefully selecting alternative answers, I can make it hard for the students to choose the correct answer, or the answers can be formulated so that the students can argue for more than one correct answer. When the students hold up their answers, they can look around at the other students’ responses and find someone with a different response than themselves. Then they can pair up and discuss why they answer differently and see if they can agree on one common answer before sharing their opinion with the rest of the class. During this exercise, the students practice talking about science and arguing for various answers/outcomes based on the voting cards’ questions.The exercises serve at least two purposes:

  1. The student practice answering/discussing relevant questions for the final exam.
  2. The students get active instead of listening passively to the lecturer.

Usually, I can see the students becoming very tired after 10-15 minutes of passive listening. These voting questions “wake up” the students, and after one such question, they tend to stay focused for another 10-15 minutes.

I think the voting cards work really well. When I display a question, the students usually move from a relaxed position to sitting more straight and preparing for being active. I can hear them discussing what they are supposed to. I also get very good feedback and responses in whole-class discussions/summaries following the discussions in pairs. Such summaries are especially interesting if multiple answers can be correct, depending on how the students argue. I can select responses from students based on their visible letters and make sure we can hear different solutions to the same question. During a semester, I see a clear development in the way students reflect on the various questions and express critical thinking governing oceanographic processes. The exercises show the students how important argumentation is. An answer with a well-founded argumentation and critical thinking is worth much more than just the answer/letter. My observation is consistent with Kaddoura (2013), who found that the think-pair-share method increased nursing students’ critical thinking.


Lyman, F. (1981). “The responsive classroom discussion.” In Anderson, A. S. (Ed.), Mainstreaming Digest, College Park, MD: University of Maryland College of Education.

Kaddoura, M. (2013). «Think Pair Share: A Teaching Learning Strategy to Enhance Students’ Critical Thinking», EducationalResearchQuarterly, v36 n4 p3-24

Letting students choose the format of their assessment

I just love giving students choice: It instantly makes them more motivated and engaged! Especially when it comes to big and important tasks like assessments. One thing that I have great experience with is letting students choose the format of a cruise or lab report. After all, if writing a classical lab report isn’t a learning outcome in itself, why restrict their creativity and have them create in a format that is — let’s be honest — super boring to read for the instructor?

I have previously given students the choice between a blog post, an Instagram post, and tweets, but would next time open it up to include other formats like tictoc or podcasts or even any social media format they like. What I did was give them the choice of format, and then also the choice of actually publishing it (on either a platform that I provided, or on one they organized themselves), or “just” submitting something that could have been posted on one of those platforms but ended up just visible to me and the class.

So how do we then make sure that the different formats all have the same level of “difficulty”, that it’s a fair assignment? This is where rubrics come in. Your rubric might assess several categories: First and foremost, the one directly related to your learning outcome. In case of a lab report things like is the experimental setup described correctly, does it become clear why an experiment is being performed and how it is done, are observations clearly described and results discussed etc.. All of these things can be done equally well in a twitter thread and in a blog post.

If you are so inclined and it is part of your learning outcomes, you might also evaluate if the social media channel is used well (An example evaluation rubric for Instagram posts here).

And lastly — you could require a reflection document in which students discuss whether they did address the different points from the rubric, and where they have the chance to justify for example why they did not include certain aspects in the social media post, but provide additional information in that document (for example if you would like to see the data in a table, that might not be easy to include in a podcast). Requiring this document has at least two positive effects: Making sure the students actually engage with the rubric, and levelling the playing field by giving everybody the opportunity to elaborate on things that weren’t so easily implemented in their chosen format.

If you want to make sure that students really feel it’s all fair, you could even negotiate the rubric with them, so they can up- or downvote whichever aspects they feel should count for more or less.

What do you think, would you give your students such choices? Or do you even have experience with it? We’d love to hear from you!

Learning together across courses — our iSSOTL presentation

Last week, Kjersti Daae and I gave a virtual presentation at the iSSOTL conference, and here is a short summary.

We presented an ongoing teaching innovation project, funded by Olsen legat and conducted together with Jakob Skavang, Elin Darelius and Camille Li, that we started last year at the Geophysical Institute in Bergen: Bringing together third semester and fifth semester students to do tank experiments.

In our presentation, we touched on the literature inspiring the design of the teaching project, the study we have conducted, and then our results and conclusions.

Our main goal was to change the way students look at the world around them, by giving them a new perspective on things. A framework that describes this well are “transformative experiences” that I wrote about in more detail here.

Transformative experiences are awesome, because they trap you in a feedback loop: Once you have changed the way you look at the world and notice new things, this feels good and makes life more fun. Therefore you continue doing it voluntarily, noticing more cool things in a new way, feeling happier about it, and so on and so on.

One example of a transformative experience happening was described by Dario after we did some kitchen oceanography (more on that here).

But we don’t want people to go through the transformative experience alone, we want them to do it in a community of practice to support one another and create even more of a feedback. In our case, the community are our students at the Geophysical Institute, who share the interest in dynamics of the atmosphere and ocean and learn more about them by having shared experiences and discussions that they can refer back to.

The topic we wanted to address in our course and make the central topic of this community of practice is the influence of rotation on movement in the atmosphere and ocean. This is the central concept of geophysical fluid dynamics, but it is difficult to grasp because the scales in question are so large that they are difficult to directly observe, and the mathematical descriptions are difficult and unintuitive.

And here is where we invited the audience to become part of the very first steps in that teaching project.

We start out by making sure everybody has a good grasp of what happens in a non-rotating frame so we can later contrast the rotating case to something we know for sure people have seen before (we used to assume that people had a good grasp of what happens in non-rotating fluids, but this turns out to be very much not the case).

At this point in our demonstration, Kjersti showed a live demonstration! (And I was so fascinated that I forgot to take a screenshot)

Once we have established what pouring a denser fluid into a lighter fluid looks like in a non-rotating case, it is time to move on to a rotating case. Considering rotation when we talk about flows on the rotating Earth (in the atmosphere or ocean) needs to consider that the Earth has been spinning for a very long time. We can simulate that by rotating a bucket of water (which needs to rotate for a much shorter period of time because it is much smaller).

When we drip colour into a rotating bucket full of water, the way the colour distributes itself looks very different from what it looked like earlier in the non-rotating case. We now get columns of dye rather than the mushroom-like features.

These experiments are not difficult in themselves, but we wanted students to not just follow cookbook-style instructions, but to actively engage and discuss what they observe.

Therefore, we brought students in their third semester together with students in their fifth semester, who had done the same experiments in the previous year.

The idea was that the third semester students would receive guidance by the older students, and would be able to discuss hypotheses and make sense of their observations together. The presence of the fifth semester students would help them be less stressed about potentially making mistakes and help the labs run a lot smoother.

The fifth semester students had done the experiments in the previous year. We prepared them for their role (you don’t need to know all the answers! In fact, you are not supposed to even answer their questions. Help them figuring it out themselves by asking questions like “…”) and went through the experiments with them to refresh their memory and also talk about how they were understanding and seeing things differently now that they had another year of education under the belt compared to when they first saw the experiments.

And then for us: Distributing and sharing responsibility for learning is something we have been interested in for a while now (see blog post on co-creation here for more information). Having students so engaged in sense-making through discussions gave us a great opportunity to eaves-drop on their arguments and get a much better understanding of what they are thinking and which points we should address in more detail later.

In order to understand how this setup worked for the students, we collected several types of data: We had questionnaires aimed at the third semester students (testing specific learning outcomes, but also on their observations of roles and interactions, and interpretations of the situation) and fifth semester students (on observations of roles and interactions, and interpretations of the situation, and how they would compare the experience as “guide” to that the previous year). We instructors also took notes and reflected on our observations.

So what did we find?

The third semester students all perceived the presence of the older students as very positive and described the interactions the way we had hoped — that they weren’t being fed the answers, but asked questions that help them find answers themselves.

From the fifth semester students, we also got a very positive response. They especially focussed on how they had to think about what makes a good question or good instruction, and that that helped them reflect on their own learning. They also pointed out that the experience showed them how much they had learned during the last year, which they had not been aware of before.

They also really enjoyed the experience of being a teacher and interacting in that role.

Also looking at learning outcomes, we found that the third year students learned a lot more as compared to last year’s third year students (which is a bit of an unfair comparison since last year was dominated by covid-19 restrictions, but still that is the only data we have that we can compare to). Specifically, the misconception that “the centre of the tank is the (North) Pole” seems to have been eradicated this year (we’ll see if that holds over time).

One thing we noted and that students also pointed out as very helpful is that conversations did not just deal with the experiment itself, but that the younger students asked a lot of questions about other experiences that the older students had made already, like for example the upcoming student cruise. We had hoped that this would happen, and that these kind of conversations would continue beyond these lessons!

So this is where we ended our presentation and hoped to discuss a couple of questions with the audience. If you have any input, we would love to hear from you, too!

#Methods2Go: Methods for feedback and reflection in university teaching

More methods today, inspired by E.-M. Schumacher’s “Methoden 2 go online!“! Today:

Evaluating

Flashlight

I used to hate it when in in-person workshops everybody was asked to give a statement at the end, about what the most important thing was they learned, or how they liked something, or that kind of thing because on the pressure I felt in those situations. But virtually, fo example as a lightening storm in the chat, I rather like the method because it gives an equal voice to everybody instead of a few people dominating everything, and it’s also documented rather than just everybody just quickly saying something before then rushing off. It’s definitely a nice way to get a quick impression from everybody!

Doing this synchronously (as in everybody submitting what they wrote at the same time) also gives you an overview that is less biased as in there wasn’t some kind of group opinion forming as people started talking, that other people later did not want to go against. And sometimes there are weird group dynamics at play when people start off negatively and everybody just keeps piling on…

Letter to myself

Another method I quite like: asking students to write a letter to themselves where they reflect on what they learned. This can happen virtually as an email, and I’ve even used it in in-person workshops on paper, where people then put it in a sealed envelope and we sent it out to them a couple of weeks later. I really liked getting those letters from former me, especially when I had set goals or points to follow up on, and was reminded of them! The time delay there is quite useful (spaced repetition? ;-)) and also getting hand-written mail (even if written by myself) is always nice…

Five finger feedback

Five finger feedback can be done in in-person workshops, but also virtually (for example in a table with five columns where everybody notes down their comments).

1) The thumb. What went well? 2) The index finger. What could be improved? 3) The middle finger. What went wrong? Negative feedback. 4) The ring finger. What would we like to keep? 5) The pinkie finger. What did not get enough attention?

In in-person settings, this tends to take a looong time, and also put too much pressure on participants to make me feel comfortable, but I can see this working a lot better online!

Packing my bags

This is another fun method to look at what students want to remember from a lesson: Having a graphic of a suitcase or bag, and then adding sticky notes with the things students want to take away from the workshop. Works offline as well as online! But then it’s not really different from minute papers etc, so maybe use it to spice things up occasionally. Or, if you use it regularly, seeing the graphic of the luggage might already act as trigger for students so they start on the task, without you having to remind them. That might actually also work well!

Coming up with exam questions

Always a great method: Asking students to come up with good exam questions. They can then be discussed in small groups or with the large group, used as exercises practicing for the exam, or even used in the final exam!

But beware: Coming up with good exam questions is really difficult and students might need a lot of guidance, for example discussing a grading rubric and what kind of knowledge and skill should be able to be shown by completing an exam question. And I would always also ask them to provide the solution with the question, otherwise it is really difficult for students to get a good idea of how difficult or easy a question is (usually they become super difficult if students try to make them interesting).

That’s it for now about E.-M. Schumacher’s “Methoden 2 go online!“! There are plenty more where these came from, would you be interested in reading about more?

#Methods2Go: Transferring theoretical ideas into actionable knowledge in university teaching

More methods today, inspired by E.-M. Schumacher’s “Methoden 2 go online!“! Today:

Converting

Battle of theories

The idea in this method is that students asynchronously read up on certain theories and prepare to defend them against other theories. In a video call, a handful of students than “battle” while the rest takes on roles like referee or note-taker.

What I like about the method: That there are valid roles for the students who aren’t actively “batteling” so they are actively included in what’s going on. Even better if they can choose the roles they are taking on.

What i dislike about the method: I would personally HATE having to play one of the active roles in the battle, and would be super stressed out that for some reason I might be called to do it. And even the thought stresses me out so much that I wouldn’t use this with my students.

But on the subject of taking on roles:

Thinking hats

If students are asked to argue from specific points of views (e.g. advantages, disadvantages, costs, benefits, …), this can be supported by temporarily changing their names in the video call system. This might make it easier to act from a certain role’s point of view because it is very clear that it’s not a personal standpoint? I definitely like the idea of clarifying roles with help of screen names!

Marketplace / vernissage

Similarly to “gallery walks“, market places are something that I really like in virtual teaching. Student artefacts (be it posters, articles, memes, videos, …) are shared in a padlet or on some other platform, and students then asynchronously look at everybody else’s work and give feedback.

Depending on the group of students you are working with, and on whether they are used to the format, they might need some rules and/or guidance around how to do it, i.e. what kind of comments you are expecting and something like “everybody needs to leave at least 2 comments in such a way that every artefact receives at least 2 comments. You can leave more if you like”…

Minute paper

Oldie but goldie — students get one minute to write down any open questions and everything they want to remember. Combine it with a lightening storm in the chat or ask them to write it in some kind of shared document, and you’ll see what everybody wrote, have a documentation of it, and students can even compare notes & learn from each other!

That’s it for today! Next #TeachingTuesday we’ll be back with method ideas for evaluation!

Giving students choice on what is being discussed in class

Speaking about co-creating learning and giving students choice in what they learn, one thing that I have found to work really well is to sometimes present different options.

For example, in my workshops on university teaching, there are some topics that are always requested, even if they are not part of the planned content for the course:

  • it is very common that participants want to talk about how to actively engage large classes
  • it is equally common that participants complain that they never know whether students actually understood something until the final exam, when it is too late
  • often participants wonder how much students know about a topic and whether they are starting from the right point for a given student group, or if students have certain misconceptions
  • sometimes participants don’t know how to get discussions in small student groups going

I always start my workshops by collecting the topics that are really important to participants, and usually one or several of these come up. Which is perfect, because then we can discuss exactly what participants asked for, while the answer to all these questions is basically the same (and would typically have come under a boring heading like “multiple choice questions” or “audience engagement”, which would not have sounded nearly as relevant to participants as me showing the exact same slide deck about the many uses of multiple choice questions and how to use them in combination with peer instruction in response to their question ;-))

Obviously this is a special case where I know who my audience is and what their big pain points are, so I know they will ask me for a topic that I was planning on talking about anyway. But you don’t have to be as open and ask the open question of what topics they want to talk about, you could also suggest my list above and have them vote (and then talk about the same thing again, just under the framing of the option they chose).

Or, if there are several different examples you could use to illustrate the same point, you could put them up for students to choose between them. For example, in case of my university teaching workshops, talking about feedback: you could put the focus on giving feedback to students, or receiving feedback from students. Many of the relevant points are the same: How to give/ask for good feedback, biases that might influence feedback, … But again, depending on what the current pain points are, the same content might feel a lot more relevant under a different framing!

Lastly, if it doesn’t matter which of several topics you discuss, you could also let students decide. Do you want to talk about good oral exams or how to form small student groups?

In my experience, giving students choice in any of these three ways makes them a lot more motivated and engaged than if I just present what I think is most important under my preferred framing. And in the end, with a little experience, it is not a lot more work to have a couple of slides ready that you might end up not showing, or preparing three different spins on the same topic. It definitely pays off!

#Methods2Go: Methods for “informing” students in university classes

More methods today, inspired by E.-M. Schumacher’s “Methoden 2 go online!“! Today:

Informing

“Informing” in quotation marks, because that’s what that phase is called in the AVIVO model which underlies the structure of the Methoden 2 go online! collection by EM Schumacher, in other models the same phase might be called something that implies more student activity, like “acquiring new knowledge” or similar. Anyway, here we go:

Building a cognitive map

I’m a very visual thinker, so building cognitive maps is something I do a lot myself and like to encourage in my students, too. Below is an example of a concept map I asked students to draw before day 1 (left half) and day 9 (right half) of a course I was teaching. I can very well imagine asking students to use the last minute of a lecture (or maybe the first minute of a break in each lecture) to add to their concept maps over time. In the case shown below, the difference between what students expected to learn about going into the class and then what they learned about was quite interesting (and also maybe a function of “oceanography” usually being associated more with marine life than with physics), but students were quite proud of the complex maps that formed over the relatively short period of only two weeks, and it was a great way not only to visualise the concepts and how they connect to each other, but also how much they learned in such a short time!

The suggestion in “Methods 2 go online!” is that the teacher presents a mind map of the topics of the course, and that’s definitely also helpful for students to see how what they are about to learn connects to last week or the week before (as suggested in the advanced organiser paragraph here). But I like involving students in the activity, too!

Learning-speed duo

I wrote about this method here already (and how one might implement it virtually), and now I read the suggestions for virtual implementations: Doing the first phase (where two halves of the class read different texts or work on different exercises) asynchronously and then just asking mixed pairs to virtually meet up to discuss their respective texts. This also works well, of course!

I feel like this is a very short blog post, but then this topic is so huuuge that maybe starting small is actually the way to go. There are tons of other methods that I have talked about in other places, like for example group puzzles, but I’ll get back with more later!

That’s it for today! Next #TeachingTuesday we’ll be back with methods for “converting”!