Asynchronous parties and critical ignoring
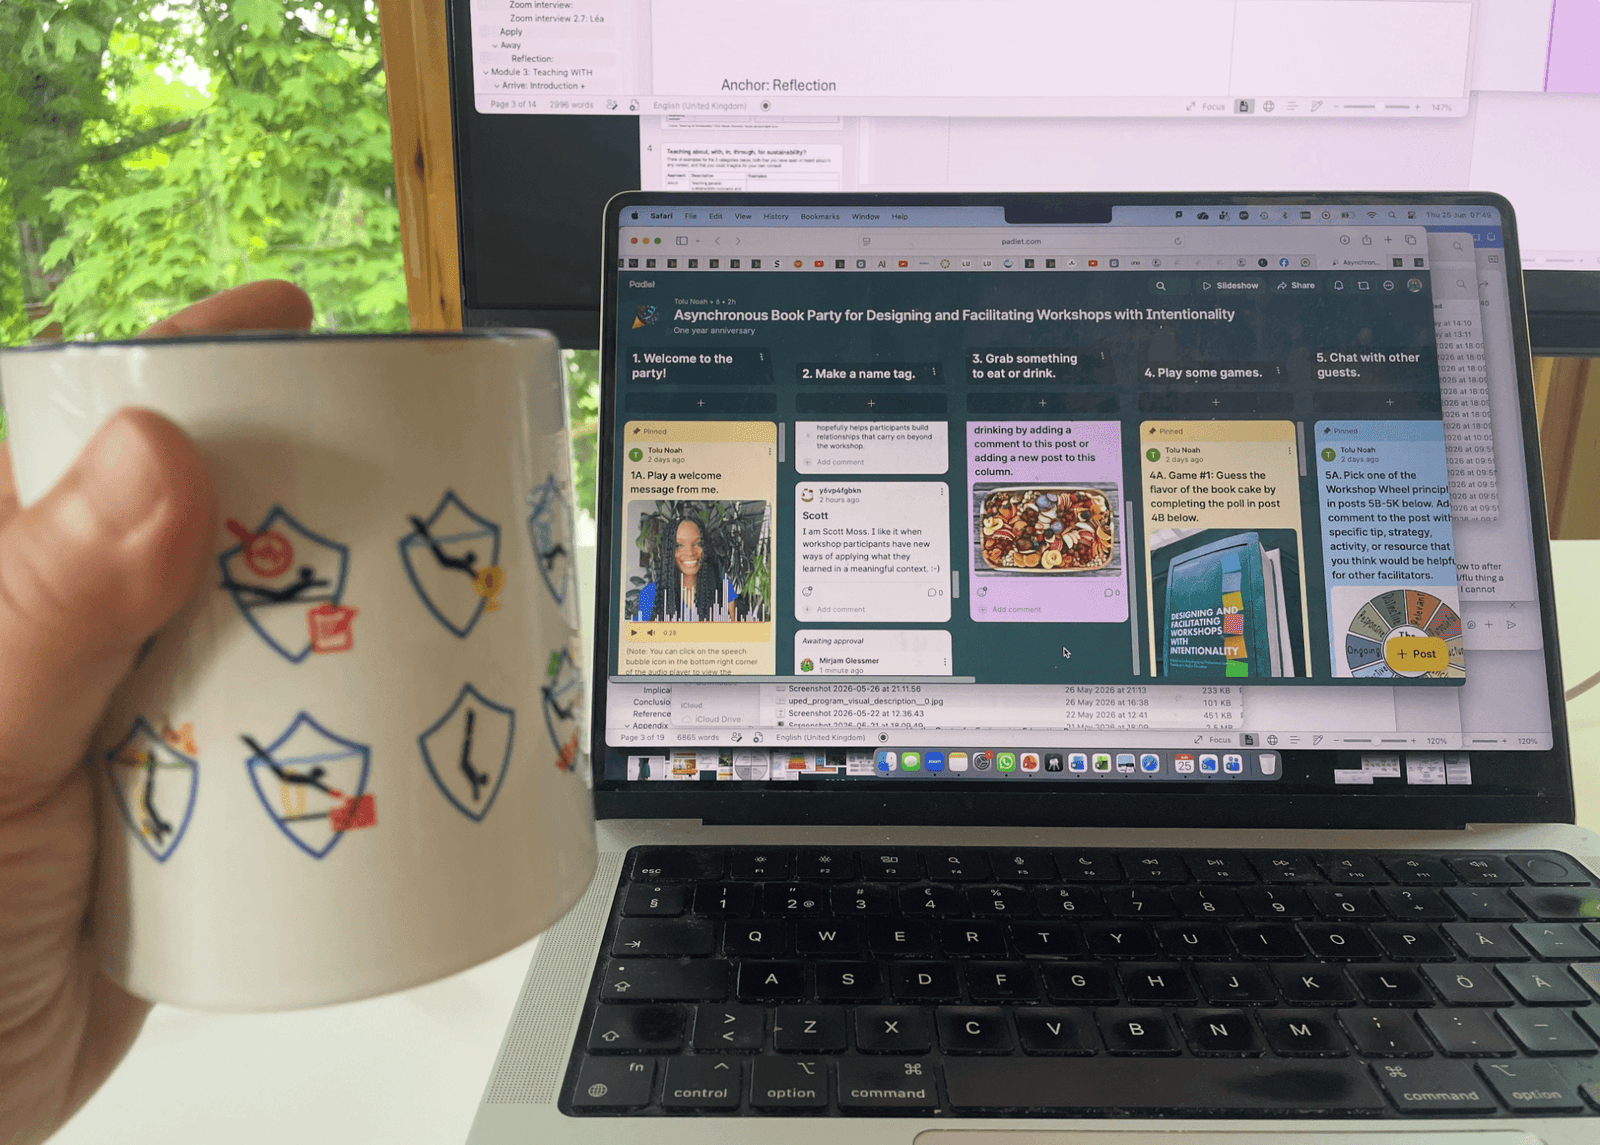
I loved the book “Designing and Facilitating Workshops with Intentionality” by Tolu Noah (2025) so much when I read it last summer! I have very fond memories of sitting in my parents’ garden with the book, working through it by applying everything to a course I was preparing, so when I saw the invitation to […]