Category Archives: Uncategorized

Vorticity and Rossby waves

Usually when we talk about waves on this blog, we talk about surface- or sometimes internal waves, but my waves almost always oscillate vertically. Today, we’ll mix things up a little: Rossby waves are waves in the horizontal plane. They exist for example as oscillations on the atmosphere’s jet stream. In order to understand what causes them, we need the concept of vorticity, which I will go over first before giving examples for Rossby waves.

Vorticity

Vorticity is a measure of how much a fluid is rotating. Generally speaking, once a fluid is in rotation, it wants to keep rotating (as we saw for example with the bottom Ekman layers in a rotating tank, where the water inside kept on rotating after the tank was stopped, until it was slowed down by friction). There are several components that are at play here — the rotation that we see when looking at eddies, the rotation of the Earth, and others — which I will go over in the following.

Relative vorticity

The easiest way to imagine what “vorticity” is (and the only one that I’ve talked about on this blog, see here), is to think of a little float in a flow. In a vorticity-free flow, that little float will always keep its orientation (see below). However if there is shear in the flow, i.e. the flow field carries vorticity, it will start to turn.

vorticity1

Flow fields without vorticity (top) and with vorticity (bottom). 

Relative vorticity is what we see for example when looking al leaves swirling in rivers.

Planetary vorticity

Since the Earth is turning (and all the water on it with it), the water also carries planetary vorticity, i.e. the rotation of the Earth, which is the Coriolis parameter. The Coriolis parameter is largest at the poles and zero at the equator, meaning the rotation changes with latitude.

The rotation of the Earth is clearly important enough for us to want to spin our tanks to simulate its effects on ocean currents.

Absolute vorticity

The sum of relative and planetary vorticity is called absolute vorticity: This is how much any fluid column is rotating in total, including all possible components of rotation (which are only the two mentioned above, but still…).

Potential vorticity

One more factor that can influence the rotation of a fluid parcel is the water depth. When water depth increases, columns of water get expanded vertically (since, for continuity reasons, they still have to go all the way from surface to bottom, even if the distance is now larger) or, if water depth decreases, squished. Similarly to figure skaters that stretch or crouch to increase or decrease their rotation, the expansion of a column of water leads to a change in its rotation.

Potential vorticity is defined as absolute vorticity over water depth.

Conservation of potential vorticity leads to waves

Potential vorticity is conserved, so if water depth, planetary vorticity changes or relative vorticity changes, something else has to change to compensate. And if water changes how much it is rotating, this leads to meanders in currents, i.e. waves.

Depth is constant, but latitude changes: Planetary Rossby waves

Planetary vorticity changes with latitude, therefore if a water parcel moves in north-south direction over constant water depth, its relative vorticity needs to change in order for potential vorticity to be conserved. This leads to so-called planetary Rossby waves, where currents in the ocean or the atmosphere start oscillating in north-south direction (see figure below).

At position 1, a fluid parcel gets for any random reason pushed northward. As it moves north, its planetary vorticity increases and its relative vorticity therefore has to decrease to compensate (2). This leads to southward movement, but the initial latitude (3) is overshot a little (4). This again leads to a change in relative vorticity (4), which brings the water parcel back to its initial latitude (5), but it overshoots again… So this mechanism leads to a wave-like motion in the horizontal plane, with the phase of the wave propagating westward.

This can happen at any latitude, even at the equator where “equatorial planetary Rossby waves” occur. At the equator f=0, but as soon as the water column has moved slightly north or south from the equator, f kicks in and drives the water column back to the equator (where it then overshoots, is turned back, overshoots again…….).

Latitude is constant but depth changes: Topographic waves

If a current encountered a ridge, the water depth changes and the current thus gets deflected. This motion is called topographic wave: When a water column gets stretched, it gains relative vorticity, making it rotate cyclonically. When it runs into shallower water, it loses relative vorticity and starts turning the other way.

I’m hoping to set up demonstrations for both types of Rossby waves soon. Stay tuned! :-)

New role: Associate Editor at Frontiers for Young Minds!

When I meet new people and am asked the compulsory “and what do you do?” question, I sometimes struggle to answer. I am wearing so many different hats! Depending on the context, I might be in the role of programme manager of GEO-Tag der Natur, a consultant in Higher Education and/or Science Communication, a science communicator with my own projects like kitchen oceanography or wave watching, initiator of #scicommchall, facilitator of networking events, and many more. And while I enjoy each of those hats, people are usually not patient enough to listen to me listing all of those, and yet omitting one (or more) doesn’t feel right.

But lately, things seem to be falling into place. With GEO-Tag der Natur’s focus on “seeing nature with different eyes”, this programme’s goal aligns very much with the goals I am pursuing with, among others, my wave watching activities. And facilitating excellent science communication by using my theoretical background, practical experience and amazing network seems to become a more and more prominent part of my endeavours.

I am super excited to be strengthening that strand of my “personal brand” even further, and am honoured to say that I have taken on the role as Associate Editor on the editorial board of “Understanding the Earth and its Resources“, a specialty section of Frontiers for Young Minds. I am looking forward to inviting scientists in writing articles for — and supporting the article’s peer-review process by — kids. I published two articles with Frontiers for Young Minds earlier this year (on the formation of sea ice, and on density driven ocean currents), and I enjoyed the experience so much that It was really very easy to decide to dedicate time and energy towards this project.

By specifically creating articles for children, on both scientific core concepts and cutting edge science, Frontiers for Young Minds is building an amazing collection that is accessible to anyone in the world. Since the articles are written by the scientists themselves and then peer-reviewed by children, they are both factually correct and at the same time understandable by the target audience. And from my own experience as an author, this is such an enriching experience!

One role in the peer-review-by-kids process that isn’t as prominently visible, but that is crucial for the success, is the “science mentor“. Science mentors are the middle persons between the journal side (i.e. myself, how exciting to say this!) and the kids. They work with the kids to read, understand and critique the articles, to formulate the reviews and to submit them via the system. And if you are still reading this, I think you might be destined to become a science mentor (I am specifically thinking of you, Elin and Joke ;-)), but anyone else, too: If you are interested in getting involved, please be in touch!

Foggy morning in Kiel and thoughts on the accessibility of the images I post

I don’t want to do the actual statistics, but it feels like most of what I post is completely dependent on people being able to see the images I post. Of course, that’s kind of the idea of the wave watching that I do: To show you waves the way you might encounter them, too, and then explain what you see.

But a foggy morning run and my dad’s recent eye surgery have made me think about accessibility of my blog posts, and that it must be extremely dissatisfying to just read / listen to a constant “See? And look here! See here?” without having any idea of what is going on.

In the image below, for example, you see Kiel fjord on a foggy morning, and it’s not really clear where the grey water changes into grey sky. The other shore can kind of be guessed in the right side of the picture, but all the landmarks that you would typically see, like the light house at Falckenstein or the Memorial thingy in Laboe, are swallowed up in the fog.

Or even more dramatic on the next picture: We see the sea front road on one side of the picture and the sea on the other, and both vanish into fog. The whole naval port is missing because it’s so foggy. There are two cars appearing out of the fog, and a cyclist about to be swallowed.

So I have decided that I need to work on my blog’s accessibility, and I am telling you this hoping that you will hold me accountable. And I am hoping for your input on this: I know that the alt text options on both blogs as well as Twitter and Instagram are there for accessibility reasons. But do people really use those, or would it be as helpful to write good figure captions going forward? Is using the same text in both the figure caption and alt text a good option or is that really annoying to people using a screen reader, because they now have to listen to it twice? What’s the best practice that you’ve seen?

Understanding ocean physics using different senses: Making waves in a sandpit

For me, participating in the Science in Public conference was so inspiring! Not only because of the conference itself, but also because of the people I met there.

In a conversation about wave watching and how it can be done with kids, Felipe suggested to ask the kids to make wave models for them to discover waves with different senses and also build more defined mental models. Also these models could act well as conversation pieces to discuss different features that different kids might include.

I think he initially envisioned clay models, but I immediately saw the effect that would have on my flat (no! I cannot have every surface covered in clay wave models that I make or people give me!) and thought about sandpits instead. Easily available on most playgrounds, the “sculptures” don’t invite to be kept and stored, and also handling is very quick and easy.

So this morning, I set out to do a pilot.

Here is my first attempt of waves approaching the shore, getting steeper and steeper and finally breaking.

What this model doesn’t include, which I should really include next time, but this time I got chased away by tons of little kids: How the wave length gets shorter as the waves get higher.

Which you see, for example, when you look at waves that approach a shallow beach and get refracted towards it (see my model of that below).

Another phenomenon that worked really well in the sandpit: Interference of waves. Below you see the model (my feet for scale). Here I first made the horizontal lines just using my fingers, and then for the second wave field, I let some sand trickle through my fingers to have equal amounts of sand deposited over distance along the lines perpendicular to the first wave field.

And if you look at this from a smaller angle, you see that the areas where wave crests meet are highest — the typical interference pattern of waves.

But even with less effort, cool things can happen: See below my “ring waves radiating out from a point source” model.

This was definitely fun and actually a lot more educational than I would have expected, even for me as someone who has been thinking about waves a lot over the years. When representing wave fields, there are so many things to consider and you actually need to observe fairly carefully (or understand the physics really well) to be able to represent a snapshot of a moving water surface. So I see tons of potential here (especially since you don’t even have to do it in a sandpit, you could do it at the beach where you can observe waves simultaneously!), now I just need to figure out how I want to include it in a bigger concept. But such a cool idea, thanks Felipe!

What are you thinking about now? Do you want to start doing your scicomm in a sandpit, too? Any suggestions for me or ideas that might inspire new things?

Funded! “Ocean currents in a tank: from dry theory to juicy reality”

Remember how Joke, Torge and I were working on building an affordable, home-made rotating tank to use in ocean dynamics teaching only last weekend? That session was inspired by a proposal that Torge submitted a while back, and which now got funded by PerLe, Kiel University’s project for successful teaching and learning (German abstract here). This is really exciting, it not only gives us official permission to play (well, someone will have to build the rotating tables and test the experiments, right?), it will also fund the collaboration and materials. Exciting!

We are planning to add hands-on experiments to the Bachelor-level “atmosphere and ocean dynamics” course at GEOMAR over the next year, but since there is no rotating table available, we want to build several (!) so several student groups can work on them at the same time. And you know me — what we do there will be documented and shared online not only by myself, but also by the students. So stay tuned, I see a lot of rotating tank experiments in our future! :-)

This is the kind of stuff we are going for (picture below shows old Hadley cell experiments from 2014)… Not quite there yet, but we will get there!

Photo comics for scicomm from the central Greenland ice sheet? Yes, please!

Do you remember how I started experimenting with an app that made sketches from photos to see if reading waves might be easier from sketches than from photos? (Btw, approximately half of the answers on whether or not sketches are easier to read than pictures were along the lines of “YES!!!! DEFINITELY!!!” and the other half were like “NOOO — DON’T DO THAT TO YOUR PICTURES!!!”)

That only happened because I saw something really cool that Petra Langebroek was testing in preparation for the outreach she was planning on doing from her expedition to central Greenland, and since I thought it was so cool, I had to download an app that could do the same, and then I fell into that hole of playing with the app…

Anyway. What Petra is doing is fascinating: From her expedition to central Greenland, she reports back using the Lego figurine “EastGRIPninja” and his scientist friends to tell the story of how science is done on top of the ice sheet. For that, she takes pictures of EastGRIPninja and his friends in real locations and lets them explore, and tell stories.

For example, EastGRIPninja gets a tour of the camp:

And that’s pretty cool — it’s not too often that I get a look into one of the domes! I don’t know what I expected to see inside, but definitely not this much plywood. And probably fewer flags, too. And (spoiler alert!) would you have guessed that they have a tabletop football game in there, too?

Also super interesting: How does going to the toilet work in the middle of the Greenland ice sheet? That’s something EastGRIPninja needs to find out fairly early on, too, and again, it’s something to do with flags. So if you are curious, you should go and check it out!

Petra says that the weather is bad right now and that she doesn’t know when they’ll be able to start drilling (and thus posting interesting science content). But there are so many questions that I have that can easily be answered in bad weather, for example:

  • does EastGRIPninja get to play tablefootball and cards etc with the scientists?
  • why drill exactly where you are and not somewhere else?
  • what’s for dinner and is it something people would voluntarily eat at home when they get back?
  • who has to cook / do the dishes?
  • how many scientists are there at any one time?
  • do you work/sleep on watches like you would at sea?
  • what’s the temperature in the dome like? Cosy?

And what are your questions that EastGRIPninja could answer?

Click on the image below to read the whole story (which is being updated pretty much daily, so remember to check back to see whether your questions have been answered and what else is going on!). EastGRIPninja, Petra and their team are still there until mid July and I can’t wait to learn more about their adventures!

“Live rich now”: advice by Marie Forleo and David Bach, and how it relates to my life

On living the dream — and getting there, through the nightmare (ok, not quite as dramatic, but you get the idea)

I’ve been a fan of Marie Forleo‘s for many years now, watching all the youtube videos she puts out, re-listening many of the episodes on her podcast, forever sending links to friends who absolutely need to hear something life changing she said and that I remembered in conversations with them. And the other day, I watched the episode “How to get rich without budgeting with David Bach“. There are so many gems in that episode that you absolutely have to go and watch it for yourself, but there is one thing that stuck with me, and that’s the advice to “live rich now”.

“Living rich” does not mean spending a lot of money (or even sometimes any money at all), it means consciously doing the kind of things that make you feel rich. In the interview, they talk about daily meditation as one example, and I immediately whipped out my journal to write up a list of what would make me feel rich.

Turns out, many of the things that make me feel rich are things that I have, both consciously and more accidentally, integrated into my life over the last years already, and that, to me, belong to my “lighthouse vision” of where I want to be when I “grow up”.

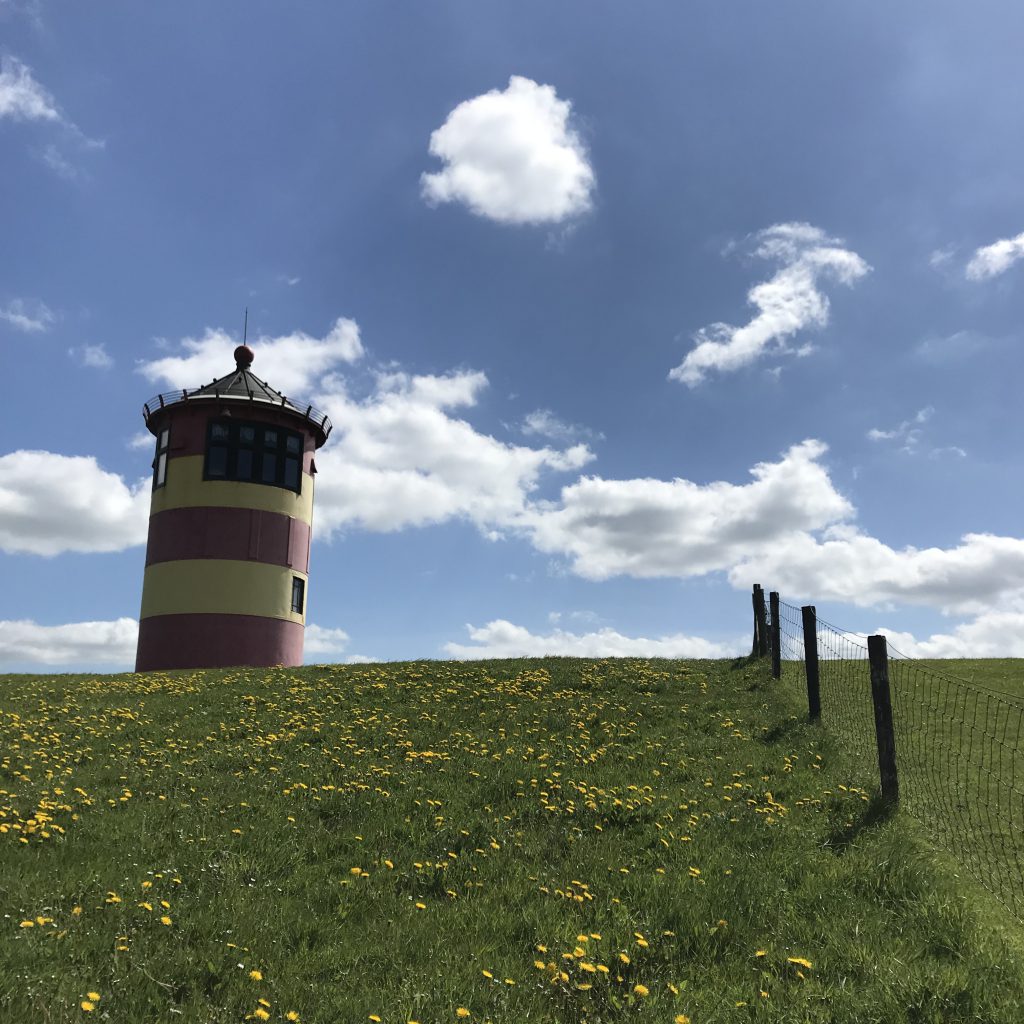
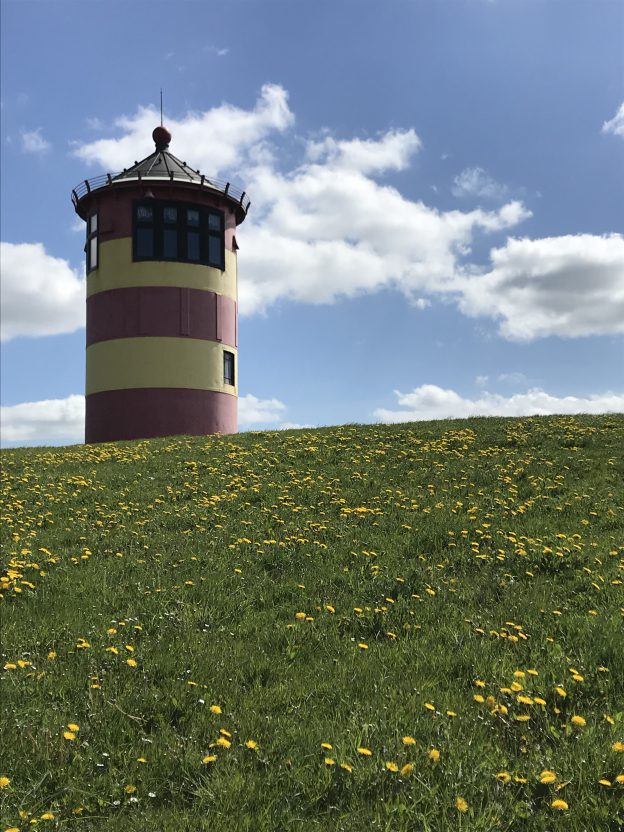
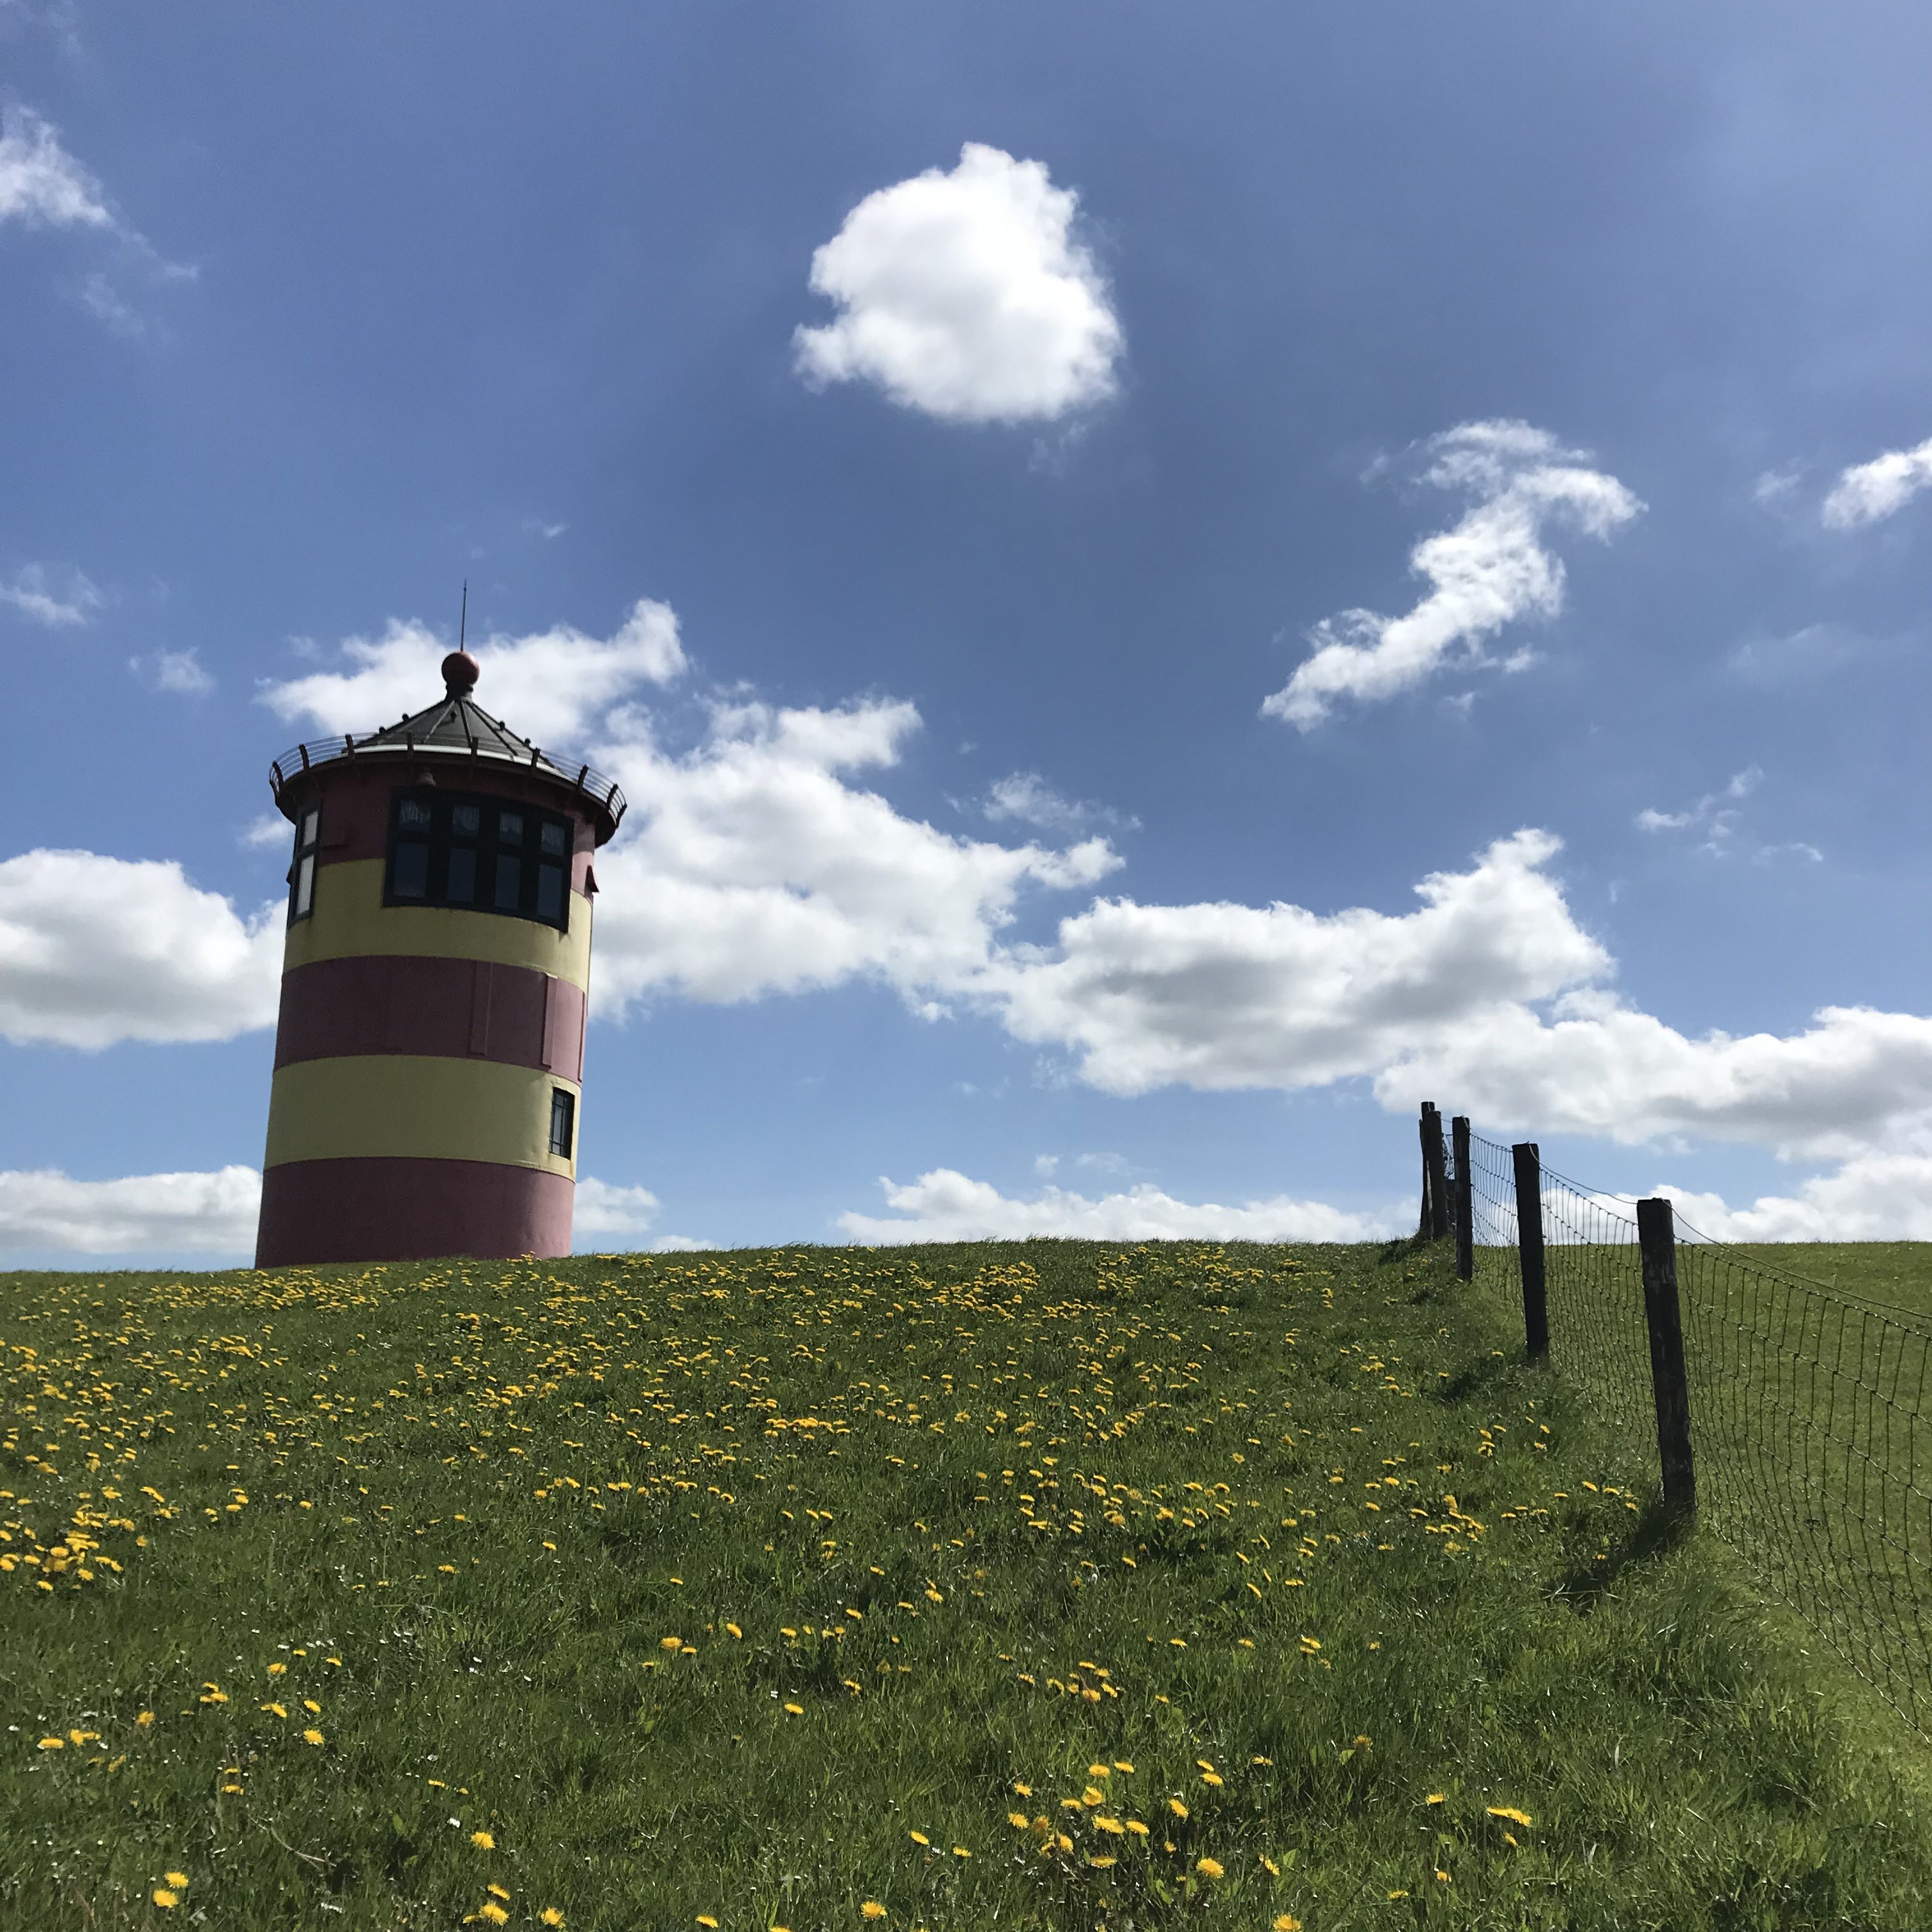
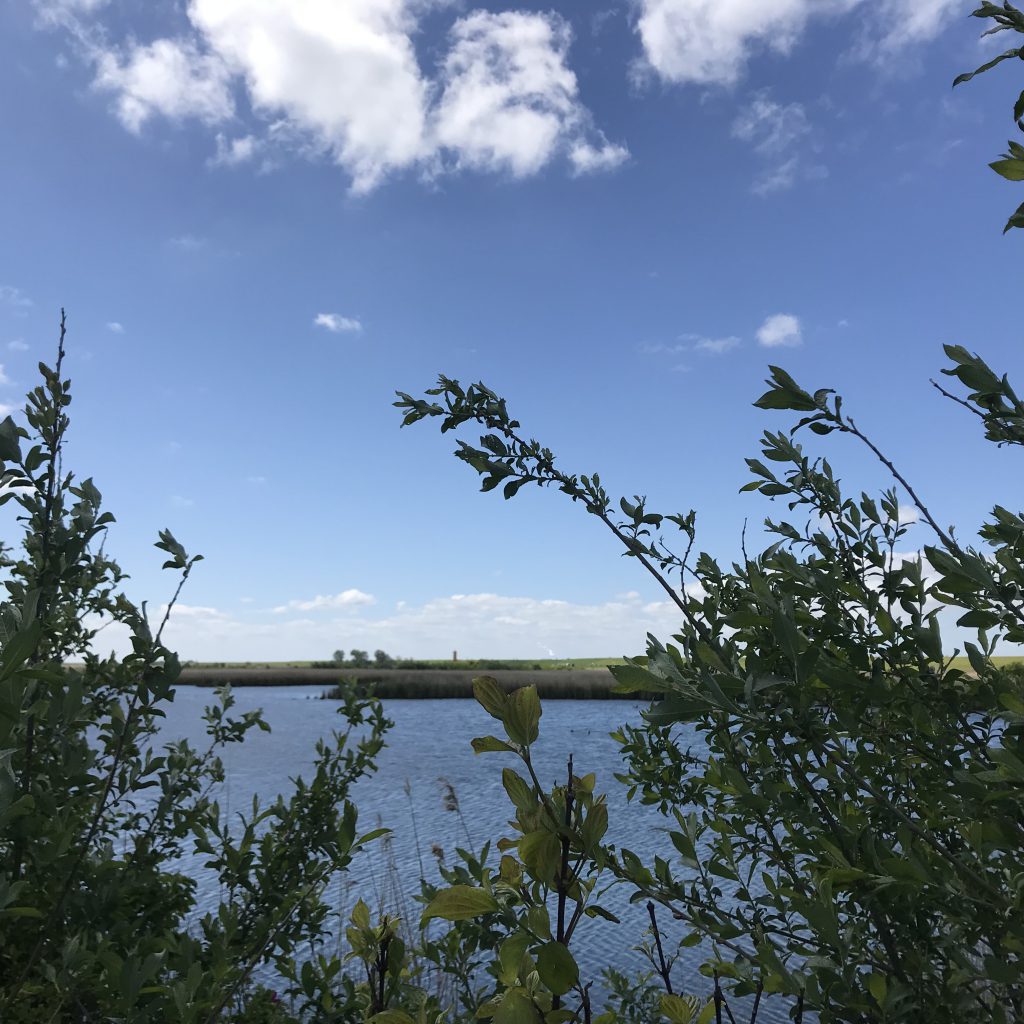
This is the lighthouse in Pilsum and I have really tried to come up with a “grass is always greener” thing to say about this, but I am still blanking on that. And it’s just that there are sheep on one side of the fence, and no sheep on the other anyway…

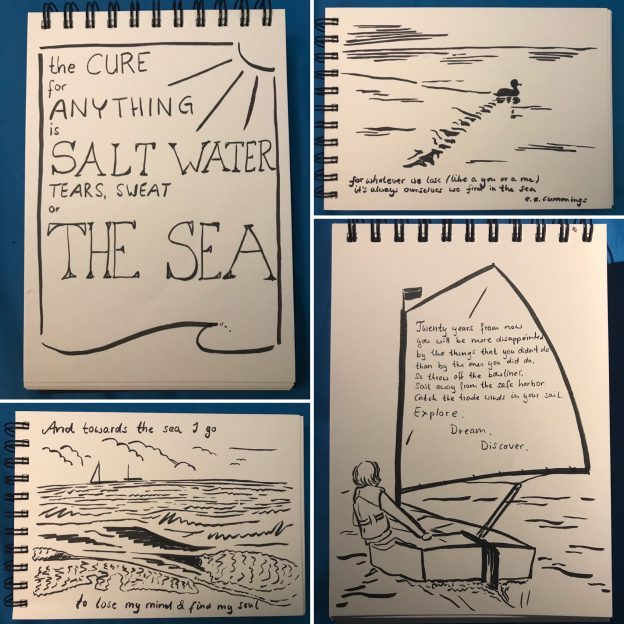
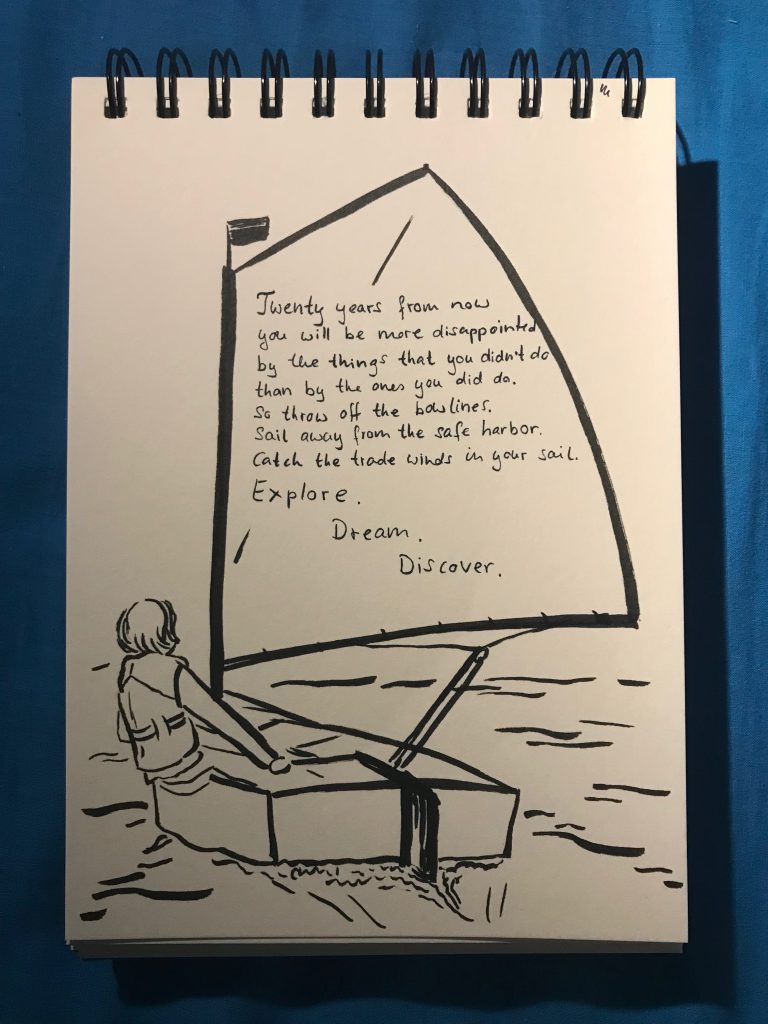
What does the “lighthouse vision” mean to me? It’s a goal of how I want to feel and who I want to be. I call it my lighthouse, because it’s such a nice image of what I actually want. I want to live close to the sea. I want to not live in a crowded space, but I still want my lighthouse to be inviting and engaging to people. In my lighthouse, I live on the top floor (with the amazing views, very good for blogging and writing books about the general theme of “adventures in oceanography and teaching”), while the ground floor is where I have seminar rooms and labs to work with people on things related to ocean and climate communications (conveniently located in a lighthouse, right? We can bring in samples or warm up after excursions to the beach or the sea). While I live in my lighthouse, close to my work and at the place where people come to work with me, I do a lot of my work by myself, or connecting to people (and the first person that comes to mind as someone I will always want work with is you, Elin :-)) in other places via long distance communications. Sometimes I travel to meet those people as well as new ones, but most of the time I am in the space where I work and live. But I don’t work many hours, or at least it won’t feel like it because blogging still feels like a hobby even when I will have professionalized it a bit. I spend a lot of time looking at the ocean, pondering my observations, day dreaming, and being with family and friends, enjoying the company and the coast together.

If you have seen my hand-drawn CV that I did two years ago, you might have noticed that I drew a lighthouse on it, somewhere in the future. I told myself that I wanted it as a symbol for being goal-oriented, but I think it was also because it is really what I have building my CV towards for several years now: to end up in my lighthouse. And I feel like I have, in a really amazing way.

I work in an amazing job that is stimulating and challenging and meaningful, that connects me to great people and gives me pretty much perfect independence. But I also only work 50% on that job, which means I have plenty of time for my passion projects related to ocean and climate communications (or I will have plenty of time again once the big event of the year is over, less than three weeks from now ;-)). And to live the lighthouse dream: To spend a lot of time with friends and family. To travel whenever and wherever I like but, more importantly, to return home to a place that I love, to swim in the sea or to go wave watching or on spontaneous adventures.

And I think having had the lighthouse vision over the last years has really helped me getting to this place where I feel so happy now. I have clearly seen the lighthouse, knowing that it’s a metaphor, but also using it to shape my thoughts on what I really want. And also trusting that I will reach it, because I know what the elements of the lighthouse are that are important to me, so I could shape my career and my life in a way to accommodate them, one by one, little by little. By making larger and smaller choices that led me to where I am: To live where I live, to look for a job that was compatible with what I wanted for my life rather than following the classical career path, to get a membership to the place where I go swimming in Kiel fjord and the other place where I go swimming when I am in Hamburg for work, to be very deliberate about spending more time with my family and godchildren and friends.

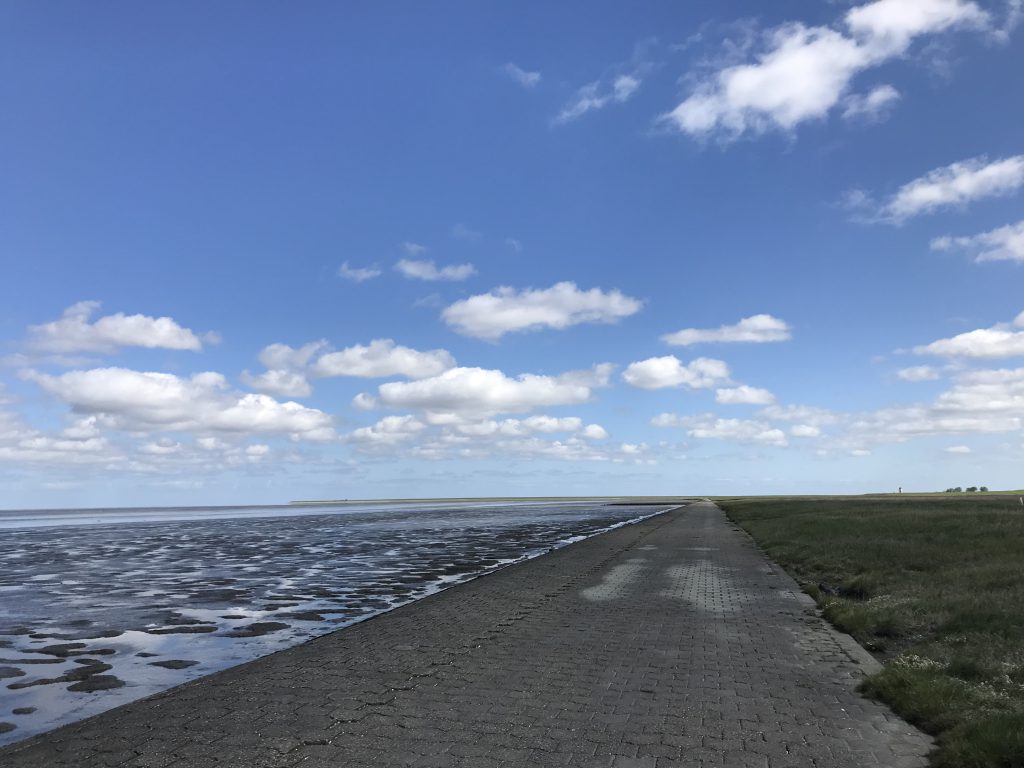
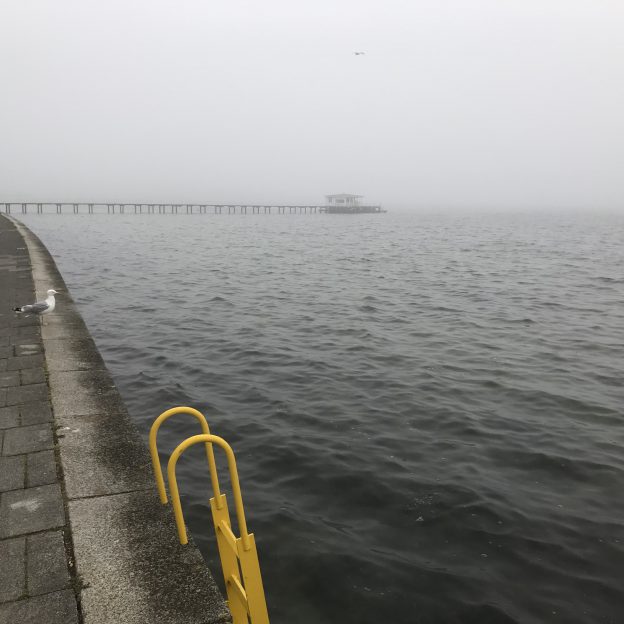
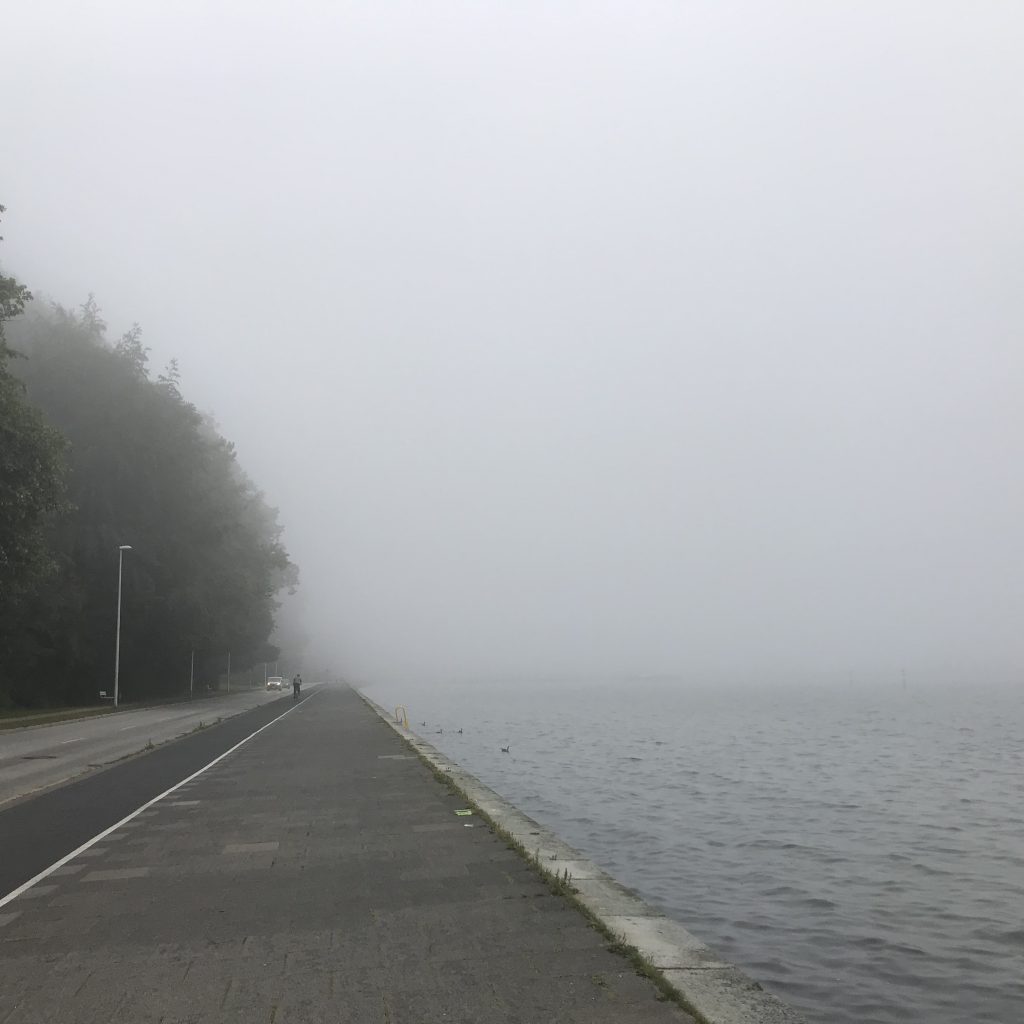
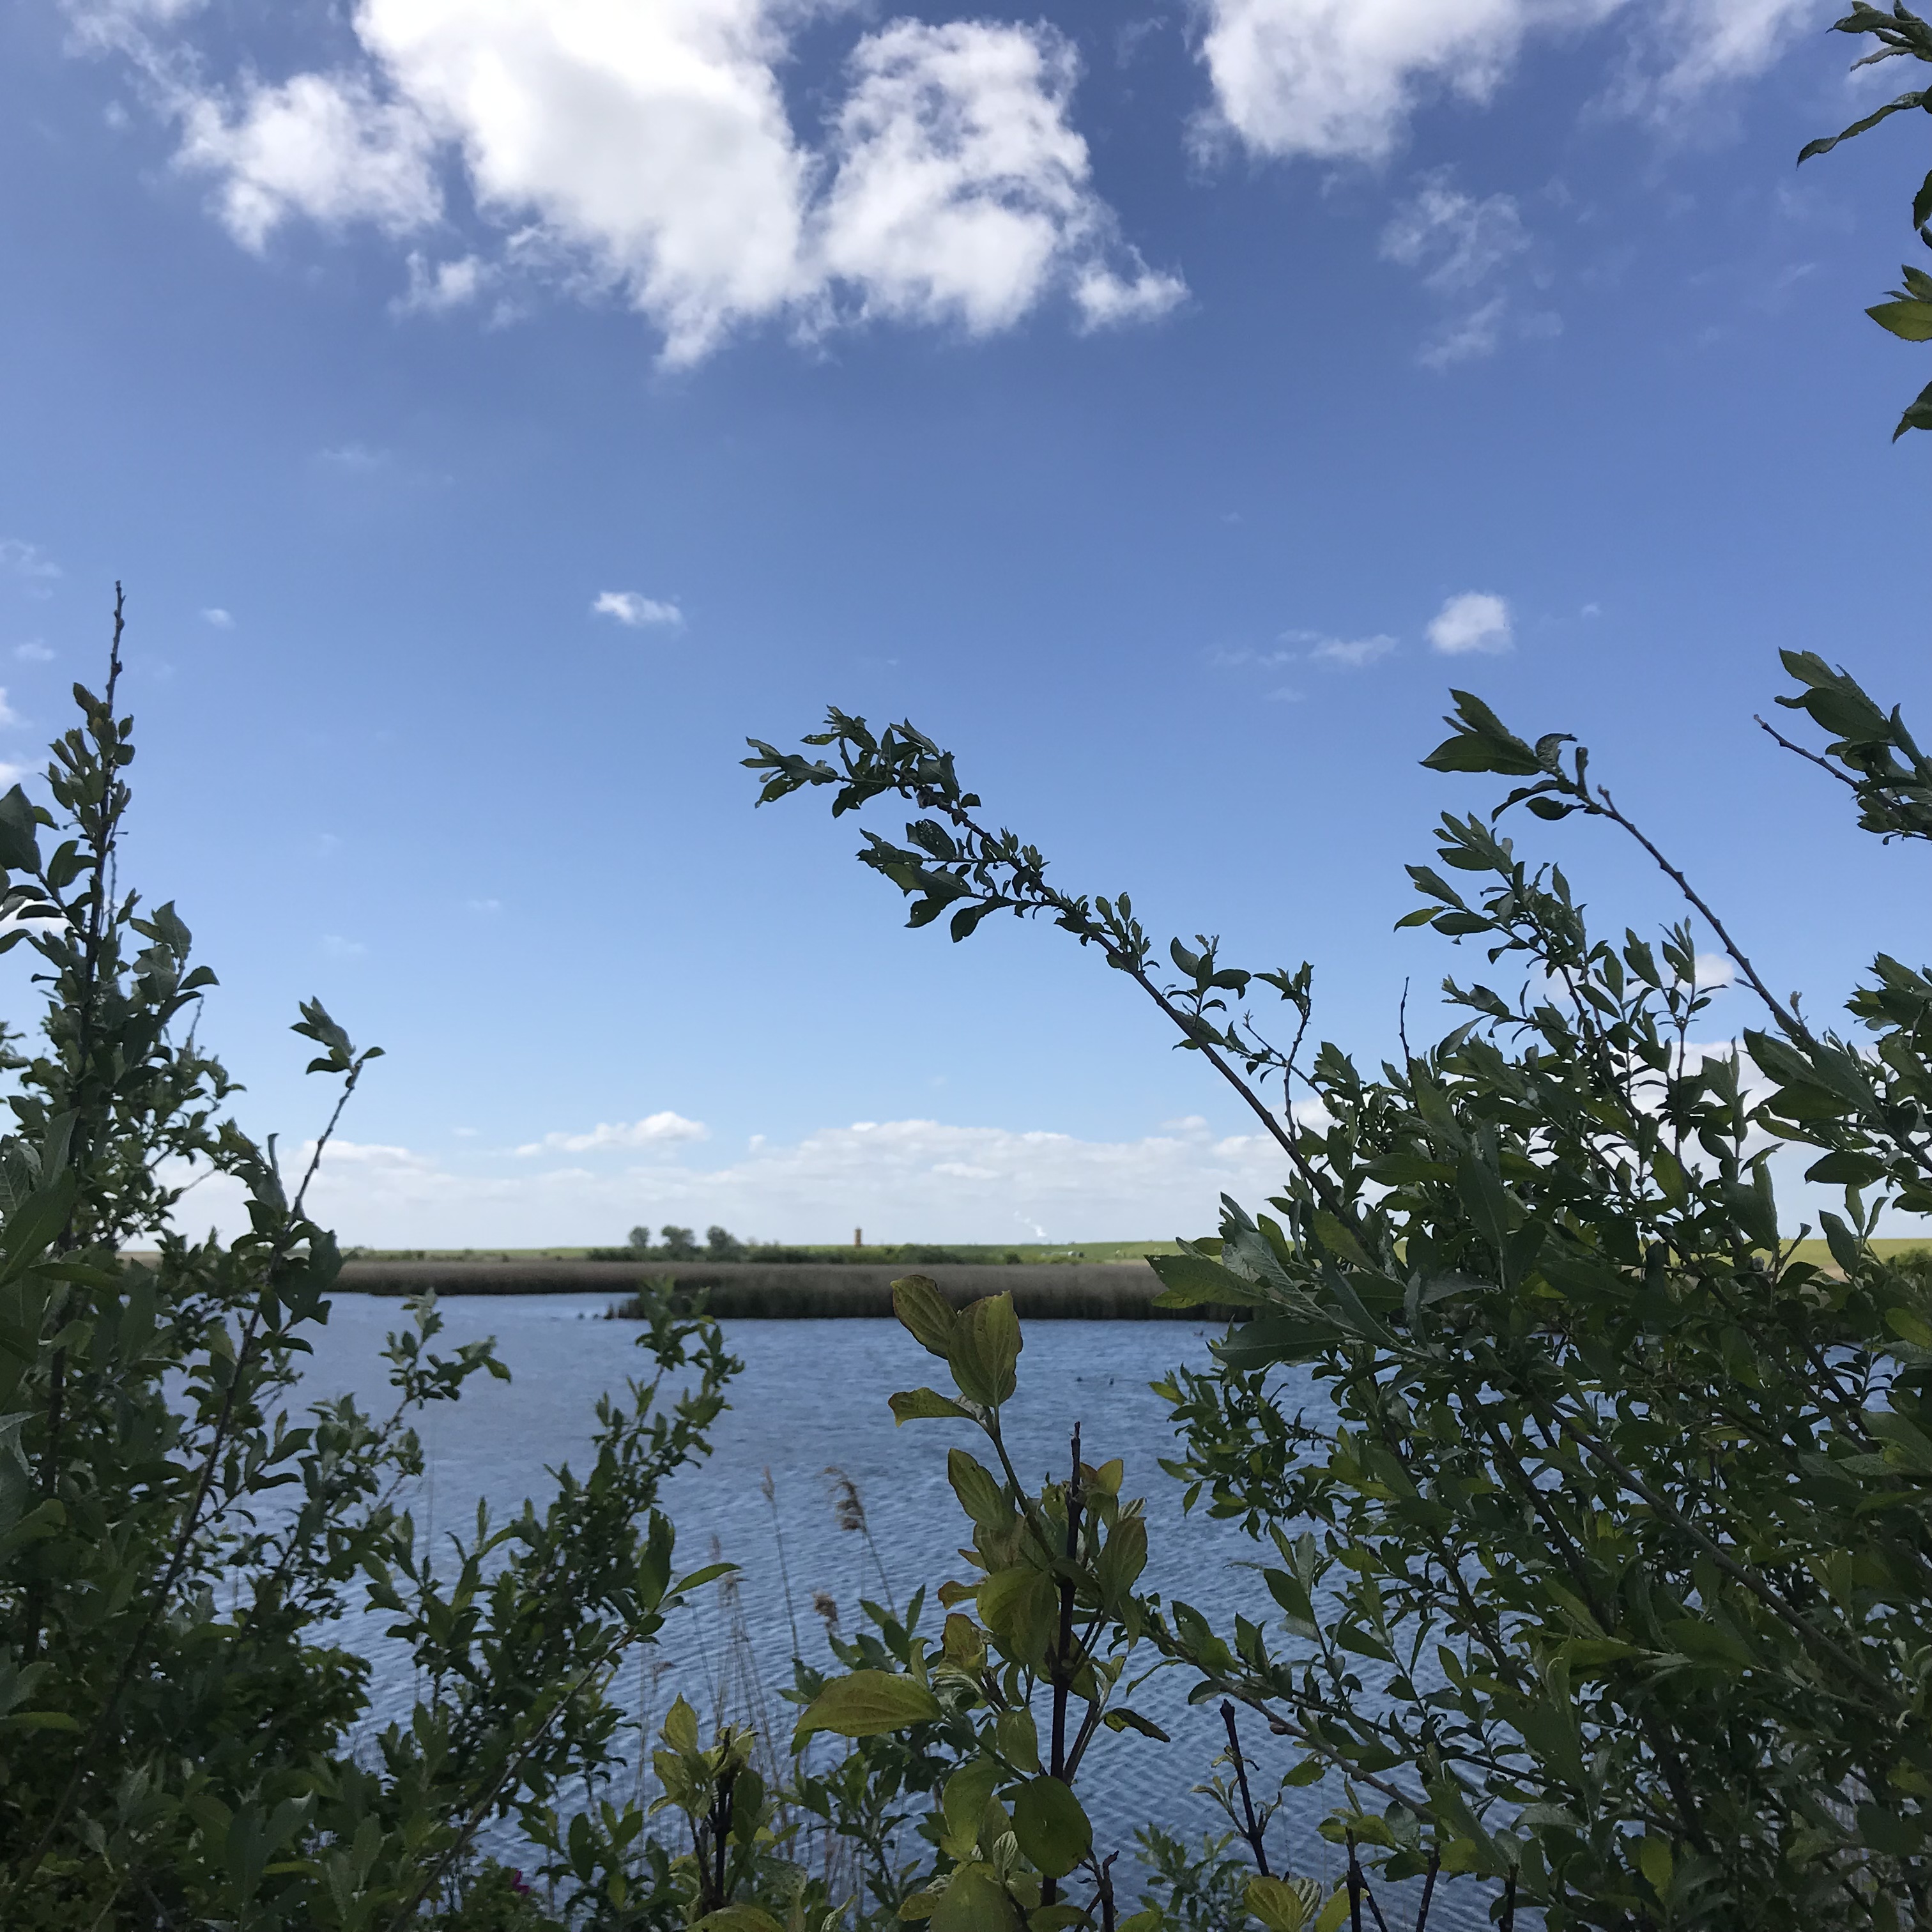
Of course, not every day is the perfect lighthouse dream day. But if you look at the two pictures above, you might be able to spot the lighthouse in both, and that’s what I feel like: I don’t have to physically live inside a lighthouse (and, to be honest, I am not too keen on all the stairs anyway!), but my lighthouse keeps shining through in my life, connecting me to who I really want to be. And I am really happy where I am at now — close enough to the lighthouse to feel calm and content almost every day. And thinking about what makes me feel that way is an important step to continue implementing the important things in my life, and eliminating the ones that aren’t.

I am writing this blog post because for many years, I didn’t feel calm or confident or content, neither on a pretty much daily basis nor even more days than not. For many years, I didn’t know where I wanted to go with my life, and that was draining and difficult. And then, when I first started seeing the lighthouse, I didn’t think it was realistic to get there. And I didn’t see how the dream was compatible with me being ambitious and goal oriented in my job and thinking I should be sticking to the career I had started building (and I got some terrible advice from career coaches who didn’t seem to believe that any career outside of academia in the strictest sense could be worthwhile and fulfilling). But once I realised what that lighthouse really meant to me, making the switch was neither difficult nor painful, on the contrary — each step towards the lighthouse felt right and somehow like a burden was being lifted off me. So now that I am in my lighthouse, I am hoping that telling this story might inspire others to start “living rich now”, and give them confidence in their power to choose their own paths, in finding out what their personal lighthouses are, and in taking steps towards it.

5 years of blogging on “Adventures in Oceanography and Teaching” today!

5 years of “Adventures in Oceanography and Teaching”!

Today I am celebrating my blog’s 5th Birthday! 5 years of documenting my “Adventures in Oceanography and Teaching”. That feels both like an enormous amount of time, while at the same time it feels like only yesterday that I started one evening on the spur of the moment while sitting on the couch at my friend A&I’s former apartment, babysitting (Happy anniversary, A&I!).

When I started, I did not really have much of a plan of what I wanted to do with the blog, in the beginning I didn’t even plan on sharing it with anyone. I had, at that point, been teaching and doing science communication in oceanography for several years, and had done some pretty cool and innovative stuff (if I say so myself). Only trouble: I did not remember what I had done from one year to the next!

Kitchen oceanography

The main thing I wanted to archive were “kitchen oceanography” experiments: Experiments on processes related to the ocean that can be done using only household items. In honour of my blog’s 5th Birthday I have gone through some 700 posts introduced the new category, “kitchen oceanography“, to bring together all the blog posts that match that description. And it’s quite impressive how much cool science stuff you can do using only things you have in your home anyway!

I am a big fan of those experiments that can be done impromptu — for using them in teaching and outreach as planned features, as well as just whipping something out when the opportunity presents itself (for example on a skiing trip using our last drops of red wine as dye tracer). Once people get over the initial “what kind of kindergarden trick are we about to be presented with here?” reluctance, they ALWAYS get so engaged and want to start experimenting themselves. Those are the best moments!

Observations everywhere: from my sink to rivers to the sea

Another kind of teaching resource I wanted to archive on my blog were observations that I was making every day but didn’t have a good way to store: Oceanography in my kitchen sink, on puddles at the bus stop, in drains during a huge downpour (I was still living in Bergen back then), and when looking at the sea. There is so much physics everywhere that most people don’t notice, and as a proud, semi-new-ish smartphone owner, I had so many examples of what people could observe if they knew what to look for. I wanted to collect all those pictures together, have them searchable by keyword, and have them at hand whenever I wanted to show them to someone, whether in teaching or any other occasion.

Literature on teaching, learning, science communication

And then I had started reading literature on teaching and learning, and later on science communication. And while a good system to archive your literature is necessary in any case, I liked the idea of summarising relevant literature for the readers of my blog (and for my own reference, too). So that became the third main “genre” of blog posts on my blog.

Building an archive

So yes, the main idea when starting this blog was that I needed some way to archive pictures of experiments I had done together with short descriptions in a way that was easily searchable. For a while I had used Facebook (and I did like all the positive feedback I got when I posted pictures of experiments!) but in the end I wanted something I could customise to meet my needs and that would stay “mine” independent of what happened to other platforms.

Maintaining curiosity

But there were so many other benefits to this blog that I came to realise over time! The biggest one for me personally is that I now have a “reason” to get out my phone, snap a picture of the layers in my latte or other interesting features I come across in my daily life, and think about them more than just in passing. And it makes me so happy when I bake cupcakes with my sister just to use them for a blog post on ice coring or borrow a huge set for experiments on venturi tubes. I don’t think I would have gone to all that trouble if I didn’t have a blog to post the pictures on, and I would have missed out on so much fun! To me, doing those things is really rewarding and something I definitely want in my life.

Building a portfolio

But since the blog sometimes make me go to more trouble that I would without, and since I want it to be an archive of all this stuff, it has become a great portfolio. Going back over those 700-ish blogposts to tag all the “kitchen oceanography” ones, I noticed different phases related to different employers and places I lived at, but also in how much effort I put into blogging. And my blog has definitely become an asset: Based on what I put online here, I am fairly regularly contacted by people who ask for advice on teaching and especially experiments, or by people who found my blog for other purposes, for example for finding out how much salt there is in seawater in order to use it to beak bread! And I really value the interactions that have risen from people reading things on my blog and then getting in touch with me. I would never have been able to build such a diverse and fascinating network of people around me had it not been for my blog!

Professional development

And then this blog has had a huge influence on my professional development. Not only have I gotten over the fear of writing and publishing things online completely. I have also, by building this portfolio, created opportunities for myself that might not have been possible otherwise: I changed from a traditional postdoctoral career in oceanography research into providing advice to oceanographers and climate scientists on their teaching and science communication! And this is the career I have been dreaming of long before I was able to put it into words, and then long before realising that I had already put it into words, because it lets me combine the best of both exciting worlds: Oceanography and teaching!

Awesome outreach collaboration to continue: We won a Bjerknes Visiting Fellowship 2018!

We are excited and grateful for a great opportunity for continued collaboration that has recently presented itself: Elin won a Bjerknes Visiting Fellowship 2018 for me to visit her and the rest of her team in Bergen for a month in 2018!

We have several goals for that visit, but the main one is to develop more hands-on experiments (which we lovingly call “kitchen oceanography”), which parents, teachers, and other educators can use to get children excited about oceanography (and obviously for the grown-ups to play with, too :-)). Between Elin and me, we do already have a lot of experiments which we use regularly and recommend (for Elin’s, check out this site, and mine are here). But we would love to bring them in a different format so that they are easy to find and use, and are well integrated with the ekte data project. And then, obviously, we want to let everybody in Bergen (and all of our faithful readers) know where to find the experiments, and how to use them in science communication.

So plenty of stuff to stay tuned for! We’ll absolutely keep you posted on our progress on here!