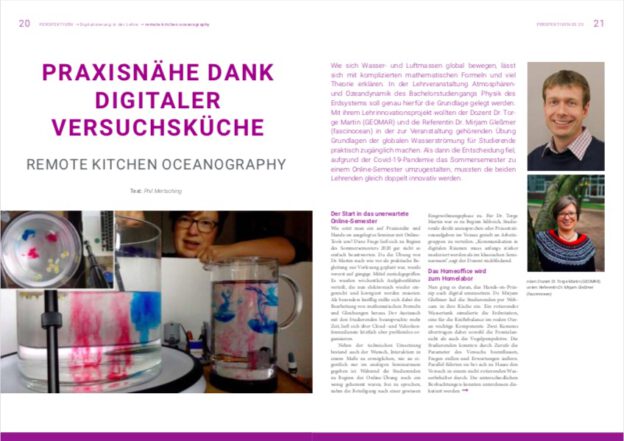
We’ve become quite experienced with remotely-controlled rotating tank experiments, but the current lockdown brought us into yet another new-to-us situation: We had plans to film and live-stream tank experiments from Geomar, but not being employed there, I am currently not allowed in the building! So what happened this morning is that Torge and I met up on Zoom and I watched from home as he had all the fun.
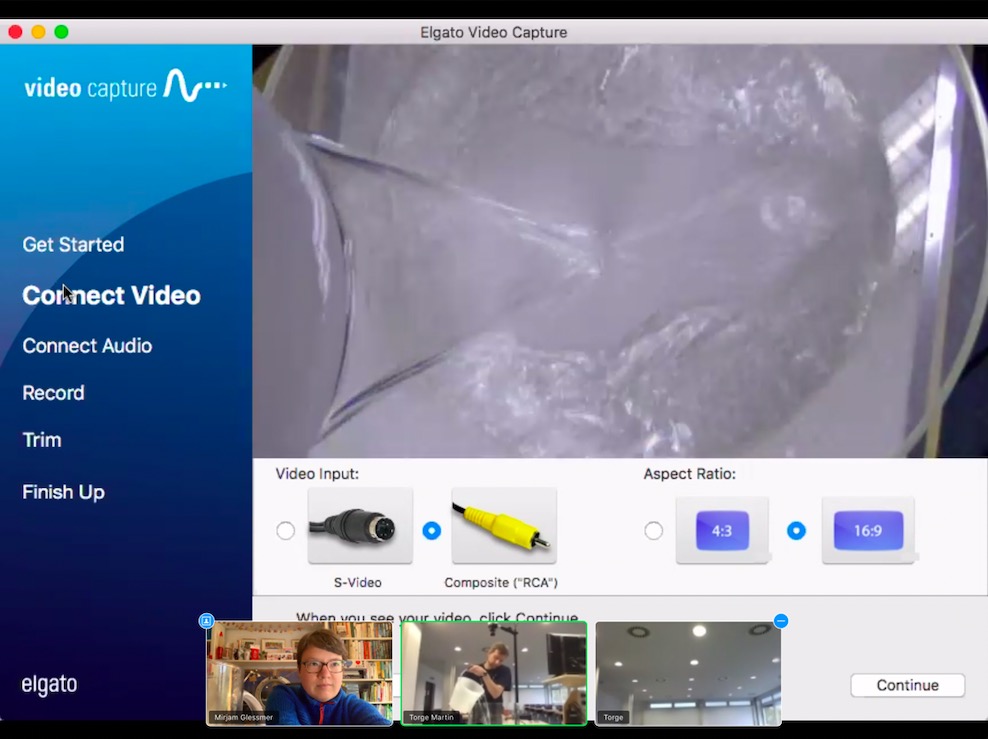
It all started out quite well — camera tests worked well, water was in the tank, I was having fun taking screenshots. Well, and I was wishing I was there, playing, rather than watching and occassionally interrupting with instructions or unsolicited advice!

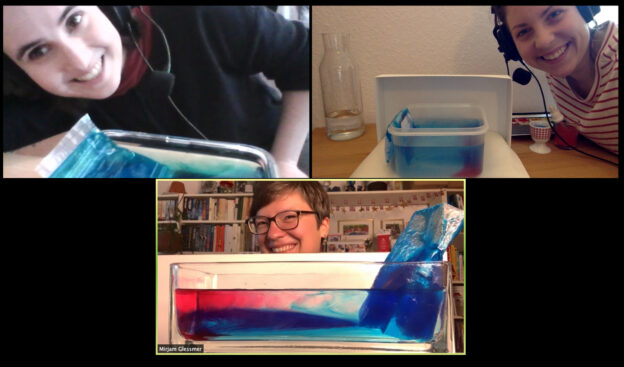
When we were done setting things up, students joined in for their exercise session (no, it’s not me three times in the meeting below, I just edited that in for privacy because we didn’t ask students for permissions to use their pictures), and a lively discussion ensued. Topic of the day were eddies in the ocean, and it was all leading up to the Taylor column experiment that we had only recently figured out.
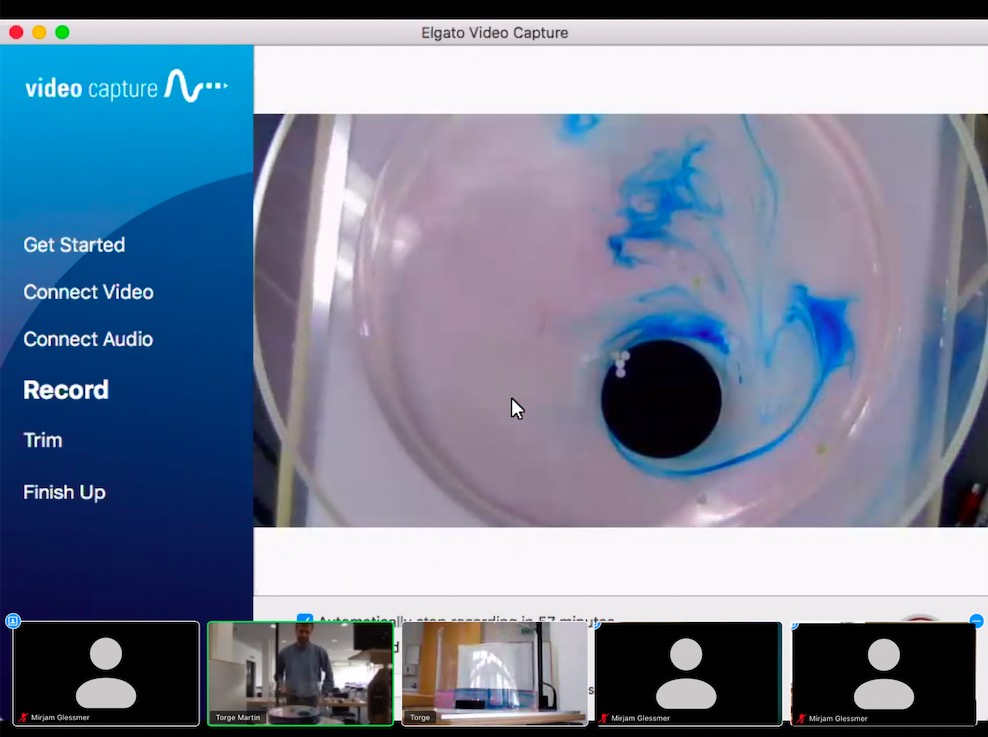
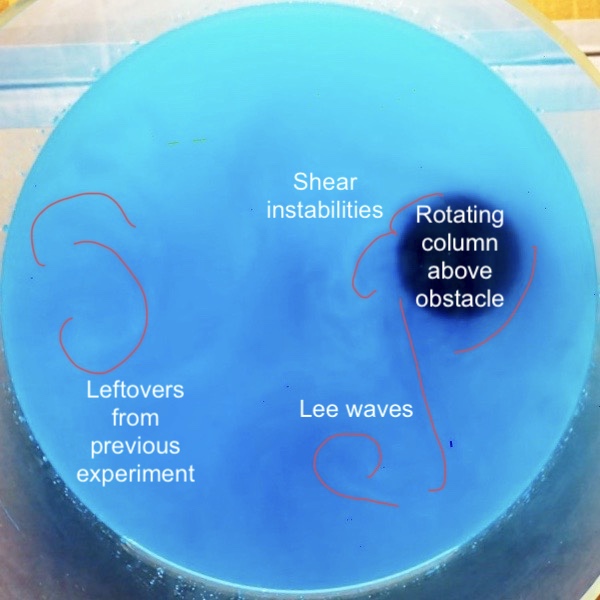
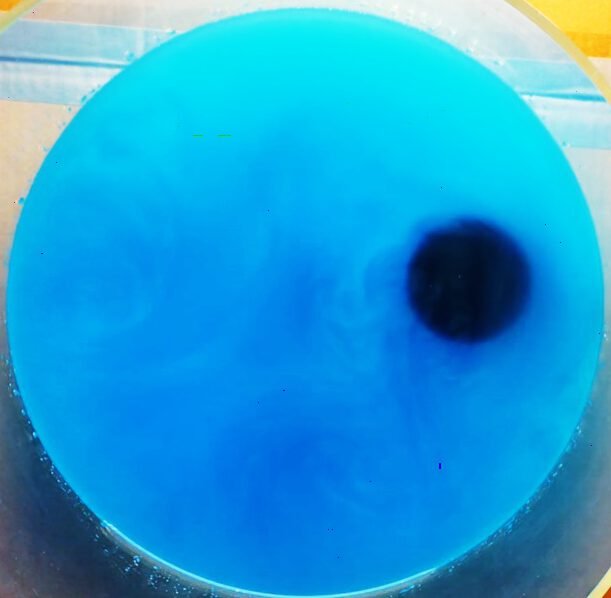
The Taylor column experiment basically shows that rotating flows cannot just flow across an obstacle, they have to stay 2D and thus move around it. Which worked out beautifully! The blue dye started out upstream of the obstacle and got deformed into these beautiful filaments as it is moving around the hockey puck and the Taylor column on top of it (The puck is only blocking the lower part of the water column, above it there is just water!).
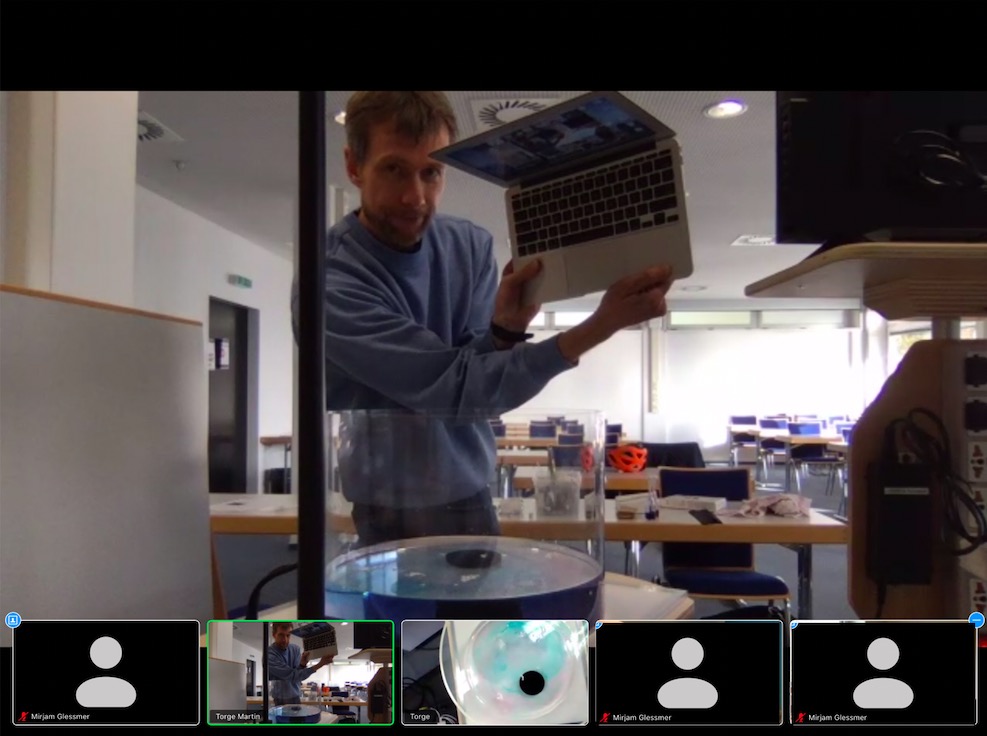
It all went super well until we fell into the trap we’ve been falling in ever since we started working with the tank: The co-rotating camera switches off when the power to the rotating table is switched off, which is the easiest way for the rotation to be switched off. So yeah. Below you see Torge trying to save the day by holding his laptop above the tank to give students a look into the tank after it stopped. Oh well…
But all in all, it worked super well and it’s great to see how virtual teaching and learning can be a really good substitute for in-person classes. But we are still looking forward to the times when we can all play together again!
![[photo] Picture of Mirjam smiling in the camera to show how happy it would make me if this showed up on Twitter](https://mirjamglessmer.com/wp-content/uploads/2020/11/IMG_0168-624x468.jpg)