Category Archives: demonstration (easy)

Water seeks its level. U-tube experiment. By Mirjam S. Glessmer

Water seeks its level

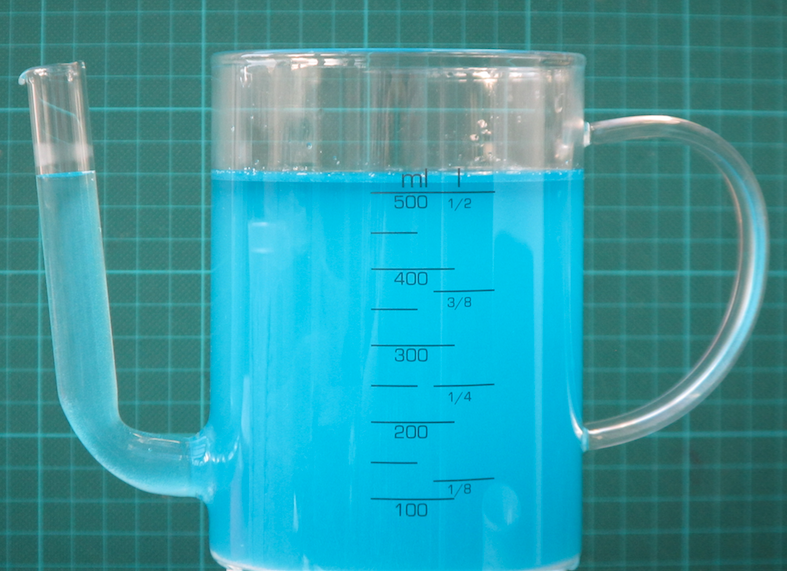
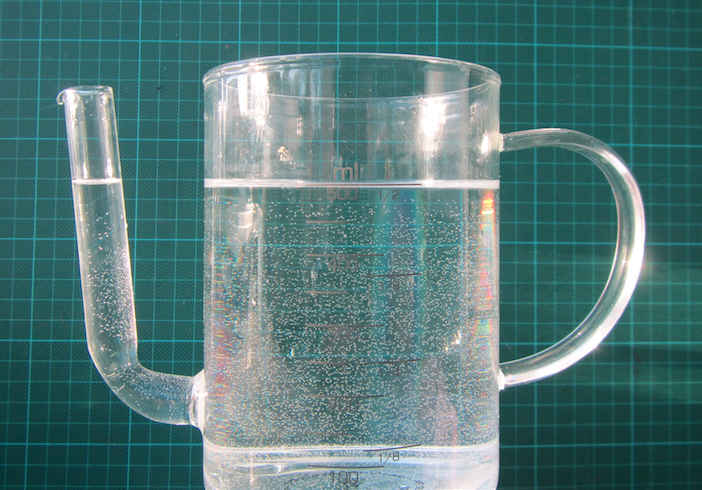
There are a lot of misconceptions related to hydrostatic pressure. One of them is that if you took a jug like the one below (or a U-tube, as in my post on letter tubes and misconceptions around hydrostatic pressure) the water level would have to be higher in the narrow snout of the jug than in the main body. So when I saw a cheap-ish fat separator jug recently, I had to get it “for my blog” (ok, because I wanted to play with it) to show that water, indeed, seeks its level.

IMG_3354

Fat separator jug

But it turns out it is really difficult to take pictures of the water level! My first attempt (above) was with dyed water because I thought that might make it easier to see what is going on. Turns out that the adhesion of water makes it really difficult to observe the water level: The water is pulled up along the walls of the jug, leading to these weird changes in color.

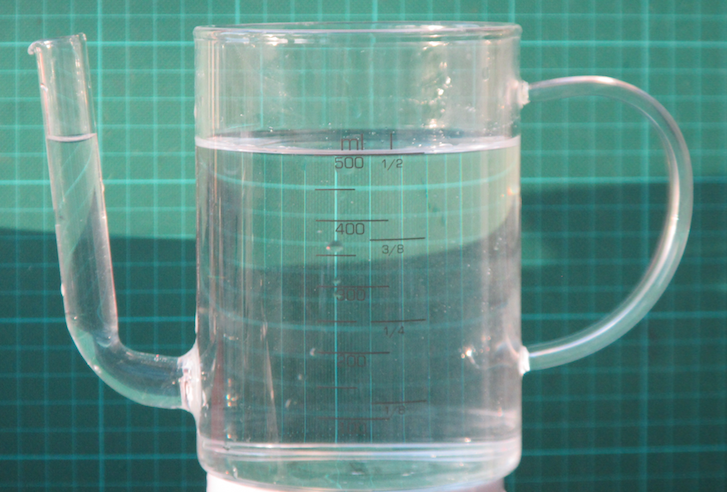
In the picture below, taken from slightly above water level, you can see the curvature of the water surface both in the main body of the jug and in the spout:

IMG_3355

Fat separator jug

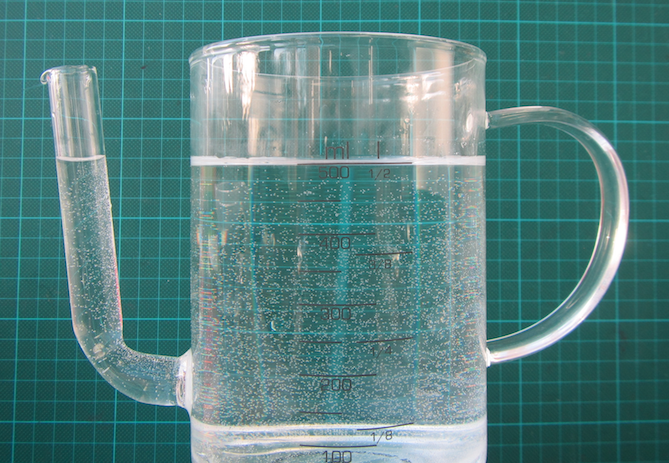
Using clear water turns out to be the best way to photograph this phenomenon (below).

So there you see it: Water seeks its level!

Another problem with this setup is that the spout is so narrow that I am not entirely sure capillary effects don’t come into play.

One thing we can do about it: reduce surface tension by adding a little bit of dish soap!

IMG_3362

Fat separator jug. Water seeks its level!

Now you clearly see it. Don’t you? :-)
My favorite demonstration of the coolest mixing process: Salt fingering!

I am updating many of my old posts on experiments and combining multiple posts on the same topic to come up with a state-of-the-art post, so you can always find the best materials on here. And today I would like to present you my favorite experiment: Salt fingering!

Check out the new page I made for salt fingering!

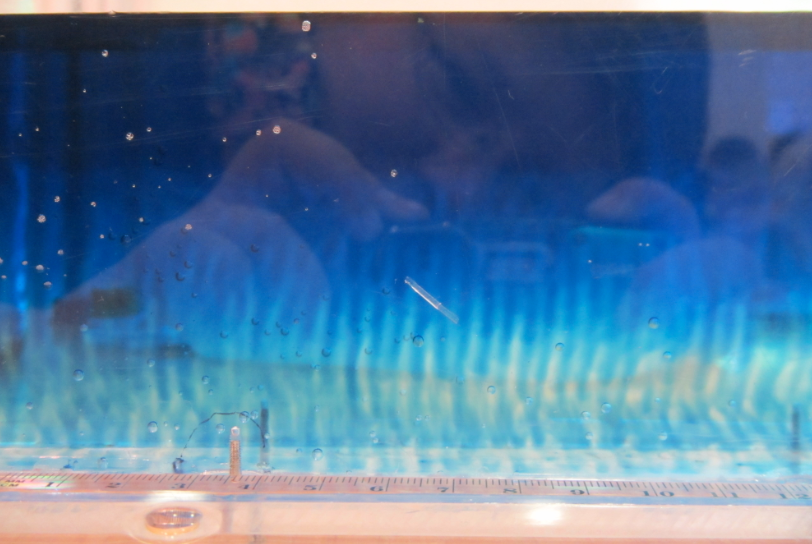
IMG_9084

Self-portrait with salt fingers

As you guys might have noticed, I’ve been playing around with my site a quite bit. My blog has moved to mirjamglessmer.com/blog in order to make room for static pages of my favorite experiments or teaching tips right at the landing site mirjamglessmer.com. What do you think? Good idea? Did you notice anything that isn’t quite working yet or do you have advice or wishes? Let me know!

Why does the sun have to be a lot further from us than the moon? A deduction.

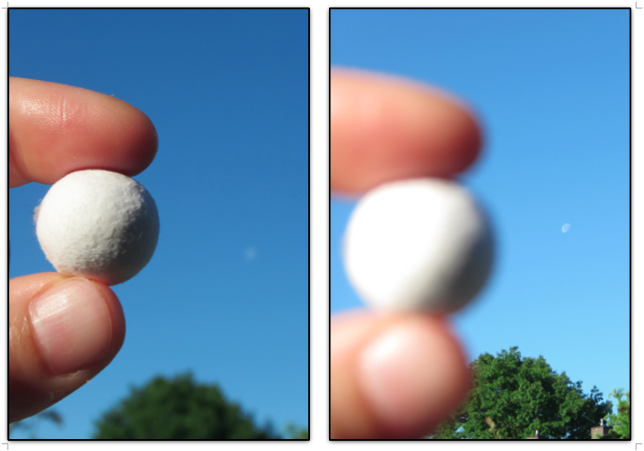
Remember the hands-on demo of the phase of the moon?

Mondphase

In both pictures: Model of the moon between my fingers on the left, and moon in the background on the right. See how the lit and dark sides of both spheres are in the same position?

Holding a sphere up in the sunlight in the direction of the moon, the sphere will show the same phase as does the moon. Of course it has to, because the sun is so far away that its rays hitting the moon and the ones hitting the sphere are pretty much parallel.

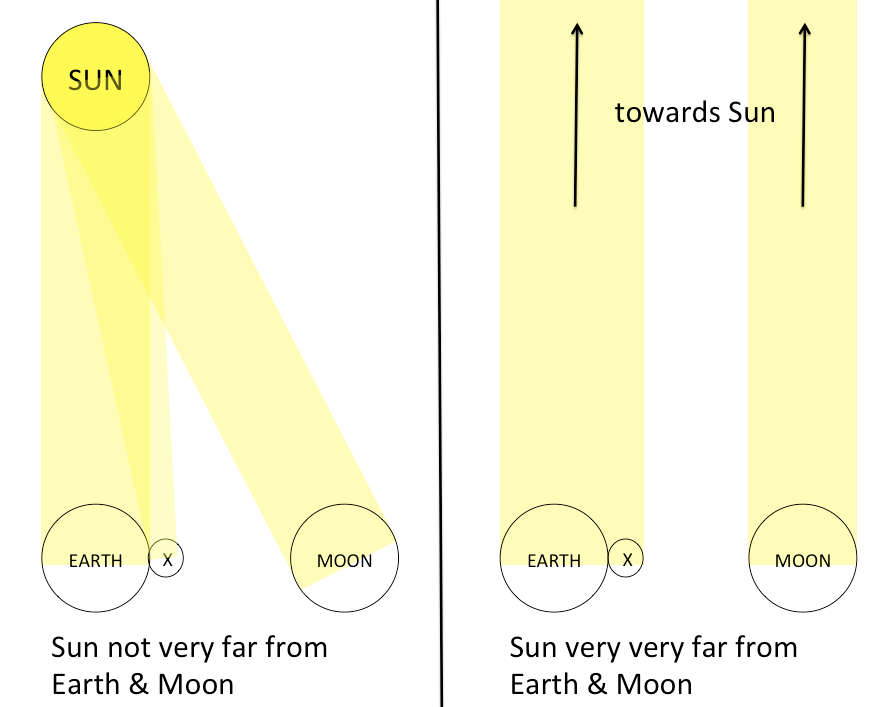
If the sun wasn’t so far away, what would we see?

Schematic of how the Earth, your little sphere you are holding up in the direction of the moon (marked X) and the Moon would be lit if the Sun was not very far away (left) and very far away from Earth and Moon. See how the phase of the moon differs from that of your little sphere when the sun is “close”?

So the only way we can explain that the lit and dark sides of the sphere and the moon are the same is that the light lighting both of them comes in parallel, which can only be the case of the sun is very very very far away compared to the distance of earth, sphere and moon.

Isn’t that a nice little thought experiment?

Temperature-driven overturning experiment – the easy way

In my last post, I showed you the legendary overturning experiment. And guess what occurred to me? That there is an even easier way to show the same thing. No gel pads! (BUT! And that is a BIG BUT! Melting of ice cubes in lukewarm water is NOT the process that drives the “real” overturning! For a slightly longer version of this post check this out).

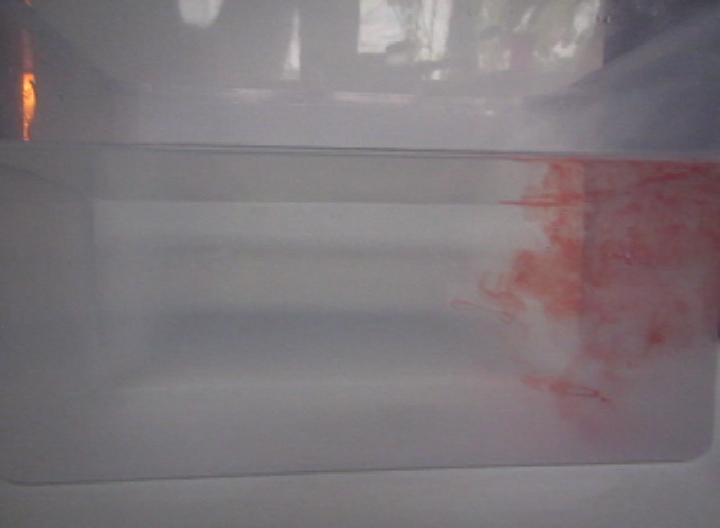
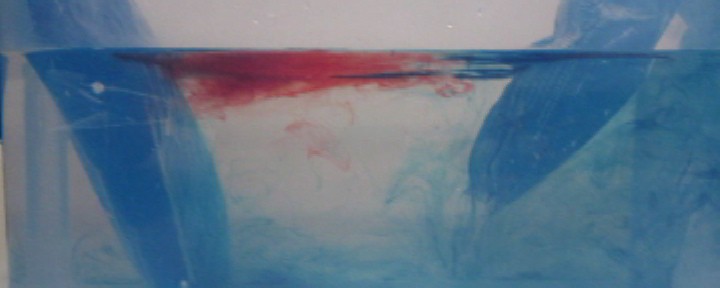
So. Tank full of luke warm water. Red dye on one end. Spoiler alert: This is going to be the “warm” end.

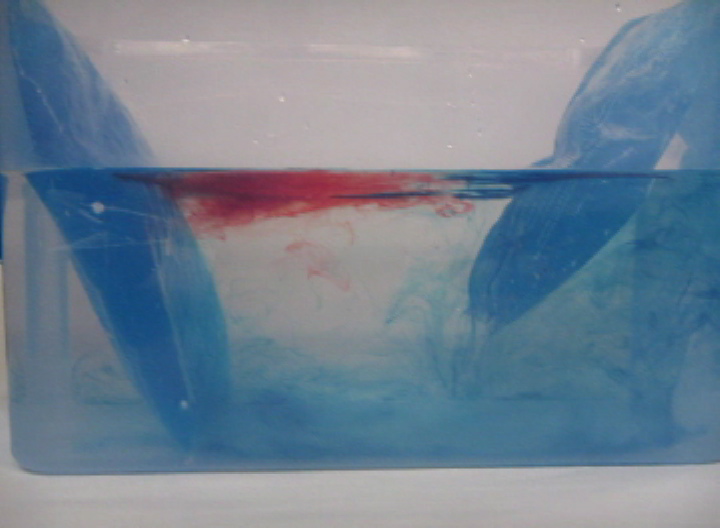
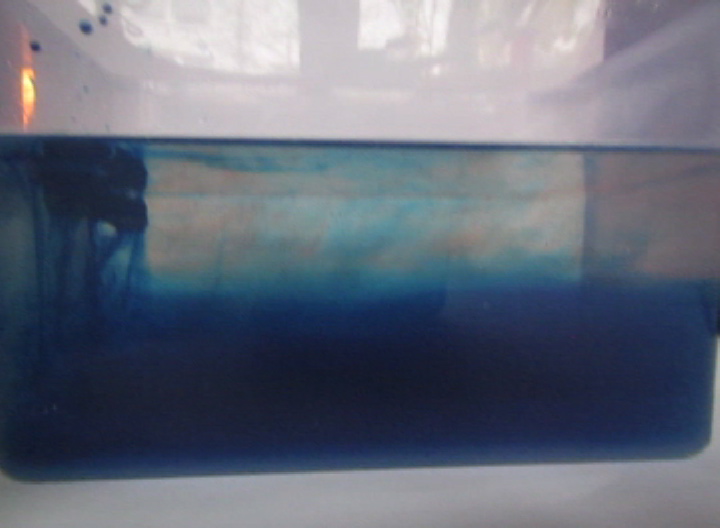
overturning-ice-1Now. Ice cubes on the “cold” end. For convenience, they have been dyed blue so that the cold melt water is easily identifiable as cold.
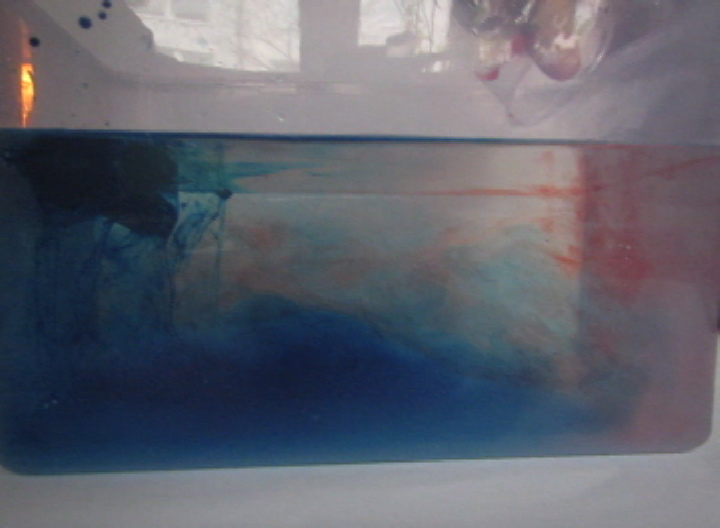
overturning-ice-2A very easy way to get a nice stratification! And as you see in the video below, awesome internal waves on the interface, too.
overturning-ice-3

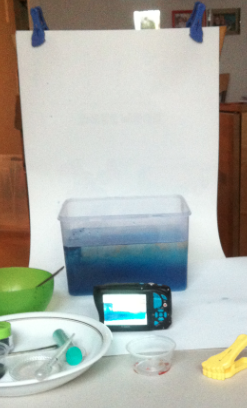
And because I know you like a “behind the scenes”:

I took this picture sitting on my sofa. The experiment is set up on the tea table. The white background is a “Janosch” calendar from 15 years ago, clipped to the back of a chair. And that is how it is done! :-)

Screen shot 2015-11-02 at 3.41.24 PM

Overturning experiment. By Mirjam S. Glessmer

A very simple overturning experiment for outreach and teaching

For one of my side-projects I needed higher-resolution photos of the overturning experiment, so I had to redo it. Figured I’d share them with you, too.

You know the experiment: gel pads for sports injuries, one hot (here on the left), one cold (here on the right). Blue dye on the cold pad to mark the cold water, red dye on the warm pad as a tracer for warm water.

overturning

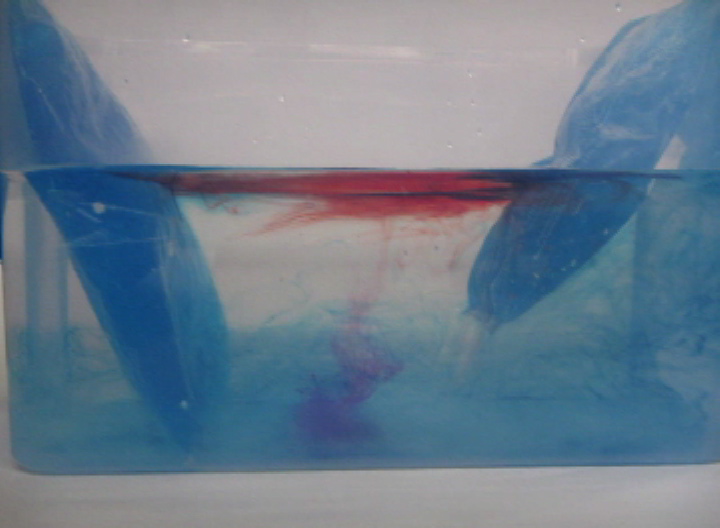
Thermally-driven overturning circulation: Warm water flowing near the surface from the warm pad on the left towards the right, cold flow from the cool pad at the bottom right to left.

A circulation develops. If you drop dye crystals in the tank, the ribbon that formed gets deformed by the currents for yet another visualization of the flow field.

overturning2

Thermally-driven overturning circulation. In the middle of the tank you see a ribbon of dye, caused by falling dye crystals, being transformed by the currents in the tank.

Lighting is a problem this time of year. I chose natural light over artificial, and it came out ok, I think.

And here is the video:

On buoyancy

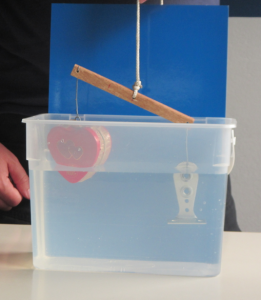
This is an experiment that Martin brought to Ratzeburg and that he let me use on my blog: Using a beam balance to talk about buoyancy.

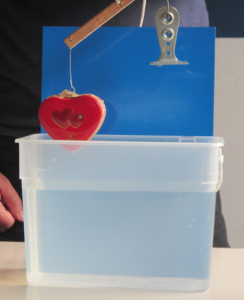
So at first we have two objects hanging on the beam balance, a heavy one with a large volume, and a lighter one with a smaller volume.

IMG_2527

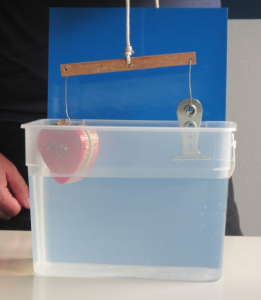
As we lower the beam balance towards the water, the large object starts floating! Whereas the other one does not.IMG_2526

And in fact, the small object sinks and the larger one keeps floating.IMG_2525

What a great experiment to talk about density and buoyancy!

Sink or swim – experiments using tin foil

A pet peeve of mine are books on handcrafts or experiments or any kind of activity that come with drawings instead of pictures, because I always suspect that it was easier to draw whatever the author wanted to show than to take a photo of it. Which, to me, suggests that it isn’t really all that easy to conduct the experiment or build the wicker basket or whatever it is you are attempting to do.

So here is an experiment that I had seen drawings of and that Martin and I went to try: on swimming and sinking.

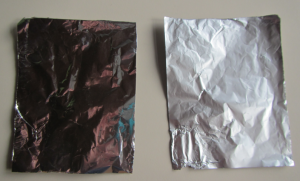
Step 1: Take two identical pieces of tin foil.

IMG_2528

Two identical pieces of tin foil

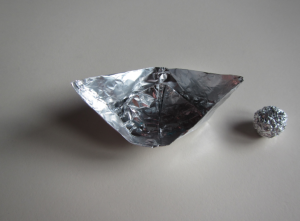
Step 2: Build a boat out of one of the pieces, and a ball out of the other one.

IMG_2529

Two identical pieces of tin foil made into a boat and a ball.

Step 3: Place the boat and the ball on the water surface.

Step 4 to step 9: (And these are the steps that the nicely drawn instructions always omit) Watch the ball float on the surface. With growing annoyance, try to make the ball as compact as possible in order to make it sink.

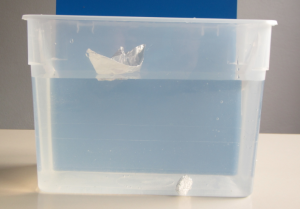
Step 10: This is what we wanted to see after step 3 already. Even though the boat and the ball are made of identical pieces of tin foil and their mass is the same, the boat floats while the ball sinks.

IMG_2531

A boat and a ball made of identical pieces of tin foil. Boat floats, ball sinks. Nice demonstration!

What do we learn from this? Always test experiments before using them as a demonstration, especially those that look extremely simple!