Tag Archives: active learning

Does multitasking hurt learning? Show ’em!

I am reading the “Faculty Focus” mailing list, and a side-note in one of their recent posts, “Why policies fail to promote better learning decisions” by Lolita Paff, really struck a chord with me.

The article is about how to modify policies (like no screens! compulsory attendance! etc) to help students understand why behaving in a way the policies tries to enforce is actually beneficial to them and their learning. She refers to the article “The effect of multitasking on the grade performance of business students” by Ellis, Daniels, Jauregui (2010), where they show the effect of multitasking by splitting a class in two, and allowing one half to text while the other half has to switch off their phones. It turns out that the half that wasn’t multitasking performed significantly better on a test later.

So far, so not surprising. But what Paff suggests is really simple: Rather than telling your class about how multitasking is harming their learning, or even talking explicitly about the Ellis et al. paper, re-do this experiment with your class! In times of clickers in most (many? some?) classrooms and online-testing as abundant as it is, doing this for a class period, then testing, then showing the results is really not a big deal any more. And how much more impressive for your students to see how one half of the class performs significantly better than the other than just hearing that multitasking might not be such a good idea? I would certainly like to give this a try next time I’m teaching a class where I feel that students are multitasking too much.

P.S.: Maybe you shouldn’t split your class front vs back to get those results or other factors might come into play ;-)

Yvonne Ellis, Bobbie Daniels, & Andres Jauregui (2010). The effect of multitasking on the grade performance of business students Research in Higher Education Journal

Preparing my workshop on how learning works

As you know, I’m preparing a workshop for teaching assistants in mechanical engineering at Dresden University of Technology. And even though I’ve given similar workshops successfully more than once before, it somehow happened that I changed my plan a bit here, and then changed a bit there, and am now constructing the whole workshop from scratch. Oh well…

Anyway, this is my current plan (which is going to change again more likely than not).

First: Start out with how people learn. It doesn’t work like this:

2015-09-19 14.29.49

This is not how learning works!

To talk about constructivism, I am using the examples presented in this blog post. I will talk about the consequences for teaching, for example that no matter how well we explain and describe, it would be really surprising if people understood exactly what we meant.

A nice game, by the way, that illustrates this nicely, was played at my friend Zhenya’s wedding: the couple is sitting, back to back, and each of them gets an identical set of Lego stones. Only that one person gets them assembled and the other person loose, and the person who got the assembled set has now to describe the assembled construction well enough that the other person can recreate it from their pieces! Quite fun, especially if — in contrast to how it worked at Zhenya’s wedding — they don’t define a common frame of reference first…

2015-09-19 14.29.29

“…and there are three branches on either side of the tree, and there is an apple hanging from the lowest branch on the right side”

Next, I want to talk about active learning. There are many papers on that that I have presented here on this blog, too, for example Freeman et al. (2014), Smith et al. (2009), or Crouch et al (2004). All those certainly deserve to be mentioned.

Then, I want to go into motivation, and you’ve seen a couple of blog posts on this recently (for example on why do students actually engage in learning activities or how do boundary conditions influence learning).

Obviously, the way those three topics are presented will not be a lecture, but I will be using various active learning methods (currently, there are a dozen on my list!). And while we are talking about those three topics and using those 12 different methods, we will always link back the current method to the theory of learning or motivation we are talking about at that moment.

Quite a tall order, you say? Well, yes. But all the parts have worked really well individually, so I am pretty confident that they will work even better when combined this way. I’ll let you know! And if you want to pre-book me to do a workshop where you are at, just get in touch! :-)

How do you make sure your students come prepared to your flipped course?

As I mentioned a while back, we are preparing a flipped course. And the biggest question always is how to make sure students actually prepare for class. Because if they weren’t prepared, what would you do? Repeat the content they should have read about at home and bore the few students who actually did the reading, risking that they won’t bother reading before the next class? Just pretend everybody did their reading even though they clearly don’t have a clue what you are talking about, hoping that they’ll see the necessity of preparing for your next class? Either option isn’t very tempting.
But luckily I came across a study by Heiner, Banet and Wieman (2014): “Preparing students for class: How to get 80% of students reading the textbook before class”. They describe two introductory courses, physics and physiology, where they tested the method they describe, and they find that 80% of students regularly read the textbook (a lot more than what we would expect and than what has previously been reported!). So what is the secret?
They give explicit best practice suggestions, but here is what I took away from the article:
  1. Make sure the pre-read material is actually necessary for the class! So build on it rather than re-teaching it.
  2. Keep the readings short and with a clear connection to the next class. In the study, they pointed out which parts of the texts were essential and which were not.
  3. “Force” the students to look into the textbook. By referring to figures in the textbook rather than reproducing the figures in the online test, students actually have to find the book and open it – a big threshold to reading overcome right here and my favorite trick!
  4. Don’t just prescribe reading, make sure to give opportunity for practice and feedback as well. In the study, they give a 10-15 minute quiz as part of each one-hour assignment.
  5. In your quizzes, make sure the questions are easy to answer for those students who did the pre-reading assignments, and difficult for everybody else.
  6. Explain and remind students of the purpose of the reading: To prepare them for class so class time can be spent more efficiently and the expertise of the instructor is used better.

Another very encouraging finding of the study is that students report benefits of the pre-readings, for example being prepared for class, managing to keep up with the pace of class or getting feedback on their knowledge. 75% of the students state that the pre-readings were helpful for their learning (which is incidentally a higher percentage than those who mention that marks motivated them to do the readings! But since the latter one was in response to an open question this isn’t a fair comparison ;-).

Are you flipping your class already? Any advice for us?

Heiner, C., Banet, A., & Wieman, C. (2014). Preparing students for class: How to get 80% of students reading the textbook before class American Journal of Physics, 82 (10), 989-996 DOI: 10.1119/1.4895008

Thank you, Archimedes!

I really like hydrostatics. Of course I like moving water even better, but even static water is great. And there are so many things to explore! If I was to teach hydrostatics any time soon, there are so many little teasers I would use.

For example this one:

A sailor is standing on the bottom step of a rope ladder, painting the outside of his ship. The bottom step is 50 cm above the water, the distance between steps is 30 cm. The flood is coming in, and the water is expected to rise by 1.5 m. How many steps will the sailor have to climb in order to keep his feet dry?

Or this one:

How much heavier will a trough in a ship lift get when a ship is inside?

A: the weight of the ship
B: the weight of all parts of the ship above the water line
C: not at all
D: I don’t know*

You might think that these are really easy questions, but then you might be surprised! Funnily enough I drafted this post weeks ago, and then last week a colleague of mine talked about how this was a really difficult question, so I had to post it now ;-)

Another question that he mentioned that students found really difficult is similar to this one:

If an anchor is dropped from a boat into a pond, what will happen to the water level?

A: It will rise
B: It will sink
C: Nothing
D: I don’t know

Answer to that one in this post

*Remember why we always include the “I don’t know” option? If not, check out some more posts on multiple choice questions under the MCQ-tag!

Peer instruction! Combine it with individual thinking or discussions with the whole class?

Make sure it stays silent during the first step of the clicker process.

When using clickers in class, there are many different possible ways of implementing clicker questions and peer instruction, for example the Mazur sequence (which is our default sequence) and the Physics Education Research Group at UMass (PERG) sequence. Let’s recall:

The Mazur sequence:
1. A concept question is asked
2. Students think individually for a couple of minutes
3. Students vote on the question
4. The result of the vote is shown as a histogram
5. Students are asked to convince their neighbor of their answer (“peer instruction”)
6. Students vote again on the same question
7. The result of the second vote is shown as a histogram
8. Lecturer explains correct response and why the distractors were incorrect

The PERG sequence:
1. A concept question is asked
2. Students discuss the question for a couple of minutes in small groups
3. Students vote (individually or as a group)
4. The result of the vote is shown as a histogram
5. Students discuss their answers with the whole class, lecturer facilitates the discussion
6. Lecturer explains correct response and why the distractors were incorrect

So the difference here is that in the Mazur sequence, students get the chance to think and vote individually before entering the peer-instruction phase, whereas in the PERG sequence, students first discuss and then discuss in an even bigger group (which is, in my experience, basically what happens when you don’t explicitly ask students to think for them selves first in the Mazur sequence).

Firstly, for both models students report that the clickers helped them learn compared to a conventional lecture, because they were more actively involved, felt motivated by receiving the immediate feedback, and felt that the instructor adapted instruction to meet their learning needs.

Secondly, in both cases students liked peer instruction, for many of the reasons we use it: They felt like they were convinced by the best arguments in the discussion, thus practicing putting forward strong arguments as well as learning the “actual content” of the course. They also mention how scaffolding, i.e. learning something from someone who only just learned it themselves is easier than learning from an expert, helps, because it is more accessible both in language and in explanation itself.

But do the different sequences make a difference? Rhetorical question, of course they do!

Almost all students preferred starting with individual thinking and voting rather than with peer discussion. They state that the individual vote forced them to think for themselves, whereas in an initial peer discussion they might slide into a passive role and unthinkingly accept answers from others.

As for class-wide discussions, while some students liked hearing both correct and incorrect responses from outside their own peer group, and some also liked the pressure that comes with knowing that you might be called upon to answer a questions as a motivator for staying focussed in class, there are drawbacks to it, too. For example, it takes a lot of time, it is easy to drift away from the question and it can easily become confusing, in addition to threatening. Benefit of class-wide discussion is seen mostly in cases where the class was clearly divided between two answer choices.

So based on this study, we should definitely make sure to have students vote individually before peer discussion, and this means enforcing silence in the classroom while the students think about what to vote.

 —

David J. Nicol, & James T. Boyle (2003). Peer Instruction versus Class-wide Discussion in Large Classes: a comparison of two interaction methods in the wired classroom Studies in Higher Education, 28 (4)

Activating students – a vicious circle?

Can we become “too motivating”?

One thing I’ve been pondering recently are vicious circles, especially in teaching and learning contexts.

Imagine this situation:

You observe that your students are not as active as you would like them to be. Hence you change something in your teaching to make them become more active: You act more entertaining, you include more peer instruction, you add clickers. Initially, your students respond, but then you notice that the more effort you put into keeping them active, the less activity they show by themselves. Hence you become even more active.

What is going on?

Teufelskreis_Motivation

Motivating students – a vicious circle?

You might have gotten caught in a vicious circle. So how do you get out again and make them take on responsibility for their own learning?

The first thing to note with vicious circles is that you are caught in one. And that even though there are several players in a vicious circle, you can only influence what you do in reaction to the other player, and how you interpret their reaction. So even though they seem to expect more entertainment from you, that does not mean that you have to provide it.

A good start would be to decide for yourself how far you want to go in “activating” your students, and from which point onwards you think they should really take on the responsibility themselves. And then, all you can do is stick to your decision. Sorry ;-) No, kidding. Basically you’ll have to help them find intrinsic motivation. Which sounds contradictory in itself. But we’ll talk about your options in a later post.

Problem-based learning: Solar eclipse, part II

PBL – the final steps.

Two weeks ago, I described the first five steps of the problem-based learning (PBL) method. Last week, we continued with the workshop and went through the final steps.

Step 6, the research phase, was completed over the week between the two workshops: Everybody worked on questions related to observing the solar eclipse safely. Results of this step were brought together last Friday in step 7:

Step 7 then finally happened on the day of the solar eclipse, March 20th. Everybody was supposed to bring the answers to the questions as well as some sort of equipment made from “household items”. This is what we ended up with:

DSC_3766

Participants of the PBL workshop watching the solar eclipse using many different methods. Picture by Alina Gruhn (thanks! :-))

I am going to describe all the different methods in Wednesday’s post, but today I want to focus on the PBL method. We had planned the workshop from 9:30 to 12 am, which luckily coincided pretty much exactly with the solar eclipse. Originally, we wanted to follow the method, i.e. bring together everybody’s results and discuss their merits, and only then start our observation. The idea was to watch over the period of maximum coverage because we thought that would be the most exciting part.

Luckily, though, facilitator Siska was flexible enough* to let us start observing only a couple of minutes into the workshop, when someone realized that we could actually see the moon moving in front of the sun. Everybody got super excited and we even brought in our colleagues who didn’t participate in the workshop to watch with us.

After a while we got back to work, and then clouds started to appear and the weather changed completely. While we had had completely clear, blue skies during the observation, it now became overcast and foggy. Good thing we didn’t wait!

So there were a lot of things to be learned during that workshop, too. (Remember, the topic of the workshop wasn’t really the solar eclipse – we had just used it as an example case. The real goal was for instructors to experience the method before they are to use it in their own teaching!). For example: If your group gets excited during the process – let them run free for a bit and use the momentum to your advantage. You miss the best learning opportunities if you don’t!

* need more proof of her flexibility? She was only that very morning told that she would have to fill in for Marisa, who wasn’t well enough to continue running the workshop!


Problem-Based Learning: Solar eclipse

Workshop on PBL, using the upcoming solar eclipse (on Friday!) as a case study.

I am currently attending a workshop run by one of my all-time favorite colleagues, Marisa, on Problem-Based Learning. The workshop is aimed at people who want to use PBL in their teaching, and is split into three sessions. By pure dumb luck I realized that the second session will be on March 20th, the day of the solar eclipse. So of course I had to hijack the workshop a make her write a case study on that topic! (We really had to – I don’t think we could expect anyone to sit inside and work on some old case study if a solar eclipse was happening outside).

IMG_0939

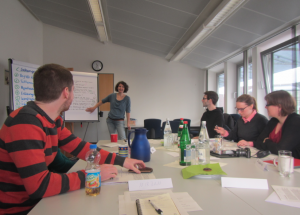
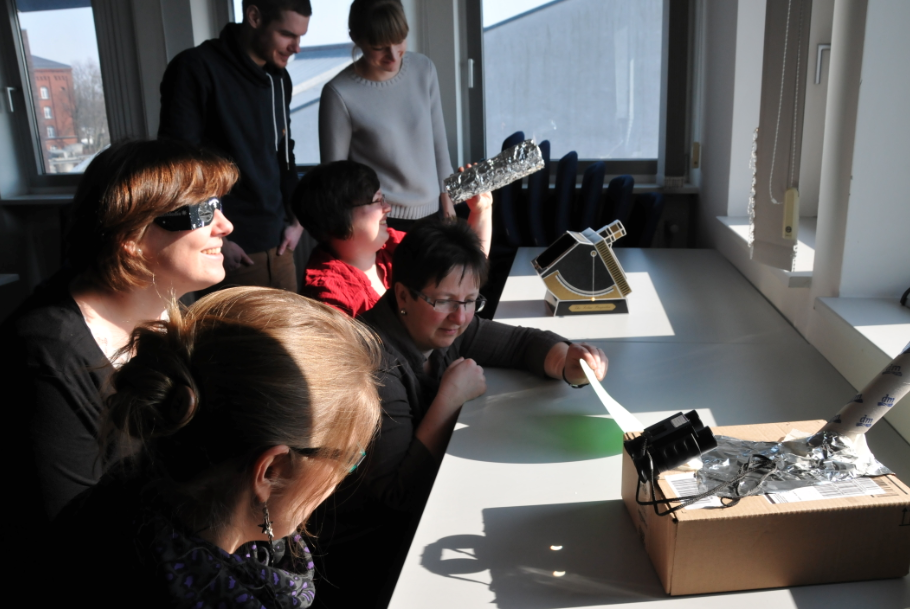
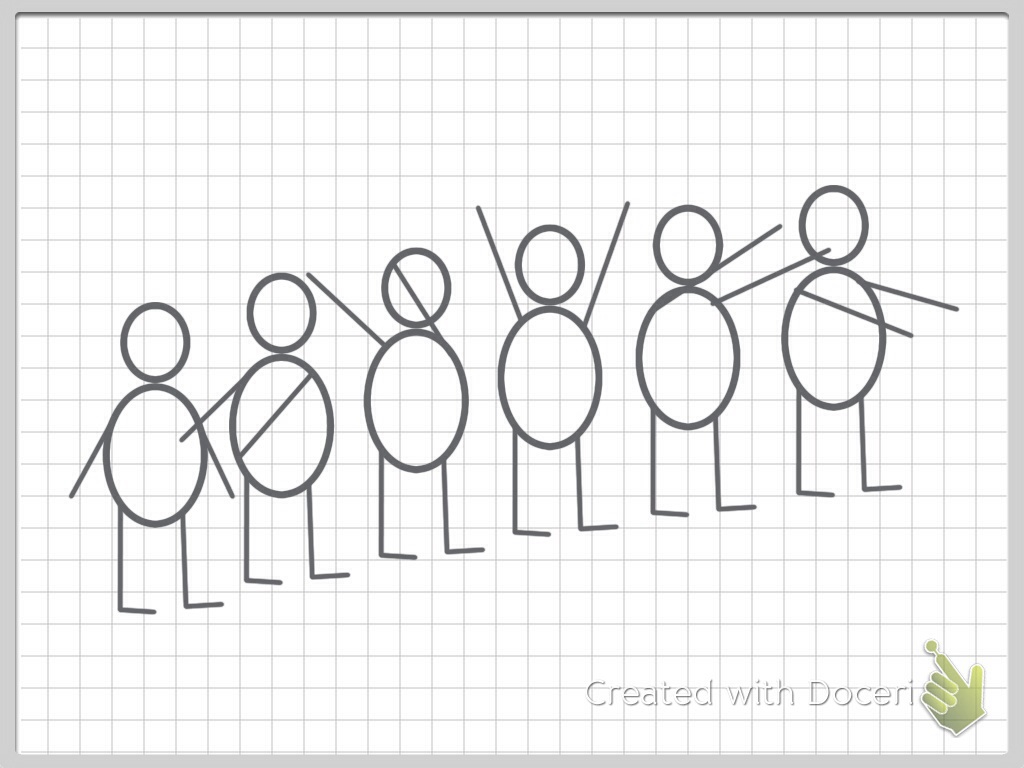
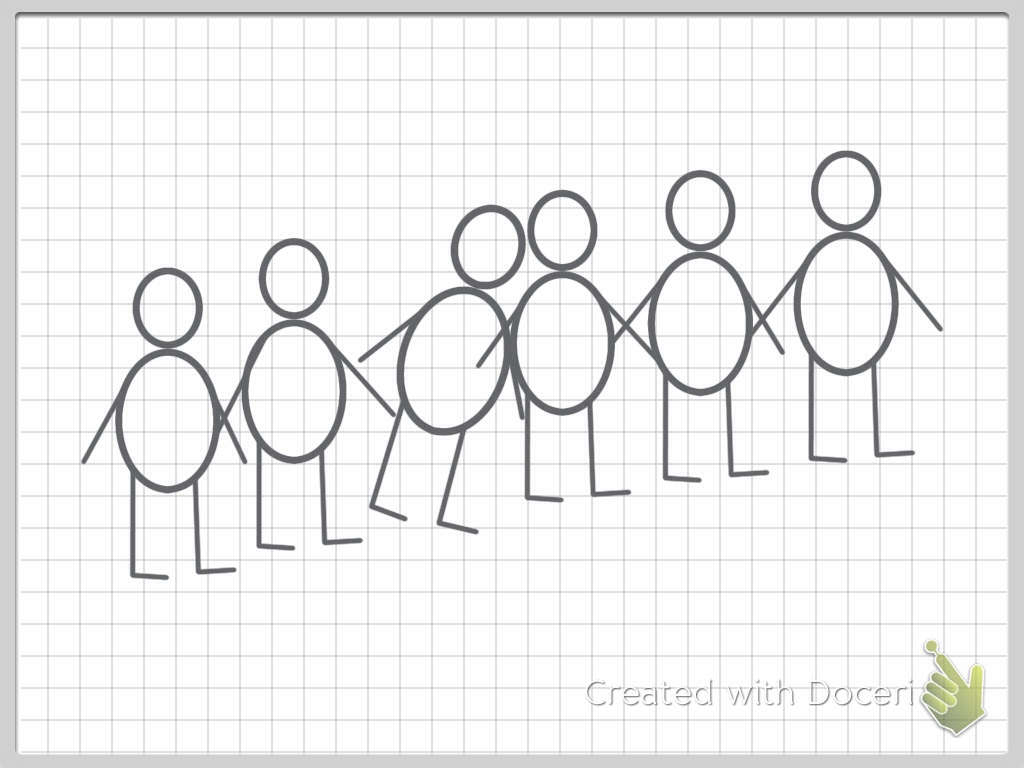
Marisa teaching us how to use PBL

I am going to use that case and that workshop to talk you through the concept of problem–based learning.

The solar eclipse case.

In a nutshell, this is our case: Imagine it’s your god-daughter’s 7th Birthday on March 20th, 2015. She’s super into astronomy and you want to watch the solar eclipse with her. You don’t want to buy equipment, but you know she gets very excited and therefore need to make sure she’s ok. What do you do?

The seven steps of PBL

During the first workshop last Friday, we went through steps 1 to 5 of the Maastricht PBL model. Before the first step, Marisa gave a brief introduction to the method, and picked someone to document the discussion. Usually you would also pick someone to lead the discussion, but since we were all inexperienced with the method, Marisa took that role herself – something she’s recommend we do the first time we do PBL in class, too.
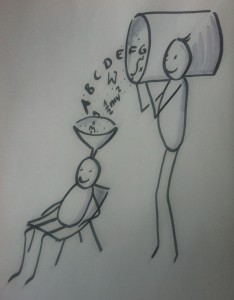
1. Clarifying terms

In this step, participants read the case and make sure they understand all the terms. For example, in our case, people discussed “equipment”, “household items” (which we had said they could only use for their equipment) and “solar eclipse”. Discussion here is merely to clarify that everybody reads the case the same way – if terms came up that we couldn’t come to an agreement on in this step, we wouldn’t do research now but postpone it to step 2.

2. Defining the problem

Here, all possible questions that we might want to answer during this PBL case were collected. Again, we were not answering anything yet, just collecting facets of the problem that people thought were interesting and should be investigated. For us, this meant for example “what can we use to protect our eyes?”, “will we need to make sure our god-daughter gets out of school so we can take her to watch the solar eclipse?”, “how much background do we want to convey to her?”.

The second question – about how we’d get her out of school, was answered by Marisa: We can assume that that is not an issue. So here the tutor can interfere and guide the discussion if it leads too far from the desired learning goals.
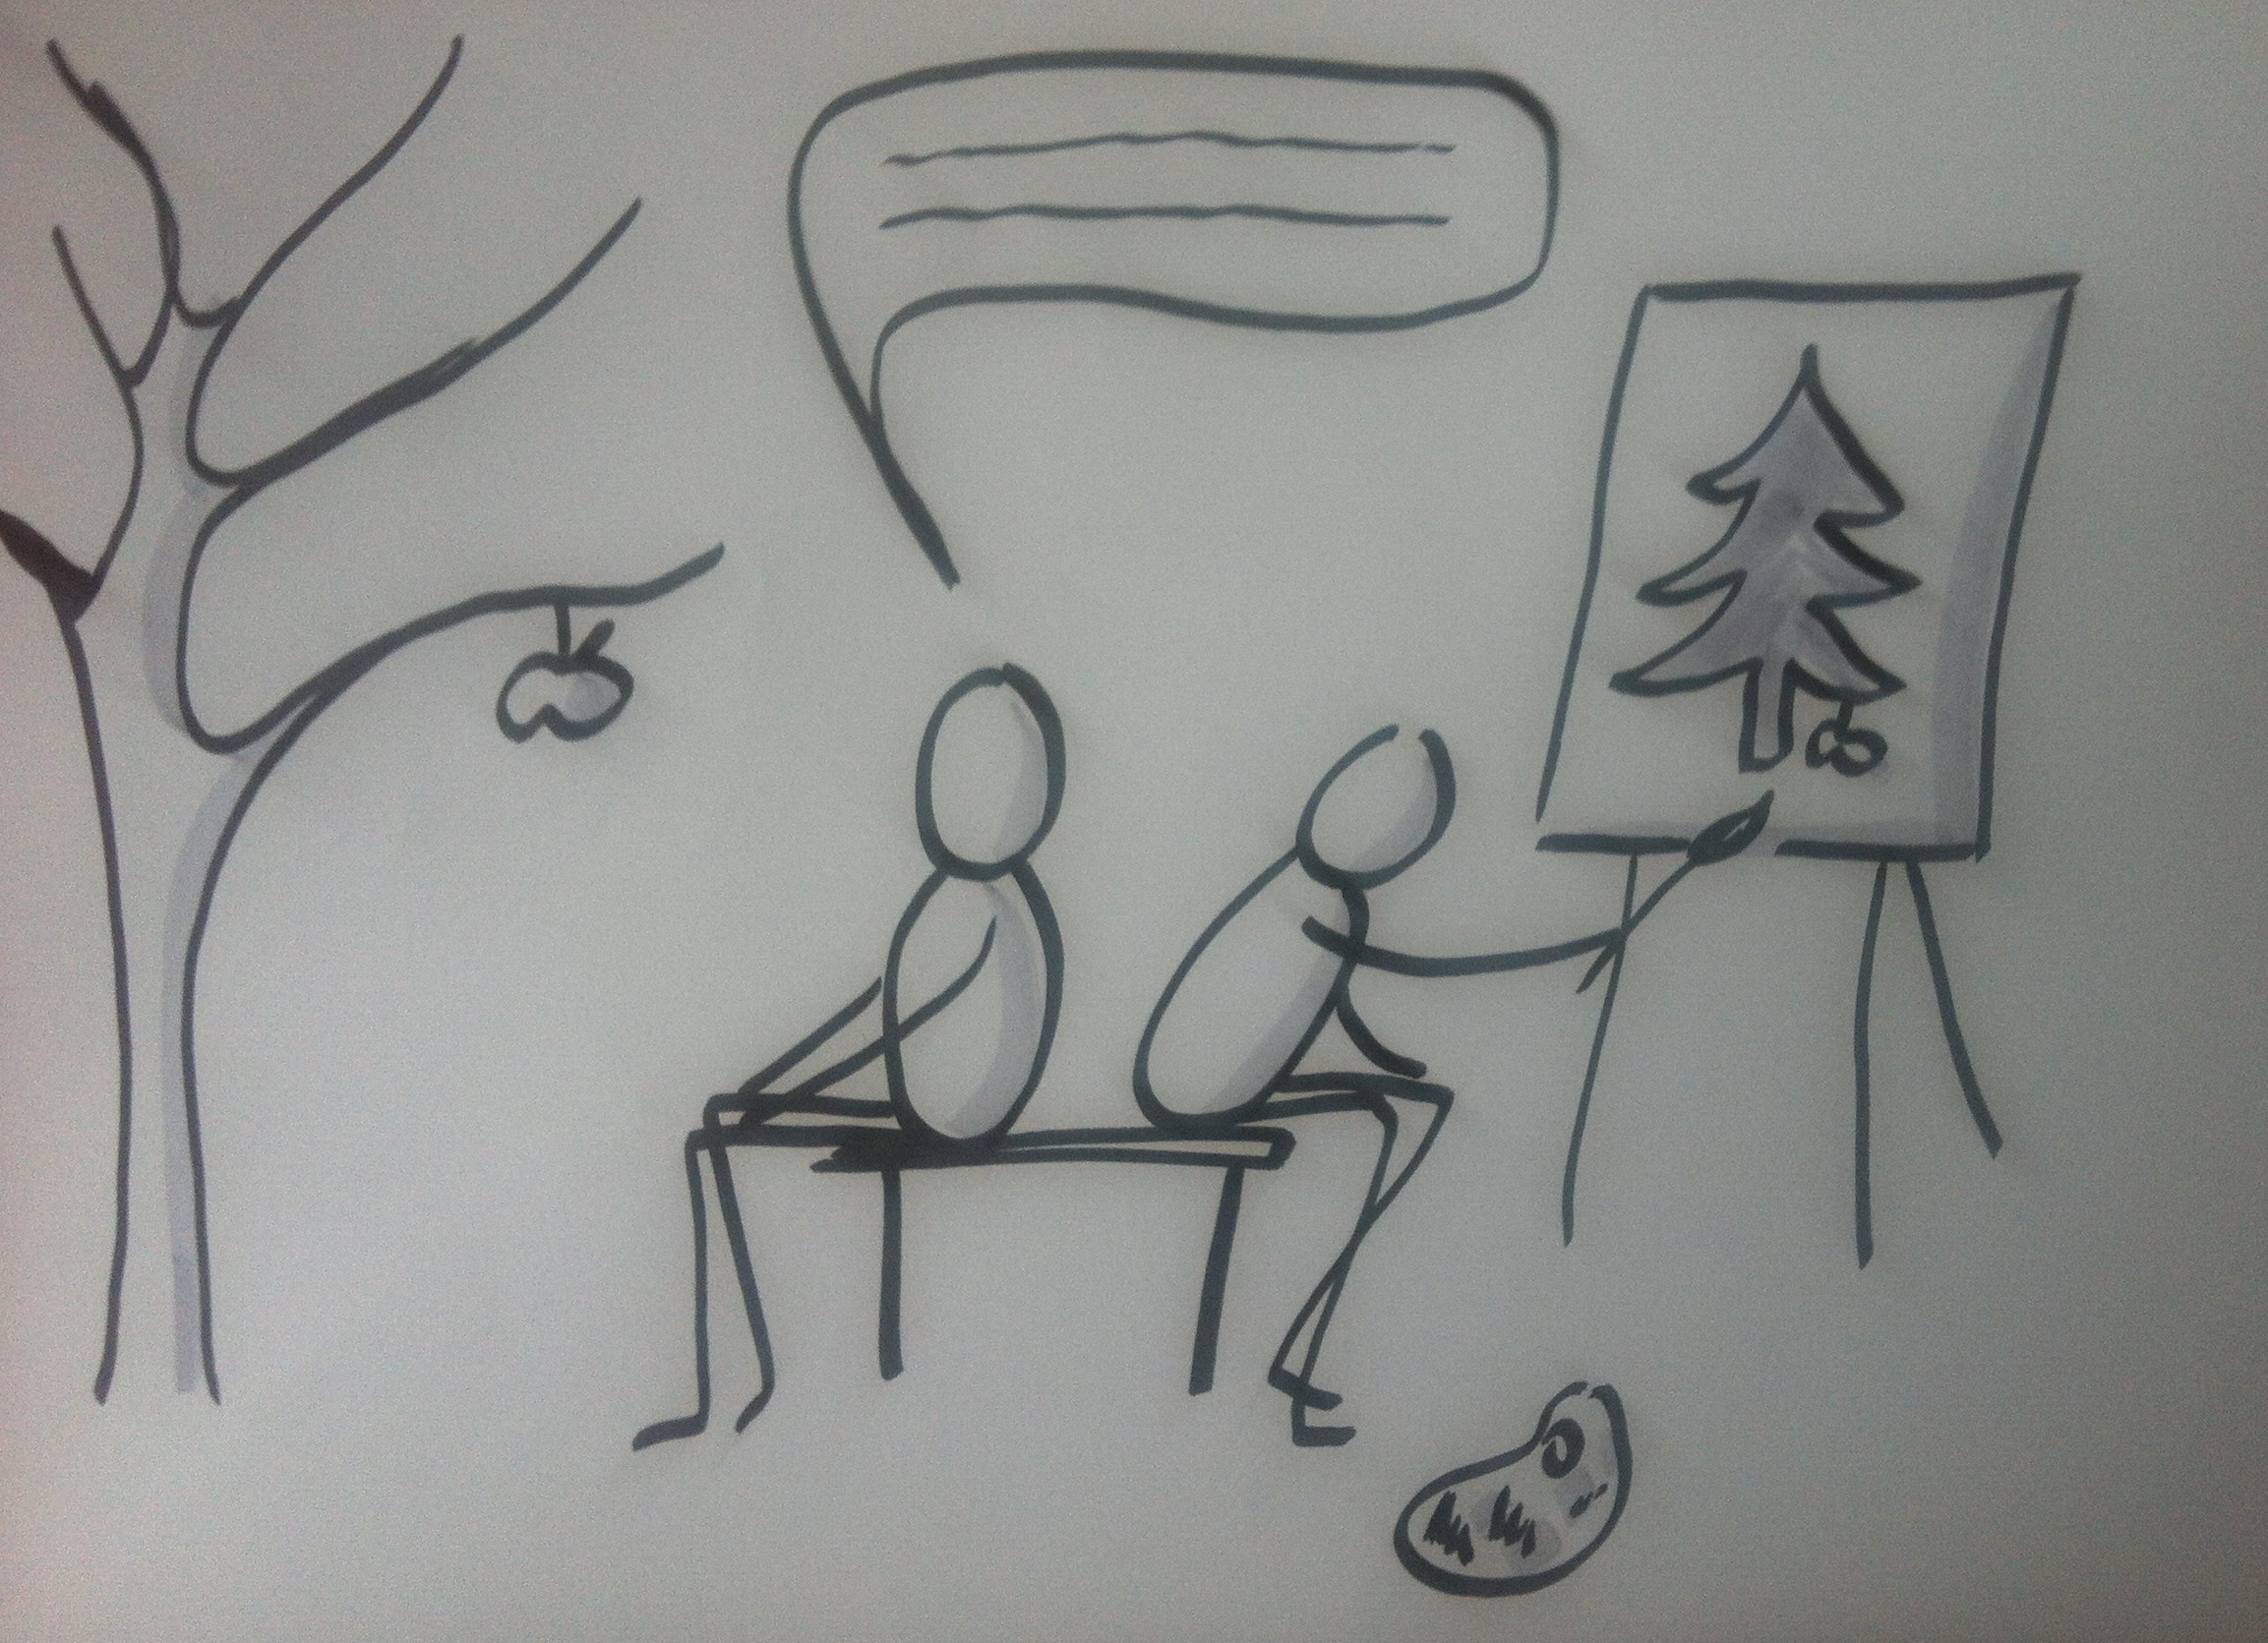
3. Brainstorming

In this step, we collect all kinds of possible answers to the questions brought up in step 2. Since this is still a brainstorming phase, they should not be judged or discussed, just collected. So for example we came up with different activities that we could pursue with her in case the weather was bad or possibly for giving her a bit of a theoretical background before watching the solar eclipse.

4. Structuring and hypothesis

Now we took keywords from phase 2 and 3 and sorted them. As a group, we didn’t actually decide on whether to sort by importance or by logical order of steps (so for example if we looked at the weather forecast and were sure we would not be able to see anything, we would not need to look into eye protection, however eye protection seems really important and also fun to investigate). It was interesting to see how it led to quite some frustration that people weren’t sorting following the same criteria, yet nobody “made” the group decide which criteria they wanted to use.

5. Learning objectives

In this step, the structure found in step 4 is being written up in complete questions – those are the questions that will be answered later.

So all that is missing now are steps 6, “Searching for Information”, which students are currently doing and which should be finished by Friday, and 7, “Synthesis”, which we will do on Friday.

Working with people who will later use PBL in their teaching, one of the important points was to let them experience what it is like to be a student in a PBL setting. Seeing how frustrated some people got, and how we really often didn’t know what to do was super important to get an idea of what it would be like for our students.

Until now, nothing “step 6″ish has happened. I am curious how much work outside of the workshop is going to get done, and if it will get done by a group or by individuals. I’m kinda itching to get the group together to discuss, but I’m going to try to not do it and see what happens.

I’ll keep you posted on my experience with step 6 and 7, on how I can see myself using this method, and on how things turn out :-)

Let’s do the wave! Longitudinal or transversal?

A simple visualization of two types of waves.

The FIFA world cup has been over for a while now, but I still need to share an idea I had watching one of the games when the audience got bored and started doing a wave around the stadion: this would be a great in-class demonstration of how waves do not transport matter! I usually show demos of waves travelling on ropes, but this could be much more fun – to see the shape of the wave travelling when clearly the students are not moving away from their spots.

Depending on how easy it is to calm that particular class down again you might even consider letting them do a longitudinal wave, too.

Have fun and let me know how it goes!

How to make demos useful in teaching

Showing demonstrations might not be as effective as you think.

Since I was talking about the figures I bring with me to consultations yesterday, I thought I’d share another one with you. This one is about the effectiveness of showing demonstrations in the classroom.

As you might have noticed following this blog, I’m all for classroom demonstrations. In fact, my fondness for all those experiments is what led me to start this blog in the first place. But one question we should be asking ourselves is for what purpose we are using experiments in class: “Classroom demonstrations: Learning tools or entertainment?”. The answer is given in this 2004 article by Crouch et al., and it is one that should determine how exactly we use classroom demonstrations.

The study compares four student groups: a group that watched the demonstration, a group that was asked to make a prediction of the outcome and then make a prediction and then watched the demonstration, a group that was asked to make a prediction, watched the demonstration and then discussed it with their peers, and a control group that did not see the demonstration. All groups were given explanations by the instructor.

So how much did the groups that saw the demonstration learn compared to the control group? Interestingly, this varied between groups. Tested at the end of the semester without mentioning that a similar situation had been show in class, for the outcome, watching the demonstration led to a learning gain* of 0.15, predicting and then watching lead to a learning gain of 0.26 and predicting, watching and discussing lead to a learning gain of 0.34. For a correct explanation, this is even more interesting: watching the demonstration only lead to a learning gain of 0.09, predicting and watching to 0.36 and predicting, watching and discussing to 0.45.

Crouch_demonstrations_learning_gains

Learning gains found by Crouch et al (2004) for different instructional methods of classroom observations.

So passively showing demonstrations without discussion is basically useless, whereas demonstrations that are accompanied by prediction and/or discussion lead to considerable learning gains, especially when it comes to not only remembering the correct outcome, but also the explanation. Which ties in with this post on the importance of reflection in learning.

Interestingly, in that study the time investment that led to the higher learning gains is small – just two extra minutes for the group that made the predictions, and 8 minutes for the group that made the predictions and then discussed the experiment in the end.

Since you are reading my blog I’ll assume that you don’t need to be convinced to show demonstrations in your teaching – but don’t these numbers convince you to not just show the demonstrations, but to tie them in by making students reflect on what they think will happen and then on why it did or did not happen? Assuming we are showing demonstrations as learning tools rather than (ok, in addition to) as entertainment – shouldn’t we be making sure we are doing it right?

* The learning gain is calculated as the ratio of the difference between the correct outcomes of the respective groups and the control group, and the correct outcome of the control group: (R-Rcontrol)/Rcontrol. For the actual numbers, please refer to the original article.