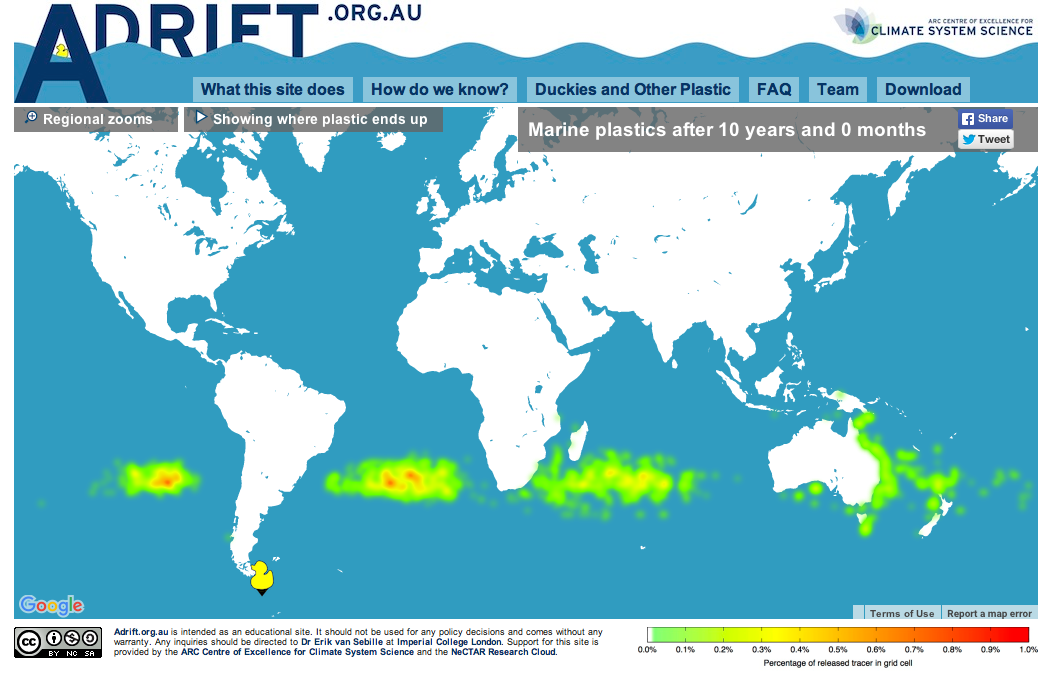
Using the “melting ice cube” experiment to let future instructors experience inquiry-based learning.
I recently (well, last year, but you know…) got the chance to fill in for a colleague and teach part of a workshop that prepares teaching staff for using inquiry-based learning in their own teaching. My part was to bring in an experiment and have the future instructors experience inquiry-based learning first hand.
So obviously I brought the ice cubes melting in fresh water and salt water experiment! (Check out that post to read my write-up of many different ways this experiment can be used, and what people can learn doing it). On that occasion the most interesting thing for me was that when we talked about why one could use this — or a similar — experiment in teaching, people mainly focussed on the group aspect of doing this experiment: How people had to work together in a team, agree to use the same language and notation (writing “density of water at temperature zero degree Celsius” in some short syntax is not easy when you are not an oceanographer!).
And this experiment never fails to deliver:
- you can be 100% sure that at least in one group, someone will say “oh wait, which was the salt water again?” which hands you on a plate the opportunity to say “see — this is a great experiment to use when talking about why we need to write good documentation already while we are doing the experiment!”
- you can also be 100% sure that in that group, someone will taste the water to make sure they know which cup contains the salt water. Which lets you say your “see — perfect experiment to talk about lab safety stuff! Never ever put things in your mouth in a lab!”
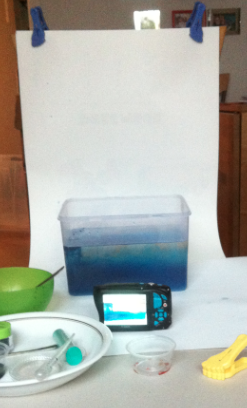
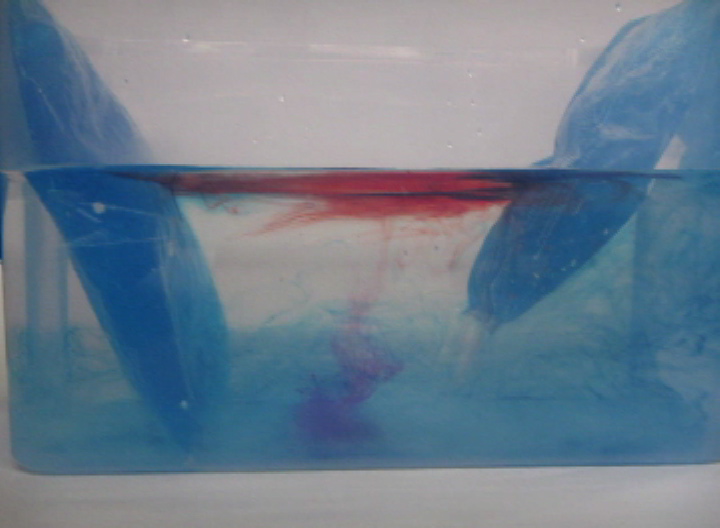
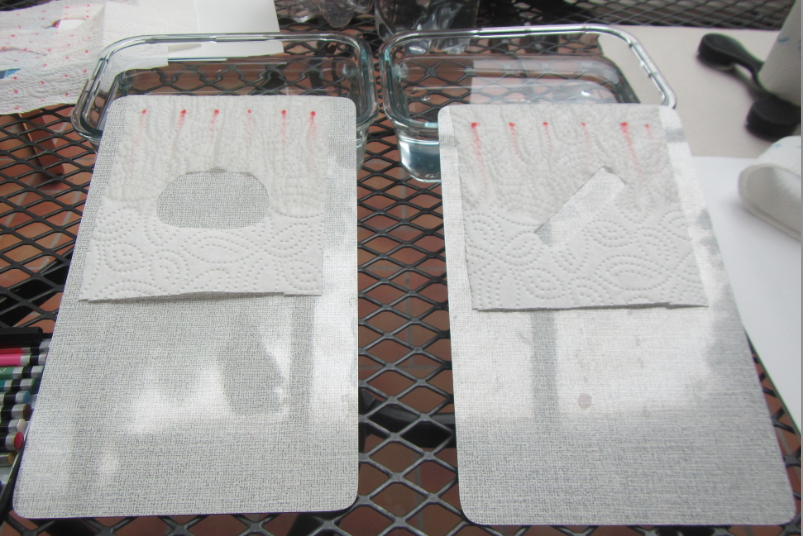
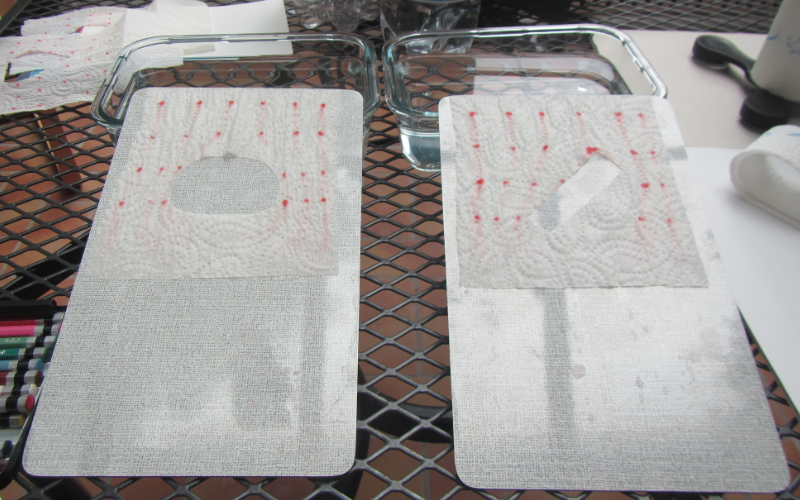
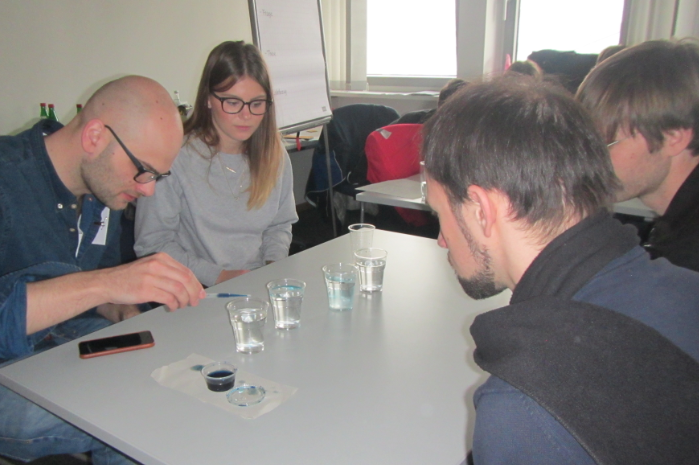
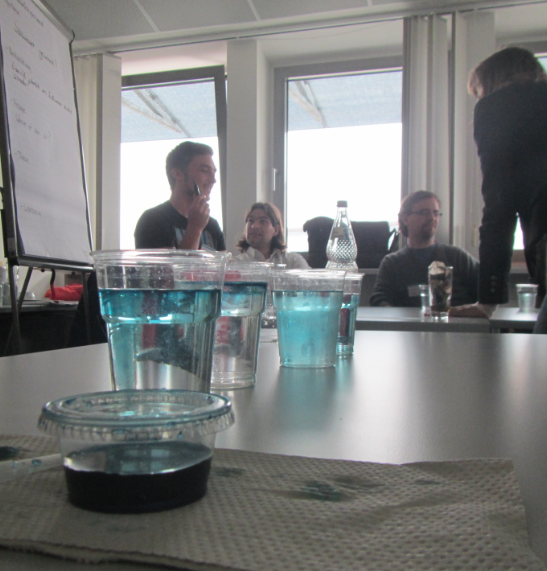
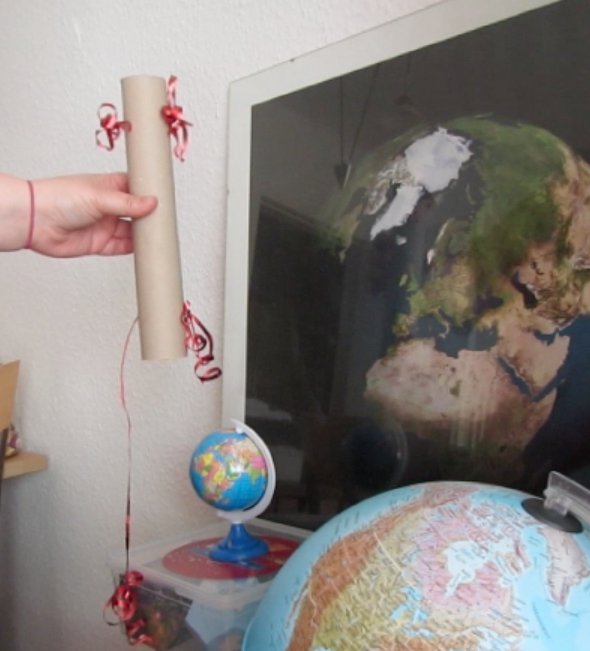
- you can also be sure, that people come up with new experiments they want to try. At EMSEA14, people asked what would happen if the ice cubes were at the bottom of the beaker. Today, people asked what the dye would do if there was no ice in the cups, just salt water and fresh water. Perfect opportunity to say “try! Then you’ll know! And btw — isn’t this experiment perfect to inspire the spirit of research (or however you would say that in English – “Forschergeist” is what I mean!). This is what you see in the pictures in this blog post.
So yeah. Still one of my favorite experiments, and I LOVE watching people discover the fascination of a little water, ice, salt and food dye :-)
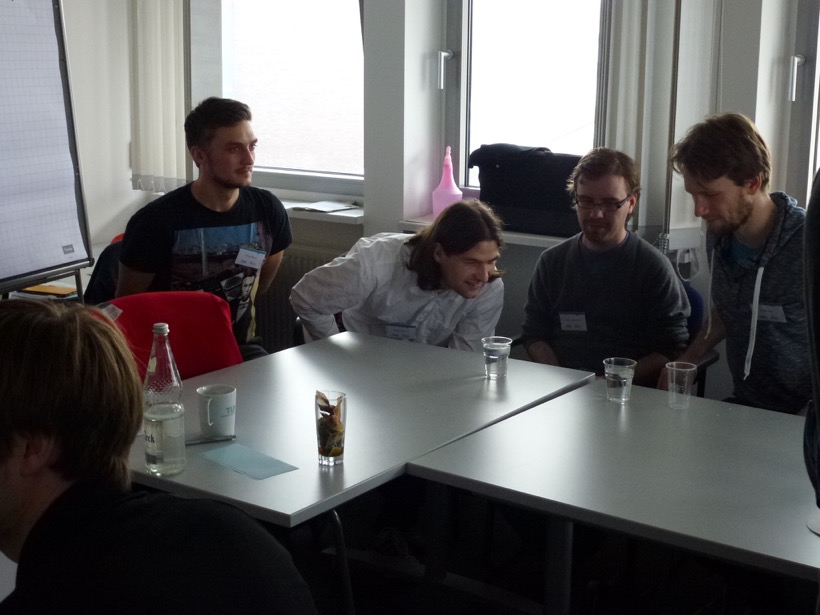
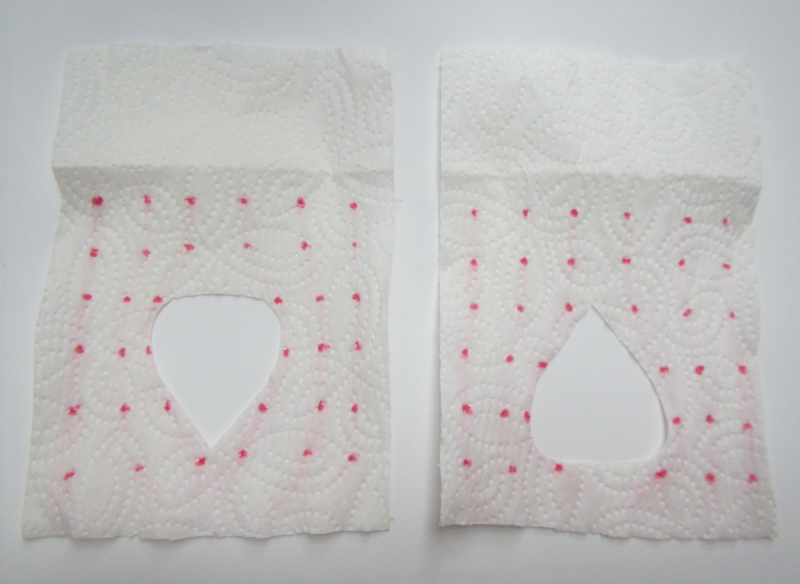
Photo taken by Ulrike Bulmann

Photo taken by Ulrike Bulmann
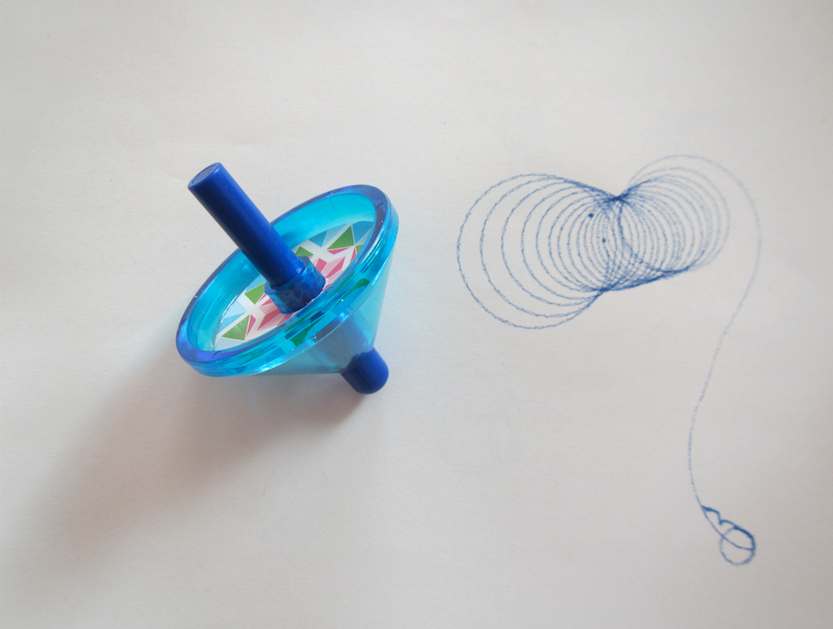
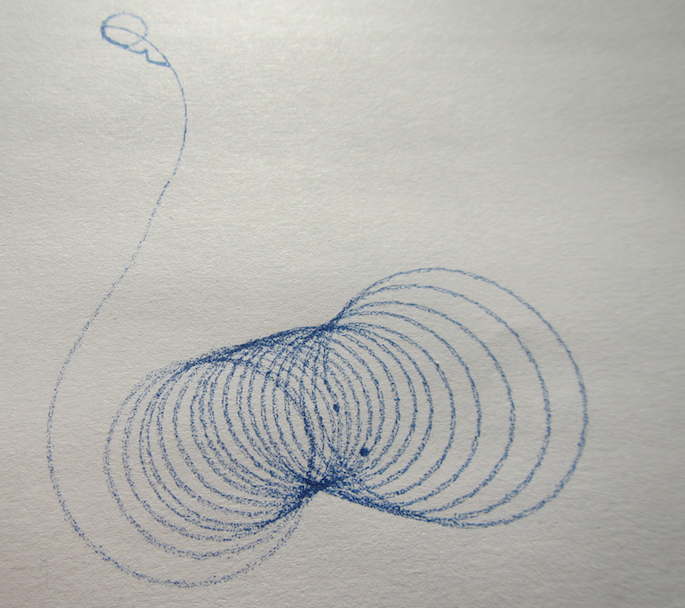
Btw, when I gave a workshop on active learning last week and mentioned this experiment, people got really really hooked, too, so I’ll leave you with a drawing that I liked:

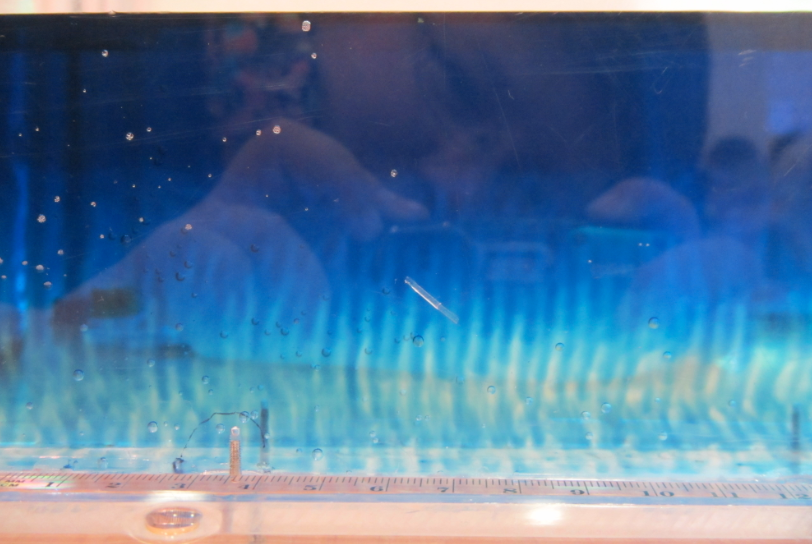
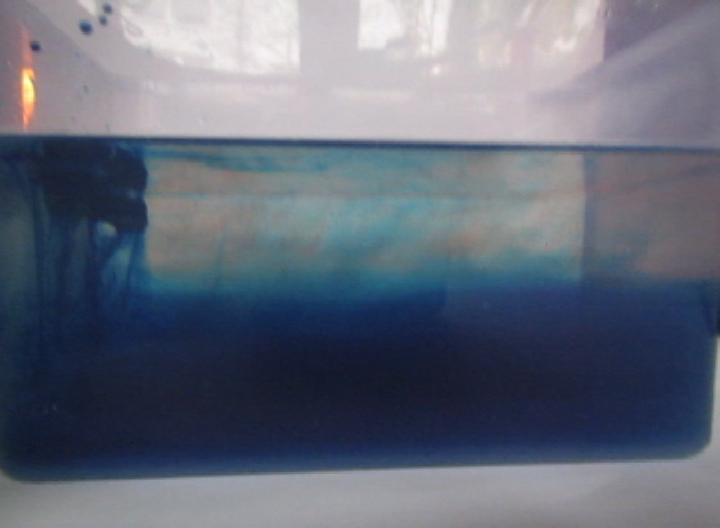
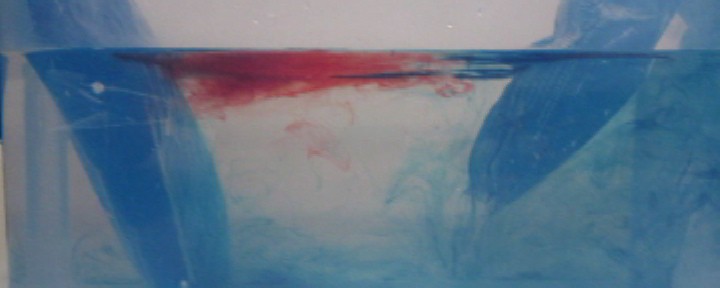
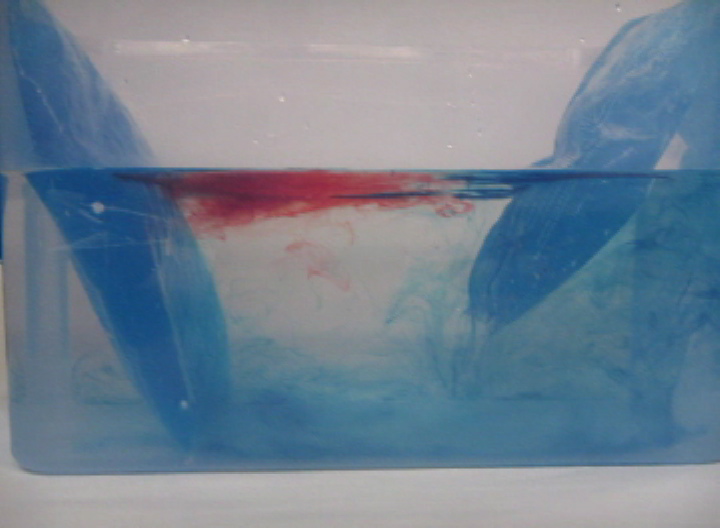
 Now. Ice cubes on the “cold” end. For convenience, they have been dyed blue so that the cold melt water is easily identifiable as cold.
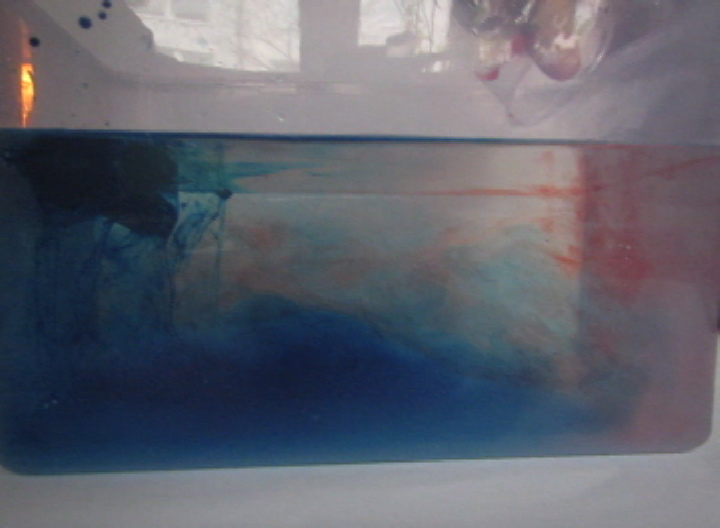 A very easy way to get a nice stratification! And as you see in the video below, awesome internal waves on the interface, too.