Category Archives: observation

Watching the solar eclipse using “household items”

Different methods to project the sun to watch it safely.

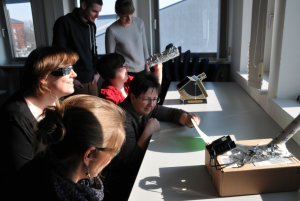
During our recent PBL workshop, we came up with a number of different ways to watch a solar eclipse by projecting the sun’s image on a screen, using “household items” (which was the task we had set). Many different methods are shown here:

DSC_3766

Watching the solar eclipse on March 20th, 2015. Photo by Alina Gruhn (thanks! :-))

Below are descriptions of the different projectors, starting with the easiest and becoming more and more difficult as you read along.

The pin-hole cardboard projector

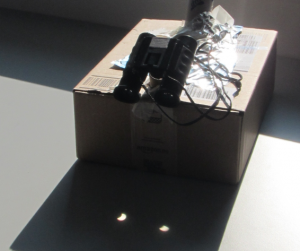
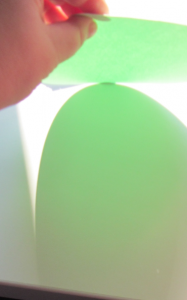
The easiest way to watch a solar eclipse anyone can imagine is the green card you see in the picture above: It’s just a piece of cardboard with a hole in the middle. The result might not be the most exciting of all, but in the picture below you see the small projection at the bottom right corner with a small bit bitten out of it. Not too bad for a no-tech version of a projector!
IMG_0954

“Solar projector”. Cardboard with a pin hole in the middle. See the projected image of the sun in the bottom right corner of the picture?

Next time one might want to use darker cardboard. But since this was just a proof of concept, I was happy enough with it.

The chips tube projector

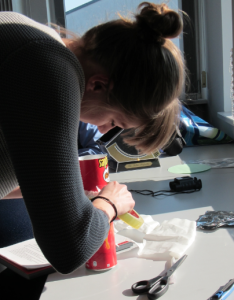
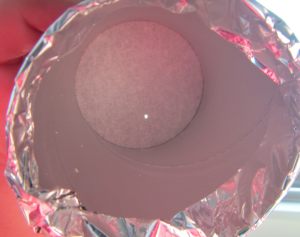
Participant F brought a cardboard chips tube which she cut in half, added sandwich paper in the middle, made a tiny hole in the bottom of the can and voila: projector.

IMG_0947

Creating the chips tube projector

While she was disappointed by the size of the image, I thought it was pretty cool:
IMG_0968

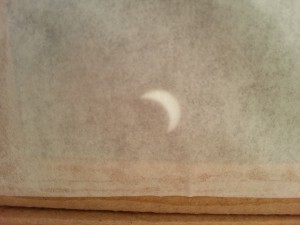
Projection of the solar eclipse in the chips can projector. See how the left part of the sun is missing?

The binocular projector

One projector that was amazingly easy to set up (provided you have binoculars handy) and that gave pretty impressive results is shown here:

IMG_0969

Projection of the solar eclipse using binoculars.

So easy, yet so effective!

Anna’s special projector

This is a project that had great potential, only we gave up on adjusting everything properly because all the other projectors were set up already and it was too exciting to watch the solar eclipse.

IMG_0948

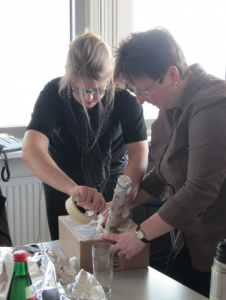
Anna and Siska building a projector

I think here the sun was projected on a screen inside the box, which you could look at through a tube. And the other tube is covered on top except for a tiny hole.

The solar projector

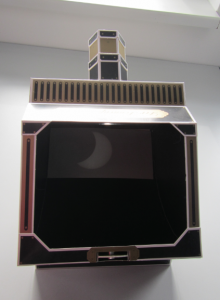
I know it is cheating a bit, but I decided to have the solar projector I talked about last week count as a “household item”. And it is, because I had it at home before we wrote the solar eclipse PBL case!

The projections with the real projector were super impressive:

IMG_0973

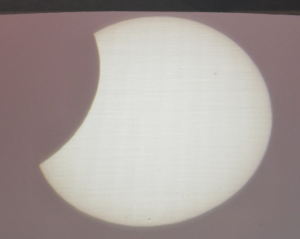
Projection of the solar eclipse in a real projector

In fact, we could even watch solar spots on the sun. I will definitely bring out this projector again long before the next solar eclipse!

IMG_0963

Projection of the solar eclipse. Can you spot the sun spots?

And one extra:

The box-projector

This one we didn’t try out ourselves (even though I had brought all the materials, but as I said above, we got so caught up observing that we didn’t pursue all the different options), so the pictures are from my mom’s school where my mom and my dad (and 20 something kids, I suspect*) had to play, too. See the tripod for scale – this projector is a lot bigger than anything we built at my work!
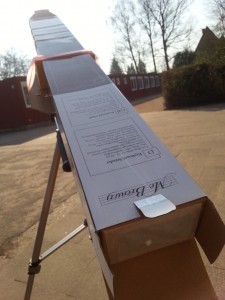
WP_20150320_002And their projections look pretty impressive, too:

WP_20150320_019

Projection of the solar eclipse

By the time the sun was covered that much, the sky was completely overcast at my work. But it looks like the kids got to see a pretty impressive solar eclipse!

*because, funnily enough, lots of classes weren’t allowed to watch the solar eclipse but had to sit inside with the curtains closed. Because on this one day the sun was clearly so much more dangerous than on any other given day, especially when watching only a projection of it (and there are tons of methods to do that as you might have noticed from the post above…). Always amazing  how stupid some people are…
Solar projector

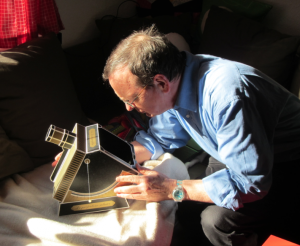
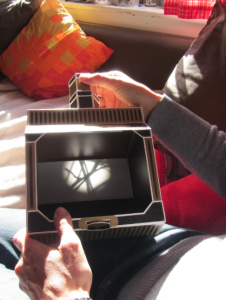
In preparation of our solar eclipse PBL workshop, my parents came to play. And they brought the Astromedia solar projector cardboard kit! It took us the better part of a day to assemble, but when we were done we could even test it in a sunny corner of my couch!
IMG_0841

There were tiny twigs between the projector and the sun, which made for beautiful projections.

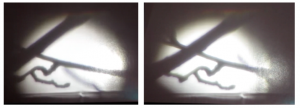
IMG_0839Plus it was amazing to watch how fast the sun was moving (or, to be precise, the Earth was turning). In the space of 30 seconds, the projection changed from the left to the right photo below!

twigs_in_sun

Shadows of twigs. Absolutely same angle and everything, 30 seconds apart.

Drops and a pool

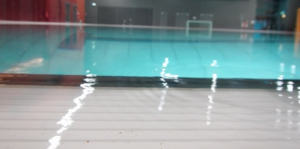
Sometimes I am so glad to have this blog, just because it gives me permission to do things like film drops falling from a wet life vest into a pool with a calm water surface.

MVI_0767

Of course, nobody actually needs permission to do this, but it might seem a bit weird if you don’t happen to have a perfect excuse ready, like “I need this for my blog!”.

And, of course, it is absolutely worthwhile (as well as fascinating) to look closely at those drops falling from the dripping wet life vest. Especially if you have a slow motion function on your camera.

We theoretically know everything about what the splash looks like when a drop hits the water surface because it is on pretty much every brochure or poster or website of every wellness or health resort or spa place. But to watch it is still amazing to me.

P.S.: Na, Mone? Was hat die Stunde getropft? Herzlichen Glückwunsch!!!

How the shape of your bow can save you a lot of time and money

My dear ship builder and naval architect friends, if this post seems horribly oversimplified to you, you are very welcome to write a guest post and go into this topic in as much detail as you feel is needed :-)

So now my dear non-ship builder and non-naval architect friends, here is a post about ships. And be warned: it is very simplified. I have been taking pictures with a post on this topic in my mind for more than a year now, so here we go:

Have you ever noticed the bow waves that ships make?

IMG_7984

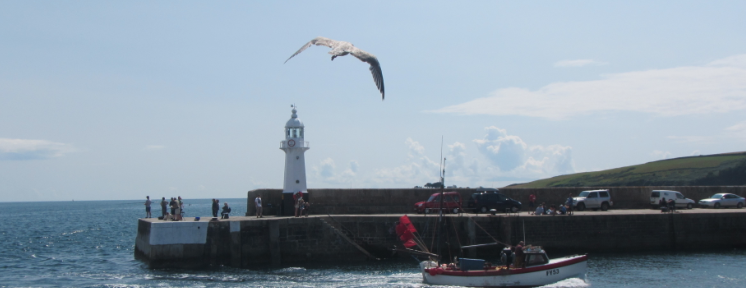
Bow wave on a ship somewhere in Cornwall

It’s pretty easy to imagine that a lot of energy is lost generating the wave field around the ship. Energy that could be used on propulsion or on something completely else instead.

IMG_7998

Energy wasted on creating an enormous wave field.

So what if the solution to this problem was really simple? As simple as a ball right in front of a ship’s bow, just below the water line? That would produce a wave field as seen below.

MVI_8234

Wave field created by a submerged buoy in a current.

And indeed that is what you see when you look at big container ships like the one on the picture below.

IMG_6963

Bulbous bow on a container ship in the port of Hamburg

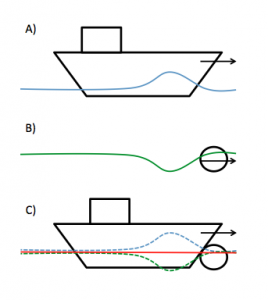
So why would this work? In the picture below, I’ve sketched an over-simplified explanation. In A) you see a ship moving from left to right, and the bow wave that is created by the ship moving through the water. Then in B) you see the wave field created by a submerged ball (compare to the ball in the third figure in this post – that’s not so unrealistic!). And then in C), you see the water levels from A and B added together: They cancel each other out (pretty much). Voila!

Bugwulst

Sketch explaining how a bulbous bow cancels out the wave field created by a conventionally shaped bow.

Of course, it is not quite that easy in reality. Having a bulbous bow is only an advantage if you are planning on driving with a set speed most of the time, since the wave field created by both the bow and the bulb depend on the ship’s speed, and both have to be tuned for a specific speed. And you will still lose energy to the wave field that you are creating as you are moving your ship through the water, but not as much as before. But still, since you see bulbous bows on most large ships these days, it seems to be working quite well, and, according to Wikipedia, yields fuel savings of the order of 10-15% for any given speed. Not too bad!

Vortex street

Do you use a tide chart to find the best time for your Saturday walk, too?

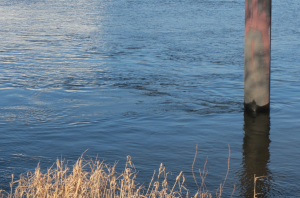
I showed you a vortex street on a plate formed by pulling a paint brush through sugary water as an example. Now today I want to show you the real thing: Instead of stagnant water and a moving object, I bring to you the flowing Elbe river and a bollard!

IMG_0820

Watch how vortices with alternating spin are shed every three or four seconds!

Confluence of Danube and Morava river

Confluence of Danube and Morava river.

Watching the shear flow on Elbe river the other day, I was reminded of another shear flow which I had watched a long time ago. In 2009, J and I went to Bratislava in Slovakia, and from there did a trip to Devín castle.

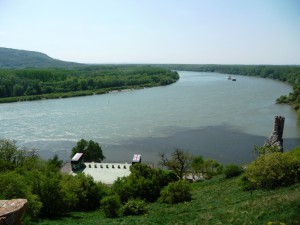
What you see below is the confluence of the Danube and Morava rivers (with the muddy water coming in from the right).

P1020527

Confluence of Danube and Morava river near Bratislava

I found it fascinating to watch the muddy water coming in, and then being forced downstream by the much faster flowing Danube. In the picture above you can see the sharp corner and then the front carrying instabilities caused by the strong shear.

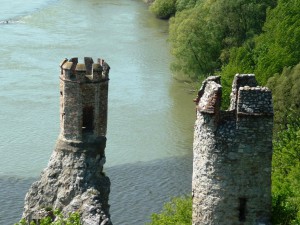
Unfortunately, this was at a time when I didn’t even dream of ever blogging, so I don’t have more pictures of the shear instabilities. But I have a better picture of the front in the more stagnant part of the flow:

P1020529

Devín castle

Fascinating how such a sharp feature can persist! Both in almost stagnant water (wouldn’t boats going through, or fish, or something mix it up?) as well as fast-flowing (there are clearly huge instabilities on the front, why don’t they mix more efficiently?). Plus the muddy water should warm up faster than the green-ish water, so why doesn’t the muddy water form a surface layer, at least in the stagnant part?

Digging out these pictures really was a journey down memory lane. First, I had to dig out my old laptop. Which was the second laptop I ever owned, but still it’s huge. Then I had to remember how to get into the correct partition on that laptop. Funny how somehow my fingers remembered the password to the computer based on the different shape of keyboard, maybe? I could type it, but I would not have been able to spell it out. And then I had to somehow get the pictures off! Not easy, I can tell you. But it is incredible how fast technology advances. I did have a good digital camera then, and I uploaded the pictures at full resolution. So that is really all there is to look at. I am really curious what digital photography will be like in another 6 or so years…

Shear flow

Kelvin-Helmholtz instabilities in a shear flow in Elbe river.

Last week I talked about how I wanted to use the “Elbe” model in teaching. Here is another idea for an exercise:

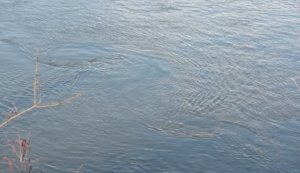
On the picture below you see Kelvin-Helmholtz instabilities. They might be kinda hard to make out from the picture, but there is a movie below where they are a bit easier to spot.

MVI_0791

Kelvin-Helmholtz instabilities the boundary layer of Elbe river

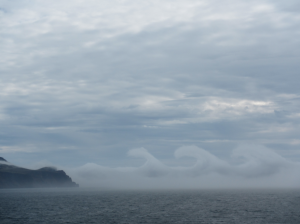
Anyway, this is what they look like: Kind of like the ones we saw off Jan Mayen in 2012.

Breaking_wave_Jan_Mayen

Kelvin-Helmholtz instability off Jan Mayen

Kelvin-Helmholtz instabilities occur in shear flows under certain conditions. And those conditions could be explored by using a tool like Elbe. And once students get a feel for the kind of shear that is needed, why not try to reproduce a flow field that causes something similar to the instabilities seen in the movie below?

Centrifugal governor

One of the advantages of working at a university: You always find people who enjoy playing :-)

Last summer, I visited the ThinkTank museum in Birmingham. I already posted about all their cool water features back then (the balancing ball or cool fountain, for example). But there is this one movie that I took that I have been wanting to post about but never got round to actually doing it.

MVI_9284

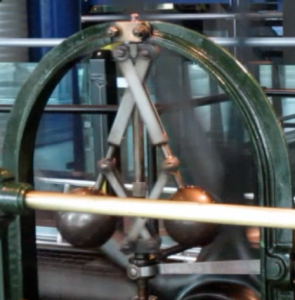
A centrifugal governor

What you see above is a part of a steam engine. As you will see in the movie below, it seems that all it does is spin around. But that is really not true. This little device is connected to the engine’s output shaft by a belt. So basically its speed is proportional to the engine’s speed. The faster the engine goes, the faster the little device rotates. The faster it rotates, the more the centrifugal force acts on the two massive metal balls, driving them away from the axis. As they move outwards, levers close the valve supplying steam to the engine, hence reducing the engine’s speed. As the engine slows down, so does the little device, and the two balls come back towards the axis, hence re-opening the valve. This negative feedback loop continues until a steady state is found. So this innocently-looking device really regulates the speed of the engine! Pretty cool, huh?

Continuity

What do you see when you look at an aquarium?

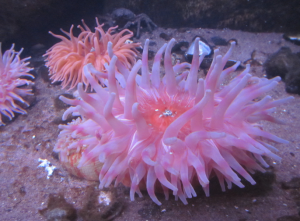
When I was in Gothenburg last year for EMSEA14, one night we got to hang out at the Sjöfartsmuseet Akvariet there, and, even cooler, had the whole place to ourselves. A lot of the staff was around and happy to chat, including people who actually designed the exhibitions, so that was really exciting. But those are the times when I realize that I am really a physical oceanographer at heart. I like looking at colorful anemones or fishies or sea horses, sure!

IMG_9755IMG_9735IMG_9766

But what I am most excited about is stuff like this: When there is enough suspended stuff in the water to visualize a flow field to recognize hydrodynamic principles, like in this case continuity.

Simple pendulum

Because physics is everywhere!

Happy New Year, everybody! Hope you all had a good break and are excited to start lots of exciting projects in 2015! One project I will definitely continue working on in 2015 is this blog. It is so much fun to notice physics everywhere!

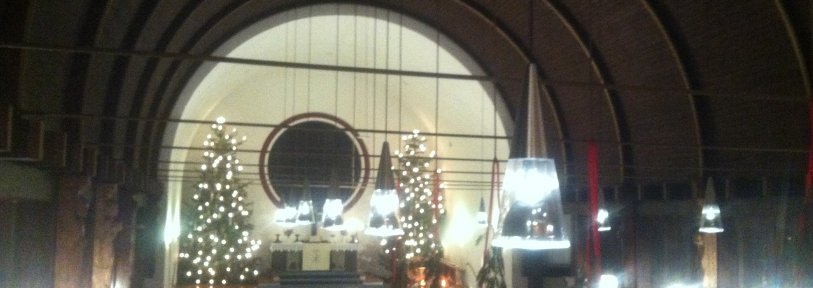
A friend of mine played music in church on New Year’s Eve, and I was sitting on the gallery, listening. And right in front of me, I saw this (and you’ll need to watch closely in order to spot it!):

Yes, the lamp right in front of the gallery is swinging! We of course remember that the period only depends on the acceleration of gravity and the length of the pendulum. So of course the obvious thing to do is to measure the period and from that calculate the height of the ceiling. Right? Right! Hope you’ll all have as much fun in 2015 as me, spotting science everywhere!