A #KitchenOceanography escape game for freedivers!
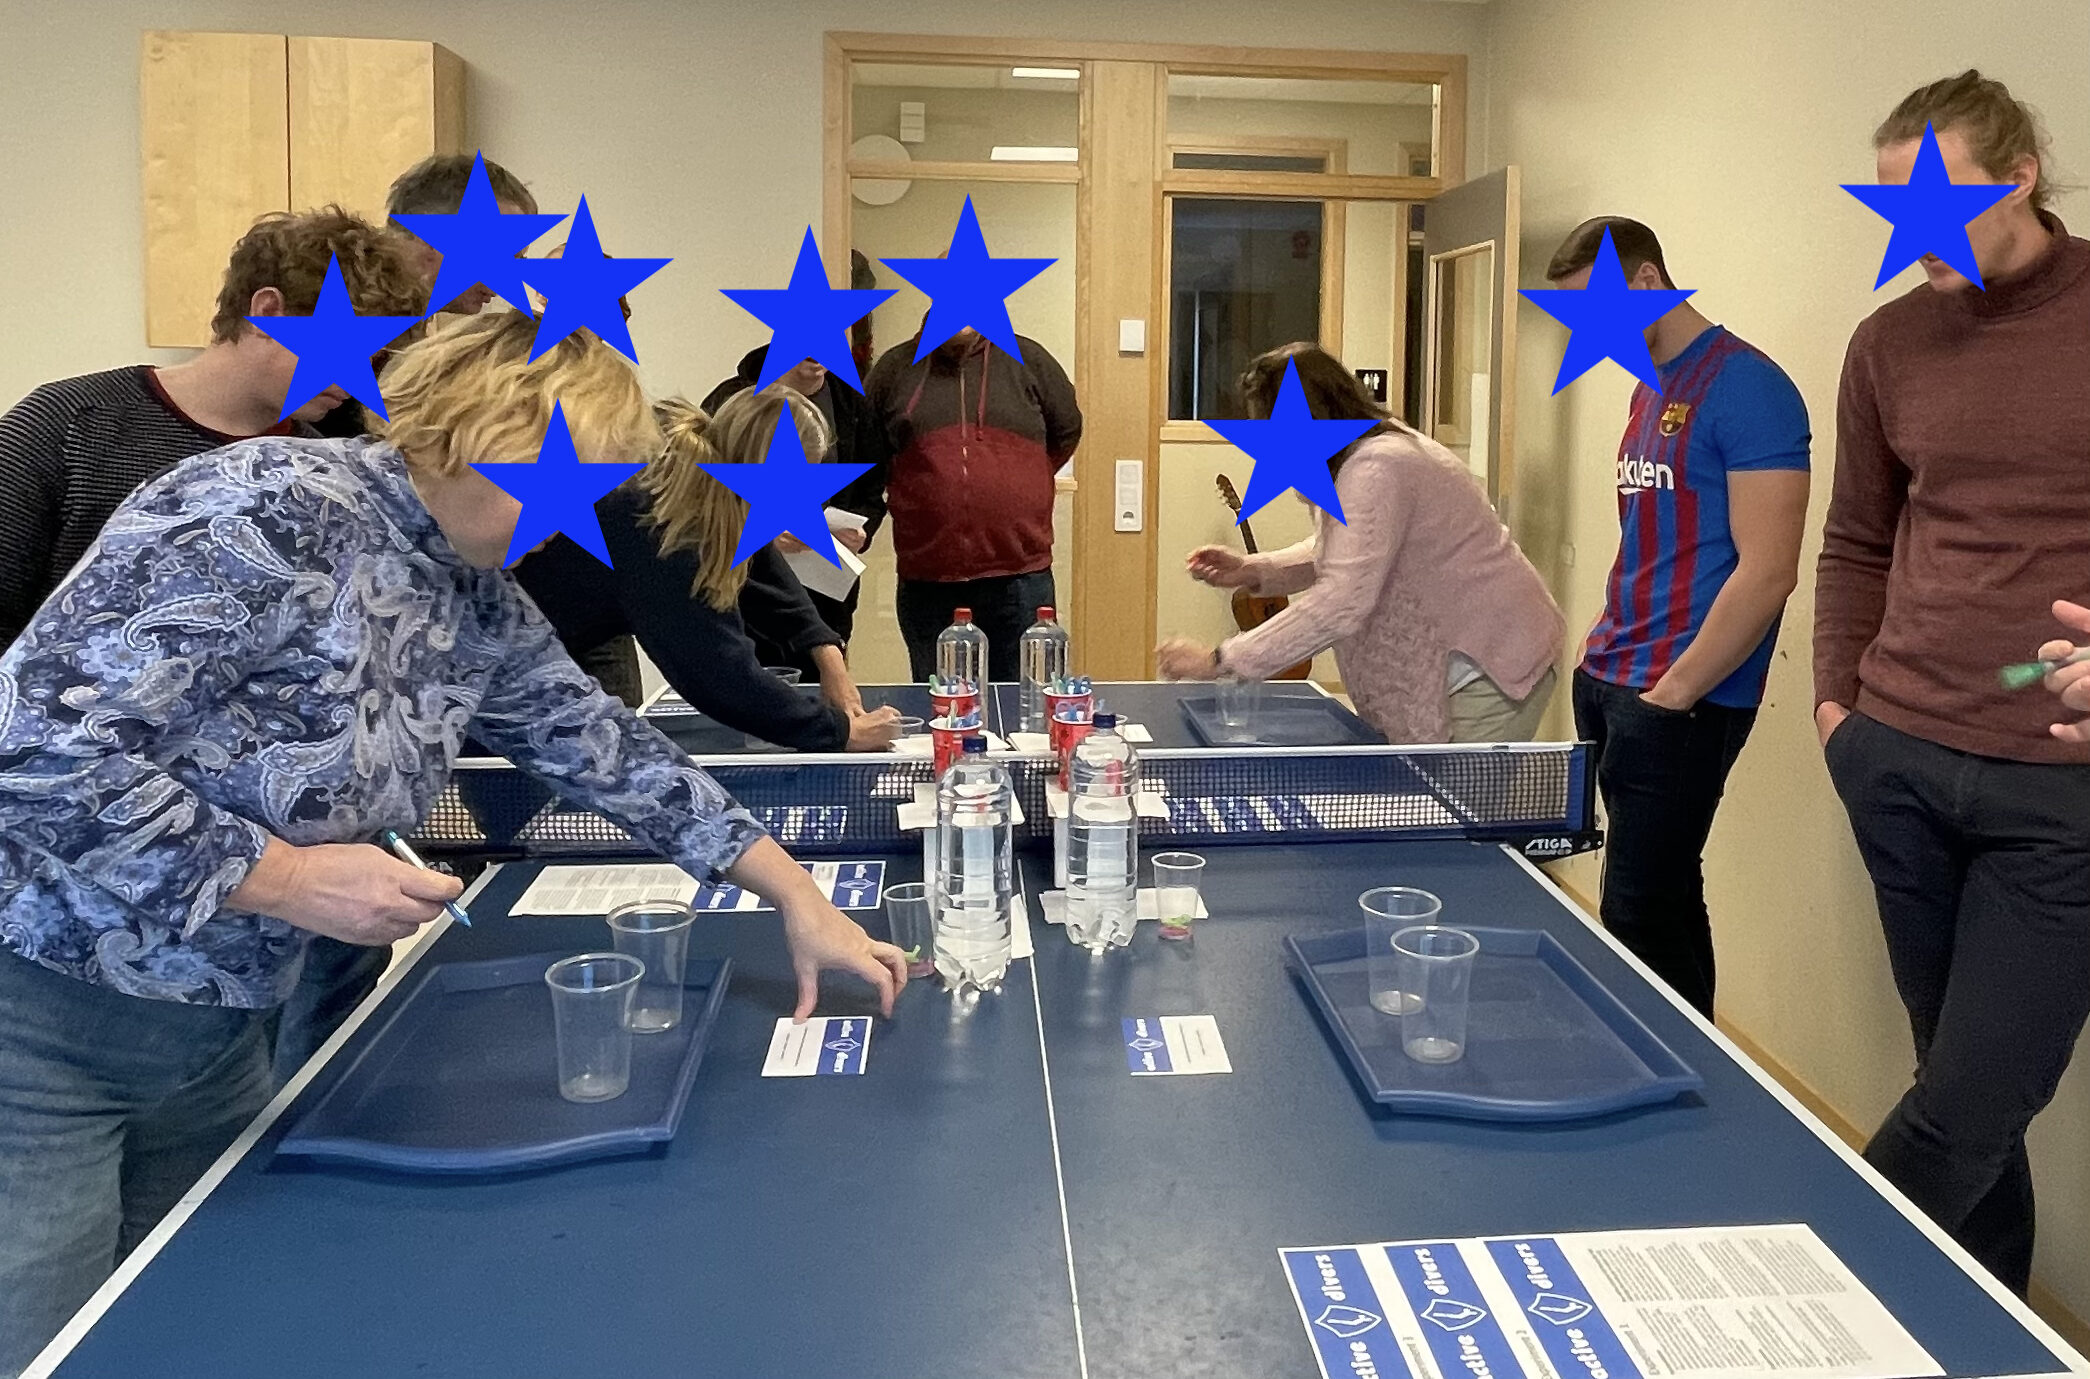
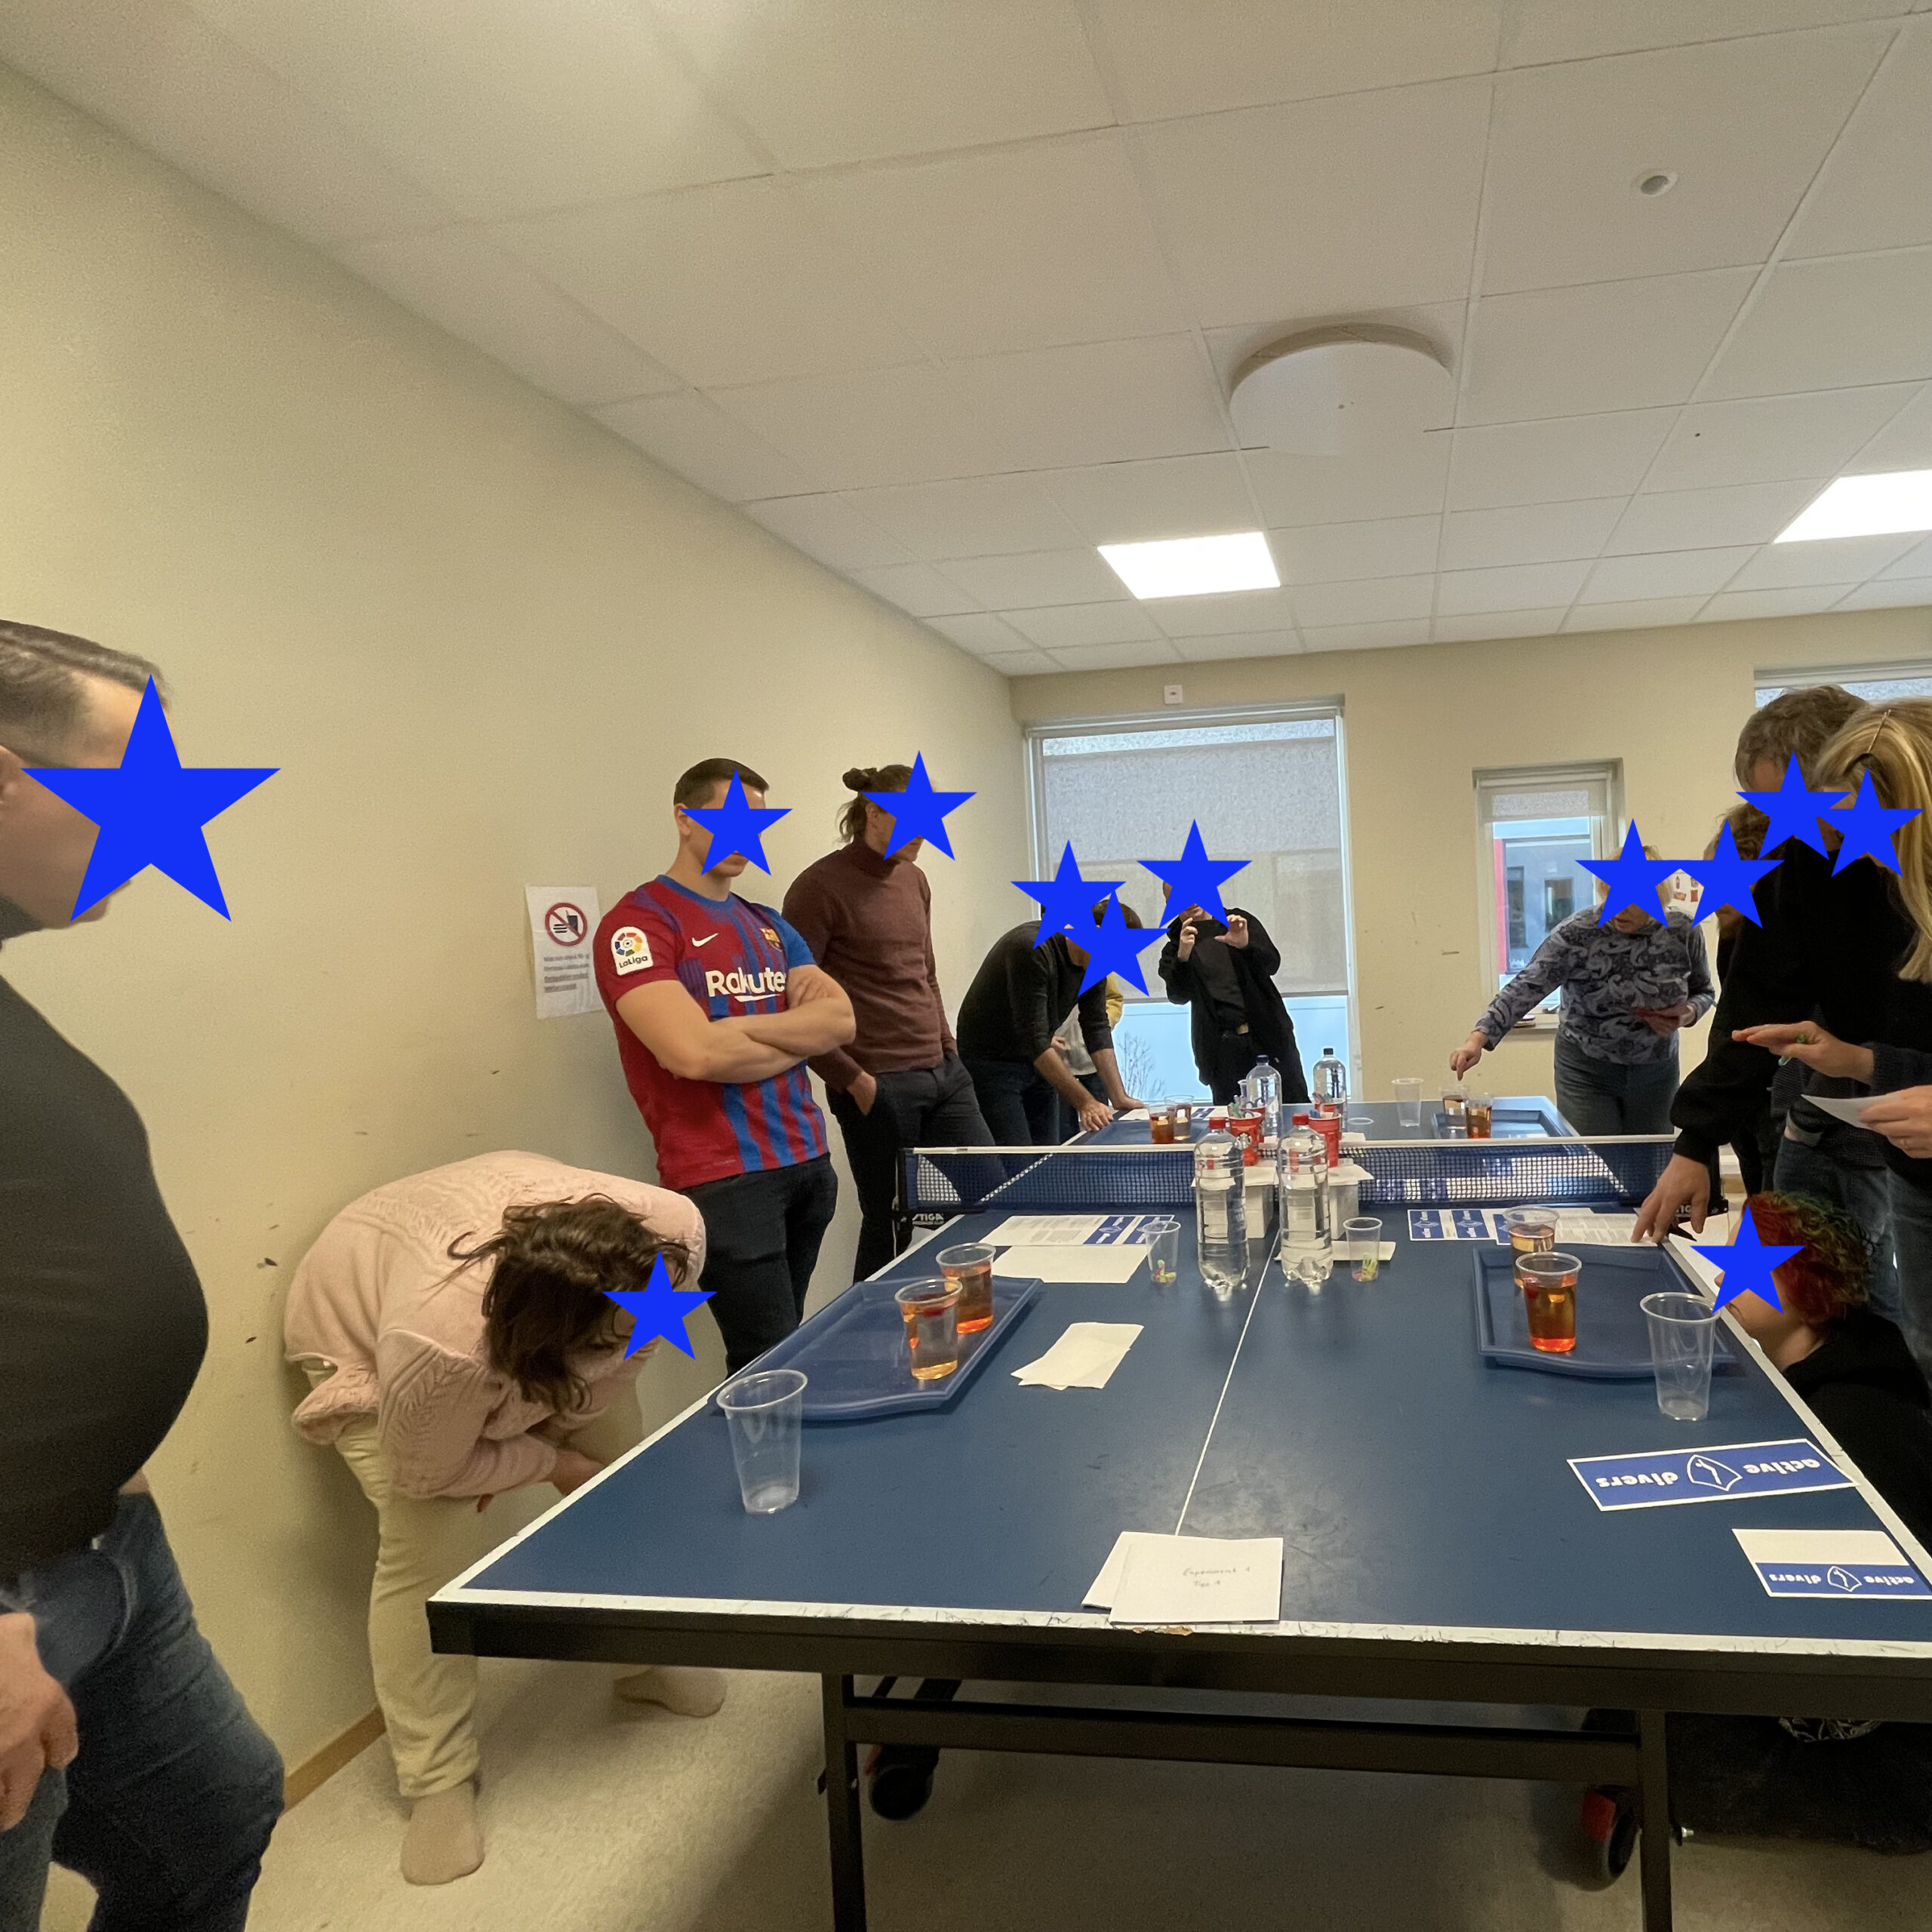
For the Christmas party of my freediving club, Active Divers, I made a freediving-themed #KitchenOceanography “escape game” (of sorts). If you are interested to use it for your own purposes, please feel free to contact me for detailed instructions and material lists etc!
This is how it went:
We formed teams with three players in each, and each team came up with a team name, which they wrote on the same cards that they would later also write their “code” on.
Then, everybody got written instructions for three tasks (download here in English or Swedish). Each of the tasks includes an experiment and in the end, one of three answers to a question must be chosen, which ultimately make out a winning code. I had prepared two “hints” for each of the experiments that people could have requested had they gotten stuck, but that did not happen. Clearly, next time we have to up the challenge!
The experiments are not chosen randomly, they all connect to freediving experiences that the Active Divers group had together, and were embedded in a story:
Oh no! The movie we wanted to watch today has been locked in this box! How are we going to get it out? The best thing to do right now is probably to think of some of the nice memories we made this year, and that will probably help us to figure out how to open this combination lock. There are three numbers here that we need to get right: Maybe the next three tasks will lead us there?
Let’s start by thinking about diving in Boalt quarry. It was so nice and warm in the surface, 22°C! And all was fine until – suddenly, at 8m depth – there was this thin, foggy layer, and then it suddenly got really cold! What is going on there? To find out, follow these instructions…
The first experiment was then, probably to nobody’s surprise, my favourite “melting ice cubes“, where ice cubes melt in fresh water and salt water and we can use this to explore density stratifications.
The first experiment includes watching ice melt — but since I had dyed the ice cubes, that wasn’t as bad as it sounds!
How do the “melting ice cubes” relate to Boalt, you ask?
In Boalt, as in most lakes, we find a seasonal thermocline, i.e. a depth at which the temperature rapidly changes between the surface that has been warmed during spring and summer, and the bottom that is still at the same temperature that it was cooled down to during winter.
When the sun warms the water surface in the spring and summer, the warm water floats on top of cold water. The longer the sun shines on the lake, the warmer and thicker the warm surface layer gets, but it is still floating on top of the old, cold winter water. The border between the two layers is the thermocline that we feel when we dive down.
In fall and winter, as the surface water cools, it will sink down through the warm surface layer like the meltwater from the ice cube sank through the warm freshwater in the cup, and form a cold layer at the bottom that gets thicker and thicker, until it reaches the surface and the lake eventually freezes.
Since the cold water is denser than the warm water, the thermocline is also a pycnocline, meaning a depth layer where the density rapidly changes. Many small particles are denser than the warm water in the surface and sink down, but get trapped above the denser cold water, since they are less dense than that. Hence, they collect at the pycnocline and form a “foggy” layer.
Now the story continues:
Now we have solved what happens at 8m in Boalt, why there is the foggy layer and why it then suddenly gets cold. But if we continue swimming down, maybe to 18 or 20m (and of course always equalizing our ears!), suddenly we don’t have to swim any more, but we get sucked down: we have reached freefall.

The second experiment required a lot of brute force, especially if the “fill the bottle ALL THE WAY” had been interpreted loosely and a headspace of air had to also be compressed in addition to the diver
The experiment for freefalling was Cartesian divers — small objects with air in them that we place in water bottles and that can float, swim or sink depending on how much pressure we put on the bottle:
When we press the bottle, we increase the pressure in it. This can be seen as simulating diving down in the water, where the pressure is higher. In the top 10 or so meters, we are positively buoyant, i.e. thanks to the air in our lungs, we will float up to the surface by ourselves. But as the pressure increases, air in the lungs is being compressed and the volume thus decreases. At a level of neutral buoyancy, our body weighs exactly as much as the water it is displacing, so it is neither floating up nor down. Below that level, the lungs are compressed a bit more, our body becomes denser than the surrounding water and sinks.
In the experiment, we see that objects float, hover, or sink, depending on pressure. So if they were at the depth corresponding to that pressure, they would be positively, neutrally, or negatively buoyant there, too, the last one meaning they would go into freefall.
And the last part of the story:
Great! Now that we are freefalling, it works best when we make sure we minimize drag, i.e. put our body in a shape that creates the least resistance in the water. Usually, we do that by making sure that our legs are closed, our arms are either close to the body or stretched out in front of us like this, … The more streamlined our shape is, the better!
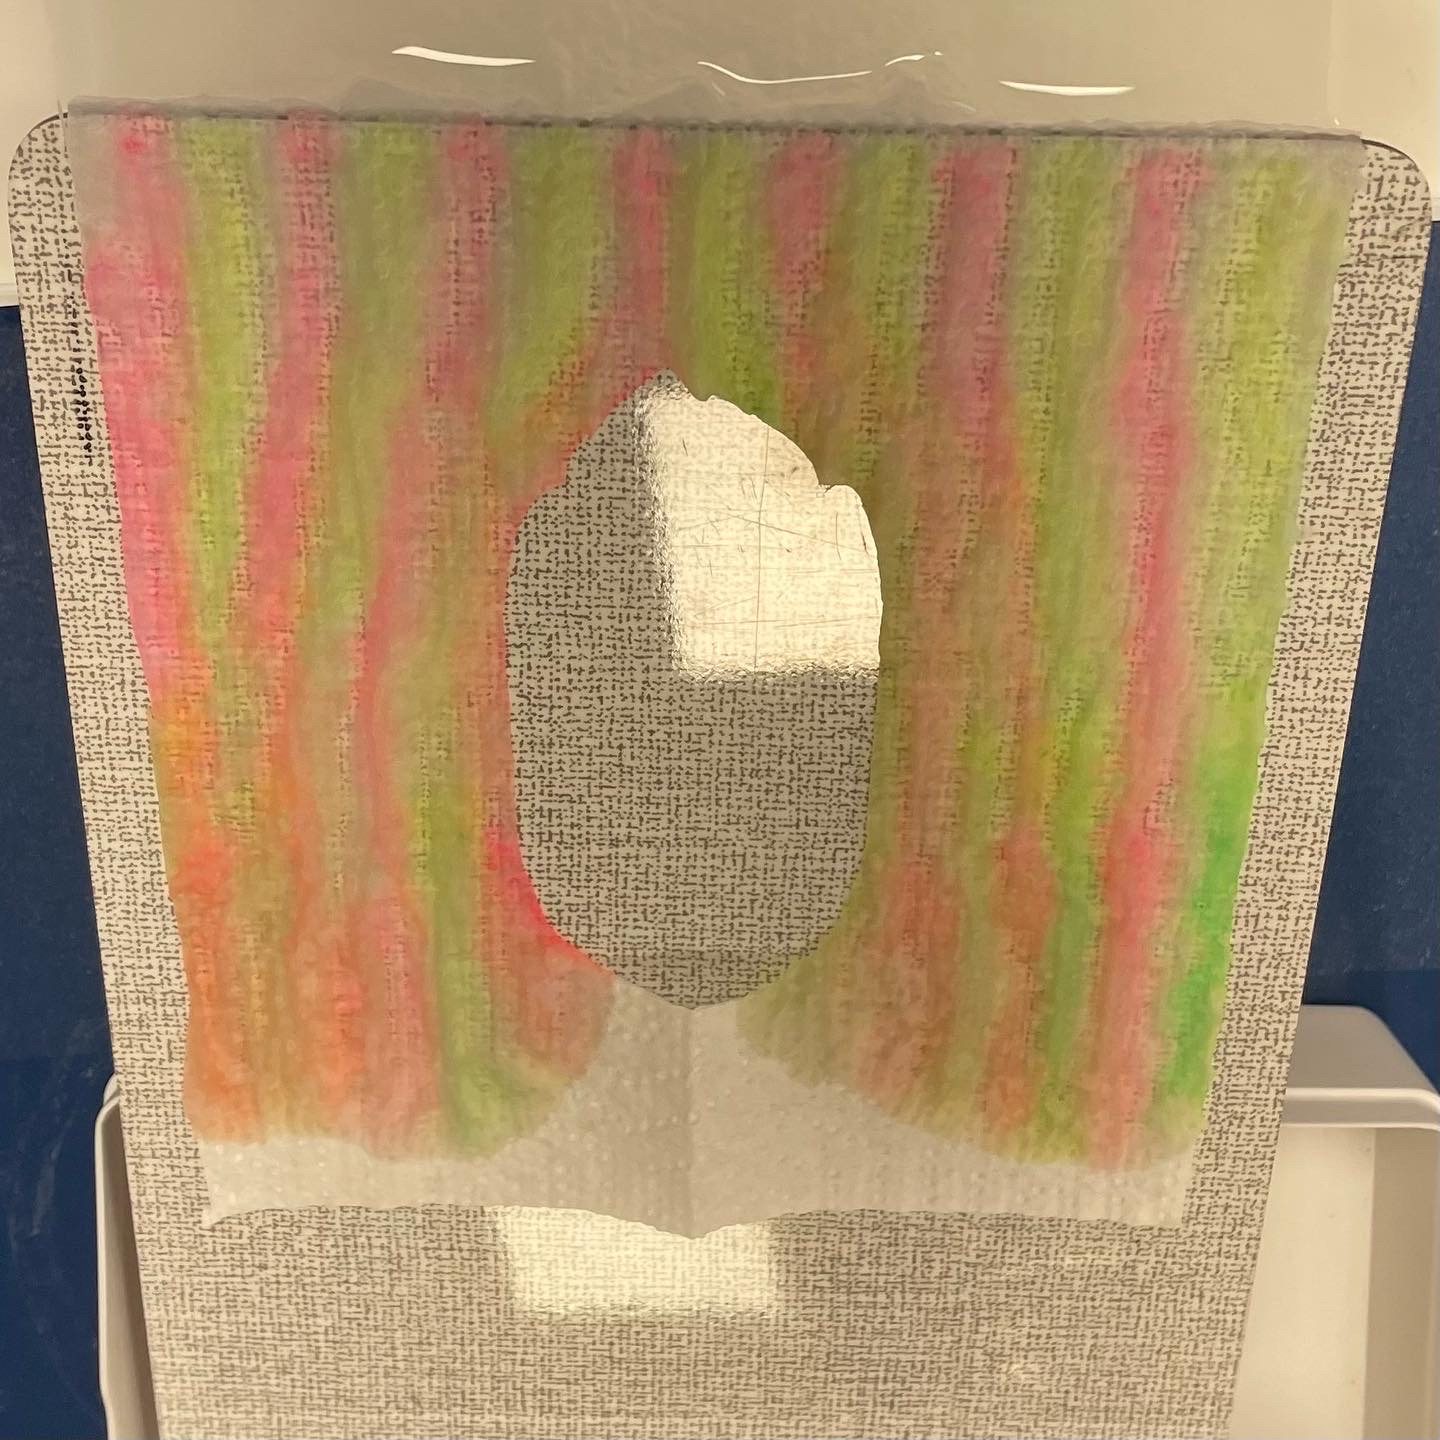
For this experiment, we made streamlines on paper towels! We are visualizing streamlines by “marking” the path that water takes around the cutouts in the paper towels.
The closer streamlines fall together, the faster the water flows in that region. Water moving quickly and undisturbed around our bodies is what we want when gliding. When streamlines become far apart or wide, it means that water is flowing slowly, and there is possibly some turbulence that we cannot resolve with our method. Turbulence slows down our gliding and should therefore be avoided.
The nicer the streamlines flow around an object, the more “streamlined” the object is, meaning the better it glides through water (or air).

The third experiment included a lot of waiting, and lots of colorful dots that then ran out into stripes
There were some really nice results of streamlines, and some others that were very artsy!
I think it was a lot of fun, both to prepare and to watch people play, and I’ve already started collecting ideas for future #KitchenOceanography escape games!
Thanks Alex for hosting the game, and Elin and Åsa for helping with the Swedish translations!