Tag Archives: density

Why folic acid might be good for people, but not so good for tank experiments

I had to do the complete series of experiments, of course…

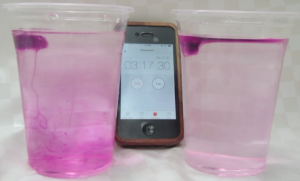
The other day I mentioned that I had used salt from my kitchen for the “ice cubes melting in fresh and salt water” experiment, and that that salt was the super healthy one that was both iodized and containing folic acid. And what happened is that the experiment looked like I was using milk. Not what I had envisioned.

MVI_9236

Ice cubes melting in fresh water (left) and in iodized-salt-with-folic-acid water (right)

Since I had often before used just regular table salt – which is usually iodized – I was intrigued by the opaqueness that seemed to be due to the addition of folic acid. Or was it? That I had never noticed the milky-ness of the salt water didn’t necessarily mean that it had not been milky before. So this is what the same experiment looks like if regular iodized table salt is used:

MVI_9249

Ice cubes melting in fresh water (left) and in iodized-salt water (right). Turbulence in the freshwater beaker due to me stirring (don’t ask)

In the literature it is always recommended to use kosher salt for experiments. Kosher meaning in this context that the salt should be only NaCl with no other additions. I happened to have some at hand after having bought it for the “teaching oceanography” workshop in San Francisco last year (after the salt that I brought for the workshop didn’t make it to the US. Long story). So this is what that looks like:

MVI_9248

Ice cubes melting in fresh water (left) and in kosher salt water (right)

In summary: Folic acid is what makes the salt water look opaque – but iodized salt is completely fine for tank experiments. I think it’s tiny air bubbles that cling to something folic acid-y, but I have no clue what is going on. I noticed that the dusty stuff settled down over night (so the top experiment here is a lot clearer than the experiment I ran with the same batch of water the day before), but even the next day the water wasn’t completely clear.

Anyway, now we know. And I came out of this series with more movies of ice cubes melting in fresh water and salt water!

Links to previous posts on the topic after the cut.

[Edit: Using my mom’s iodized, but not folic acid containing, table salt leads to milky water, too. So there you have it. I have no clue what is going on!]

Continue reading

Melting ice cubes, again

Somehow I am stuck on this demonstration!

I can’t let go of this experiment. Last time I posted about it, someone (Hallo Papa!) complained about the background and how I should set a timer and a ruler next to the beakers for scale. The background and timer I did something about, but the ruler I forgot. Oh well, at least there is room for improvement still, right?

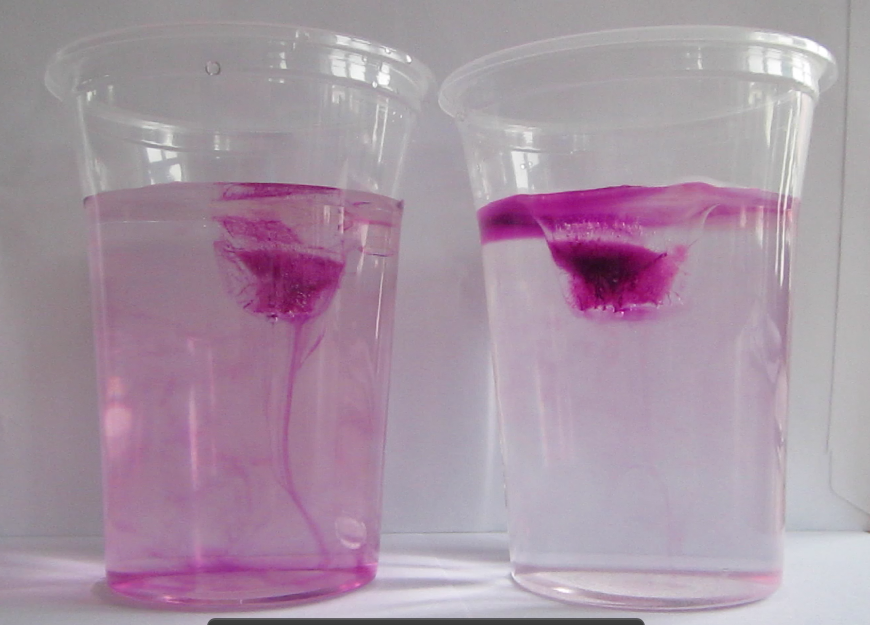
I always find it fascinating to see how differently the ice melts in fresh water and salt water. Below you see how convection has completely mixed the fresh water with the melt water, whereas the melt water forms a layer on the salt water. You can even still distinguish horizontal currents in there!

IMG_9241

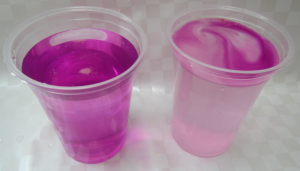
The beakers after ice cubes have melted in fresh water (left) and salt water (right)

For everybody who still enjoys watching the experiment: Here is a movie. Top one as time lapse, bottom one in real time, all 8 minutes of it. Enjoy!

The links to the “melting ice cubes” series after the cut.

Continue reading

Conducting experiments at EMSEA14

Kristin’s and my workshop at EMSEA14.

As I mentioned before, Kristin Richter and I are running the workshop “Conducting oceanographic experiments in a conventional classroom anywhere” at the European Marine Science Educator’s Association Meeting in Gothenburg, Sweden. There is quite an active Twitter crowd around, so you can follow the storyfied meeting or look out for #EMSEA14 on Twitter.

Our workshop has been represented quite well there, too, so I’ll just post a couple of my own pictures here.

IMG_9702

Final preparations: Kristin is mixing salt water

IMG_9704

Watching intently the melting ice. As my former boss would say: It’s like watching paint dry.

IMG_9708

Except that it is really fascinating and that there are so many things to discuss!

IMG_9717

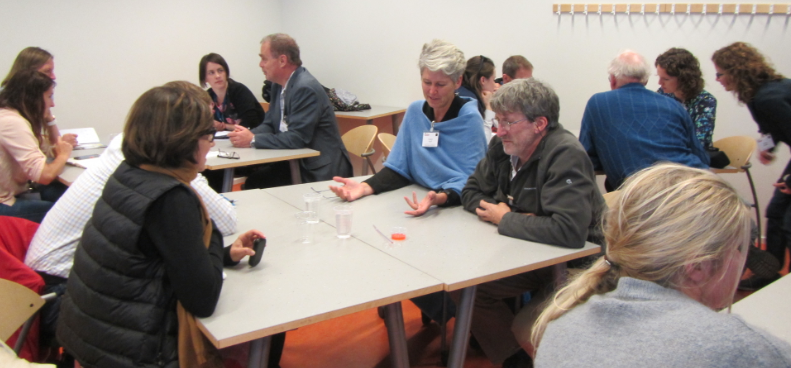
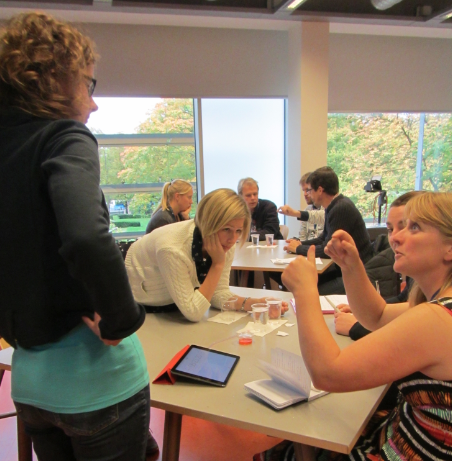
Kristin and I took turns presenting the workshops, which was great. Plus it was really nice to have two instructors walking around, talking to the groups, instead of just one.

IMG_9725

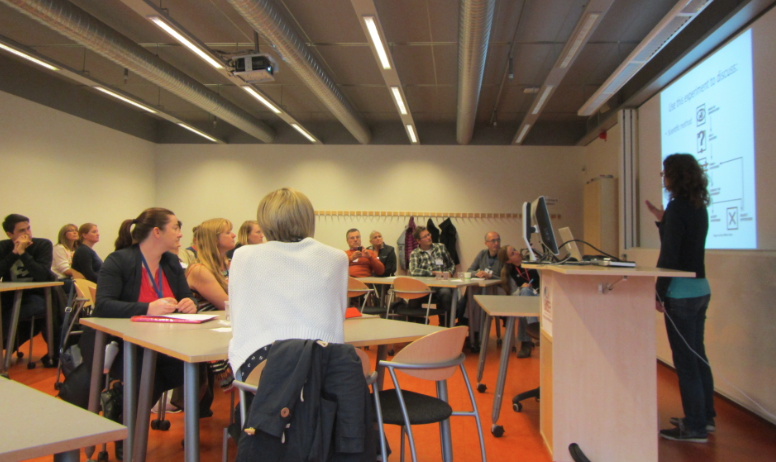
Kristin talking about using our favorite experiment to practice applying the scientific method.

For further reading, here are our slides.

Plus there are a lot of post dealing with the exact same experiment after the cut below. And there are two more posts on this exact experiment coming up that are scheduled already, one tomorrow, the other one in two weeks time. And thanks to a very nice family of participants I already have plenty of ideas of how to modify this experiment in the future!

[edit: There finally is a picture of me in the workshop, too, to show that I actually did contribute and not just leave it all to Kristin:

IMG_9779

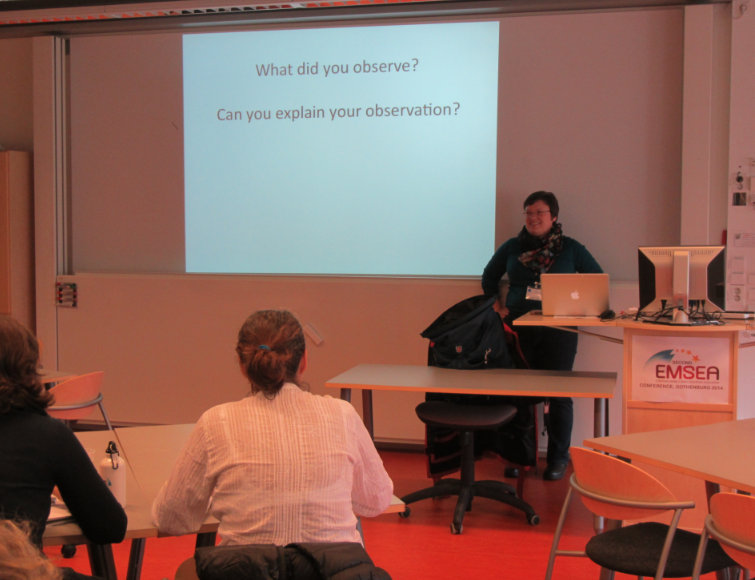
So I did actually do something, too, and not just take pictures. Plus did you notice how there is a EMSEA sign on the podium? There were signs on the doors, too, both on the inside and outside, so one of them was visible even when the door was wide open. Such good thinking of the organizers! Gothenburg University does have a seriously impressive infrastructure in any case: Tables and chairs on wheels so the whole room could easily be modified to suit our needs. Awesome.]


The icy elevator

Weird things happening when ice cubes melt.

Remember I said that there were weird and wonderful things going on when I last ran the melting ice cubes in salt and fresh water experiment? It is really difficult to see in the picture below (sorry!) but you can probably spot the ice cube floating at the surface and the melt water sinking down, inducing some turbulence? And then there is a small ice bit a bit to the right of the center of the picture. And that ice bit is floating upwards.

MVI_9219

Dyed ice cube floating at the surface, and small ice bits floating up

Watch the melting ice cubes video below to see all the thing in action, it is visible really well as soon as the picture is moving:

So what is going on there? I think the solution to this riddle lies in me forcing ice to freeze even though it contains more salt (or in this case, red food dye) than it is happy with. Remember how dyed ice cubes look?

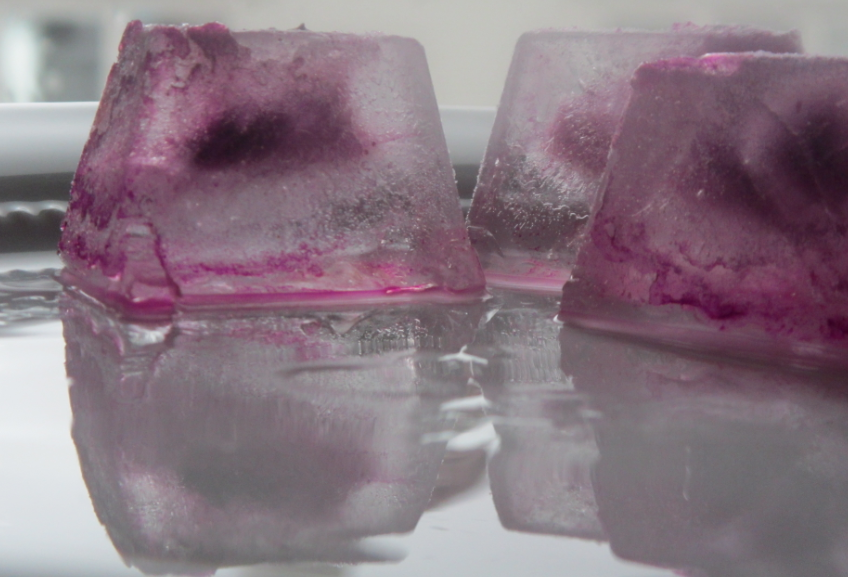
IMG_4523

Ice cubes frozen from colored water

So basically there is dye trapped in the middle of the cube, because cooling is happening from all sides, hence ice is starting to form from all sides, pushing the dye to the center of the ice cube. In the ocean, cooling would of course only happen from above, so salt is being rejected as brine.

Anyway, since I wanted to dye the ice cubes to make things more visible for this blog, I am adding a dissolved substance to the water that would usually not be there. Hence I am making the ice slightly denser than it would otherwise be. So when small ice bits chip away from the main cube (which still contains large parts of pure fresh water ice from the sides of the cube where, during the freezing, the dye could still be rejected; and which therefore still floats), they are denser than the water and sink. But as they melt, the dye washed out, and eventually the remaining ice is fresh, hence less dense, enough to float up again.

The whole thing looks pretty fascinating.

What do you think, is that the correct explanation? Or can you come up with a better one? Let me know!

P.S.: Everybody I showed this video to was fascinated by how the little piece of ice is floating up. But what I find a lot more fascinating is how it came to be at the bottom of the beaker in the first place! After all, ice is supposed to float on water (or drift up again if pulled down and then released) but how did it get down there???

Melting ice cubes reloaded

Or why you should pay attention to the kind of salt you use for your experiments.

The melting ice cubes in salt and fresh water is one of my favorites that I haven’t written about in a long time, even though (or possibly: because) I wrote a whole series about it last year (see links at the end of this post).

Now that the EMSEA14 conference is almost upon us and Kristin and I busy preparing our workshop, I thought I’d run the experiment again and – for a change – take the time to finally know how much time to schedule for running the experiment. This is the experiment that I have run most often of all in all kinds of classes, but there you go… Usually I have more time than just 30 minutes, and there is so much other content I want to cover in that workshop!

There are a couple of things that I learned running this experiment again.

  • It takes at least 10 minutes to run the experiment. My water was slightly colder than usual room temperature, my ice cubes slightly smaller, though. And those 10 minutes are only the time the ice takes to melt, not the time it takes to hand out the materials and have the groups settle down.
  • There is a reason it is always recommended to use kosher salt for these kind of experiments. Look at the picture from one of the old posts in comparison to the ones from today: The iodized salt containing folic acid I had in my kitchen dissolves into really milky water. I really should have walked the two extra meters to get the good salt from my oceanography supplies in the other room!
Melting_ice_cubes_2

Ice cubes melting in fresh water (left) and salt water (right) – old experiment

IMG_9220

Ice cubes melting in fresh water (left) and salt water (right) – experiment today

  • Some food dyes are the devil. My whole kitchen is red. Plus the ice cubes didn’t freeze nicely (for a post on ice cubes freezing from salt water click here), the ice chipped when I tried to get the cubes out of the ice cube tray. I definitely can’t have that mess at a workshop. So here is another argument for using non-dyed ice cubes! The more important argument being that you think more if the cubes are not dyed and you don’t immediately see the explanation…

But it is always a fun experiment to run, and there are always new things to spot. Watch the video below and see for yourself! (Explanations on the weird phenomena coming up in a future post!)

The links to the “melting ice cubes” series:

Ice cubes melting in salt water and freshwater (post 1/4)

Ice cubes melting in fresh water and salt water (post 2/4)

Melting ice cubes – one experiment, many ways (post 3/4)

Melting ice cubes – what contexts to use this experiment in (post 4/4)

Other posts on this experiment:

Dangers of blogging, or ice cubes melting in fresh water and salt water

Guest post: The mystery of the cold room

Learning with fluid toys

How fluid toys can be used to demonstrate principles of fluid mechanics.

I guess every attempt to hide that I LOOOOVE fluid toys of any kind is futile. So imagine my excitement when my colleague sent me an article titled “Serious Fun: Using Toys to Demonstrate Fluid Mechanics Principles” by Saviz and Shakerin (2014). While their ideas are not really applicable to the kind of courses I usually teach, it is refreshing to see them embrace fluid toys in teaching, and it made me realize that I didn’t post movies that I made of toys that my sister gave me and my dad for our Birthdays back in May.

If you fancy seeing this thing in motion, go watch the videos below!

The effects of rotation on a collapsing column

Comparing a rotating and non-rotating dipole.

I just realized that I never explicitly showed the difference between rotation and no rotation, even though I do have the footage to do so: Two experiments set up to create a monopole, which both turned dipole.

In the non-rotating experiment (which was, by the way, set up carefully in preparation for a rotating experiment, but then the v-belt on the rotation table failed [but luckily this was on the last night of the JuniorAkademie, so we had otherwise run everything we had been planning to run], so we ended up with a non-rotating experiment), the dipole shown below develops within seconds of the central dense column being released.

IMG_9100

A dipole created by releasing a column of dense water in the middle of a non-rotating tank.

In the rotating experiment, however, this is what the dipole looks like after a similar amount of time:

And we see that in the non-rotating case, the eddies are spreading to fill the whole width of the tank within seconds, whereas in the rotating case the eddies mainly stay confined into their respective columns. This is the often quoted phenomenon of conservation of vorticity in a rotating system, where movements happen mostly in the horizontal plane, whereas in non-rotating system, vertical movements happen easily, too (i.e. the dense water from the upper part of the initial dense column can sink to the bottom of the tank in this case, which it could not do in the rotating case), and turbulence can hence develop in 3D and not only 2D.

For videos of both experiments, please check out the posts on the rotating case and the non-rotating case.

Simulations of hetonic explosions

Because sometimes it’s easier to control a computer than rotation, salinity, water and dye.

After looking at a non-rotating cylinder collapse the other day, it is time to look at proper hetonic explosions (you know? The experiment on the rotating tank where a denser column of water at the center of the tank is released when the whole tank has reached solid body rotation). In Bergen, we used to show this experiment as a “collapsing column” experiment, the tilting of a frontal surface under rotation. For those cases, all the parameters of the experiment, e.g. the rotation rate, the density contrast, the water height, the width of the cylinder, were set up such as to ensure that one single column would persist in the middle of the tank. At JuniorAkademie, we’ve also run it in other setups, to form dipoles or quadrupoles. For a real hetonic explosion, we would typically go for even more eddies than that.
Screen shot 2014-08-25 at 7.36.25 PM

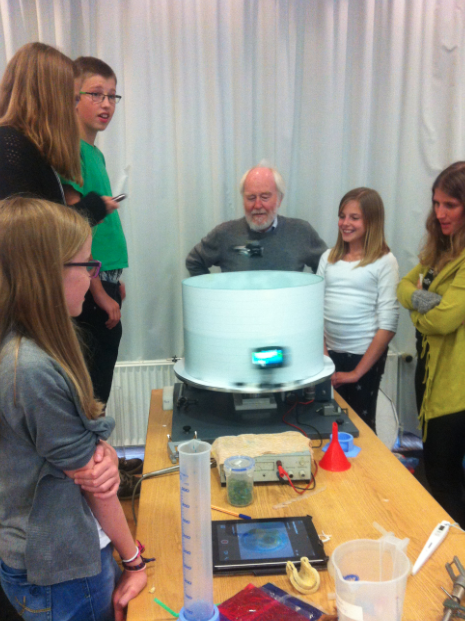
Students watching the experiment shown below. We put paper on the outside of the tank because all the feet swiping past are kind of distracting on the movie later, but that is obviously really annoying for live observers. But in our defense – we only did this once for one experiment late one evening, and didn’t expect so many people to be interested in the experiment! Plus they got to watch on the tablet which showed the top-camera’s view via WiFi… ;-)

But if you read through all those posts then, you might remember that I’ve been complaining about how it is really difficult to set up an experiment in such a way that you have total control over the amount of vortices that form. Firstly, because the system is inherently chaotic, but let’s forget about that for a minute. But then because the calculations aren’t that easy for school kids to do, and then even when everything is calculated correctly, water has to be prepared with the correct salinity, the rotation has to be set to the correct period, the cylinder has to be completely centered in the tank, the water level has to be just right and when the cylinder is pulled up, this has to happen with a swift movement as to add as little disturbance as possible. Not an easy task, especially when there is a camera mounted on the tank!

To show us what to expect, Rolf did some model simulations for us. This is what a monopole looks like:
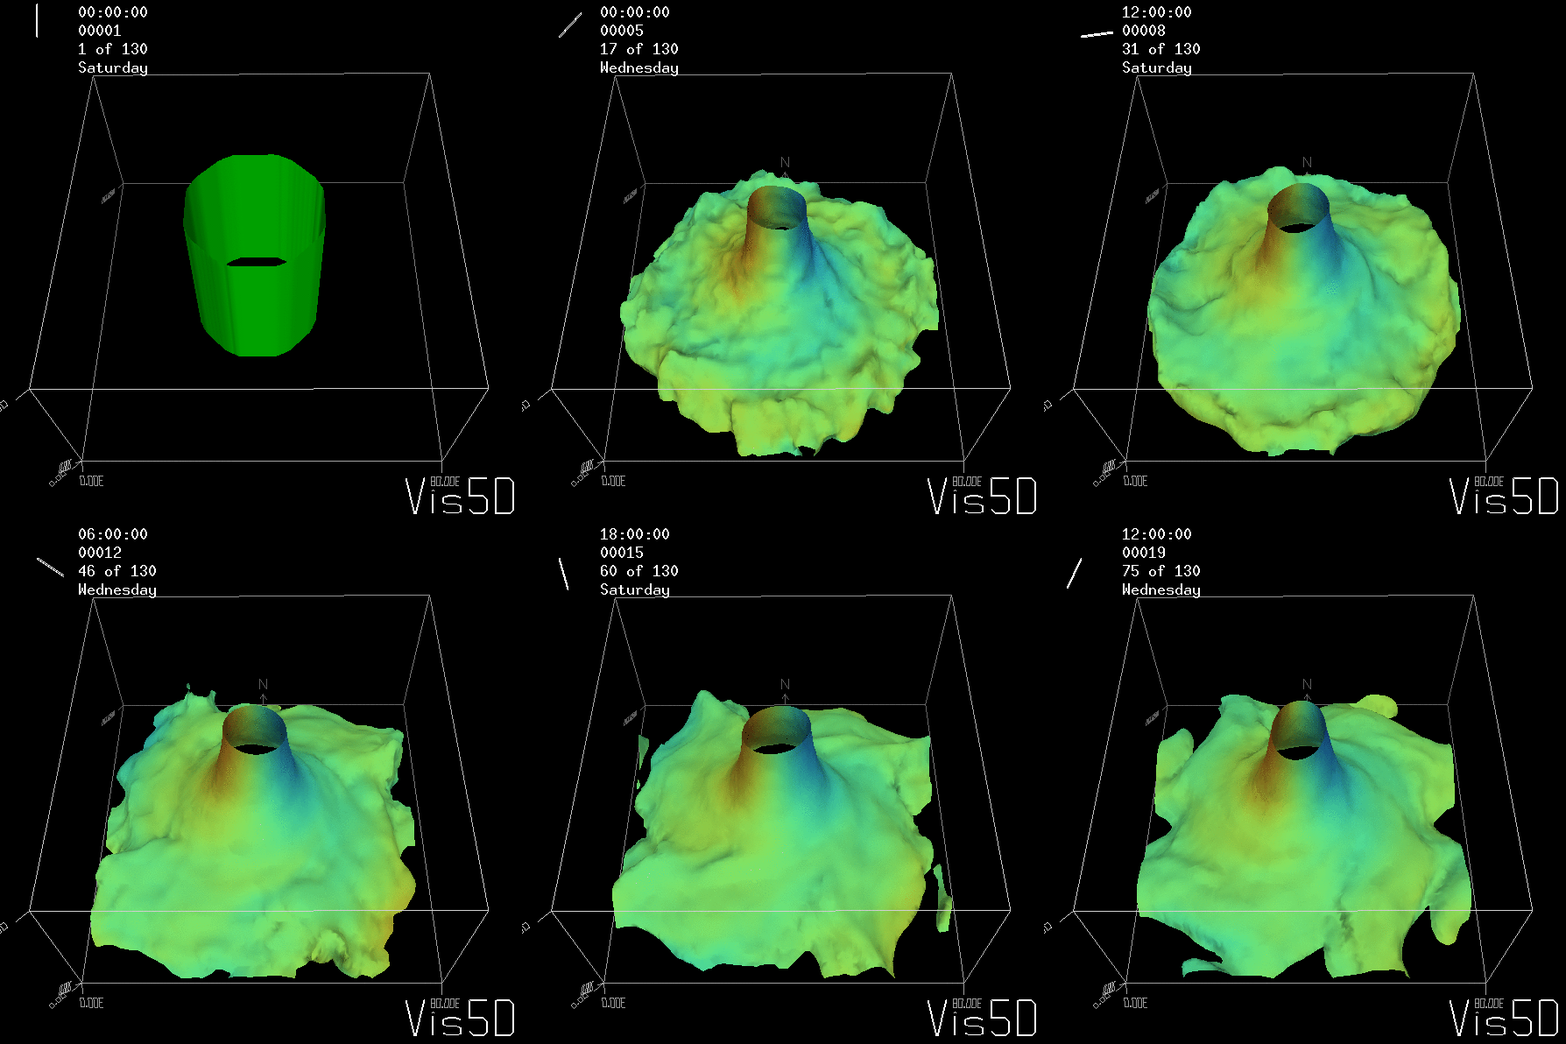
Shown is an isoline in density, separating the dense water below from the lighter water above. Superimposed are the horizontal velocities, so you get a sense of the rotation.

For more advanced experimentalists to recreate, here a dipole:
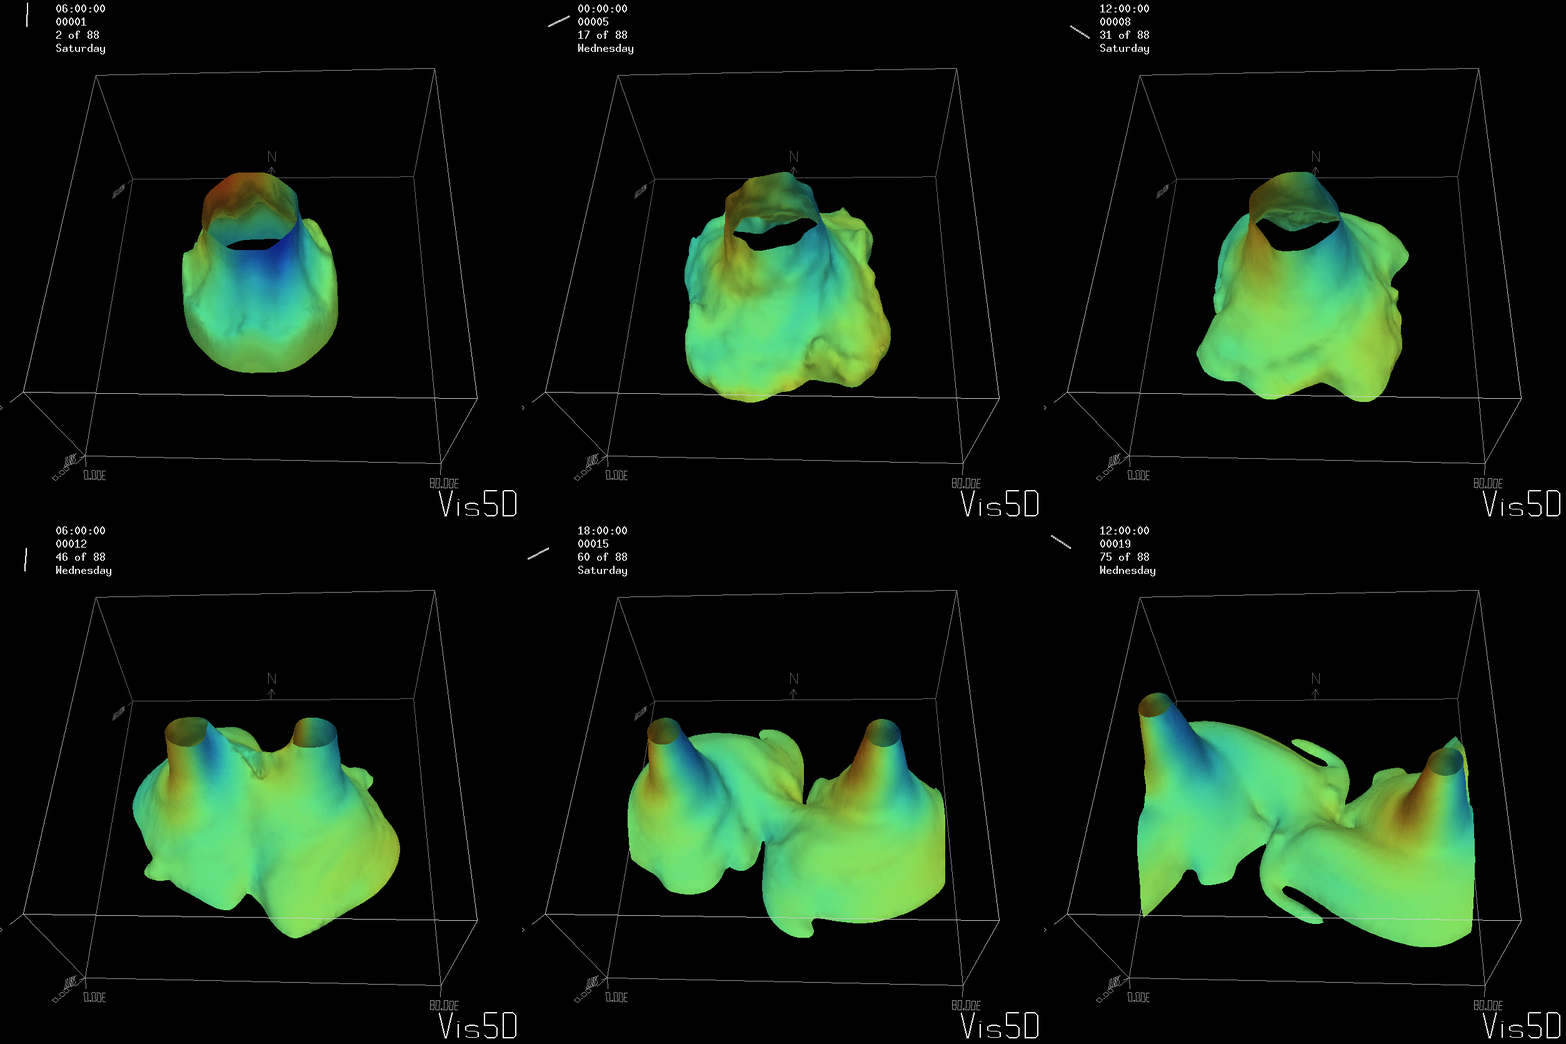
As for the monopole, you see chimneys that are open on top. That is because the density is higher than the one of the isoline inside the eddy, so you get the impression that you can look inside.

But the picture is different for quadrupoles, here the four eddies (that form when the central column breaks up) do not reach the water surface any more, hence they appear closed in the visualization below.
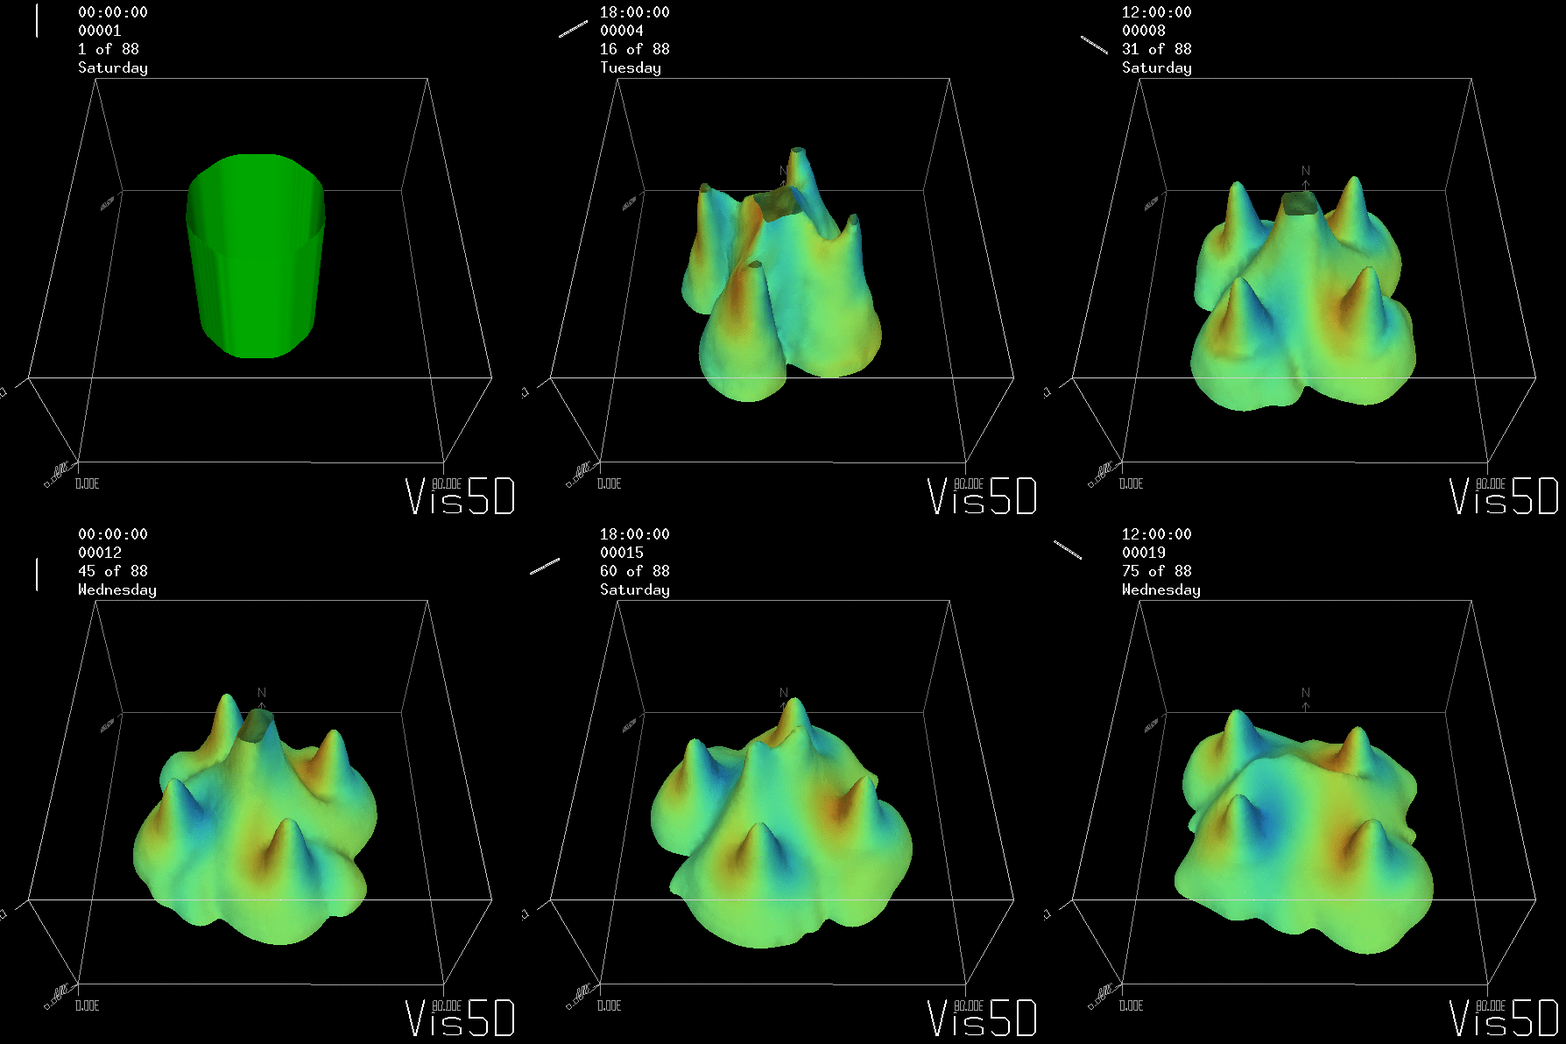
Btw, the time is of course not measured in weekdays, that’s just a glitch in the visualization that we didn’t fix.

Seeing the simulated situations for the three cases above was quite comforting  after having run this experiment a couple of times. When you run the experiment in a tank, there is always a lot of turbulence that you wish wasn’t there. But it really helps to keep your expectations in check when you see that in the simulation there are always little vortices, trying to break away from the main ones, too, and that that is how it is supposed to be.

So now for an attempted experimental monopole, which turned out as a dipole due to turbulence introduced when removing the cylinder, similarly to what happened to us in the no-rotation collapsing column experiment.

When you watch the side views closely, you can see that the tank appears to be wobbling (which we usually can’t see, because this is the only time we taped a camera to the side of a tank – usually when filming from the side, I film from outside the rotating system, holding the camera in my hand). You see it most clearly when the yellow dye crystals are added – the water is sloshing back and forth, and that is most definitely not how it is supposed to be. Oh, the joys of experimentation! But what is pretty awesome to see there is how the vertical dye streaks get pulled apart into sheets as they get sucked into the vortices. Reminds me of Northern Lights! :-)
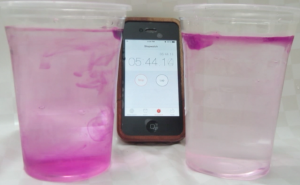
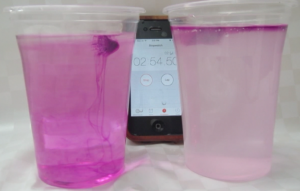
Collapsing column

Or: This is what happens to a hetonic explosion experiment without rotation.

I’ve posted a lot while at JuniorAkademie a while back, so it is hard to believe there are still experiments from that time that I haven’t shown you. But I’ve probably only shown you about half the experiments we’ve done, and there are plenty more in the queue to see the light of day on this blog!

Today I want to talk about hetonic explosions (you know? The experiment on the rotating tank where a denser column of water at the center of the tank is released when the whole tank has reached solid body rotation). In Bergen, we used to show this experiment as a “collapsing column” experiment, the tilting of a frontal surface under rotation. For those cases, all the parameters of the experiment, e.g. the rotation rate, the density contrast, the water height, the width of the cylinder, were set up such as to ensure that one single column would persist in the middle of the tank. At JuniorAkademie, we’ve also run it in other setups, to form dipoles or quadrupoles. For a real hetonic explosion, we would typically go for even more eddies than that.

Today I want to show you this experiment under very special conditions: The no rotation case!

For all of you oceanographers out there who know exactly what that experiment will look like, continue reading nevertheless. For all of you non-oceanographers, who don’t know why some oceanographers might be disappointed by this experiment, continue reading, too!

You see, one of the fundamental assumptions we often make when teaching is that what is exciting to us, the instructor, is exciting to the students, too. And the other way round – that experiments that we might find boring will be boring the students, too. But I often find this to be completely wrong!

In case of the hetonic explosion experiment with no rotation, the experts know what will happen. We pull out the cylinder containing the denser water, so the denser water column will collapse and eventually form a layer of denser water underneath the rest of the water. We know that because we are aware of the differences between rotating and non-rotating systems. However, many students are not. And if you don’t have a strong intuition of how the water will behave, i.e. that in this case you will eventually have two layers, rather than a dense column surrounded by lighter water, it is not terribly exciting when you finally do the rotating experiment and – contrary to intuition – the dense water does not end up below the lighter water. So in order to show you in my next post what to be excited about, today I am showing you the normal, non-rotating experiment:

http://vimeo.com/105481230

But note that the experiment is not nearly as boring as you might have thought! We had put a lot of vaseline at the bottom of the cylinder to prevent the denser water from leaking out, so when the cylinder was pulled up, it gave an impulse to the dense column, which ended up splitting up into a dipole upon hitting the wall of the tank. Still looks pretty cool, doesn’t it? And for this to be a good teaching video, I really should have continued filming until the layers had settled down. In my defense I have to say that we had a second experiment set up at the other rotating table that we wanted to run, so I had to get the cameras over to the other table… And you’ll see those movies in my next post!

Double overflow

Because sometimes one overflow simply isn’t enough.

Finn’s group came up with – and ran – an overflow experiment with many different densities and even more colors. While the movie didn’t turn out too well, the idea was pretty awesome.

Rolf went ahead and modeled the experiment right away. And because the plume didn’t go across the second ridge in a dramatic enough fashion, he did the same experiment again, this time with a higher density contrast.

overflow_saltier

Salinity – the higher, the redder, the lower, the bluer. Density higher than in the figure above. Figure courtesy of Rolf Käse

If you compare those two figures, you notice that the second one is a lot more diffusive than the first one. To test whether the model was doing well, we obviously had to run both experiments in the tank, too. Watch the movie below to see how they turned out:

Turns out that also for us, the run with the higher density contrast is a lot more diffusive. Kelvin-Helmholtz-instabilities develop on the first down slope of the first ridge, and generally a lot more mixing is going on. To get an impression of the regions of high mixing and recirculation, rather than guessing from the diffusing salinities, Rolf displayed the horizontal velocity:

overflow_velocity_saltier

Along-tank velocity. Blue to the left, red to the right. Figure courtesy of Rolf Käse.

Notice the high mixing whenever the plume is running down a slope, and then the recirculations in the valleys. Pretty awesome, huh?