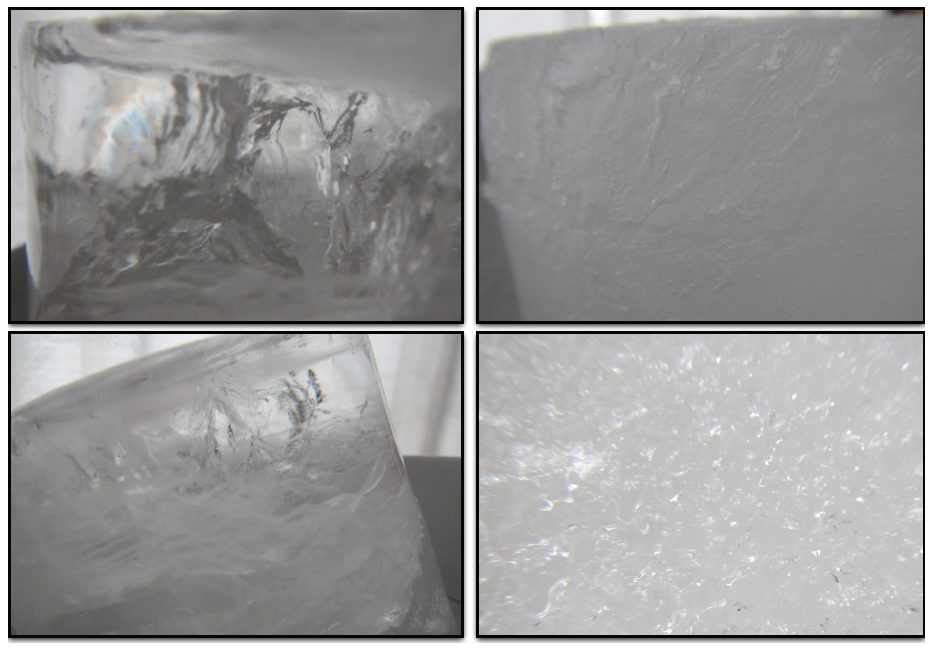
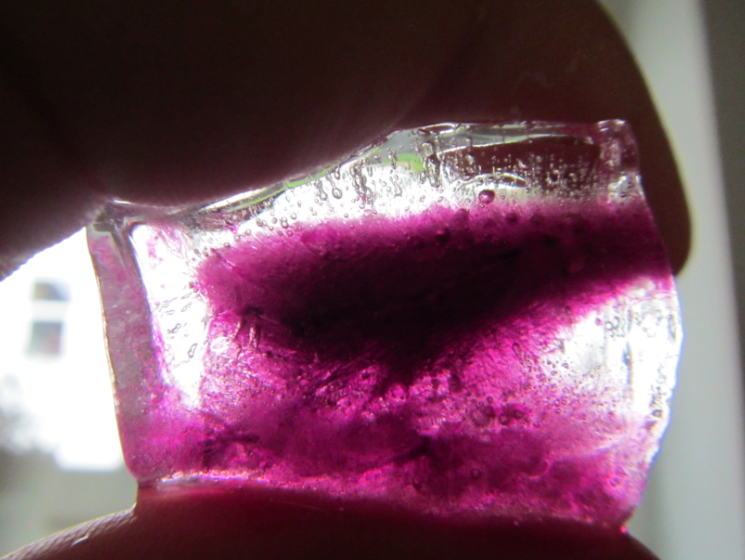
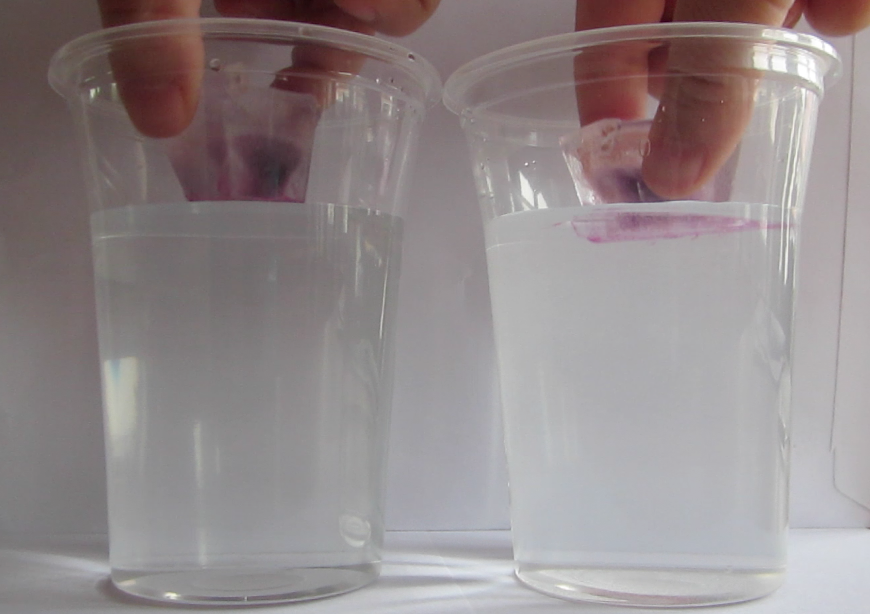
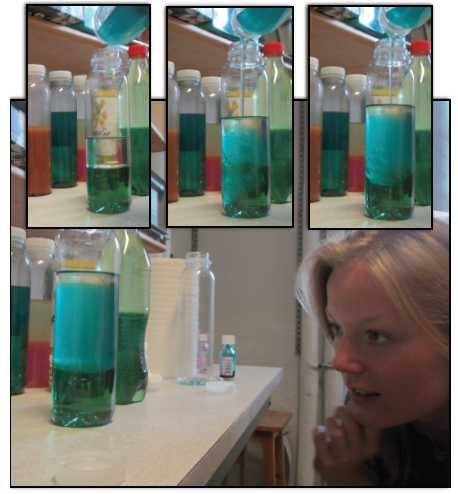
The “ice cubes melting in fresh water and salt water” experiment the way I usually use it in class.
— Edit — For an updated description of this experiment please go to this page! — Edit —
You might remember the “ice cubes melting in fresh water and salt water experiment” from a couple of days ago. Today we are going to talk about it again, but with a little twist on it. See, when I showed you the experiment the other day, I used dyed ice cubes, so the melt water was colored and it was easy to track. Doing that, I focussed you attention on the melt water. This is not how we do it in class.
In class, students get clear ice cubes, and before they put them in the cups, I ask them to make a prediction. Which of the ice cubes will melt faster, the one in fresh water or the one in salt water? Everybody has to make a prediction. And having run this experiment with 100+ people by now, I can tell you: Approximately 5% predict the right outcome. And that is not 5% of the general population [edit: this used to say “5% of the general circulation”!], that is 5% of people who were either attending my class or a workshop on oceanography with me, who were attending a workshop on teaching oceanography, or my nerdy friends. So don’t be sad if you get it wrong – you are in good company.
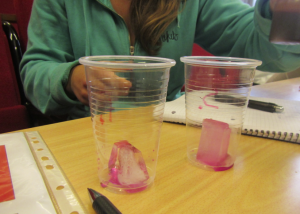
So now that everybody has made a prediction, the ice cubes go into the cups with fresh water and salt water. In the beginning, the excitement is usually moderate. After all, you are staring at a plastic cup with an ice cube floating in it. But then, after the first minute or so, there is no denying any more: The ice cubes have started melting. And one of them is melting a lot faster than the other one. The one in fresh water is melting a lot faster than the one in salt water! How can this be? At this point, students typically start secretly (because remember – no tasting in the lab!) tasting the water in the cups to make sure that they didn’t actually swap the cups. After all, it should be the ice cube in the salt water melting faster, shouldn’t it?
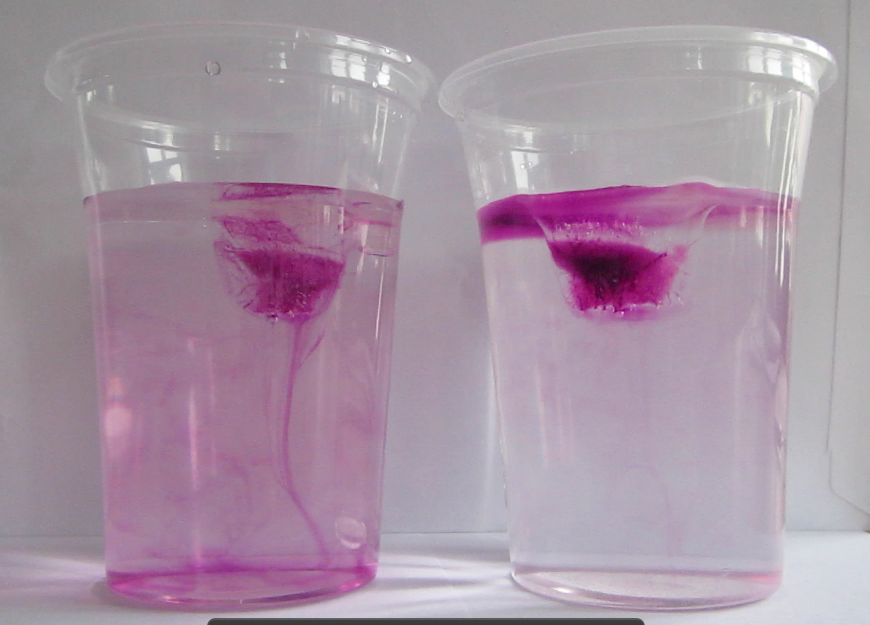
But no, it is true: The ice cube in fresh water is melting faster than the one in salt water. But how??? Enter food coloring.
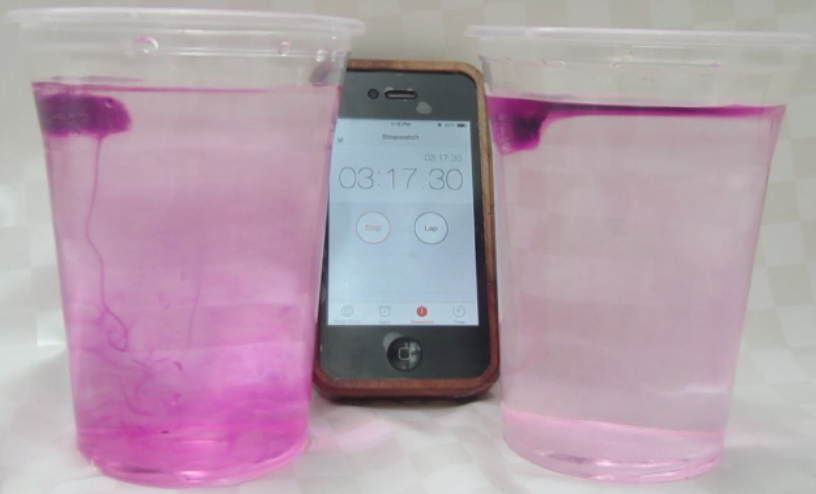
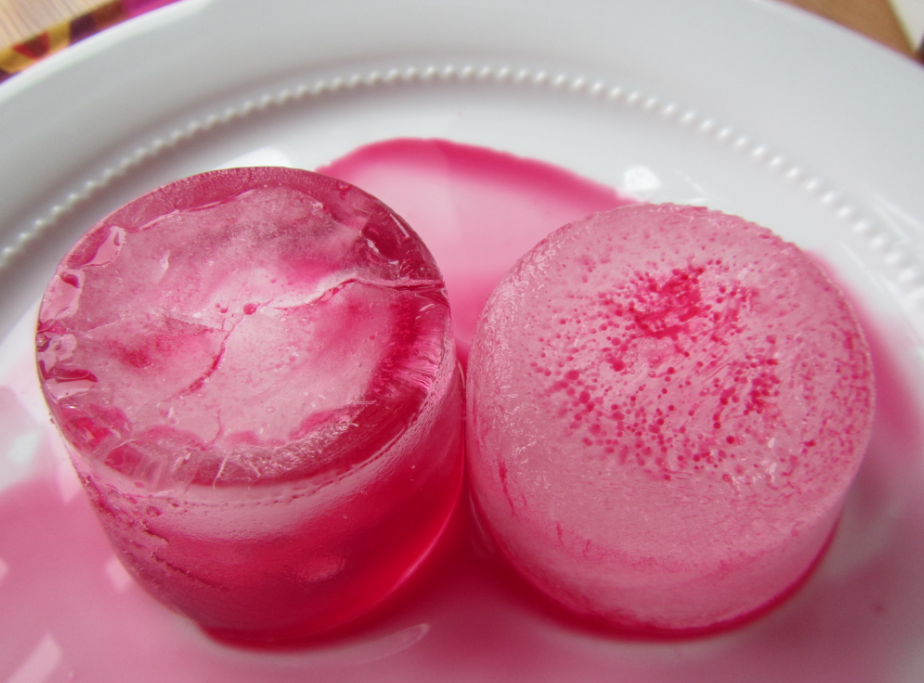
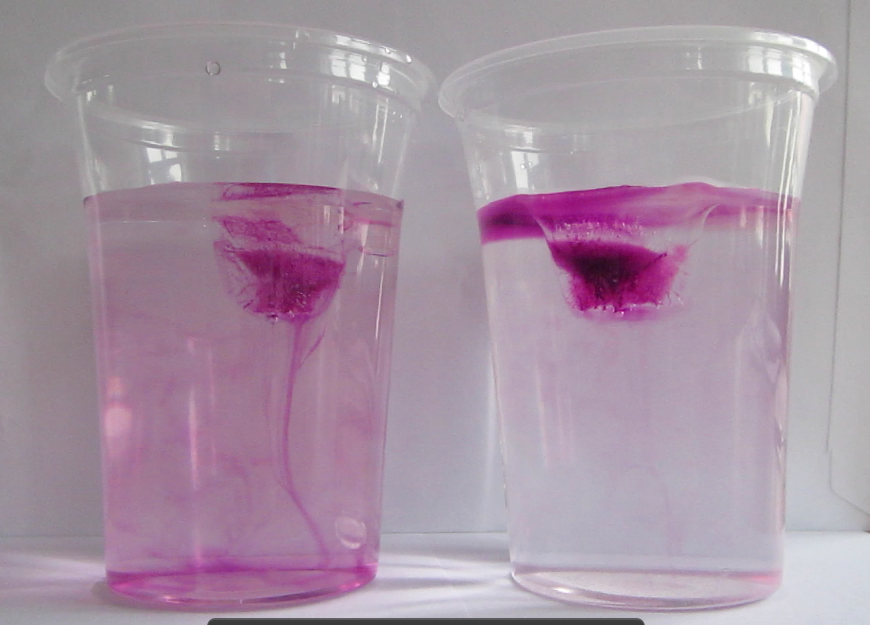
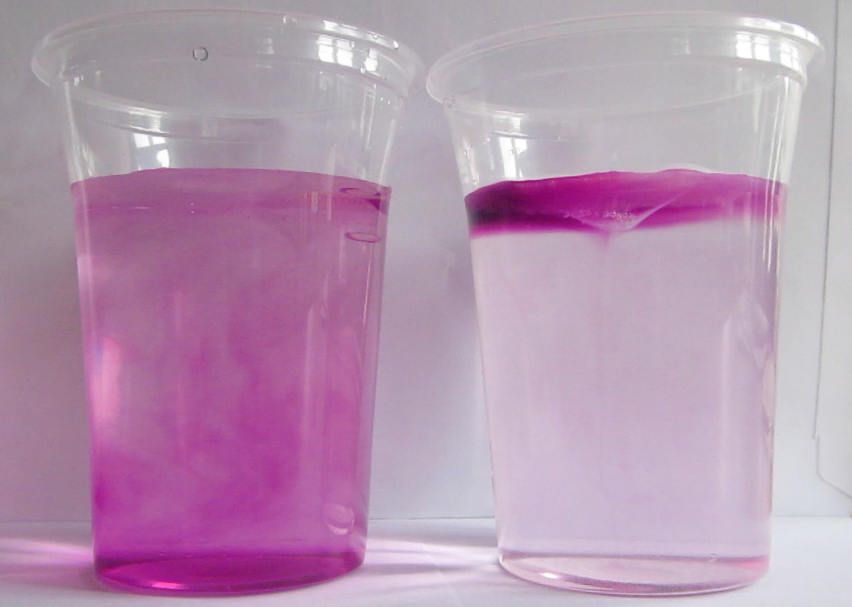
Dyed ice cubes melting in fresh water (left) and salt water (right). Edited on Sept. 14th, 2014. Since this seems to be the most popular post on this blog I thought people might appreciate a better picture… And if you are really curious go check out the newer posts on the topic, a lot has happened over the last year!
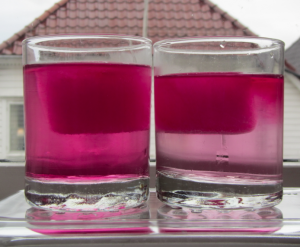
Glasses filled with fresh water and salt water, and one ice cube in each. Drops of food dye have been added on the ice cubes to visualize the circulation. The left glass is homogeneously pink, whereas the right glass has a pink layer on top and only little pink below that layer.
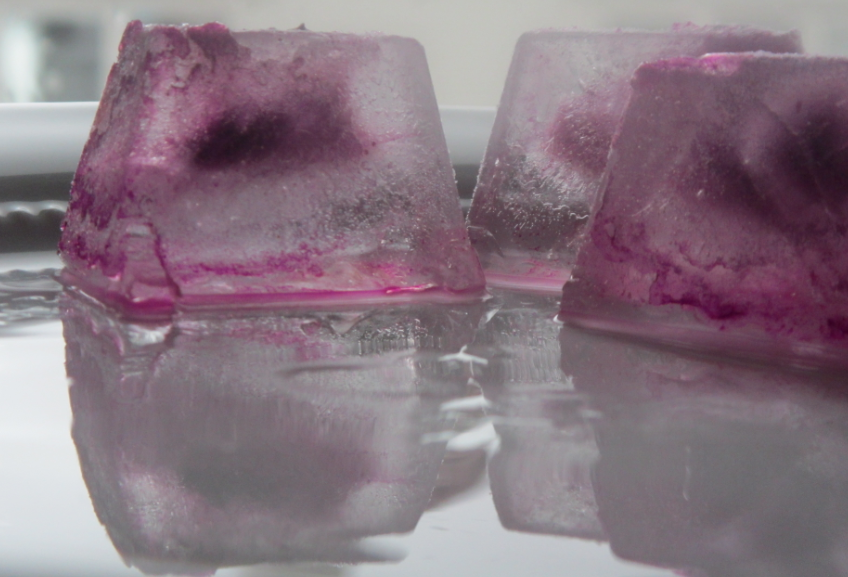
If at this stage one or two drops of food coloring are dripped on the ice cubes, this dye helps visualize the circulation similarly to the dyed melt water I showed you the other day [which, incidentally, one of the student groups yesterday observed without food dye or me prompting. Great job!].
And now the whole thing makes much more sense: In the fresh water case, melt water is denser than the water in the cup and sinks to the bottom of the cup. As it is sinking away from the ice cube, it is being replaced with warmer water from the cup. Hence the ice cube is always floating in relatively warm water which helps it melt.
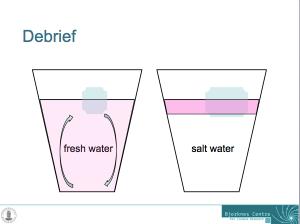
Sketch showing the explanation for why the ice cubes melt faster in fresh water than in salt water.
In salt water, on the other hand, the melt water forms a layer on top of the water in the cup. Even though it is very cold, it is still less dense than the salty water in the cup. The ice cube is more and more surrounded by its own melt water and not by the warmer water in the cup as was the ice cube in the fresh water. Therefore, the ice cube in the fresh water is melting faster than the one in salt water!
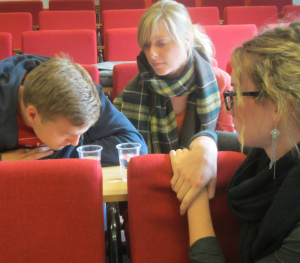
The experiment run in the lecture theater.
This experiment is easy to run in all kinds of settings. However it helps if the student groups are spaced out enough so that the instructor can reach all of the groups and listen in on the conversations to get a feel of how close to a solution the students are, or chat to the students to help them figure it out.
There will be two follow-up posts to this one: One about different didactical settings, and one different contexts this experiment can be used in.
