Category Archives: hands-on activity (easy)

Guest post: Estimating salinity as a homework assignment

Today I am super excited to share a guest post that my awesome friend Joke Lübbecke wrote for us. Joke is a professor in physical oceanography in Kiel, and we like to chat about teaching occasionally. She has great ideas for exciting tasks for students to do and I bet they learn a lot from her. Here is what she writes (and the photos in this post are the original photos that her students kindly agreed to let us use on this blog. Thanks very much!):

Estimating salinity as a homework assignment

When I gave the second-year oceanography students in my class bottles of salt water and – without any further instructions – asked them to find out what the salinity was, I wasn’t really sure what to expect. Would they just take a sip and guess 35? Would they all use the same approach? So when they handed in their solutions in the following week I was very happy to see how creative they had been and how many different things they had tried to get to an answer. For example, they had

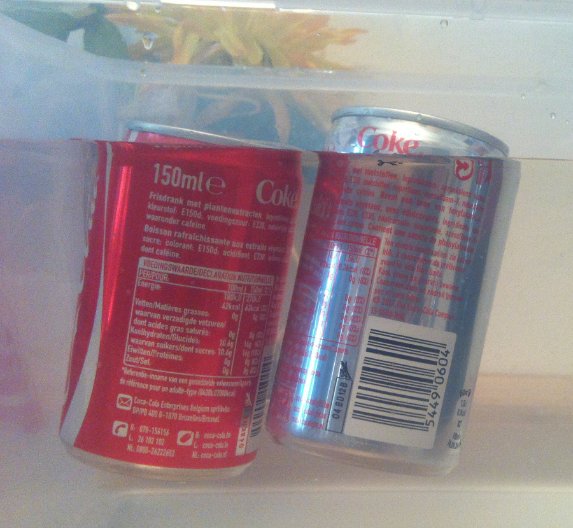
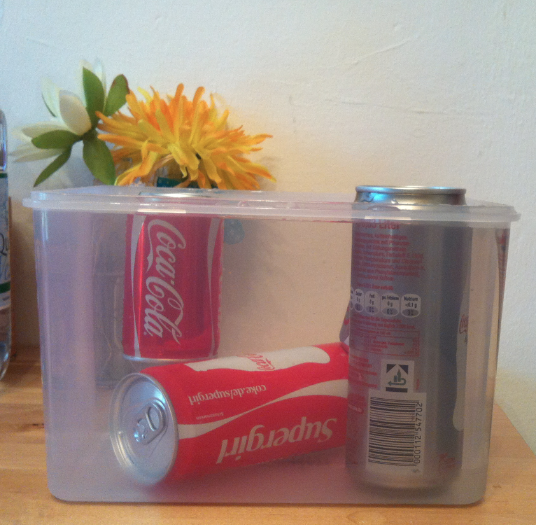
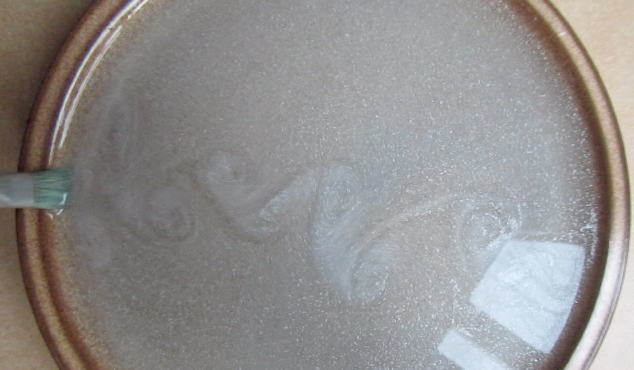
  • Evaporated the water and weighted the dry salt
Joke_image001

Evaporating water from salt water and weighing the remaining salt to measure salinity

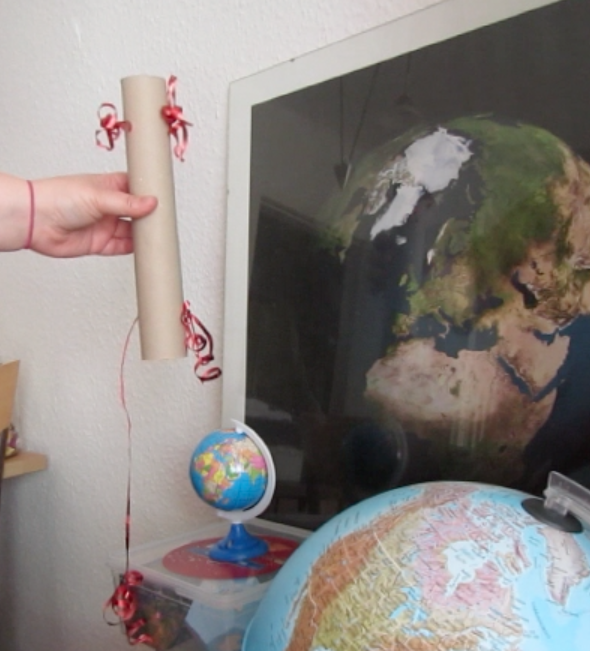
  • Used differences in buoyancy between salt and fresh water
Joke_image002

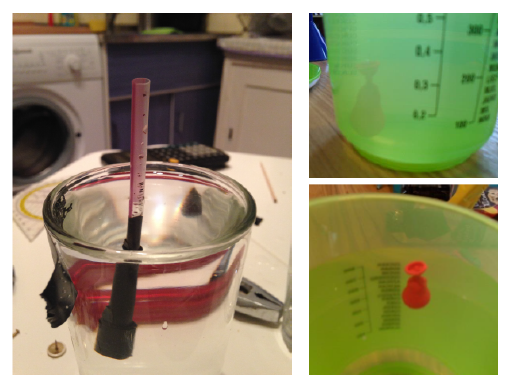
Measuring salinity by comparing buoyancy with known samples

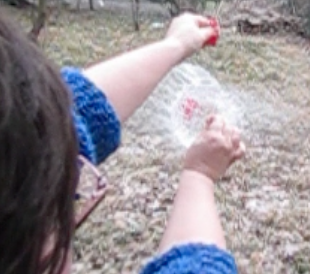
  • Measured the electric resistance of the sample, then tried to mix a solution with the same resistance by adding more and more (defined quantities of) salt to a fresh water sample
Joke_image003

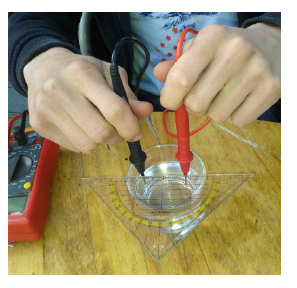
Measuring salinity by measuring the resistance of the sample and reproducing a sample with known salinity and the same resistance

or simply

  • Tasted the sample and compared to water samples with known salinities :-)

The numbers they came up with were as diverse as their approaches so this was also a nice demonstration of the difficulties to accurately measure salinity.

(And of course the salinity of the water sample they got was about 35, but who cares? – the journey is the reward!)

More mystery tubes

My mystery tube blog post seems to have inspired a lot of people. How awesome! This is what my parents sent me:

And my friend Kristin Richter took the whole thing to the next level: She brought the mystery tube in to work and tested it on colleagues! And when we were discussing the mystery tube in the context of a possible workshop we wanted to run, she came up with a great context.

— spoiler alert – don’t continue reading if you haven’t figured out how the mystery tube works! —

So the thing is: In all instructions the two threads inside the tube are connected with a ring through which they are both fed. When I built my own mystery tube, I was too lazy and to cheap to put a ring inside a mystery tube where it a) wasn’t visible and b) not even necessary. My solution was instead to just cross the two threads and the result is exactly the same. So Kristin pointed out that this is actually a really cool feature of the mystery tubes when we use them to model a model. A model might reproduce the behavior of a system perfectly (like my cheap mystery tube reproduces all the functionalities of a “real” mystery tube with a ring inside), yet we do not know if it does reproduce reality for the right reasons. New scenarios might develop – for example if we shook the mystery tubes, one might make a noise and the other one might not – but still. What if one ring was made out of a material that did not make a sound when hitting the walls of the tube? We’ll never know whether there is a “ring” in the real world or not.

Screen shot 2015-06-18 at 9.48.24 AM

Mystery tube

Did the mystery tubes get even more awesome now or what? :-)

Phase of the moon

Relating the phases of the moon to one side of the moon being lit by the sun and the other side being in the dark sometimes appears a bit unintuitive. One thing that books and “the internet” always recommend is holding up a sphere in the direction of the moon and pointing out how the same side of the sphere and the moon are lit.

I’ve tried this before using apples or other fruit that I had on me when I happened to see the moon in the sky, but it is not really satisfying. Fruit in the sun always look like fruit in the sun, plus it is really hard to photograph (or can you spot the moon above the nectarine in the picture below?).

IMG_1911

See the tiny moon right above the nectarine and how its light and dark sides are the same as those of the nectarine?

So I was really happy when I managed to take the pictures below:

Mondphase

In both pictures: Model of the moon between my fingers on the left, and moon in the background on the right. See how the lit and dark sides of both spheres are in the same position?

This is the first time I felt like it actually worked for me.

Experiencing constructivism

For a recent workshop on “active learning”, my colleague Timo and I were looking for ways to have participants “experience constructivism”, i.e. show examples of instances that might make conversations about constructivism more applied to their realities.

First, we did a little exercise on blind spots. Which we all know we have, yet it is always surprising to experience them. So here is what you do: Close your left eye. Focus your right eye on the circle in the figure below. Move your head towards the screen, and maybe away again, always focussing on the circle, until the star disappears.

Blind_spot

Find your blind spot: Close your left eye. Focus your right eye on the circle in the figure below. Move your head towards the screen, and maybe away again, always focussing on the circle, until the star disappears.

Got it? It’s weird, isn’t it? And what do you make of the fact that you obviously have a blind spot, yet even when you close one eye you cannot see it unless you specifically trick your eye into seeing it like we did above?

So next we had participants look at the alphabet below for 15 seconds, asking them to memorize it.

ZahlenABC03

A different alphabet

After 10 seconds, we hid the alphabet and asked participants to code my colleague’s 9-digit office number, using what they remember of the alphabet.

Very difficult!

We then went back to the table above and asked them to find an easy way to remember the alphabet. Still very difficult!

Finally we showed them a way to easily remember:

ZahlenABC02

A different alphabet and how to remember it.

Not likely to forget this ever again, are you? ;-)

Next time – provided my workshop was long enough – I might actually show the telephone number in “code” before revealing the alphabet, giving participants a chance to compare their solutions and maybe figuring out the system themselves. Here is my own phone number:

ZahlenABC04

My work phone number in the new alphabet.

Participants’ feedback was that they really enjoyed those two examples. We had a third one: The image of black spots all over a white background where you can see a dalmatian. Or can’t you? One of our participants could not, which was another great way to talk about how we construct reality around us, and how we each individually construct it differently.

It was a fun workshop, working with one of my all-time favorite colleagues. Hope we’ll get to lead another workshop together soon!


Developing a hypothesis: Mystery tubes

Finally I know why I’ve been collecting empty toilet paper and kitchen paper rolls for ages: To build mystery tubes!

Mystery_tube

Mystery tube

I only built a prototype, but it works just fine.

So here is what you do with it:

And now it’s your turn. How does the mystery tube work?

I can’t wait to use mystery tubes to introduce students to the scientific method. Obviously I would make sure to tape off the open ends of the roll so nobody can have a peek inside! The students can play with the tube and then start developing hypotheses on how the mystery tube works. Ideally, I would bring all kinds of materials for them to build their own tubes to test their hypotheses.

For this exercises to be as close to real-life science as possible, I think it is important to never reveal the solution and not have them check it out, either. Building a model and not knowing whether it is an exact replica of the real world or if it only worked fine for all cases we tried it on, but would break down on a different case, is part of the game after all!

P.S.: I got the idea here.

P.P.S.: Kristin, what do you think?


When diet coke cans don’t float better than regular coke cans

This is why you should always test an experiment before you run it…

On recent travels, when I saw that they were serving drinks out of tiny cans, I asked for coke and coke light, because I really like the experiment where you put two coke cans in water and the diet one floats while the regular one sinks.

Soft drinks in cans. Who knew you could do science with them?

And then I had those two new tiny cans sitting in my kitchen. My parents came over and we talked about how I am so happy I got those tiny cans, because it is less equipment to lug around when I travel to workshops or courses. And then my mom says that she has never seen the experiment for real. So of course, I have to show her. And what happens? This!

Screen shot 2015-04-06 at 4.28.11 PM

What??

Yes, the regular coke might have sunk a little deeper, but this is really not as impressive as the experiment is supposed to be!

Good thing I moved the cans (which a friend’s friend brought to Norway for me, which I then brought from Norway to Iceland and then back to Norway) with me to Germany… As you see: The large cans still show what I wanted them to show!

Screen shot 2015-04-06 at 4.27.49 PM

Better.

So who knows what is going on here? Too much head space in the tiny cans relative to the amount of soft drink they contain? New formula? Anything else?

And the moral of the story: ALWAYS try your experiments when you are using new equipment before you show them to anyone. Who would have thought that this experiment was not fail safe???

Vortex streets on a plate

You might think that three hours of canoe polo on a Saturday morning would be enough water for the day, but no.  As when I did the experiment for the “eddies in a jar” post a while back, sometimes I just need to do some cool oceanography. So last Saturday, this is what I did:
Screen shot 2015-02-21 at 4.38.32 PMI took a plate, mixed some sugar, silvery water color, and water, pulled some stuff through the water and that was pretty much it. As a first order approximation, pulling an object through a stagnant water body is the same as the water body moving past a stationary object. And since it is usually pretty difficult to visualize flow around stationary objects (at least if you don’t want to pollute that little creek nor waste a lot of water). So this is really exciting.

Screen shot 2015-02-21 at 5.01.02 PM

Depending on the size of the object you pull through the water, and its speed, all kinds of different eddies develop. So fascinating! Watch the movie below to get an impression. (It’s really only an impression – it’s 2 minutes out of the 40 or so that I filmed ;-))

And for those of you who are always like “oh, I would love to, but I couldn’t possibly do this at home!”: This is what it looked like in my kitchen when I filmed the video above:Screen shot 2015-02-21 at 4.27.15 PM

The plate I am filming is the one underneath the camera (I love my gorilla grippy). My water colors from back when I was in primary school, a paint brush, a chop stick, the plate I tried first that turned out to not have enough contrast with the silver paint, a blanket because the tiles are cold to sit on. Oh, and the flowers that I have been meaning to put into nice pots for a couple of days now. So – no big mystery here! Go try! And let me know how it went.

Eddies in a jar

Rotating experiments in your kitchen.

Do you know those Saturday mornings when you wake up and just know that you have to do oceanography experiments? I had one of those last weekend. Unfortunately, I didn’t have a rotating table at hand, but luckily most of my experiments work better than the exploding water balloon time-lapse I showed you on Monday, so this is what I did:

MVI_0698

Dye spiral

I took a large cylindrical jar, filled it with water, stirred, let it settle down a little bit and then injected dye at the surface, radially outward from the center. Because the rotating body of water is slowed down by friction with the jar, the center spins faster than the outer water, and the dye streak gets deformed into a spiral. The sheet stays visible for a very long time, even as it gets wound up tighter and tighter. And you can see the whole eddy wobble a bit (or pulsate might be the more technical term) because I introduced turbulence when I stopped stirring. So pretty, the whole experiment. And so satisfying if you need a really quick fix of oceanography on a Saturday morning!

Watch the movie below if you want to see more. Or even better: Go play yourself! It’s easier than making one of those microwave mug cakes and sooo goooooood :-)

Playing with time lapse

One of my not-so-bright ideas as you’ll see…

Last week we talked about the thought experiment on how all objects have to fall at the same rate. Which is clearly only true in a vacuum, otherwise all those smart innovations like parachutes would be kinda pointless. But today I had just set up my camera to film a time-lapse of a water balloon in which I was going to poke a hole with a needle when it started snowing. So I ended up with a demonstration of things falling at different rates, namely snowflakes in the background and the contents of my water balloon in front.

MVI_0701

Exploding water balloon


The point I wanted to make though was a different one. I’ll have to repeat the experiment some other time, when a) I have someone to help me either film or poke the hole, so the main focus isn’t my hands, and b) when I’ve thought it through well enough to be well clear of the open doors of my winter garden. I like water a lot, and I’ve plenty of times joked about how I would like to flood my winter garden for nice experiments, but yeah. In reality I kinda like it to be dry… Anyway, here is the movie for you. Point of this post: Some experiments don’t work out exactly the way as planned. But they are still fun! :-)