
Measuring the concentration of dissolved oxygen in sea water – Part 2 of 3 – the measuring part
So how do we actually measure dissolved oxygen concentrations from the samples we took in the last post?
We are using a method called “titration” to determine the unknown concentration of dissolved oxygen in our sea water sample. And this is how titration works in general: During titration, we add known volumes of a chemical, called “titrant”, to the sample until all of our unknown amount of the substance we want to measure has reacted with the second chemical. The volume of the titrant that we needed to add until all of the substance-to-be-measured is used up is called the “titration volume” and it is proportional to the volume of the substance-to-be-measured we had in the sample and that we want to figure out. Since the chemical reactions of the substances are well known, the factor that needs to be used to convert one substance into the other is known, too.
Unfortunately, when attempting to measure oxygen, we can’t add the titrant directly to the water sample, but a couple of other steps have to happen before. Remember the last post? We ended by adding reagents to the sample:
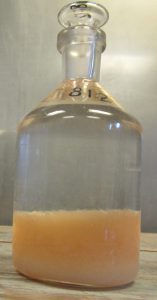
To be precise, we add manganese sulfate first and then a mixture of sodium iodide and sodium hydroxide. This is shaken really well to mix everything. A white manganese hydroxide precipitate forms but is quickly oxidized by the oxygen in the sample. When this happens, the sample turns the color of brownish cloudy apple juice. This is where it is important that we don’t have air bubbles in the sample – the oxygen contained in those would also take part in the reaction which would later look like there had been a higher concentration of dissolved oxygen in the sample.
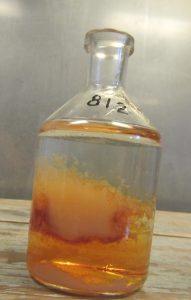
After a little while, a yellowish-brownish precipitate falls out. This is what we later want to measure, as the dissolved oxygen is bound in there and can’t take part in any further reactions for the time being.
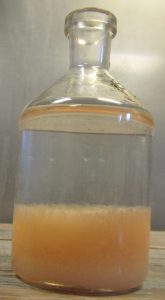
A sample then looks like this:
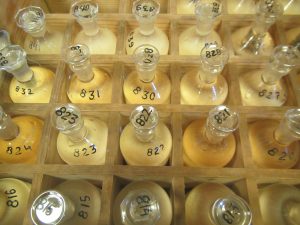
Or, for a full crate of samples:
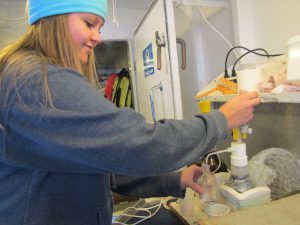
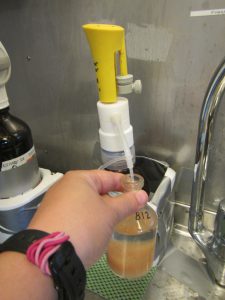
Next, using a syringe, we need to carefully, take about 20ml of water off of the top of the sample flask (because we will measure inside the sample flask and need to make room for the magnet stirrer and chemicals to be added later). This works surprisingly well without disturbing the precipitate at the bottom of the bottle!
Next, we add acid (sulfuric acid in our case) to the sample to dissolve the precipitate back into solution.
Where in contact with the acid, the apple juice becomes clear.
It will become clear everywhere once the magnet stirrer starts mixing the acid and the rest of the sample.
And now we are ready to start titrating!
In titration, we add known amounts of the titrant, thiosulfate solution in our case, to our sample until we reach the “titration volume”, where all oxygen has reacted. The task is figuring out the titration volume. This can be done for example by adding an indicator that changes color when the sample changes from acidic to basic. Then we need to note down the volume of the titrant, the titration volume, at the exact point that happens. The titration volume of thiosulfate solution is then proportional to the concentration of dissolved oxygen in the original sample (again, provided there were no air bubbles trapped in the sample).
We’ll talk about what this looks like in practice in the next blog post :-)
GEOF337 student cruise: About turbulence and how we measure it – Elin Darelius & Team says:
[…] in reading more about this, check out Mirjam’s blogposts on how to sample and how to measure dissolved oxygen! And a special post with focus on the color change of the indicator when […]
Portable oxygen says:
the nerd in me wants to scream. going to pester my students with this tomorrow. thanks so much!