Ha, this is a bad pun. We are modeling the Denmark Strait Overflow – but in a non-numerical, small-scale-and-playdough kind of way.
More than a year ago, Kjetil and I ran that experiment with a group of high-school students and when writing a post about a much more sophisticated version of this experiment I realized I never documented this one in the first place. So here we go!
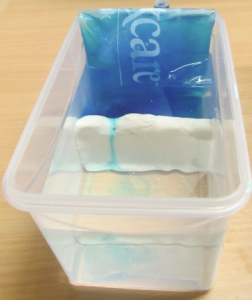
The set-up: Tupper ware with a modeling clay ridge (“let’s call it Greenland-Scotland-Ridge”) across, filled with water to a level above the ridge, cooled with a sport’s-injury cooling pack in “the North”.
Dye is added to the “northern end” of the tank (i.e. the end where the water is being cooled by a sport’s injury cooling pack). As the water cools, it becomes denser and fills up the reservoir on the northern end until it spills over the clay ridge.
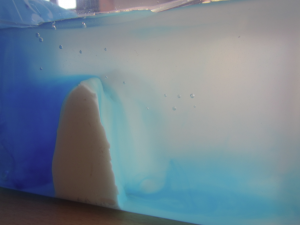
The overflow. See the blue, dense reservoir on the left and the dense water spilling over the ridge.
This is a very simple demonstration of how overflows actually work.
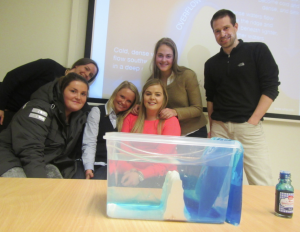
Kjetil, his Master student Eli and some of the high-school students. Can you see the sketch of the Denmark Strait Overflow on the slide in the background? (Plus, for everybody who is interested: This is the food coloring I have been using right there in the front right!)
Pingback: The ocean is very deep. It’s also very shallow. On the L/H aspect ratio and the size of the tank. – Elin Darelius & team's scientific adventures
Pingback: The ocean is very deep. It’s also very shallow. On the L/H aspect ratio and the size of the tank. – Mirjam S. Glessmer
Pingback: The ocean is very deep. It’s also very shallow. On the L/H aspect ratio and the size of the tank. – Elin Darelius & Team
Pingback: Denmark Strait overflow in a tank experiment - Adventures in Oceanography and Teaching