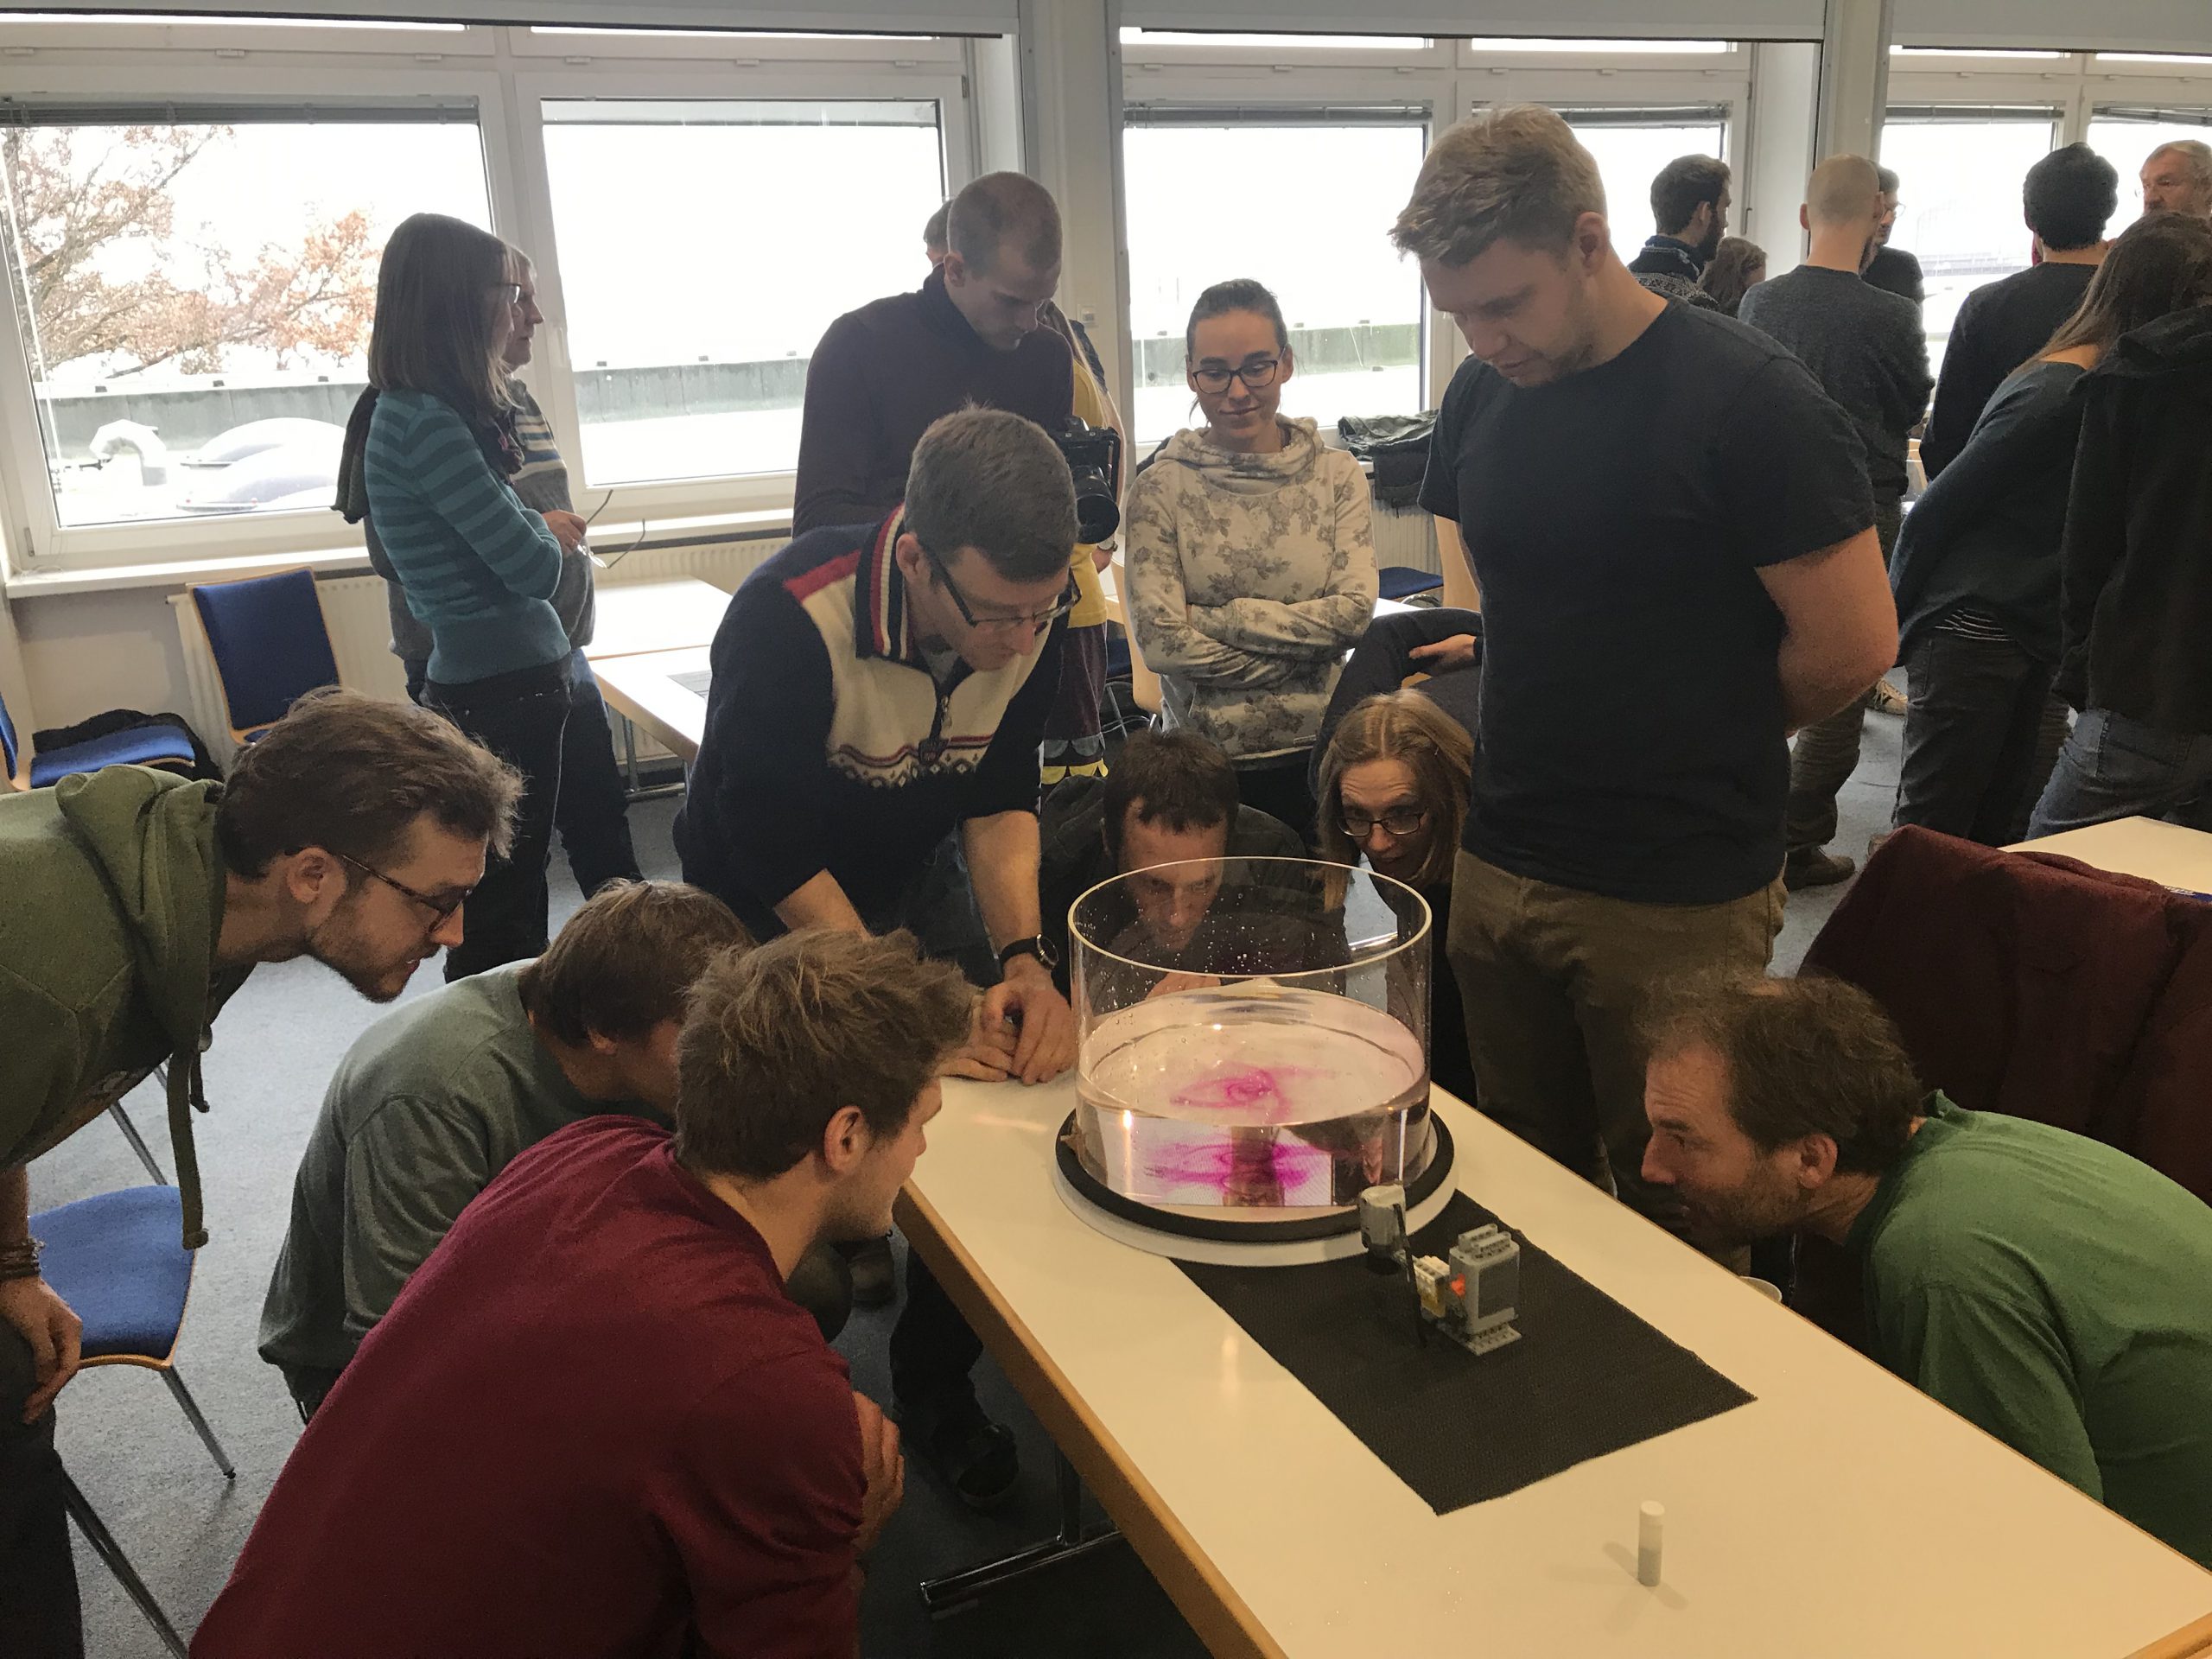
Giving it a side eye: Why we use high-walled tanks on our rotating table #FlumeFriday
Inspired by a recent twitter comment on how our tanks are higher-walled than those usually used on the DIYnamics rotating tables, today I’ll talk about why we went for those.
Full disclosure: Mainly for practical reasons (see below). BUT: having high-walled tanks is really helpful for many experiments because they make it a lot easier to observe the vertical dimension. Even though oceanic flows are largely 2D and thus a shallow tank should be enough (and it is for many purposes!), if you look at representations of sections of oceanic properties, the vertical dimension is always stretched to make the important 3D features visible. That’s basically what we are doing here, too: In order to make the point that rotating flows are largely 3D, we blow up the vertical dimension so people can actually observe that claim. Plus then there are all those cases where rotating flow actually isn’t 2D!
For which experiments might a high-walled tank (or a higher water level) be helpful?
For example the Ekman layer experiment. If you want to see the bottom boundary layer thicken over time as friction propagates upwards through the water column, you need to look at it from the side and over a certain period of time, so the water needs to be deep enough to be able to see parts of the water column that are already affected by friction, and then the upper part that isn’t and that’s still in solid body rotation.
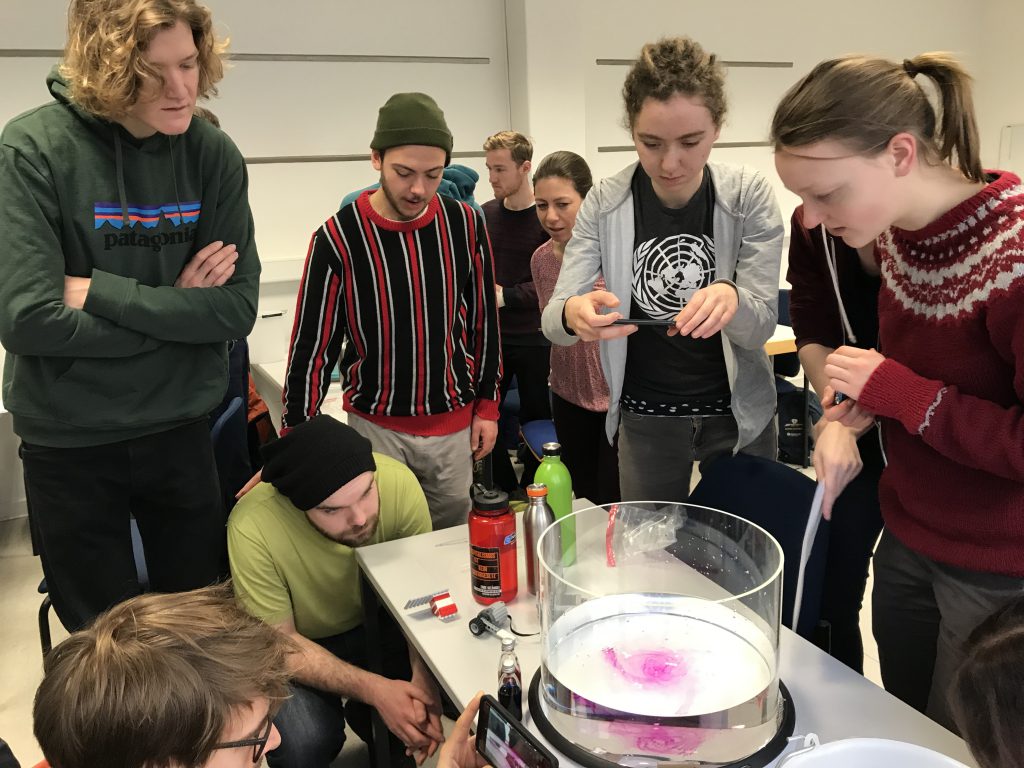
Or if you want to observe the difference between rotating and non-rotating fluids, the extra height helps to show that rotating fluids are 2D whereas non-rotating fluids are 3D. So just to make it easier to observe that structures are really 2D, it helps to stretch the vertical axis.
For example of thermal forcing in rotating and non-rotating cases (And yes, I see the irony that i am showing a top-view of the rotating case. But observing by eye and taking pictures in which you can actually see what you saw by eye are two very different things).
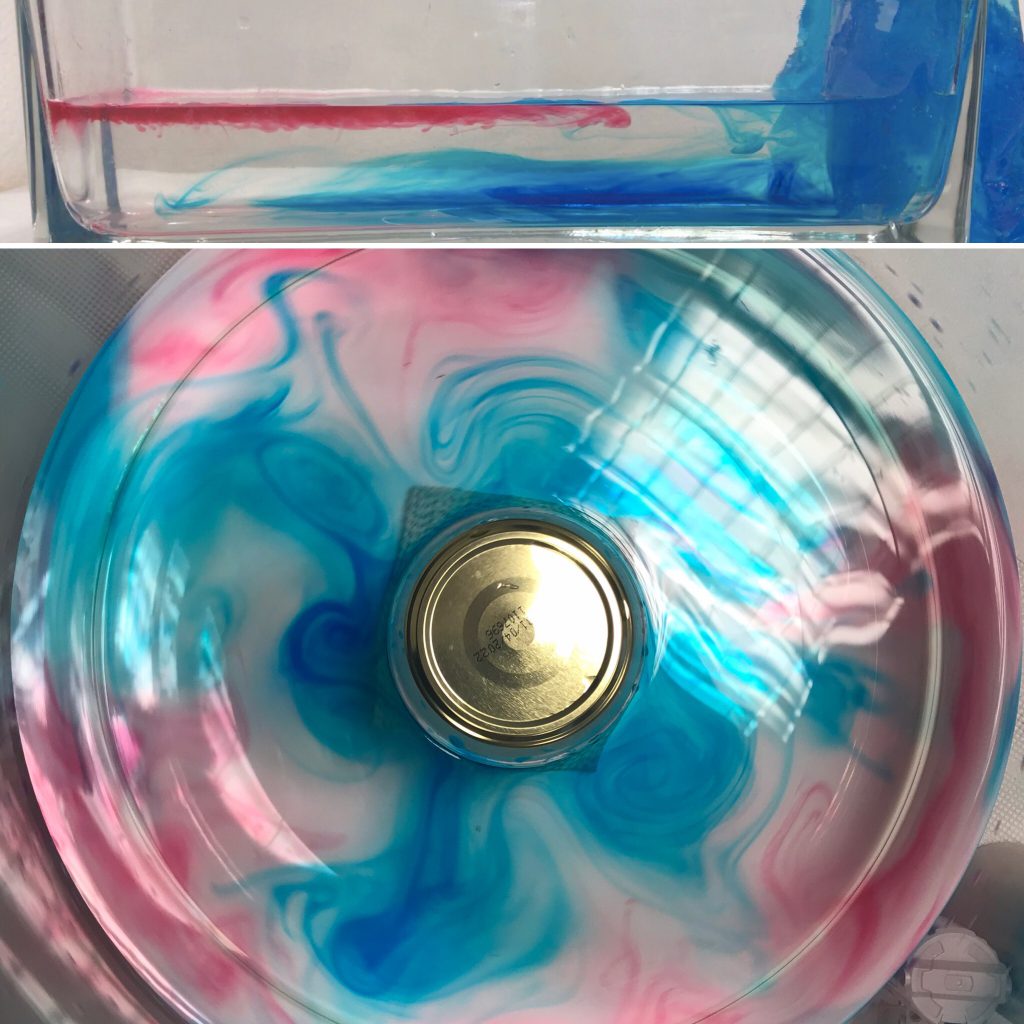
Or non-rotating vs rotating turbulence (check out the movie in the linked blog post; makes it much clearer than the picture below).
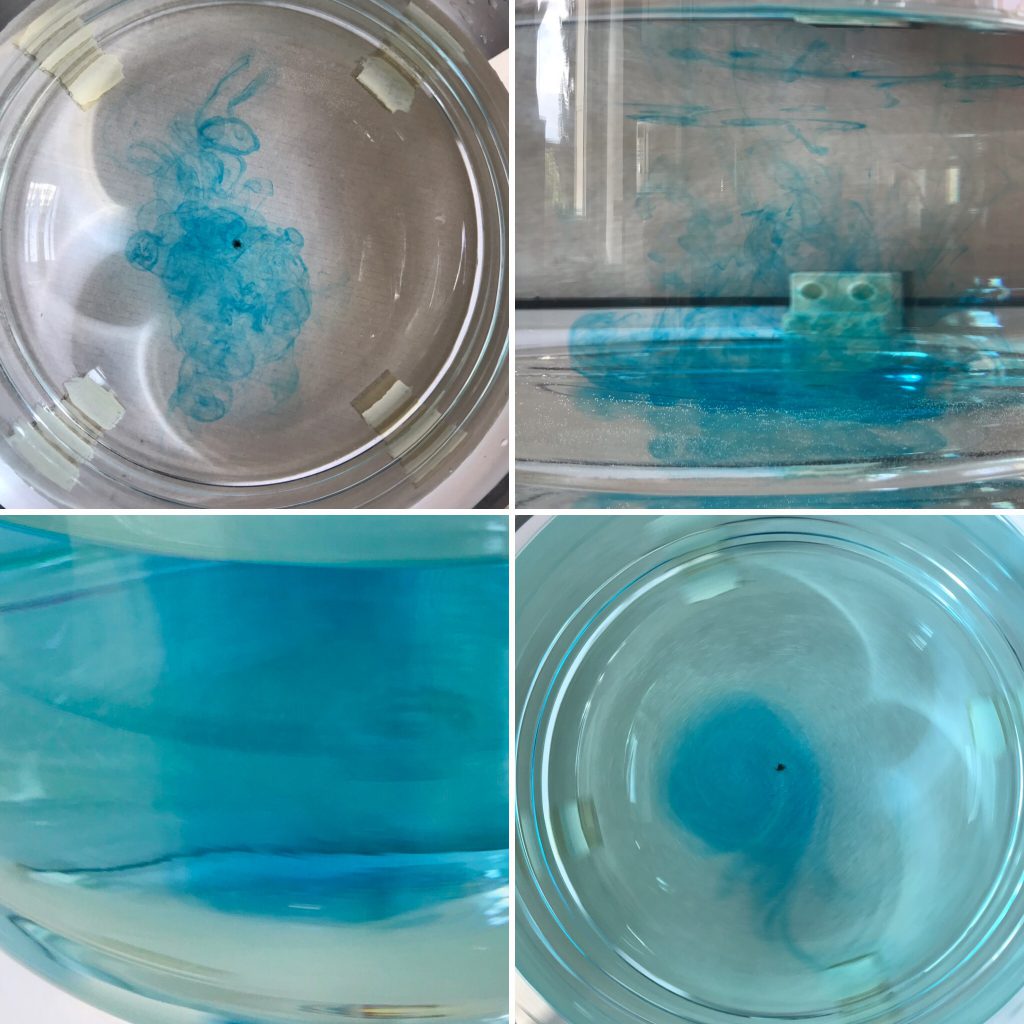
Or those cases of rotating fluid dynamics where we force the flow to become 3D by mean tricks like slow rotation on a sloping bottom…
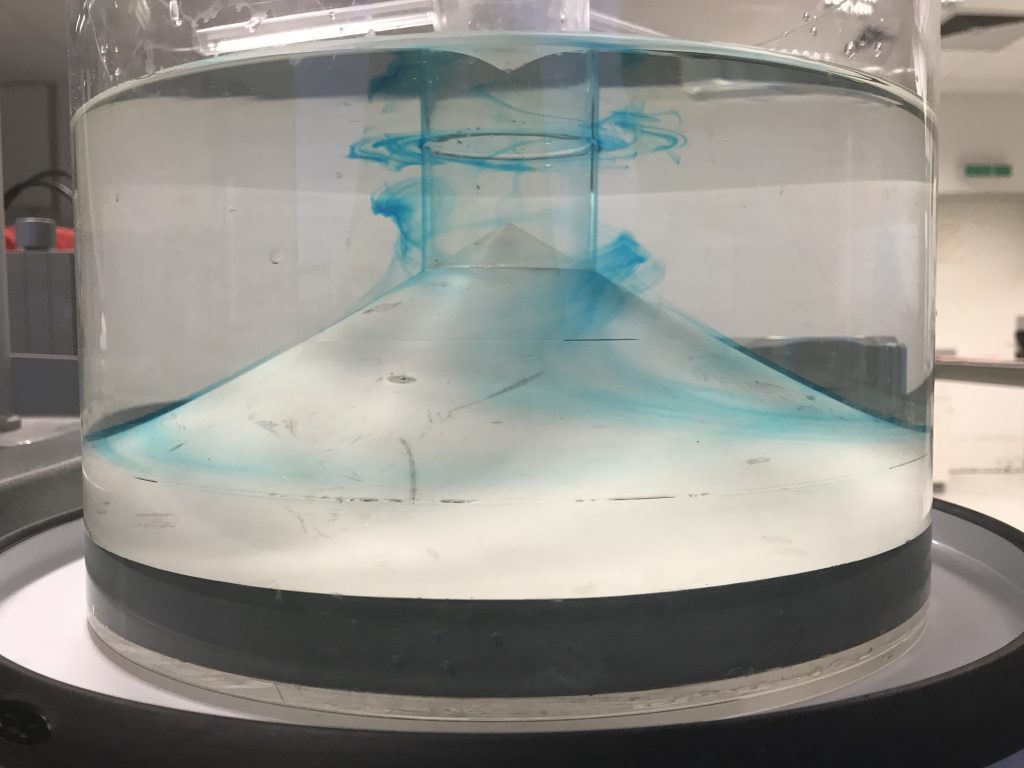
In reality, there were other reasons, too: Firstly, we couldn’t find cheap options that matched all our requirements (We wanted something that had a diameter close to the maximum that we could fit on our rotating tables, that was cylindrical, had a flat bottom, had clear walls and would be robust enough to use with students).
Secondly, I own a glass vase with a similarly high walls that we used as tank on our prototype of the rotating table. I still use it at home, but we didn’t want to go with glass for the tanks we use all the time with students & for outreach, for obvious reasons. But since we were happy with the dimensions of the vase, we just went with it. Never change a running system, right?
And a practical reason: Emptying a high-walled tank by carrying it to a sink and throwing out the water there is much less likely to make a mess than emptying a lower-walled tank with the same water height in it. Waves created by moving the tank is all I am saying…
And also I think observing vertical structures develop in fluids is always fun! :-)

Reposting my "field report" for the DIYnamics blog - Dr. Mirjam S. Glessmer says:
[…] where there are exciting things to discover by looking into the tank from the side, check out this blog post over on my […]