Instructions: Lee wave demonstration in the GFI basement
This blog post is meant as guideline if someone other than me might have to set up this demonstration at some point… Have fun! :-)
Lee waves
Lee waves are the kind of waves that can be observed downwind of a mountain in the clouds, or downstream of an obstacle in a current as a series of undulations with crests parallel to the disturbance.
Why move the mountain?
Students sometimes find it hard to imagine that a moving mountain should be equivalent to flow across a ridge. It helps to discuss how it would be really difficult to set up a flow in a tank: A huge amount of water would need to be moved without too much turbulence. Instead, it’s a lot easier to imagine the water is moving by moving a mountain through the tank, so the water is moving relative to it if not relative to the lab.
Dimensions
The size of the tank is 60×1.5×5 dm, so it can hold a total of 450l of water.
The mountain we use is 10.5 cm high and 1 m long and it’s symmetric, so pulling it either way shows similar lee waves (which is why I’ve always used it). There is a second, asymmetrical mountain on the shelf that I have never used*.
Setting up the stratification
The stratification that we’ve found works well is 10 cm at 35 psu (here dyed pink) and 9 cm at 0 psu. This leads to an internal wave speed of approximately ~11cm/s.
Prepare the dense water in a barrel that sits high enough so gravity will bring the water down into the tank (see picture below). For the 80l barrel, you need 2.8kg of salt and 1/3 tea spoon of dye MAX.

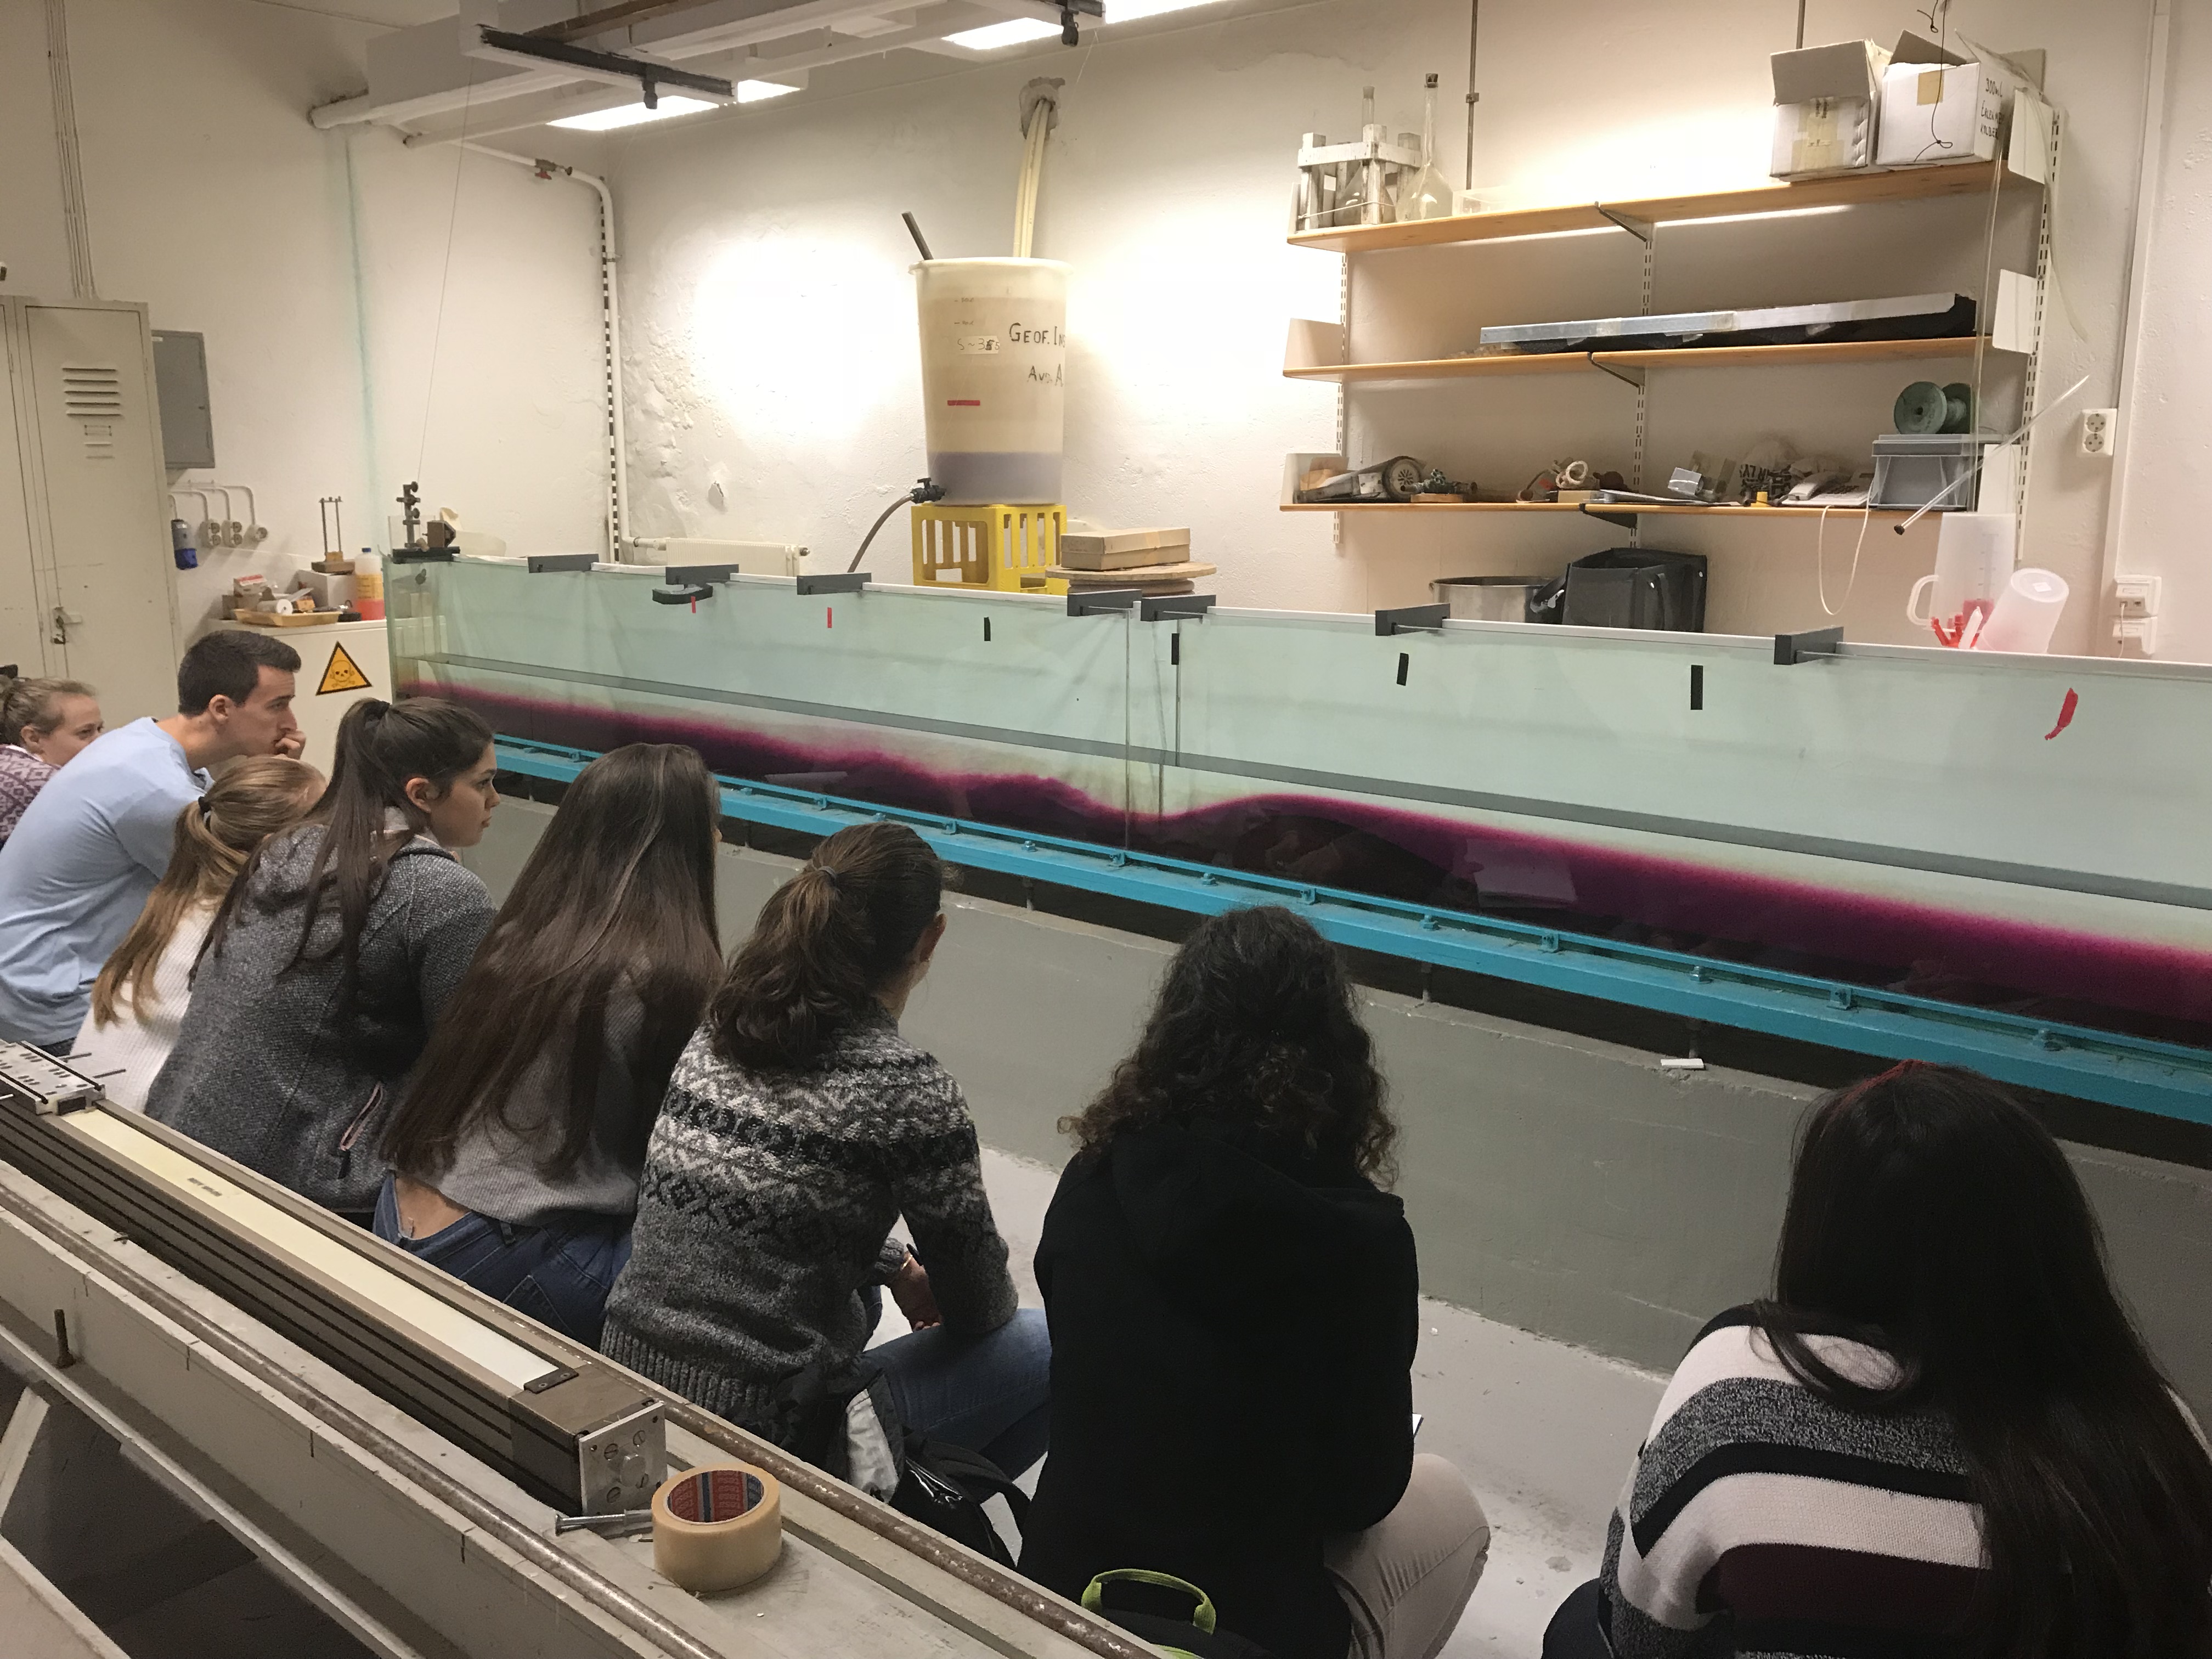
Elin’s GEOF213 class observing lee waves
You achieve the stratification by filling in the fresh water first through the bottom left inlet, moving the mountain over it, and filling in the dense water. That way the mixing is contained to the volume underneath the mountain which will be a lot better for your nerves (believe me!).
Moving the mountain
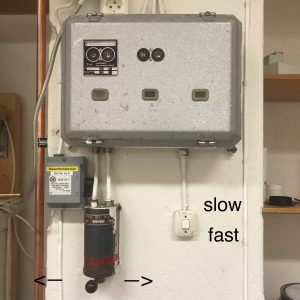
The system that pulls the mountain can go at two speeds: “fast” and “slow”, “slow” meaning 5m in 1:11min (7cm/s) and “fast” meaning 5m in 0:36min (14cm/s).
Here is where you run the mountain from:

Troubleshooting if the mountain doesn’t move:
- you might be trying to pull the mountain in the wrong direction (into the wall)
- the mountain might not be located on the sledge well. There is a tongue on the sledge that needs to sit in the groove in the mountain
- the mountain might not be sitting well in the tank so an edge digs into the side
- the belt that pulls the tank might not be tight enough (always make sure the two weights at both ends of the tank are actually hanging down to put tension on the belt!)
- the belt might have come off the axle that drives it (the white plastic above the left end of the tank)

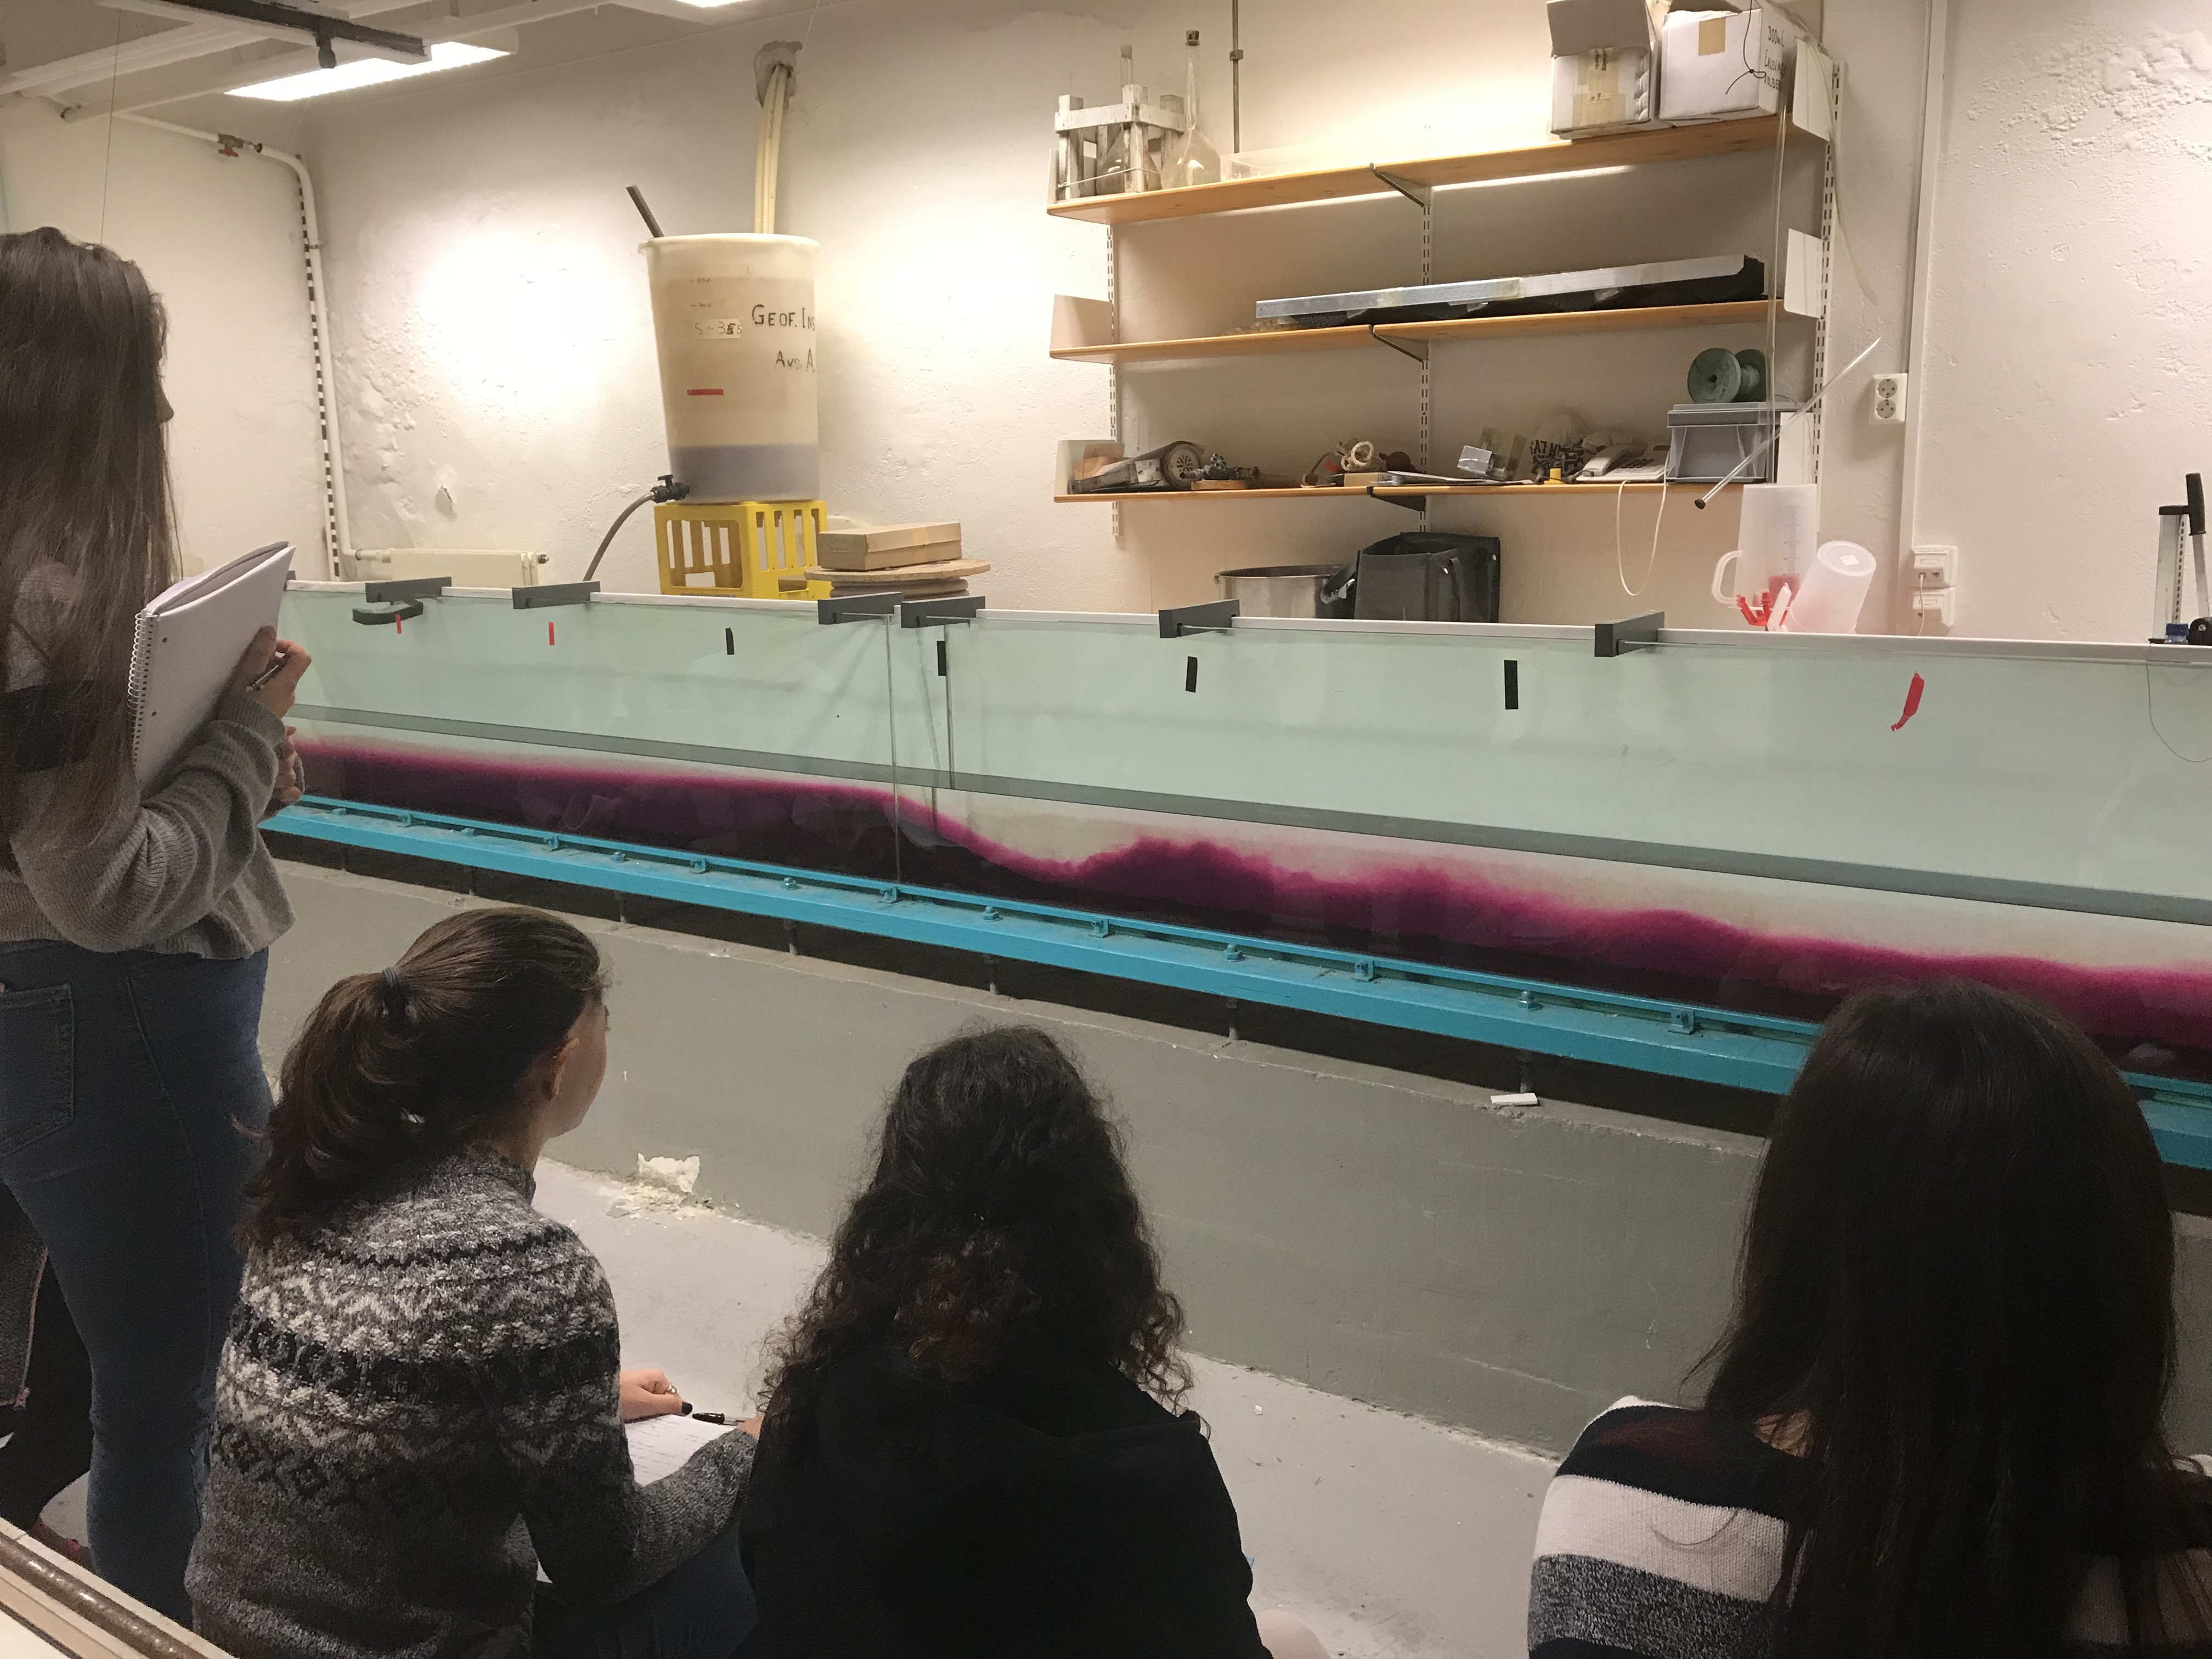
Elin’s GEOF213 class observing lee waves
Observations
As you see in the pictures above (or the movie below), there is a lot to observe!
- Lee waves (not one, but a whole train!)
- Different flow regimes: supercritical shooting down the lee side of the mountain, then a hydraulic jump, and then a normal flow
- The reservoir upstream of the mountain that builds up as the mountain is moving
- Even after the mountain has stopped, you see waves travelling through the tank and being reflected at the ends
- Turbulence!
Movie
Here is a movie of the lee wave experiment. Feel free to use it in teaching if you like! And let me know if you need the movie in a higher resolution, I am happy to share!
*Yes, this was true at the time of writing. But I am setting up that experiment as we speak. Write. Read. Whatever. Will post movies tomorrow!
Internal lee waves in a tank experiment – Elin Darelius & Team says:
[…] Instructions for how to set up the experiment can be found here. […]
Internal lee waves in a tank experiment – Elin Darelius & team's scientific adventures says:
[…] Instructions for how to set up the experiment can be found here. […]
Need your help! “Wish list” for a student lab for tank experiments? | Mirjam S. Glessmer says:
[…] Internal lee waves & hydraulic jumps, where a mountain is moved at the bottom of the tank (instructions) […]
Lee waves with an asymmetrical “mountain” | Mirjam S. Glessmer says:
[…] admitting I had only ever used the symmetrical mountain to generate lee waves in the long tank in the GFI basement, I had to try the asymmetrical […]