Since my task on the recent Håkon Mosby cruise was to measure dissolved oxygen, I will give an overview over how that is done over the next couple of posts. Starting with today’s post on how to sample (because this isn’t as simple as just filling a bottle with sea water!)
In fact, sampling oxygen requires great care and I am very grateful to Ailin and Steffi for the excellent job they did. Ailin kindly agreed to let me take pictures of her sampling to illustrate this blog post.
Water is sampled in Niskin bottles on a CTD (For how the CTD and the water sampling in Niskin bottles works, see this blog post). We’ll start when the CTD comes back to the surface and sea water from various depths is trapped inside the Niskin bottles.
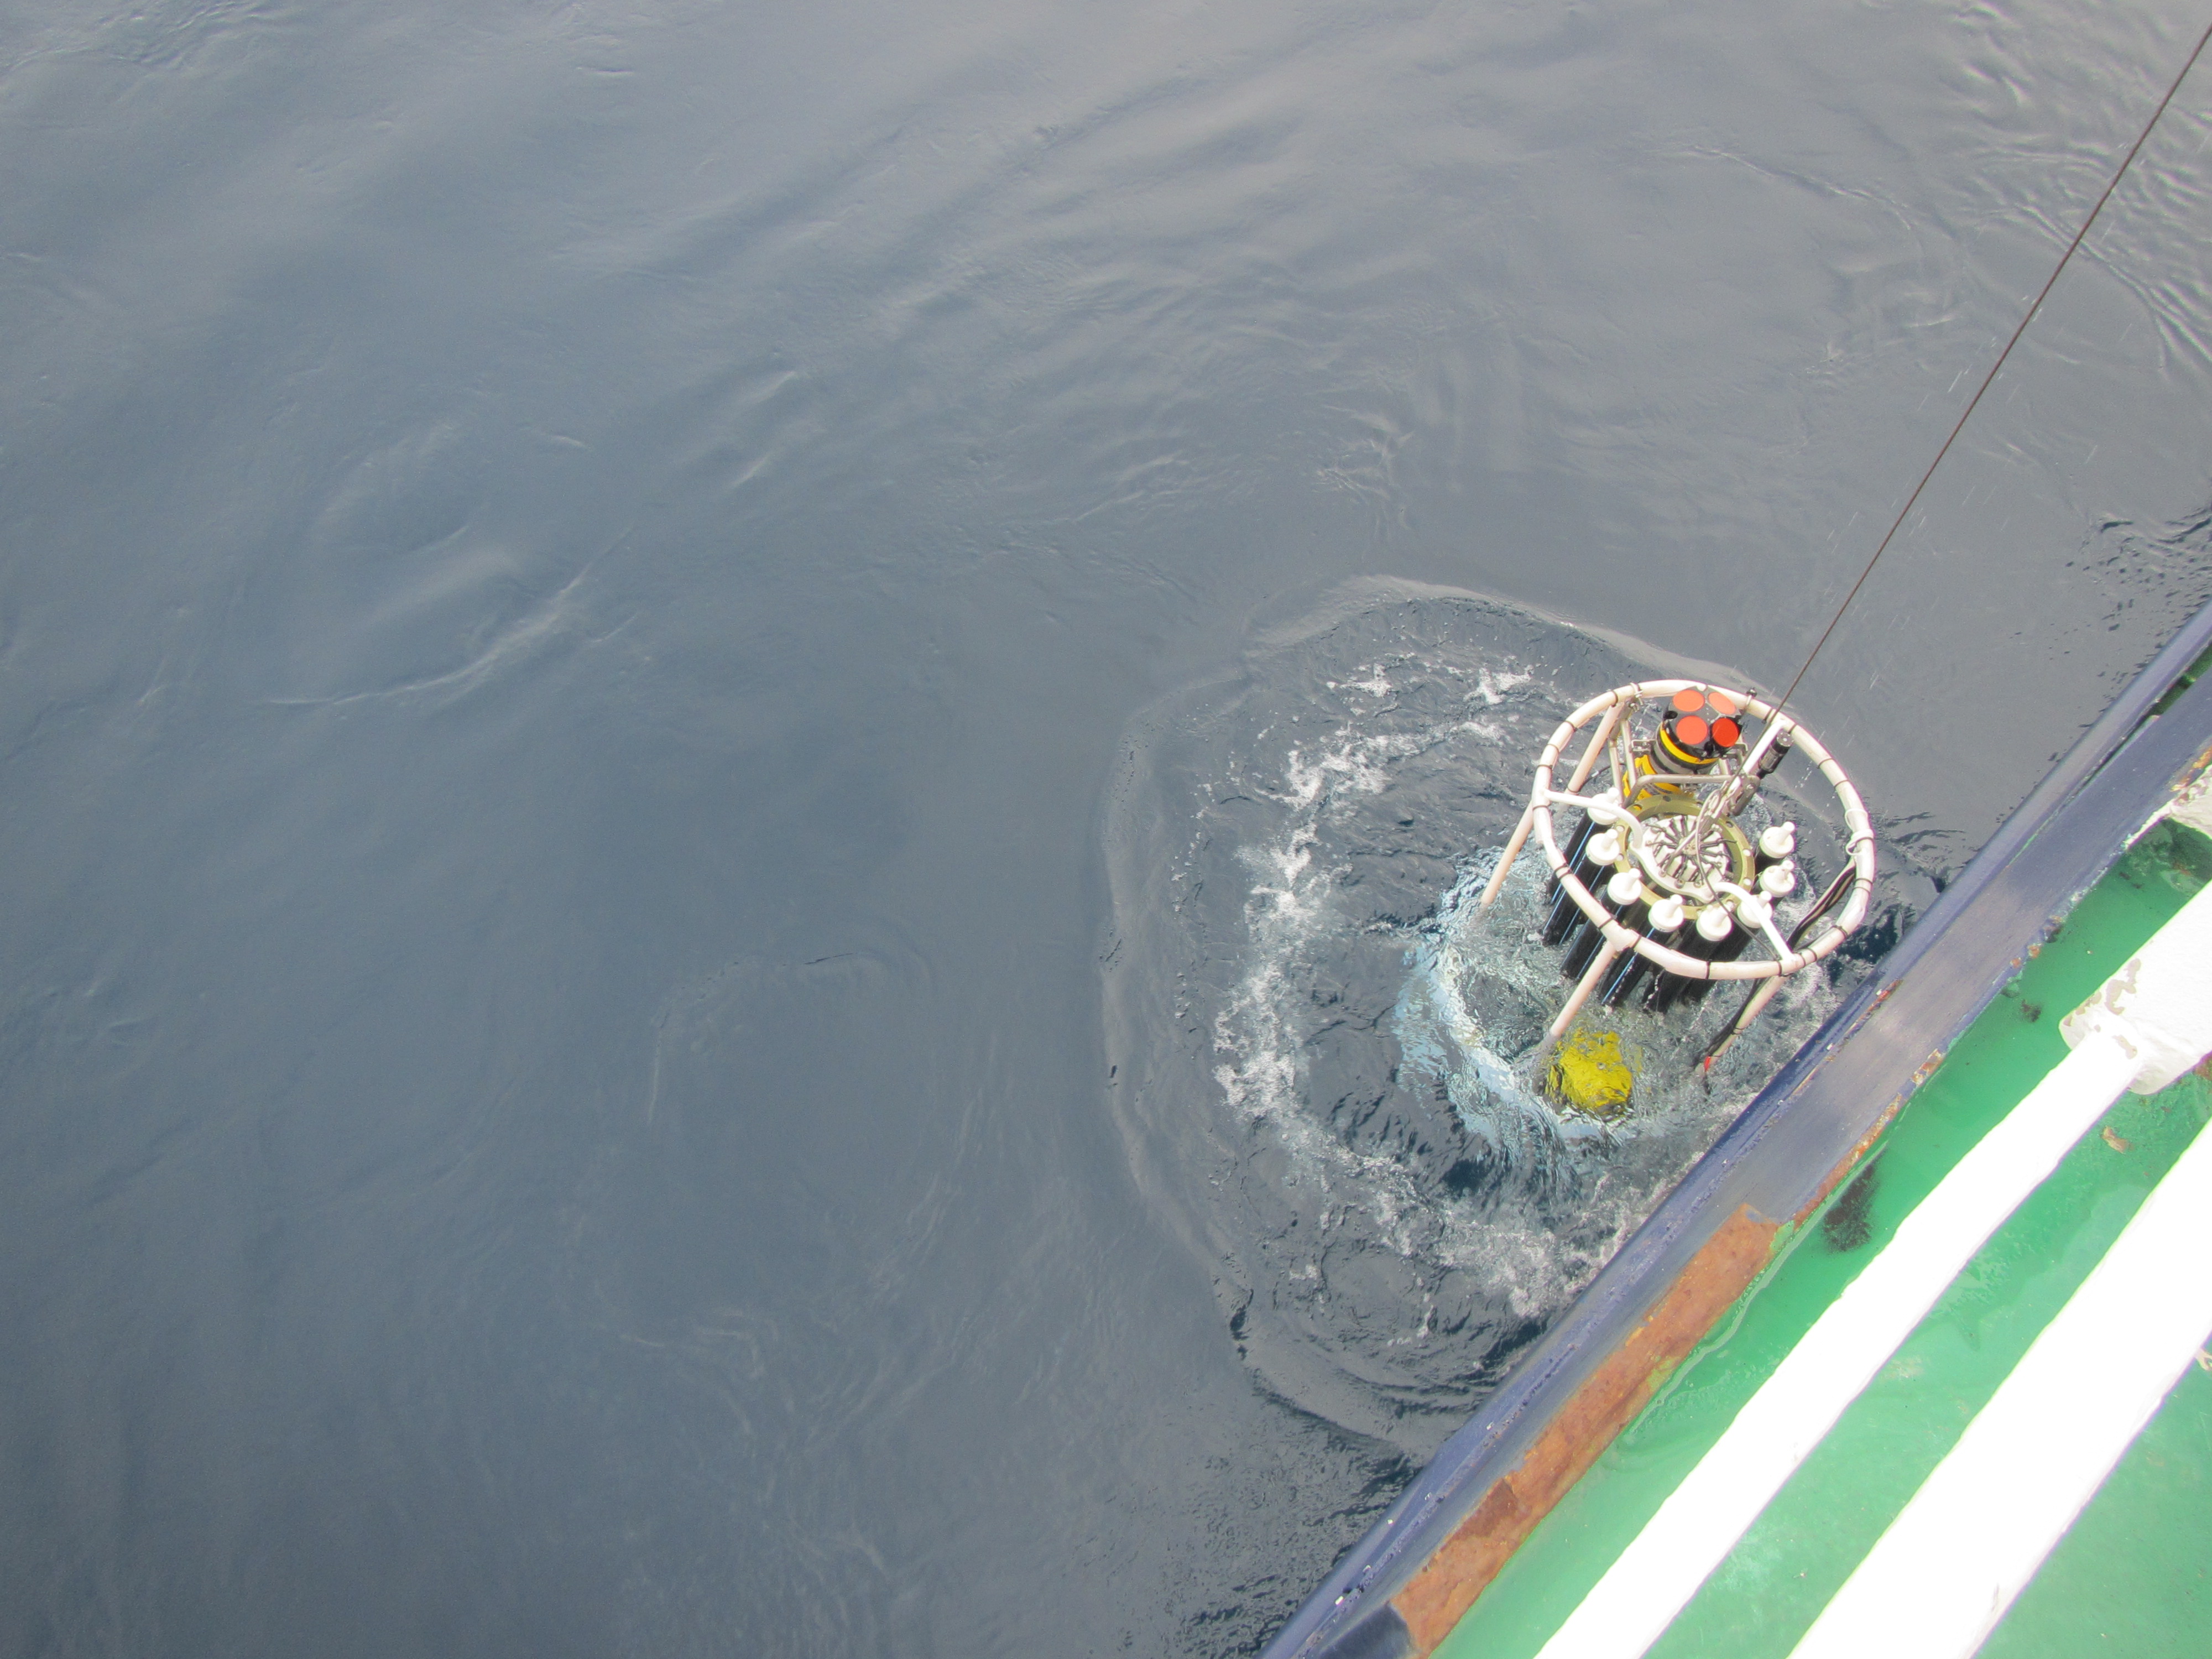
The rosette is brought back on deck, and things are about to get busy for us!

Oxygen has to be sampled as soon as the CTD is back on deck in order to avoid that the dissolved oxygen in the sample starts outgassing due to changed pressure, equilibrating with atmospheric oxygen, or do anything else that would change the oxygen concentration we are interested in measuring.
In order to not contaminate the sample, the hose which we use to sample needs to be free of air bubbles, too.
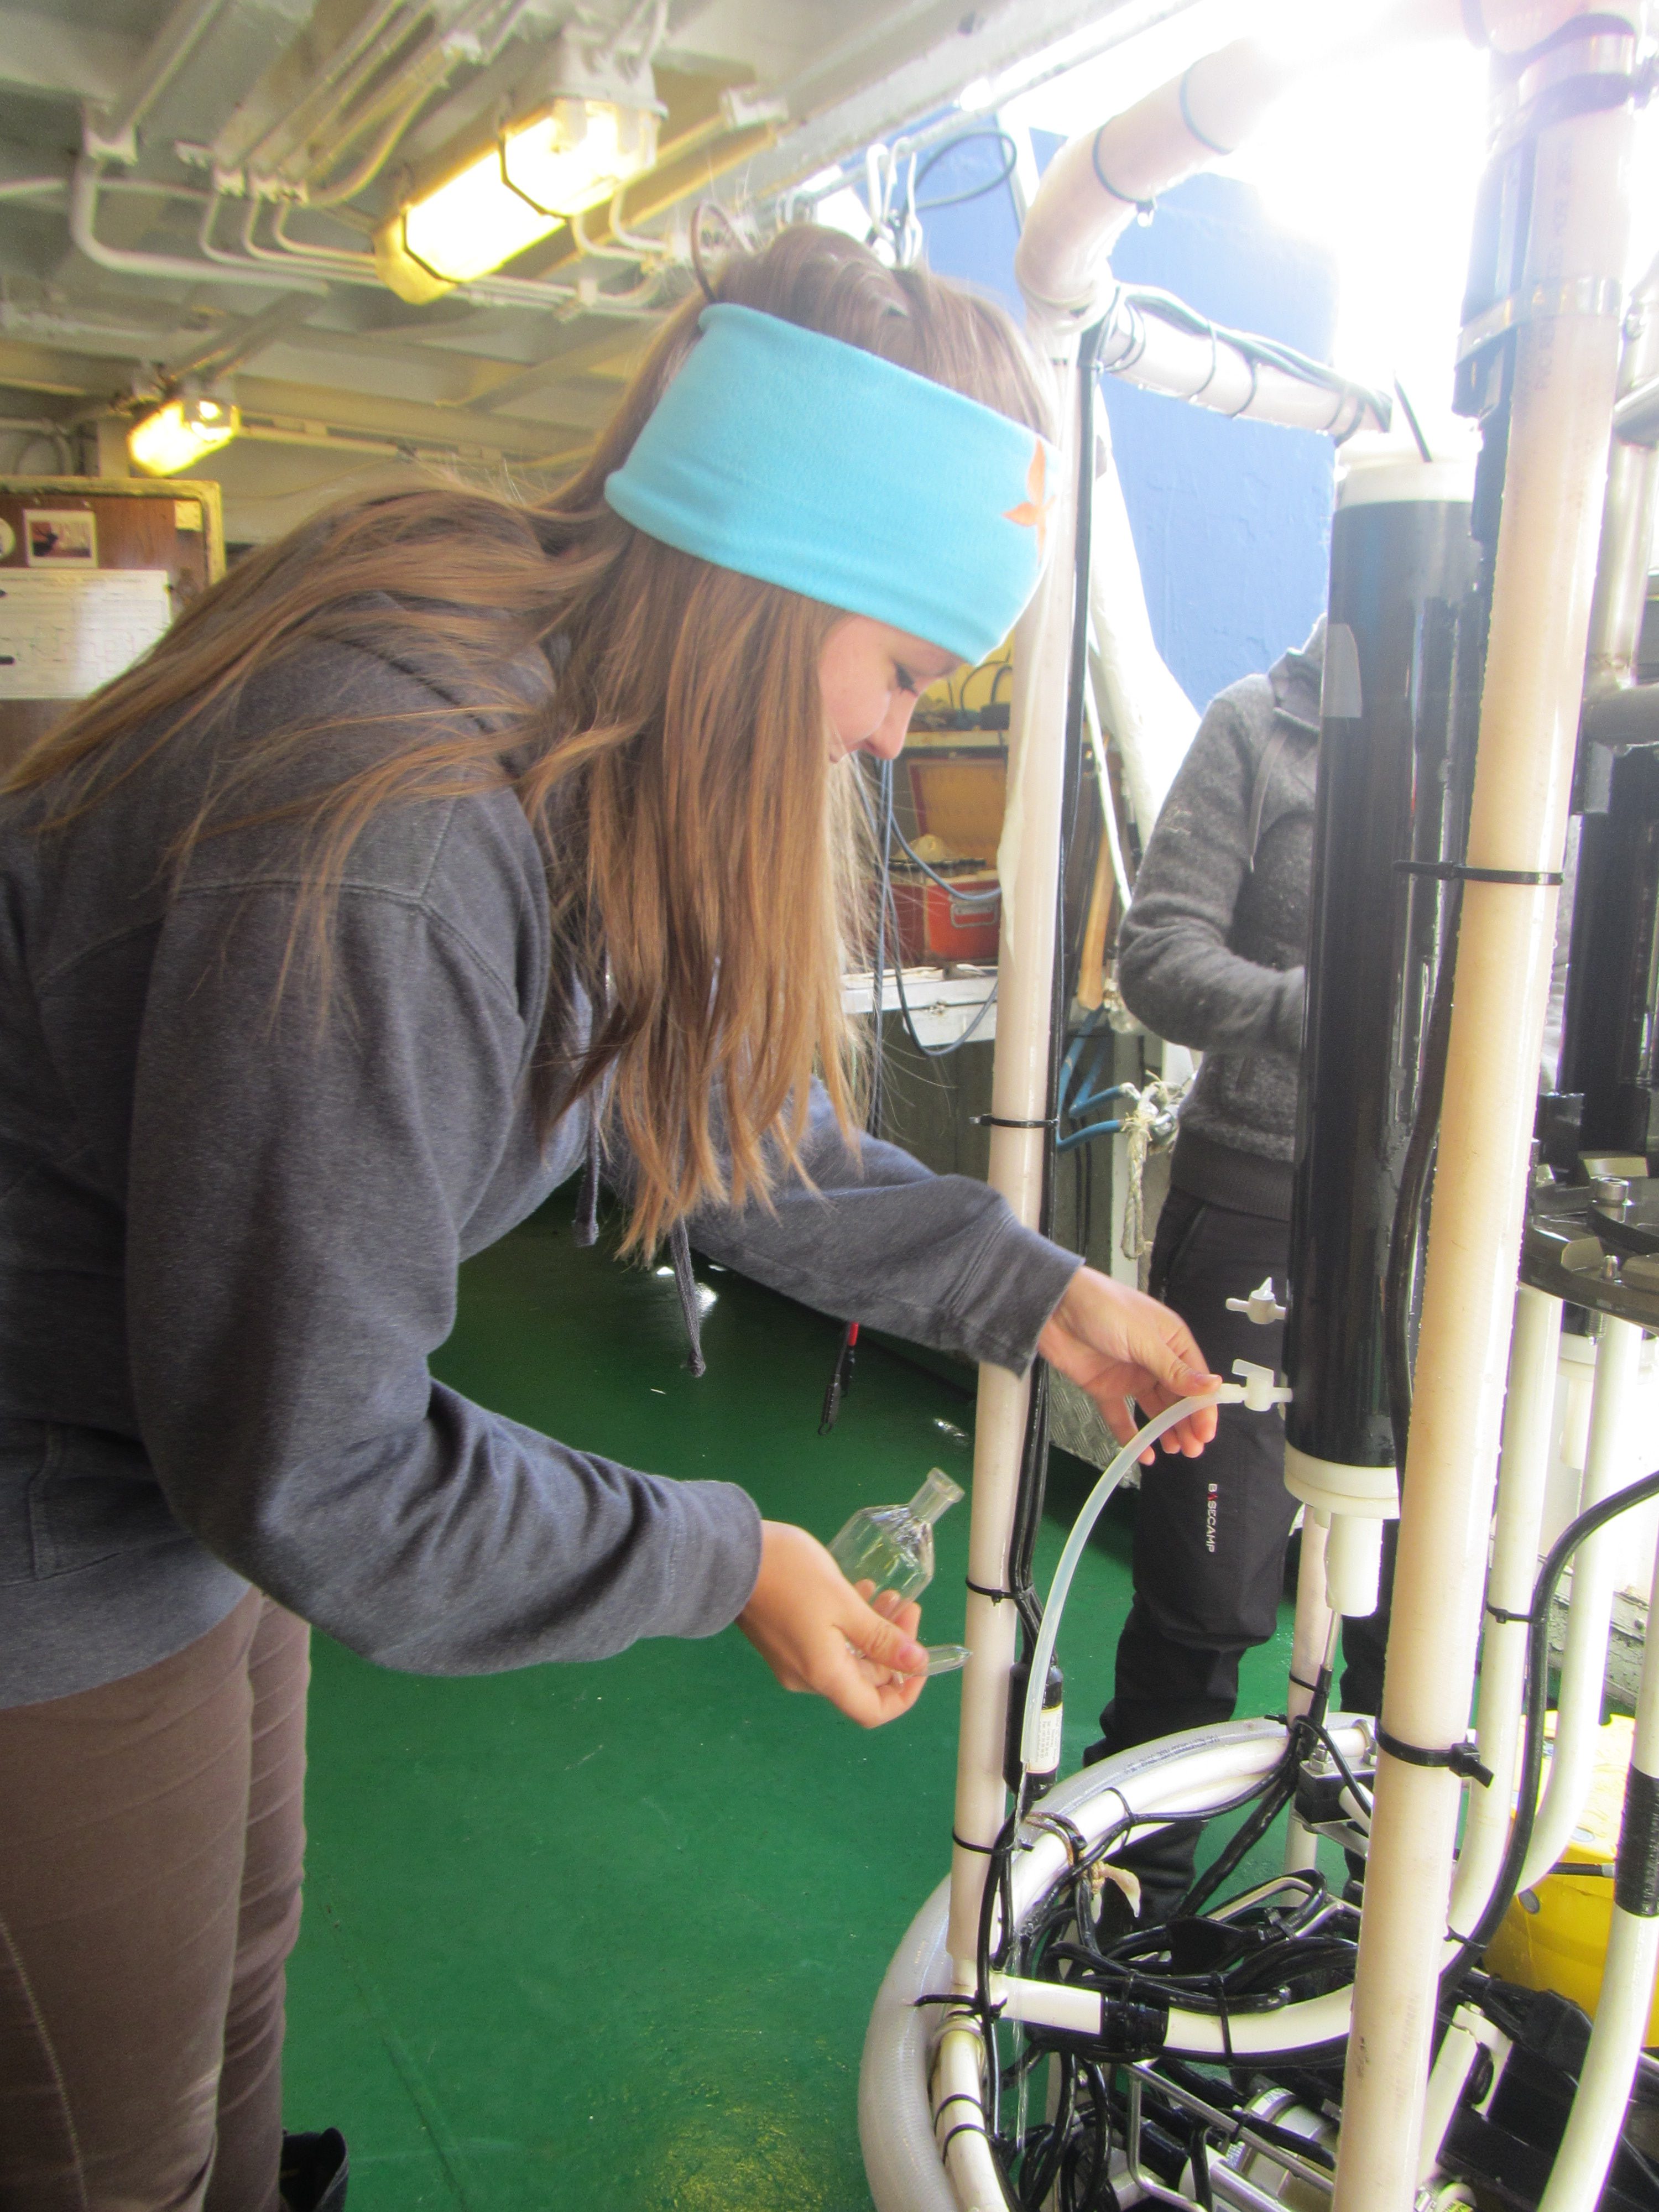
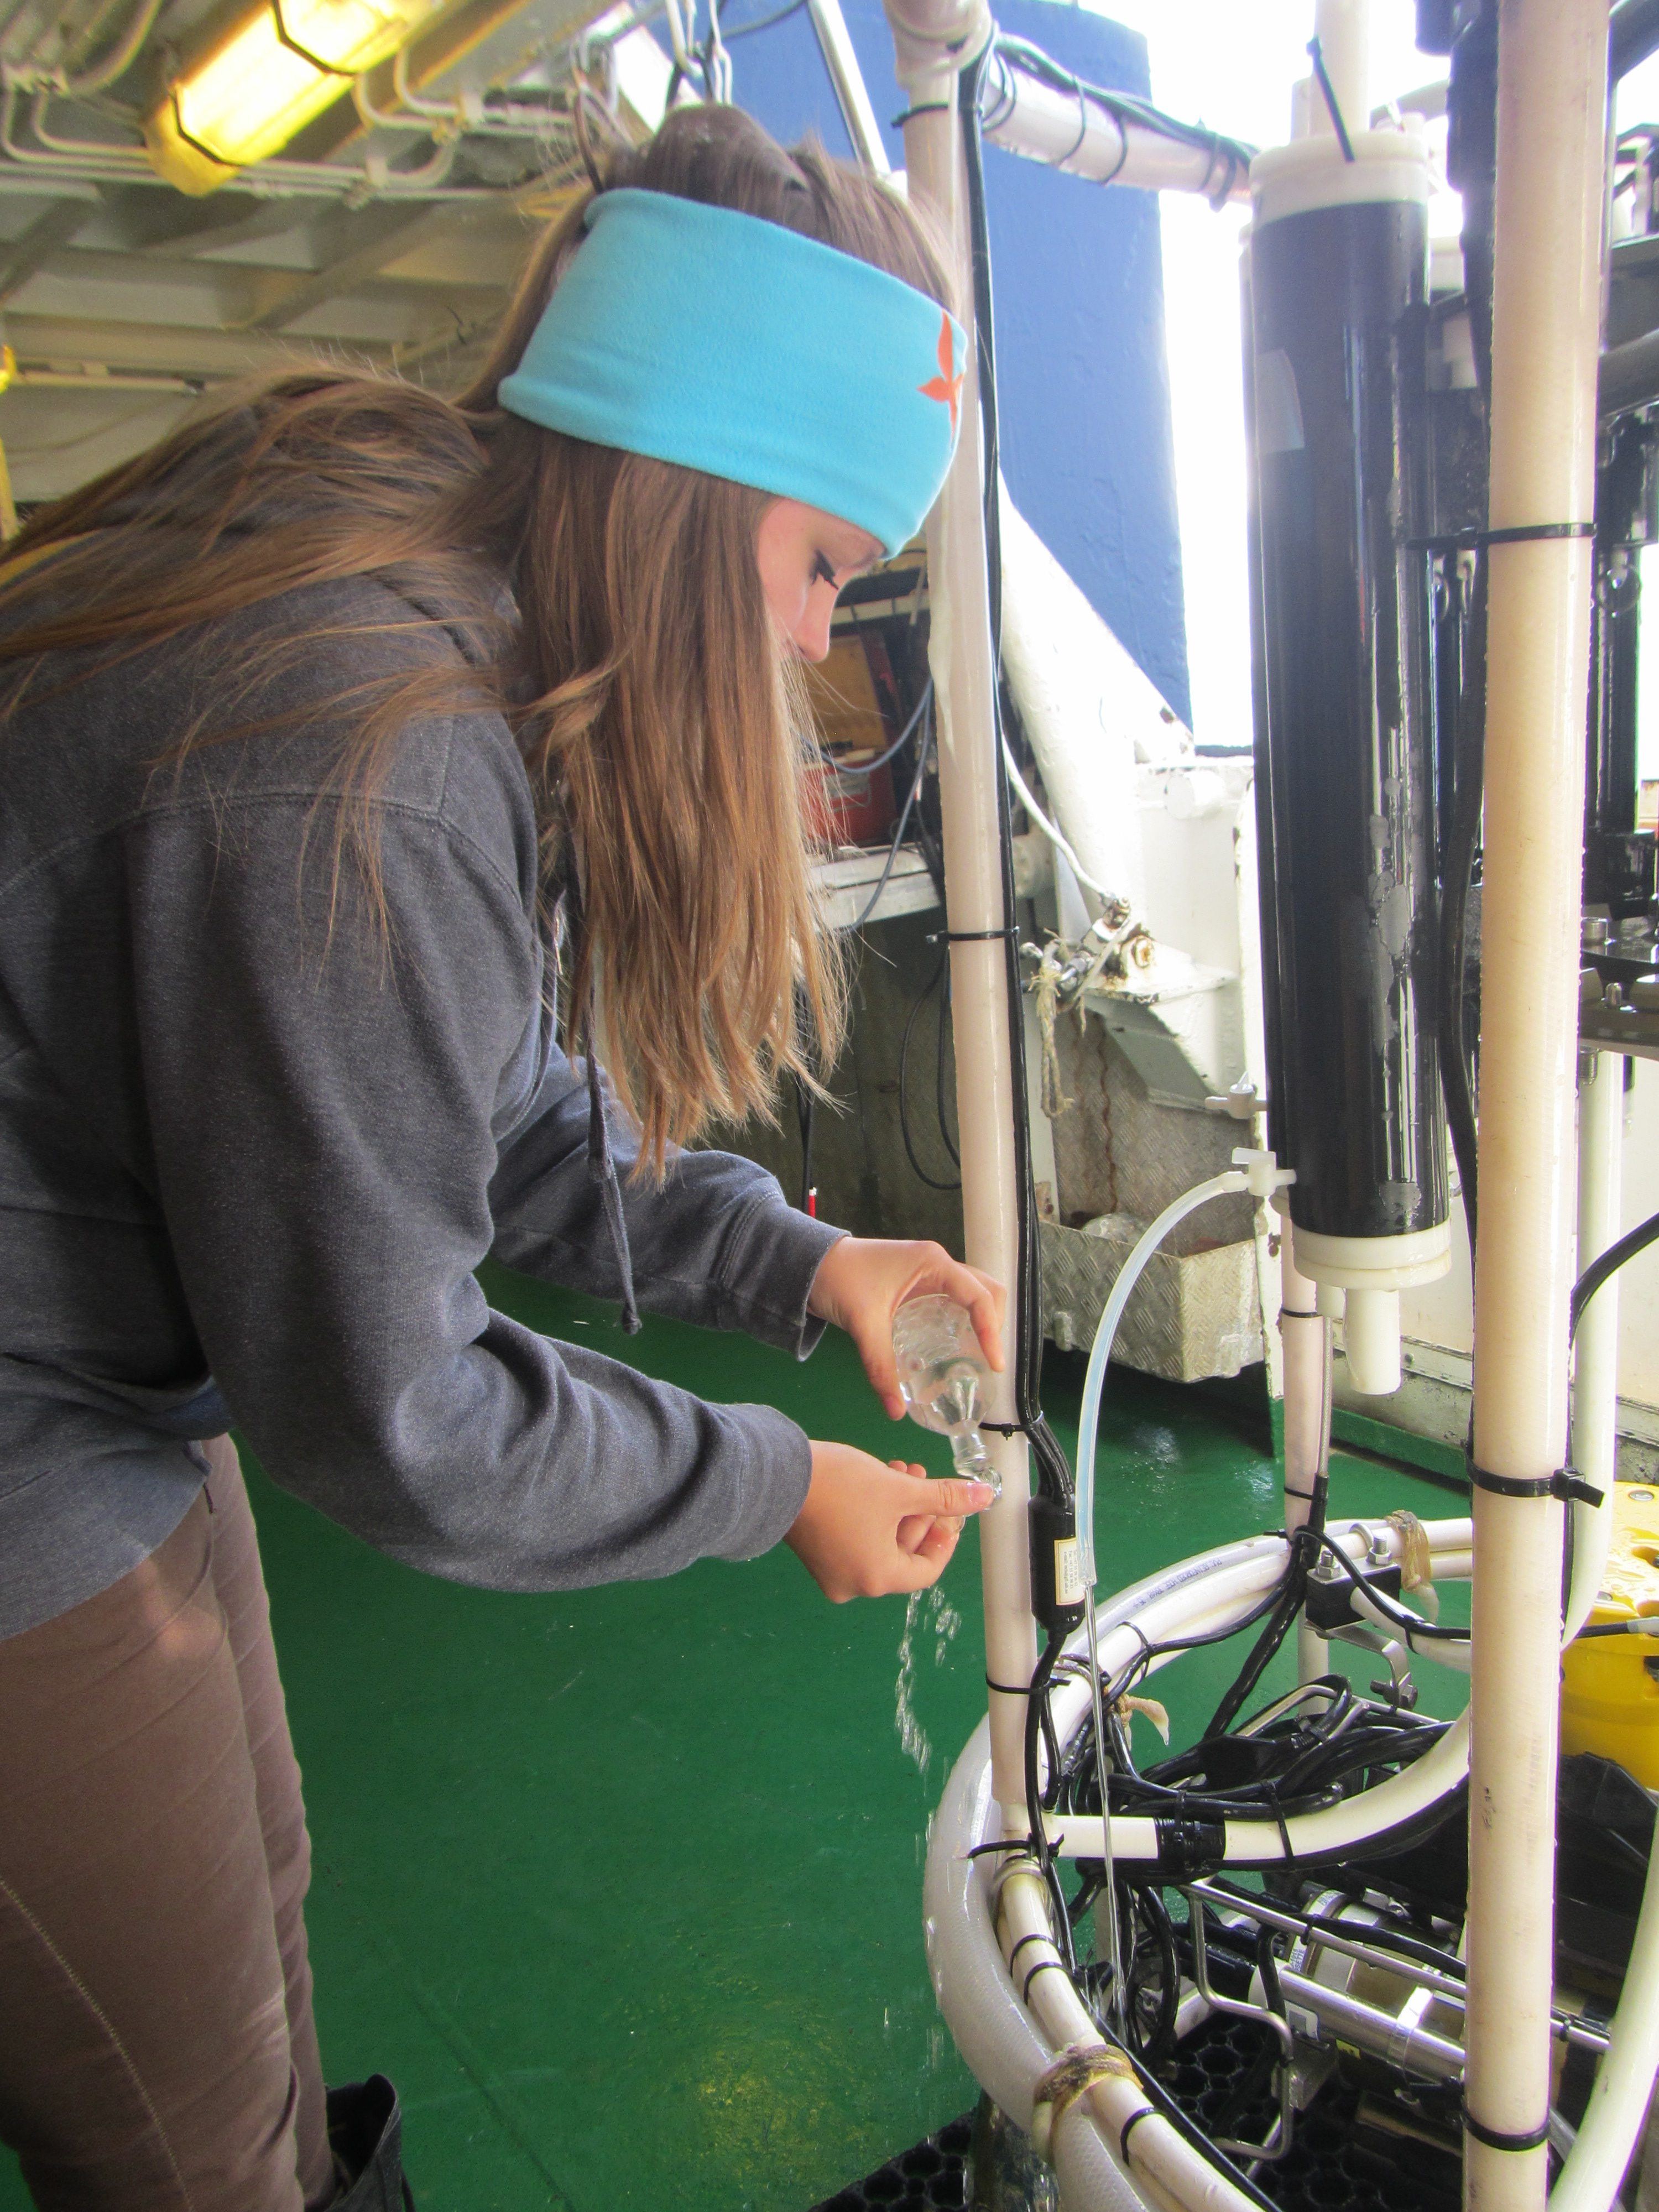
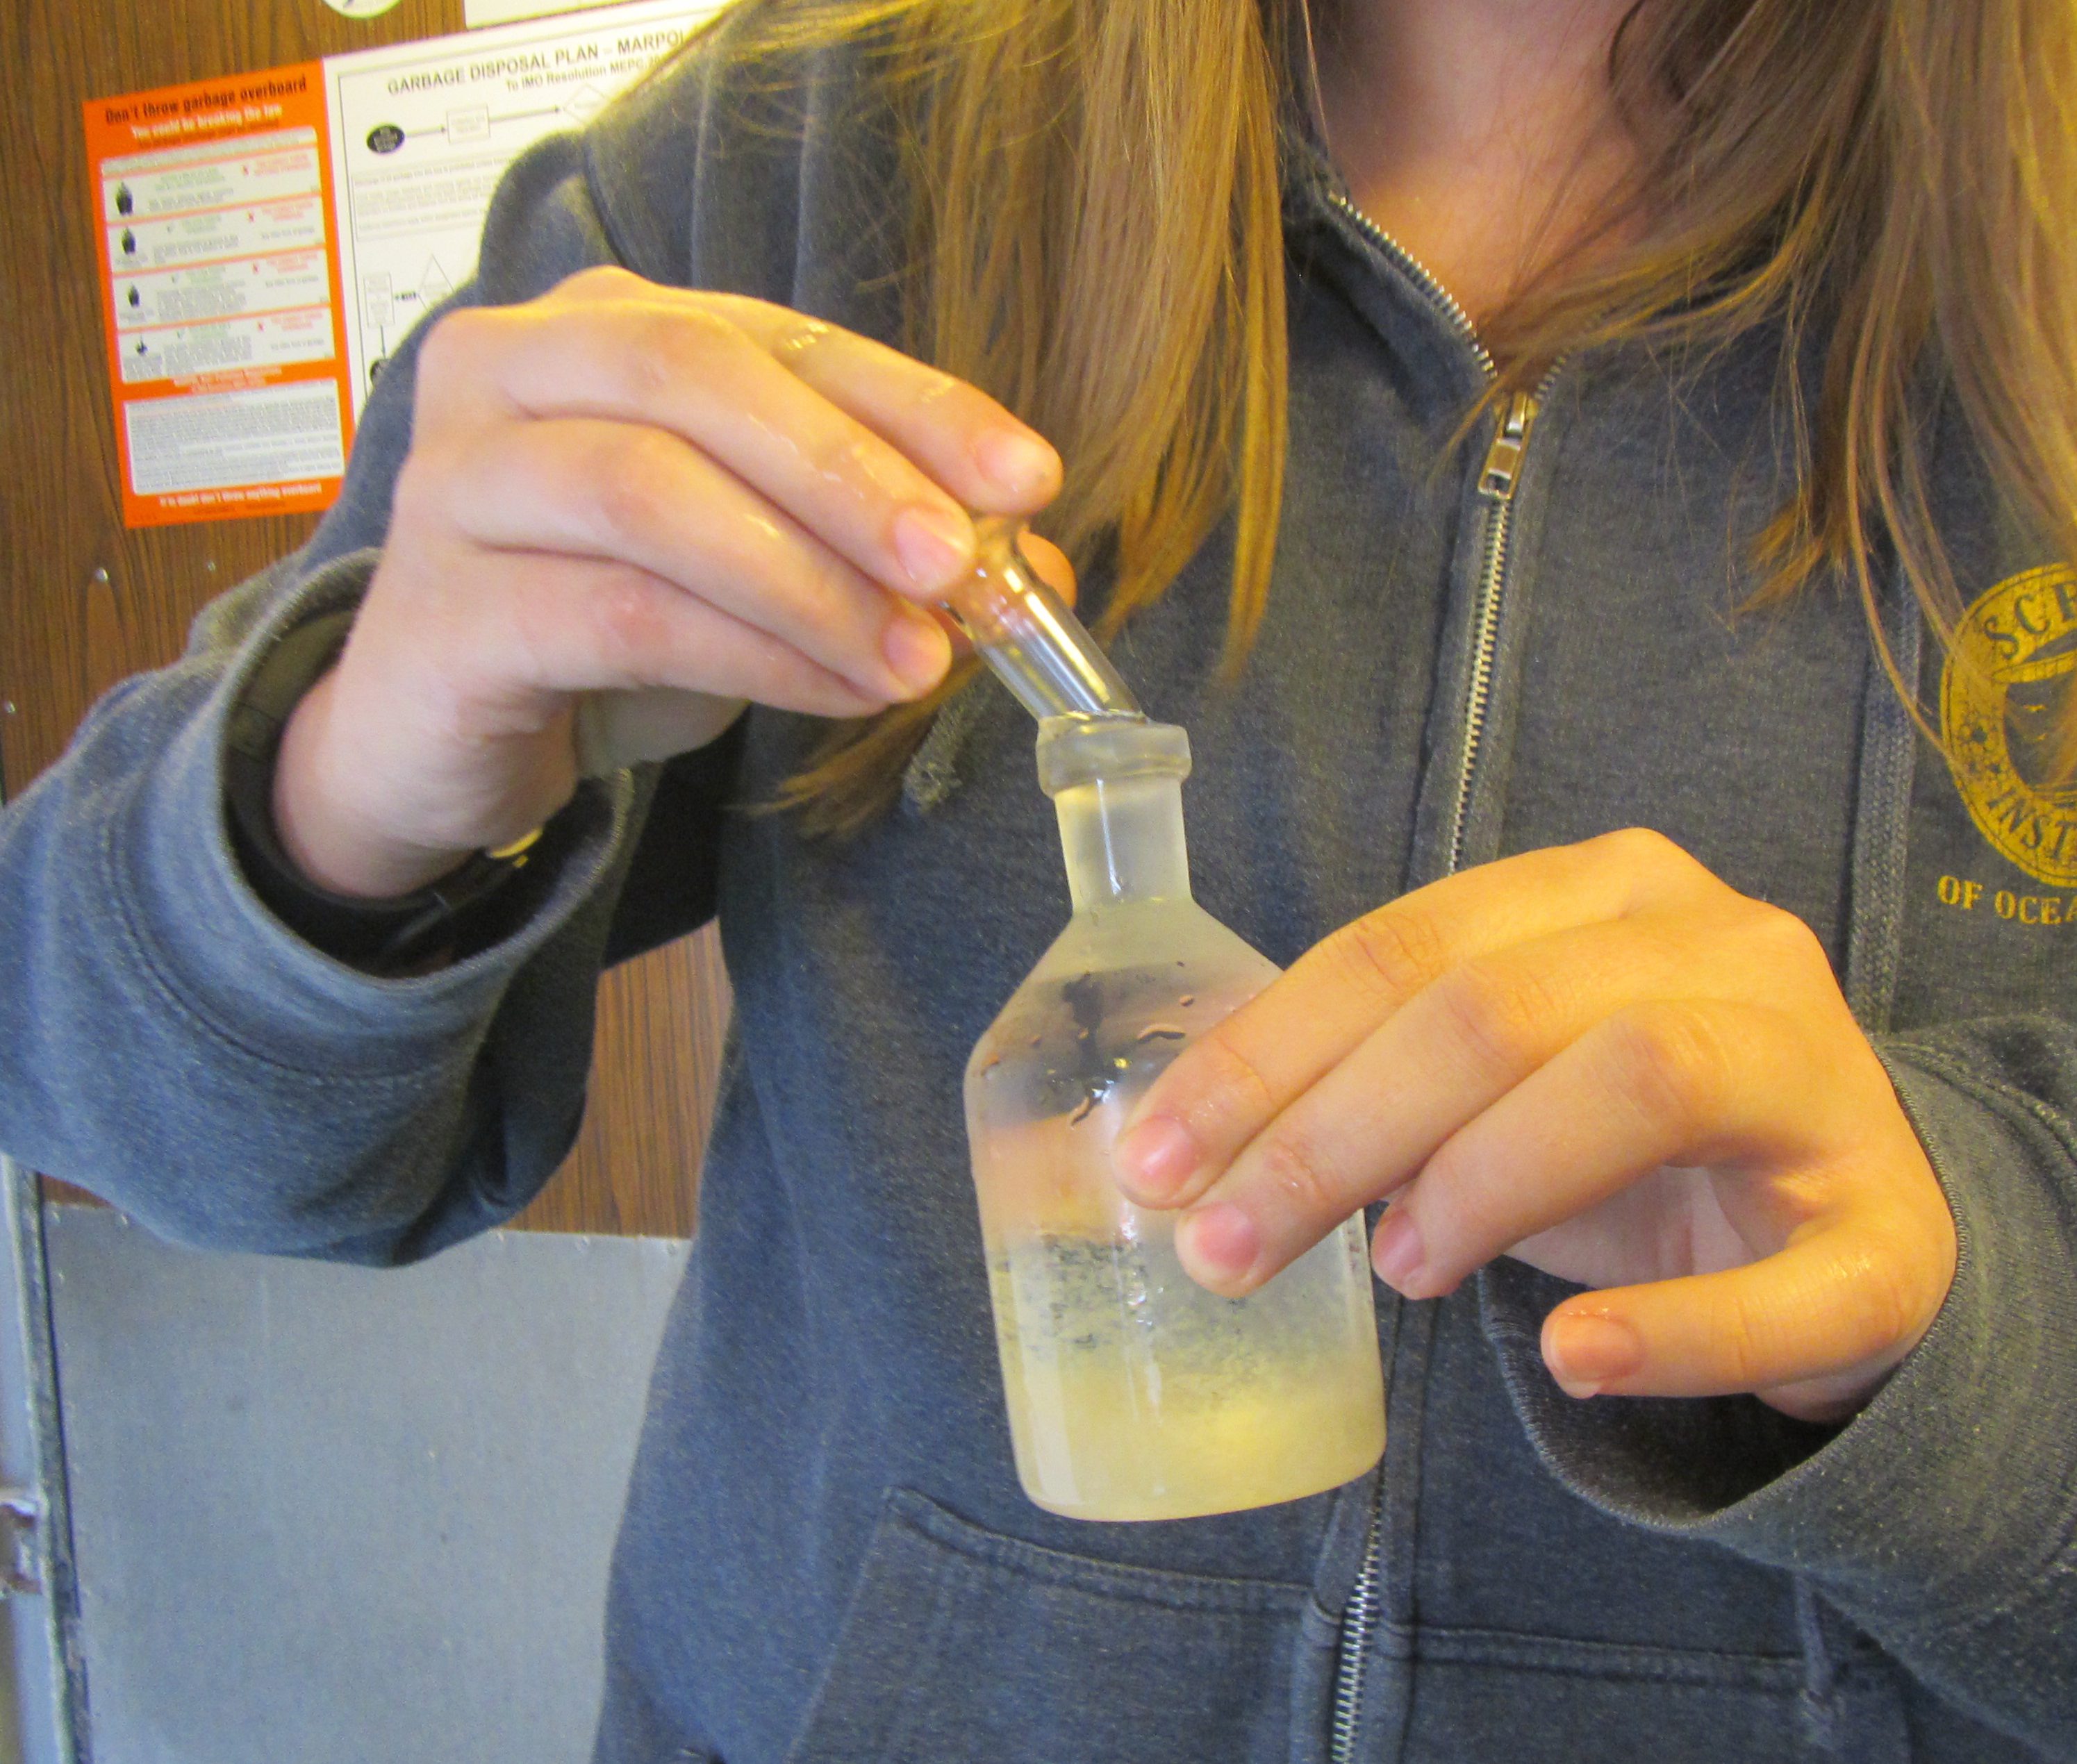
The sample flask is rinsed, as is the top, with water from the respective Niskin bottle the sample will be drawn from. The bottle is then filled until overflowing while care is taken that there are no bubbles trapped in the flask.
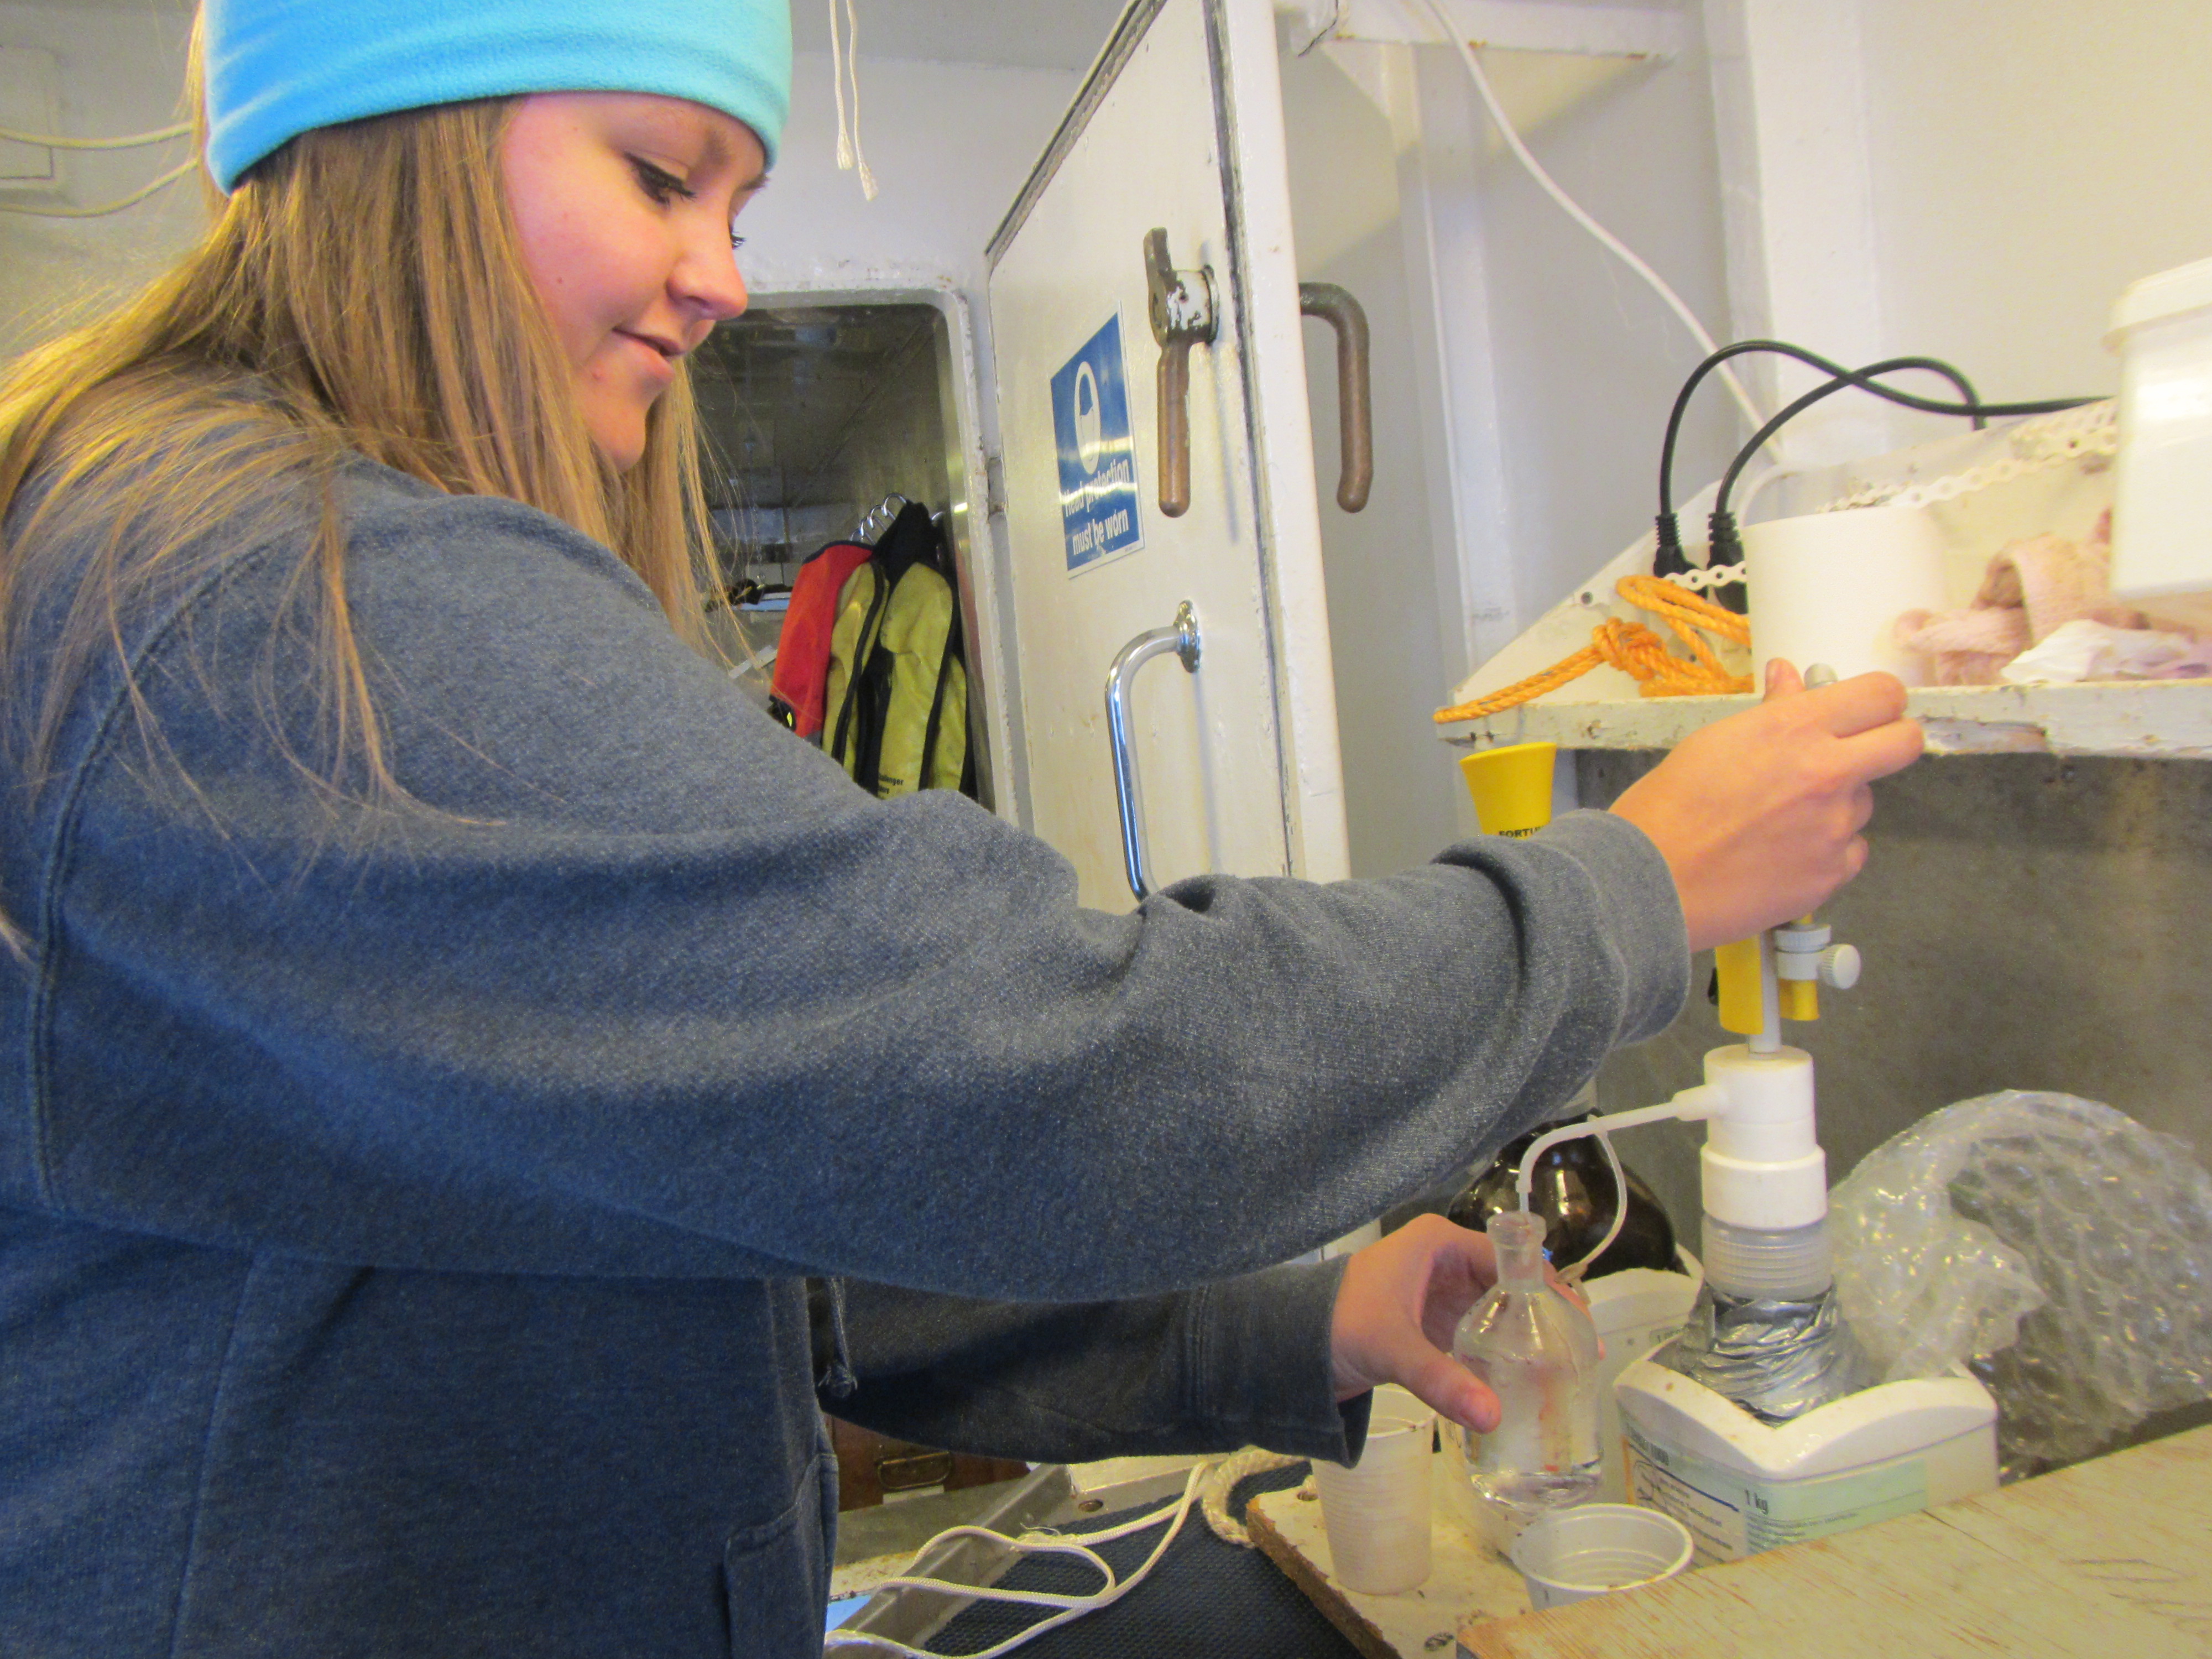
Next, two reagents are added (more on those in my next post, which will be on measuring dissolved oxygen concentrations). Adding more volume to an already overflowing bottle means that some of the sample is going to be displaced and flow out.
Then, the top is placed on the sample flask, again taking great care that no air bubbles are trapped in the flask.
And then the fun part (for the first about three samples, afterwards this part gets really really annoying) begins: Shaking! Until the sample and the reagents are very very well mixed.

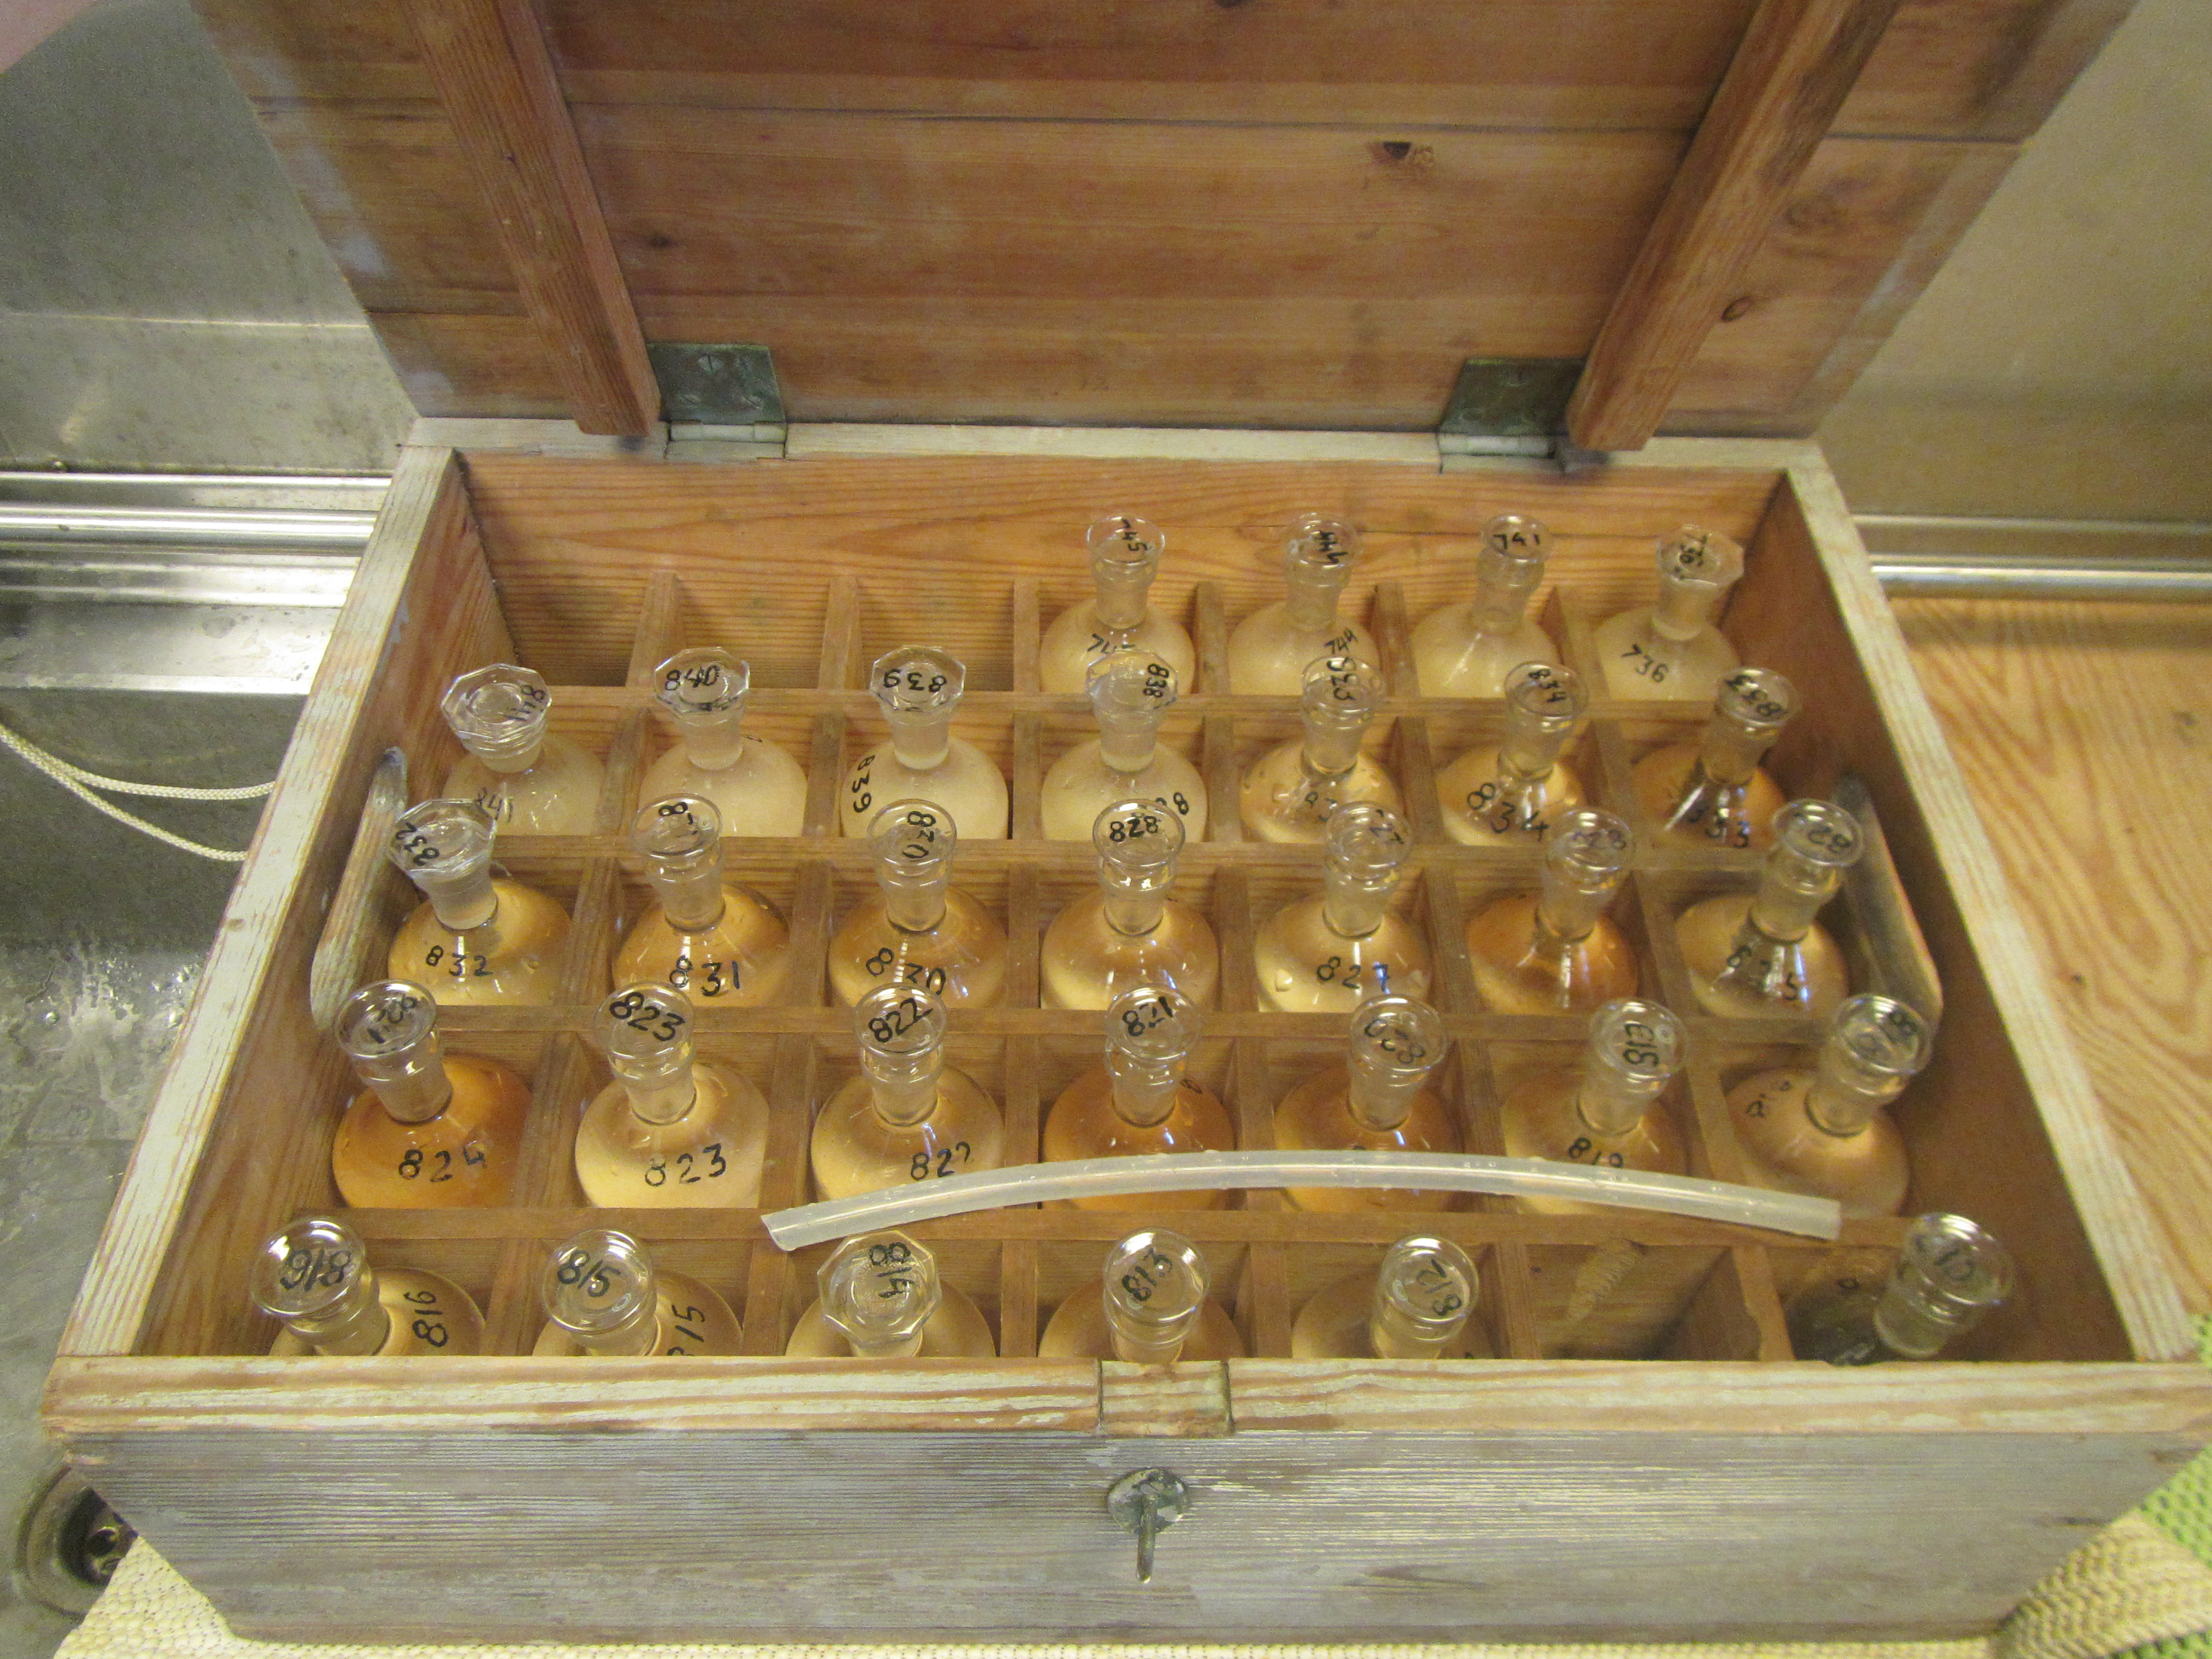
We’ll end up with crates of sample bottles, all filled with something that looks like cloudy apple juice:
And we’ll talk about how we can measure those samples in the next blog post.