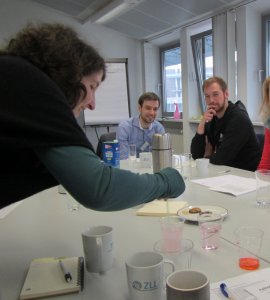
In our recent workshop on “supporting self-organized learning with online media”, Nicole Podleschny and I came up with a morphological box to help plan the teaching units. You can find it HERE.
Category Archives: method
Using twitter as a tool to let students discover that the topics of their courses are EVERYWHERE
This is a method that I have been excited about ever since learning about #birdclass in the “Evidence-based undergraduate STEM teaching” MOOC last year: Help students discover that the content of your class is not restricted to your class, but actually occurs everywhere! All the time! In their own lives!
The idea is that students take pictures or describe their observations related to course materials in short messages, which are posted somewhere so every participant of the class can see them.
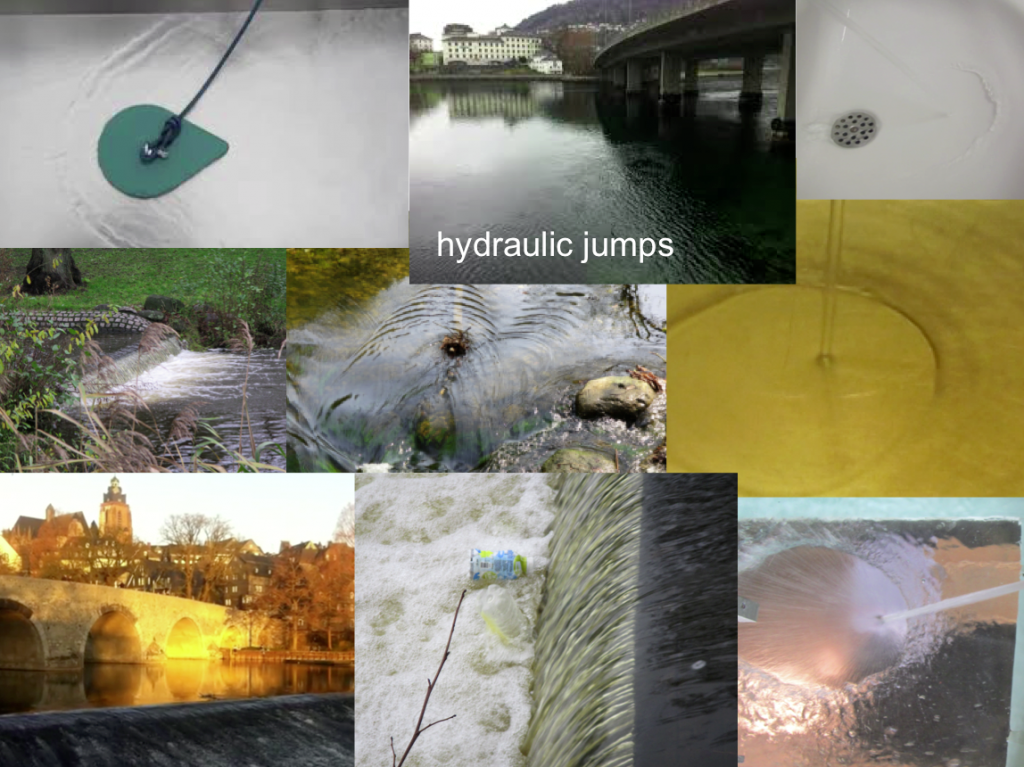
One example where I would use this: Hydraulic jumps. As I said on Tuesday, hydraulic jumps are often taught in a way that students have a hard time realizing that they can actually observe them all the time. Most students have observed the phenomenon, maybe even consciously, yet are not able to put it together with the theory they hear about during their lectures. So why not, in your class on hydrodynamics, ask students to send in pictures of all the hydraulic jumps they happen to see in their everyday life? The collection that soon builds will likely look something like the image below: Lots of sinks, some shots of people hosing their decks or cars, lots of rivers. But does it matter if students send in the 15th picture of a sink? No, because they still looked at the sink, recognized that what they saw was a hydraulic jump, and took a picture. Even if all of this only takes 30 seconds, that’s probably 30 extra seconds a student thought about your content, that otherwise he or she would have only thought about doing their dishes or cleaning their deck or their car.
And even if you do this with hydraulic jumps, and not with Taylor columns or whatever comes next in your class, once students start looking at the world through the kind of glasses that let them spot the hydraulic jumps, they are also going to look at waves on a puddle and tell you whether those are shallow water or deep water waves, and they are going to see refraction of waves around pylons. In short: They have learned to actually observe the kind of content you care about in class, but in their own world.
The “classic” method uses twitter to share pictures and observations, which apparently works very well. And of course you can either make it voluntary or compulsory to send in pictures, or give bonus points, and specify what kind and quality of text should come with the picture.
You, as the instructor, can also use the pictures in class as examples. Actually, I would recommend picking one or two occasionally and discussing for a minute or two why they are great examples and what is interesting about them. You can do this as introduction to that day’s topic or as a random anecdote to engage students. But acknowledging the students’ pictures and expanding on their thoughts is really useful to keep them engaged in the topic and make them excited to submit more and better pictures (hence to find better examples in their lives, which means to think more about your course’s topic!).
And you don’t even have to use twitter. Whatever learning management system you might be using might work, too, and there are many other platforms. I recently gave a workshop for instructors at TU Dresden and talked about how awesome it would be if they made their students take pictures of everything related to their class. They were (legitimately!) a bit reluctant at first, because you cannot actually see the topic of the course, measuring and automation technology (MAT), just the fridge or camera or whatever gadget that uses MAT. But still, going about your everyday life thinking about which of the technical instruments around you might be using MAT, and discovering that most of them do, is pretty awesome, isn’t it? And documenting those thoughts might already be a step towards thinking more about MAT. At least that is what I claimed, and it seems to have worked out pretty well.
We are about to try this for a course on ceramics (and I imagine we’ll see tons of false teeth, maybe some knees, some fuses, many sinks and coffee cups and flower pots, maybe the occasional piece of jewelry ), and I am hoping they will relate what they take pictures of to processes explained in class (like sintering, which seems to be THE process in that class ;-))
I am going to try to implement it in other courses, too. Because this is one of the most important motivators, isn’t it? The recognition that what that one person talks about in front of the class all the time is actually occurring in – and relevant to – my own life. How awesome is that? :-)
Have you tried something similar? How did it work out?
Student poster presentations: the cheap and easy way
Sometimes we really want our students to practice presenting posters, but we can’t afford printing all those nice A0-posters for everybody in our large class, or we don’t want them spending time on design but focus on content, or both. What then?
Well, instead of having them design A0 posters, just give them a template for 6 A4 (or letter, if you are in the US) pages (or 9, if you want more categories than I did in the example below), let them fill those with content, print them, and then either tape or pin them to a wall. Instant poster session!
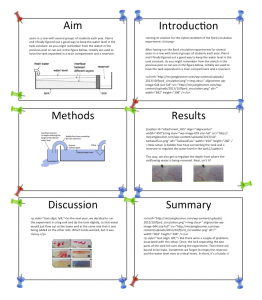
A cheap and easy way to have students practice poster presentations
You could of course also hand them the sheets of paper that already contain the heading, or give them blank papers and let them write the titles themselves. As long as you are not interested in the design-part of creating a poster, this is a really cheap and easy way!
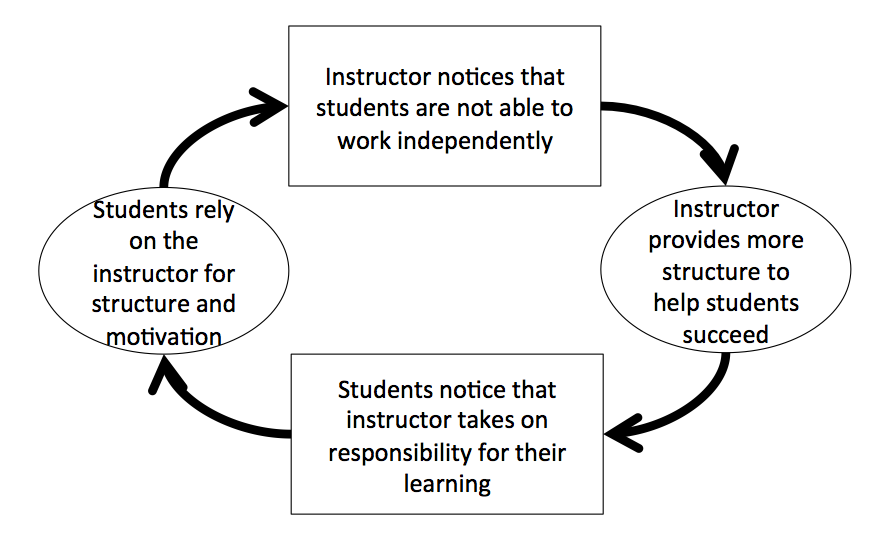
Will giving your students more structure make them need more structure?
One of the arguments against offering students practice opportunities online and providing automated feedback right then and there is that that way, they will never learn to work independently. Since I am working on e-assessment a lot and with many different courses at the moment, this is a fear that I definitely need to take seriously. I don’t believe that the danger is as big as it is sometimes made out to be, but I do believe that there is a vicious circle to be aware of.
Bridging the gap between conventional mathematics teaching and the topics that engineering students are really interested in
I’m very excited to announce that I, together with Christian Seifert, have been awarded a Tandem Fellowship by the Stifterverband für die Deutsche Wissenschaft. Christian, among other things, teaches undergraduate mathematics for engineers, and together we have developed a concept to improve instruction, which we now get support to implement.
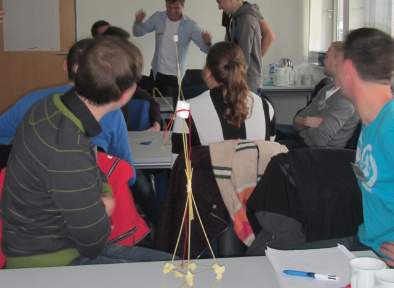
The Marshmallow Challenge
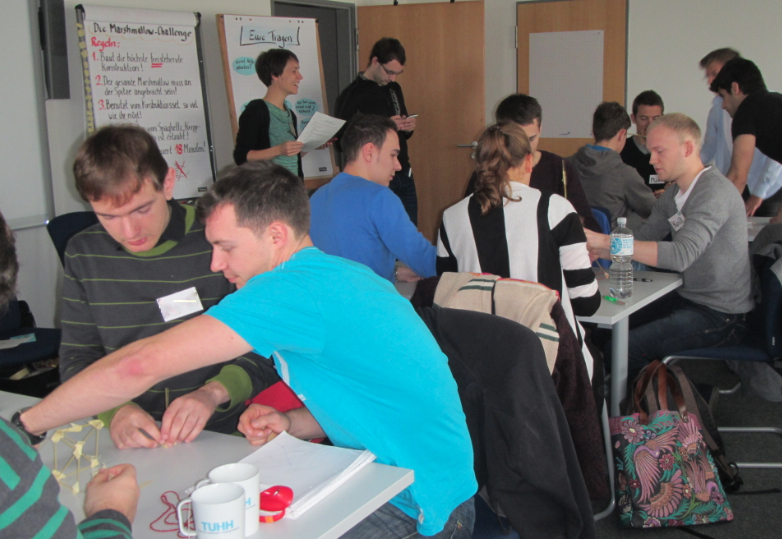
My colleague Caroline and I recently ran a training course for student tutors and we started it out with the Marshmallow Challenge, that Siska had suggested, both as an ice breaker, team building task and to have participants gain experiences together that we could refer to later on during the workshop.
So, Marshmallow Challenge. Except that we modified it and used a kind of pasta that was a lot more bendy than typical spaghetti — we are working with future engineers, after all!
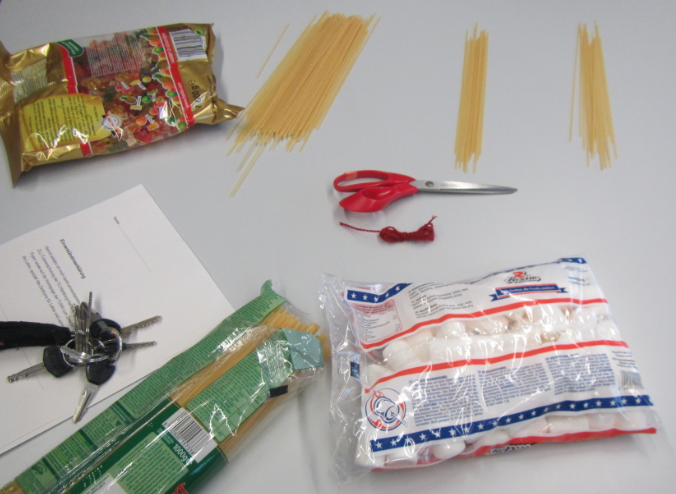
So this is what we started out from: Every group got
- 20 “spaghetti”
- 1m of tape
- 1m of string
- 1 marshmallow
They were then asked to build the highest possible, free-standing tower with a marshmallow on top in 18 minutes.
Some groups started sketching out solutions, others started experimenting. Lots to talk about later on: How did the design process go? How did you assign roles to different participants? Was there conflict? How did you solve it?
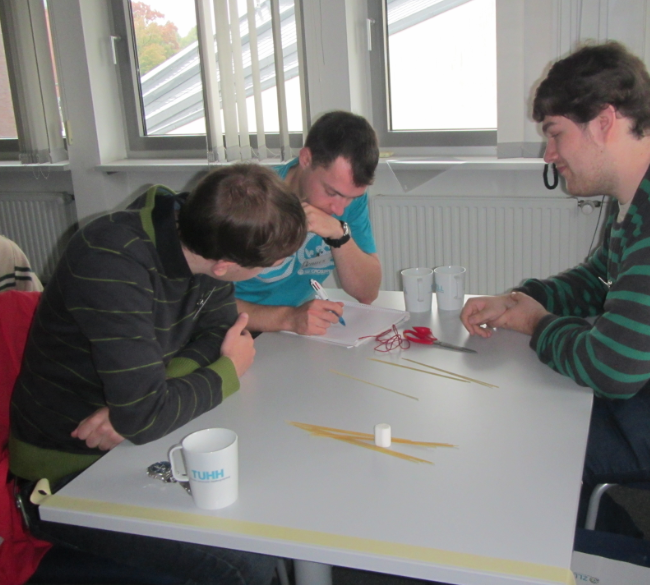 Everybody was busy and 18 minutes flew past! When looking at the schedule for the workshop, it seemed like a lot of time out of the half day to spend on, basically, a game. But there was so much going on!
In some of the constructions looked very sophisticated, and all of them looked very different from all the others. And the design and prototyping and construction process went very differently from team to team, too.
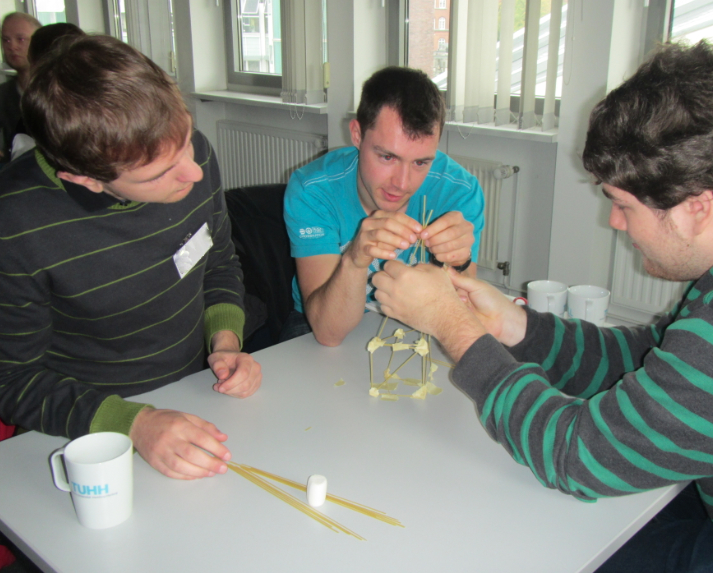 This is at the very end of the 18 minutes, when all the hands had to be off the towers. As you see, some had difficulties staying upright.
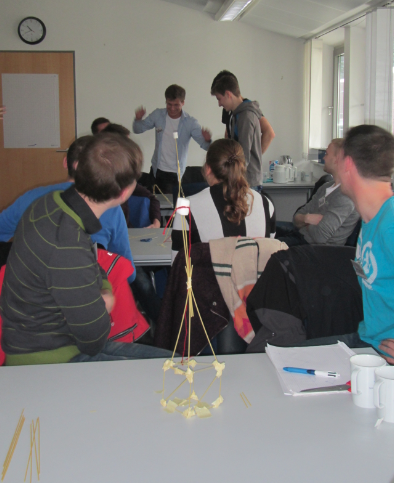
The Marshmellow Challenge definitely worked well for our purposes, and it was fun!
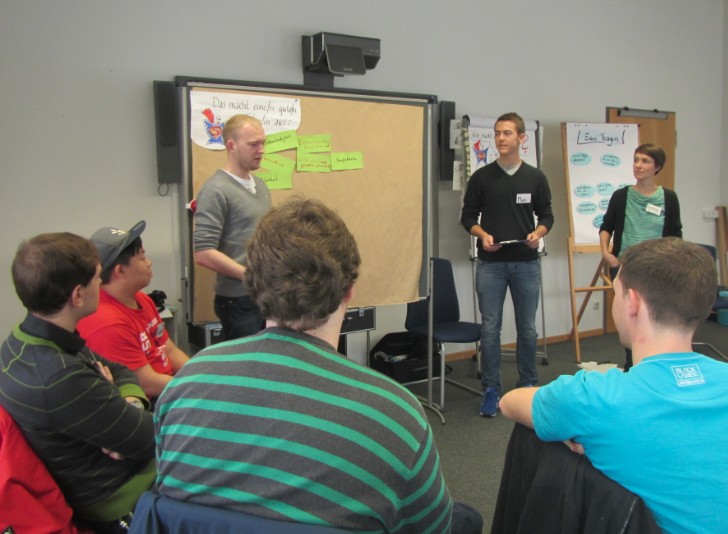
After the Marshmallow Challenge, we went on for the more conventional part of the workshop, and this is when we talked for example about group development.
I like giving workshops! :-)
How to support group processes as a tutor
In my last post, I talked about a model for stages of group development. Today I want to talk about how you can use this model when you are trying to make a group work together well.
First, it is important to recognize that every team will go through most of the phases. Except for the ones that get stuck in the storming phase, but then once we recognize that we are stuck in the storming phase (rather than despair that the group just won’t work well together ever), we can support them to get to the next stage.
So what kind of support might the groups need from their tutor at different stages?
1. Forming
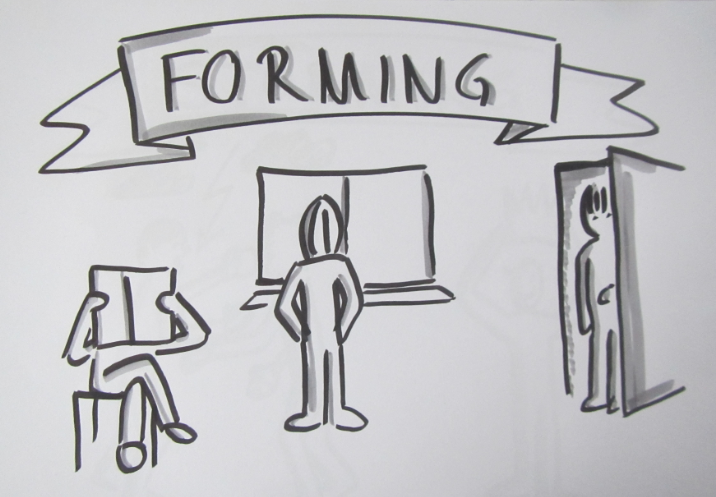
During the forming stage, since participants don’t know each other, it is important that the tutor provides the structure in which the team will operate, and helps participants feel comfortable in the situation. It is helpful to make sure participants getting to know each other. Depending on how long the team will work together, how well participants know each other already, on group size and on personal preferences, a tutor might want to do sociometry or some other game to introduce participants to each other. Pretty similar to what you might want to do at any first day of class.
2. Storming
This is the most difficult phase, both for the tutor and for participants. Since there is so much conflict on so many different levels, it is very important that the the tutor models the behavior he or she wants. Be trustworthy, communicate openly, above all, stay constructive and positive.
Also, let participants know that this is an important phase. It is necessary to openly talk about conflicting interests, different preferences in how a group works, or different ideas of what the goal should be.
If there is conflict but it isn’t really clear what it is about, it is important to figure out whether it is something personal or where it is coming from, and then address it.
If this phase is skipped, even though the team might have a nicely structured hierarchy with clear roles, not everybody might be happy with his or her role, meaning that the conflict is going to erupt at some later stage and become destructive if not addressed properly.
It is helpful to remember – and to remind participants of – the rules for good feedback to solve the conflict constructively.
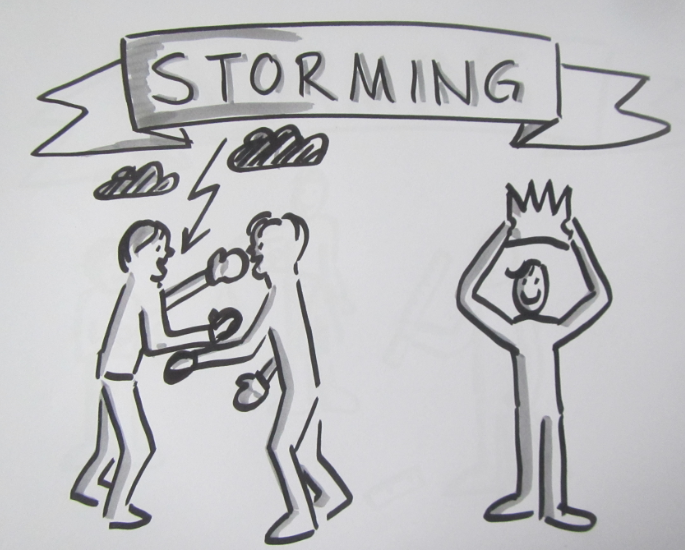
Group stage no 2: Storming.
3. Norming
When a group reaches this phase, the tutor can start to withdraw and only intervene occasionally, or, of course, provide support on the topic or methodological advice. But the group process is on a good way now and it is important that they find rules that work for them. If they think it’s cool to work all night once a week and then not at all over the next week, the tutor should let them be. They need to take ownership of how their group works and what their goal is, otherwise they won’t be as invested.
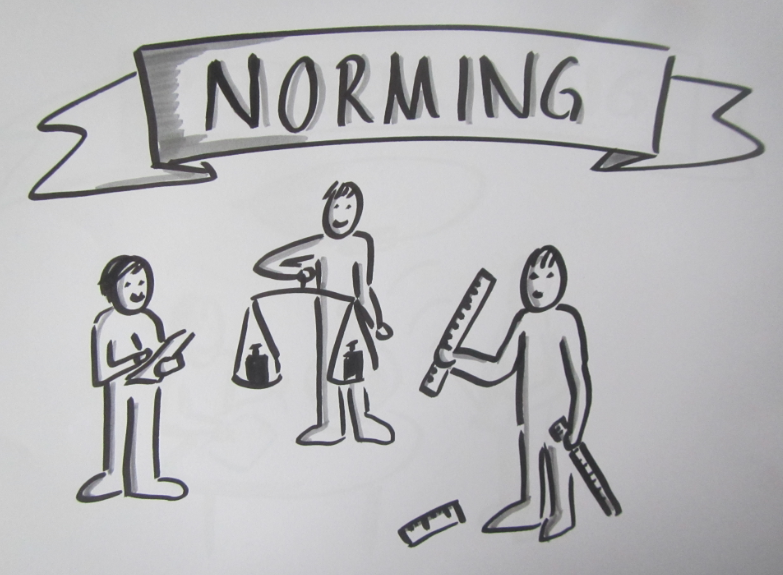
Group stage no 3: Norming.
4. Performing
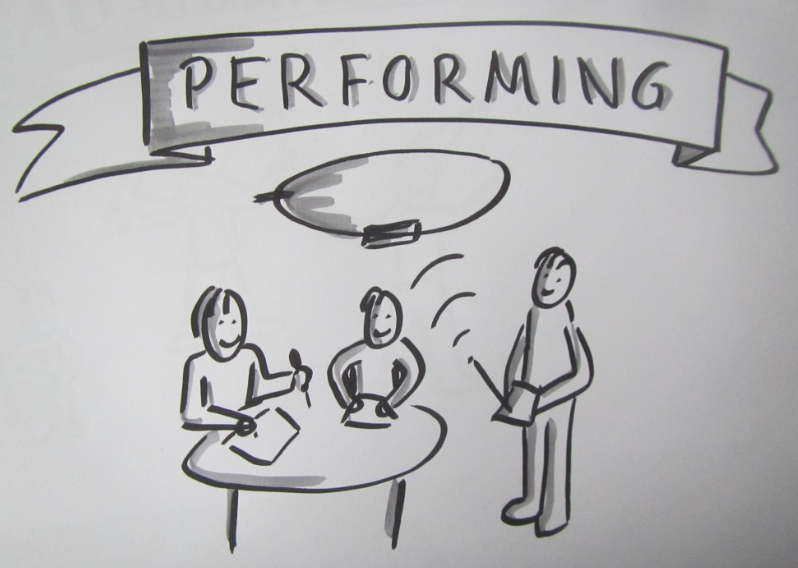
Now the tutor should leave the team to work as independently as possible, only giving advice (advice! Not the solution!) when asked.
Except for when the tutor notices conflict – maybe the group has slipped back into the storming stage. Then it is important to address the conflict and go through a new norming phase, too, before continuing working on the task. Ignoring that a group has slipped back into the storming phase will only prolong that unproductive phase and maybe let a relatively minor conflict blow out of proportion just because nobody addressed it.
5. Adjourning
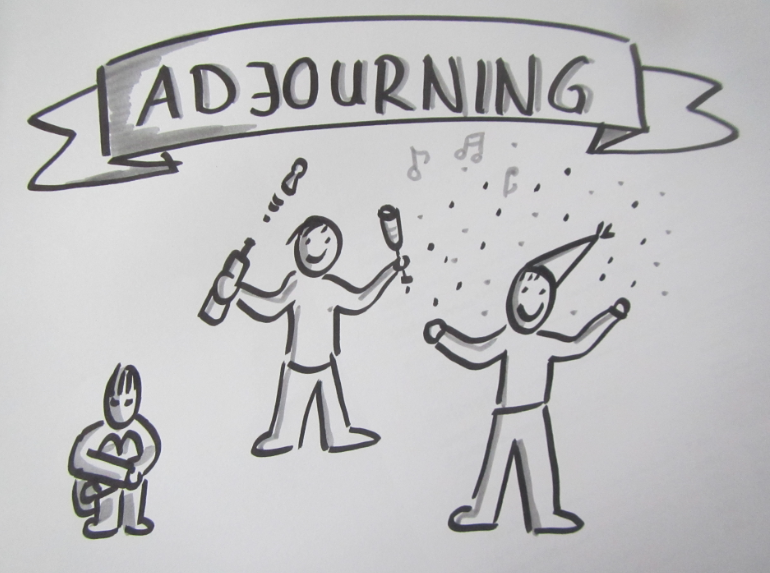
Here the tutor can participate in celebrations and even initiate them. But it is important to recognize that participants might be very sad to be leaving a team that worked well together and where they had a lot of fun together. So it is always helpful to have a couple of ideas at hand how either this team can come back together to work on new tasks, or where similar experiences can be had with other teams.
Happy group working! :-)
And even more on motivation
Last week we talked about motivation quite a bit: First about why do students engage in academic tasks?, then about how motivation is proportional to the expectation of achieving a goal. Today I want to bring it all together a bit more, by presenting two other theories (both also described in the Torres-Ayala and Herman (2012) paper, which — should you not have read it yet — I strongly recommend you look into!).
The self-determination theory describes three components of motivation: Autonomy (i.e. being able to determine what you learn, when you learn it and how you learn it), competence (feeling like what you are learning is giving you (more) options to achieve what you want to achieve) and relatedness (feeling connected to a group).
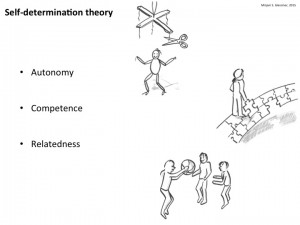
Self-determination theory
Those are all components that you, the instructor, do have some influence on. For example a feeling of autonomy can be fostered as easily as giving students the choice of three problem sets and asking them to choose the one they want to work on. Or to let them choose the group they want to work with rather than prescribing groups yourself. Or even only letting them determine the order in which you talk about homework questions.
A feeling of competence is a little more difficult for you to influence, but can be achieved by giving problem sets that gradually become more difficult, instead of giving them really challenging problems right away.
And a feeling of relatedness can be achieved for example by letting students choose who they want to work with, and by making sure you observe the group processes and intervene when necessary.
So far, so good.
There is a fourth theory in the paper, that I also drew little pictures for, but which when preparing for my upcoming workshop for TU Dresden, I chose to drop for now. After all, there is only so much theory one can take in at a time, and I know that what the participants of the workshop come for are methods, methods, methods. Which I might actually give them!
Anyway, I still want to look at the expectancy-value theory here.
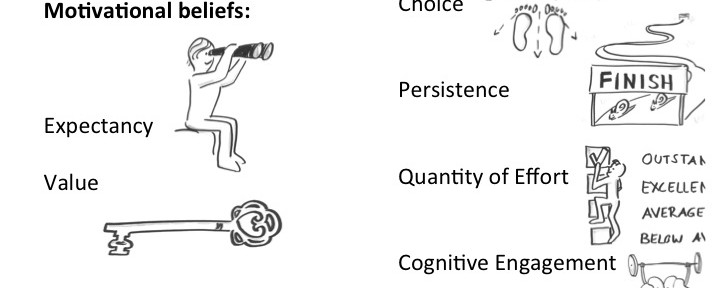
Expectancy-value theory basically connects motivational beliefs with achievement behavior.
If you believe you can achieve your goal (expectancy) and reaching that goal is important to you (value), this will modify your behavior. For example, you will likely choose to practice more, and on harder problems than people who don’t have the same beliefs. You will likely be more persistent in pursuing your goal. The quality of your effort will be higher, your cognitive engagement will be higher, and your actual performance will also be better.
There are a lot of studies that link student beliefs with their behavior, and I find this super interesting. I’ll definitely get back to reading and writing about this very soon!
—
Ana T. Torres-Ayala, & Geoffrey L. Herman (2012). Motivating Learners: A Primer for Engineering Teaching Assistants American Society for Engineering Education
Giving – and receiving – helpful feedback
For a course we recently needed to come up with guidelines for feedback on work products. This is what I suggested. Discuss! ;-)
When giving feedback, there are a few pointers that help making it easier for you to give and for the other person to receive feedback:
- Use the sandwich-principle: Start and end with positive remarks*
- Be descriptive: Make sure both of you know exactly what you are talking about.
- Be concrete: Point out exactly what you like and where you see potential for improvement.
- Be constructive: Show options of how you might improve upon what is there.
- Be realistic: If you are working on a tight timeline, do consider whether pointing out all issues is necessary or whether there are points that are more essential than others.
- Don’t overdo it: Point out a pattern rather than criticizing every single occurrence of a systematic problem.
- Point out your subjectivity: You are not an objective judge. Make sure the recipient of your feedback knows that you are giving a subjective opinion.
- Don’t discuss: You state your point and clarify if you are asked for clarifications.
- Don’t insist: It’s the recipient’s choice whether to accept feedback.
When receiving feedback, there are also a couple of behaviors that make it easier for the other person to give you feedback:
- Don’t interrupt: Let them finish explaining the point they are trying to make.
- Don’t justify: Accept their feedback on your choices or actions without trying to make them understand why you chose what you chose.
- Ask for clarification: If in doubt, ask what they meant by what they said.
- Take notes: Write down the important points and review them later.
- Be appreciative: Let them know you value their feedback and are grateful they took the time to give it to you.
*edit 2.9.2022: These days, I tend to not recommend the sandwich principle any more. Instead, I really like this structure:
1: neutral acknowledgement (“I see you put a lot of effort into bringing together a lot of information!”)
2: warning of a problematic aspect (“with so many different ideas, it is not easy to find a red thread”)
3: suggesting a solution (“provide the reader with a structure by …”)
Oceanography PBL workshop and case
My awesome colleague Marisa ran another workshop on Problem-Based Learning (PBL) in which I was lucky enough to assist. For the last workshop for people who are planning to use PBL in their teaching, we used the solar eclipse to build a case around. Since this time we weren’t as lucky to have a solar eclipse happening on our second workshop day again, we were in need of a new case. We wanted something that was interesting and challenging enough to our audience of engineers to realize that PBL is a method that can definitely be used for hard science and engineering stuff, too, and that was obscure enough that none of the participants would know all the answers right away, but that on the other hand was solvable with only about an hour of individual research in step 6 between the first and second workshop day. So we were pretty much looking for a magic unicorn.
Enter the oceanography case!
Paul: People always say that Arctic melting is a positive feedback loop. But I don’t think that’s true, that’s all part of the big climate conspiracy! When the ice melts, this decreases the salinity of the sea ice. If there is less salt in the water, though, the ice melts less fast. This means that the process stabilizes itself!
Marie: Come on, Paul, don’t believe everything people tell you! As a scientist you should really be less gullible. The melting of the Arctic is influenced by so many other processes, for example the different albedos of ice and open water. That must be at least as important as the salinity!
Now Paul starts looking for scientific proof for his theory. Marie starts researching as well, she tries to find something Paul can observe himself so her argument doesn’t rely on papers Paul might not trust.
Even more so than in the previous PBL workshop, it was absolutely fascinating how the discussion evolved. Also, this time people were talking about my favorite topic and it was super interesting to see what a crowd of PhD students and PostDocs in engineering knew – and didn’t know – about the climate system.
Steps 1-4 went uneventfully, as described in this post. In step 5, we ended up with four questions that the participants wanted to do research on during step 6, namely
- How does the albedo influence melting of Arctic sea ice?
- How is the salinity of Arctic sea water influenced by the melting of Arctic sea ice?
- How does the salinity of the water surrounding the ice influence the ice’s melting?
- How does atmospheric CO2 influence Arctic melting?
Faithful readers of my blog will have recognized from the case already where the whole PBL session was heading: I wanted them to do my favorite experiment! Just by doing the experiment they could have shown Paul that more salt in sea water doesn’t mean that ice floating in it will melt faster. Luckily they were all good sports and came up with more research questions than just that one, but after discussing their answers to their research questions, we obviously had to do the experiment.
Marisa uses food dye as a tracer for melt water
As always, participants did the experiment in groups of 2 or 3. My ice cubes had suffered quite a bit during the day, so the experiment was quite quick. Usually I bring ice cubes in a huge thermos, but this time a) that thermos was at work and my ice cubes were at home on the day of, and b) I only needed so few ice cubes that I thought a thermo mug would do fine. Yeah. Suffice to say, next time I’ll use the thermos again.
In the previous PBL session on this case, there had been quite a long discussion about temperature gradients and stirring, so obviously we had to conclude the experimental part by stirring.
So that was that. How did PBL work for an oceanography case? I really loved it. The first session was really exhausting (as all first PBL sessions are, at least in my limited experience). There were a lot of discussions that went fairly deep into the topic of climate change, and also a broad range of topics related to the melting Arctic was covered. I was actually pretty surprised how far people went into formulating models and how much they knew about different aspects, yet how difficult it was to put everything together. When writing the case, I had expected a lot less of an in-depth discussion of the issue, especially since none of the participants had an explicit ocean/climate background. So really positive surprise here how well it went!
The second session, where everybody brought their results together was great fun, and not only for me (or at least that’s what I think). The goal of our workshop was to have instructors, who will likely use PBL in their own teaching soon, experience the method in a student’s role. Therefore we couldn’t solve all the burning questions of ocean and climate during that second session and had to focus on reflection and the how-tos of the PBL method. But I would definitely use this (or a slightly modified) case in oceanography teaching! And I would also use this case for the same purpose again, although then I would probably make it a little bit more confined in order to leave more time for the meta-aspects of the workshop.
Thanks, Marisa, for another great workshop, I always learn SO MUCH from watching you lead discussions! :-)
