Category Archives: other

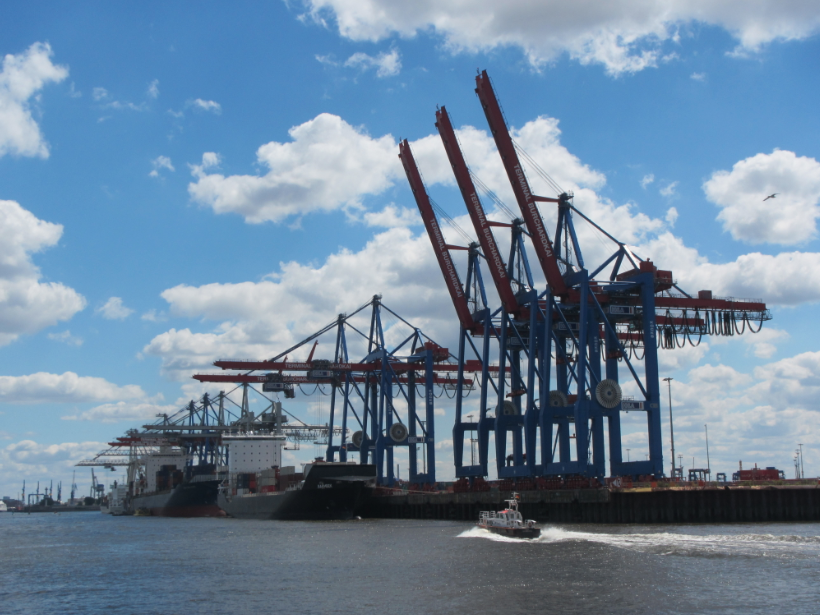
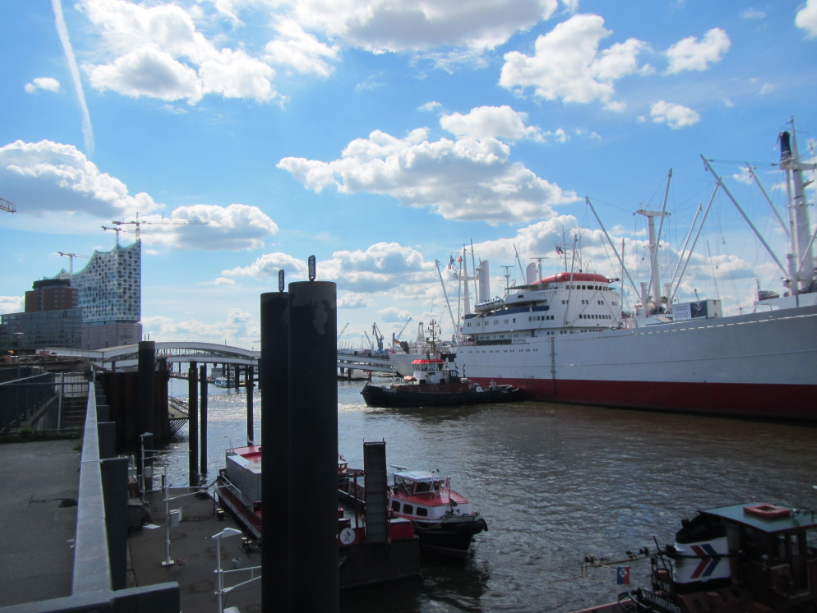
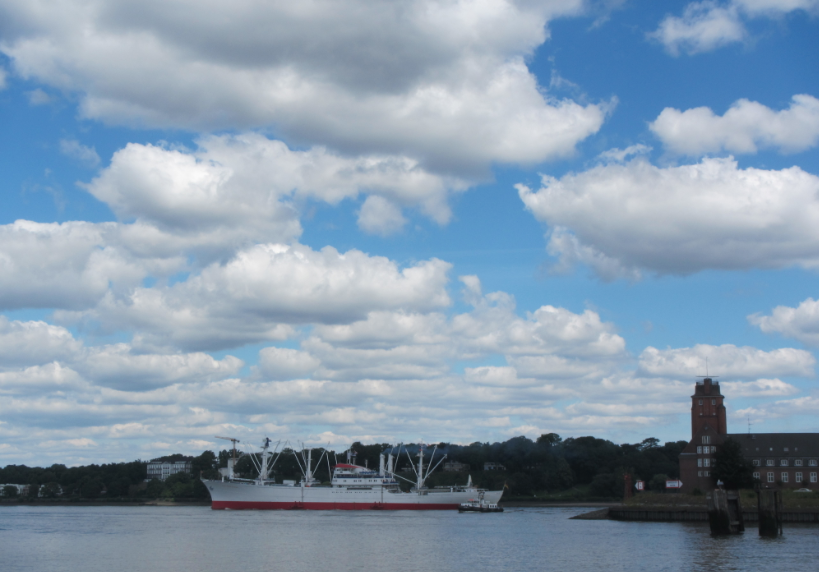
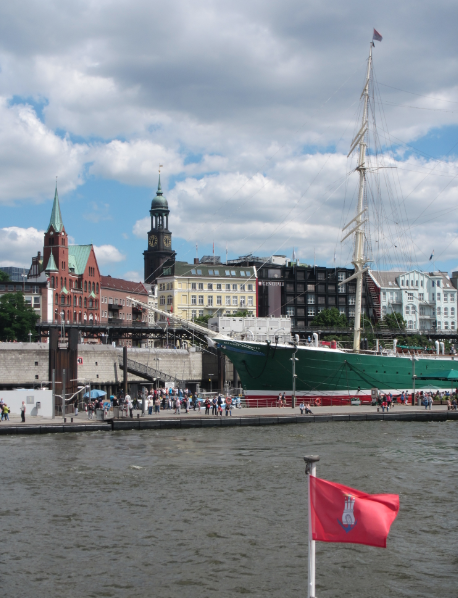
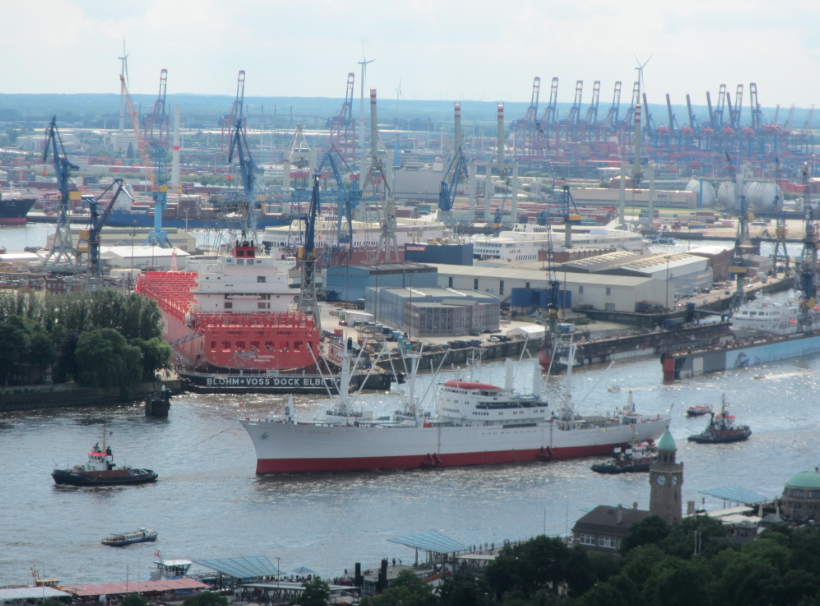
Yet another view of the Port of Hamburg

Not all adventures are oceanographic!

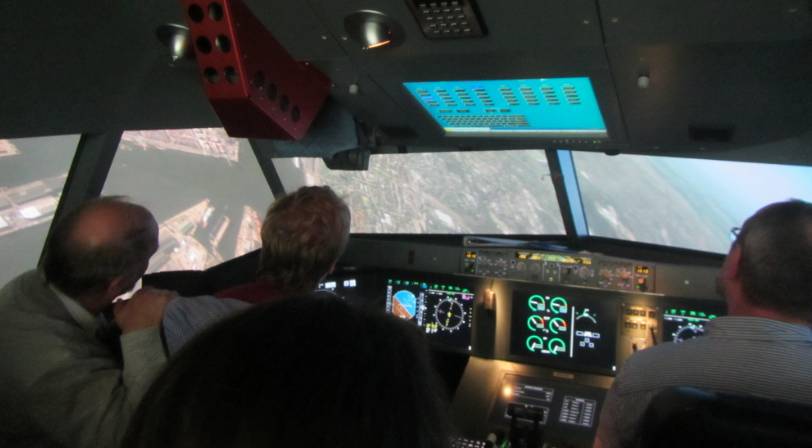
Last week I had the chance to join students and alumni of the interdisciplinary bachelor project at Hamburg University of Technology for a flight above the port of Hamburg.

The students were flying for the very first time, so it got quite exciting at times, especially during turns.


But luckily they were quick learners and brought us home safely. Always nice to arrive at Hamburg Airport!


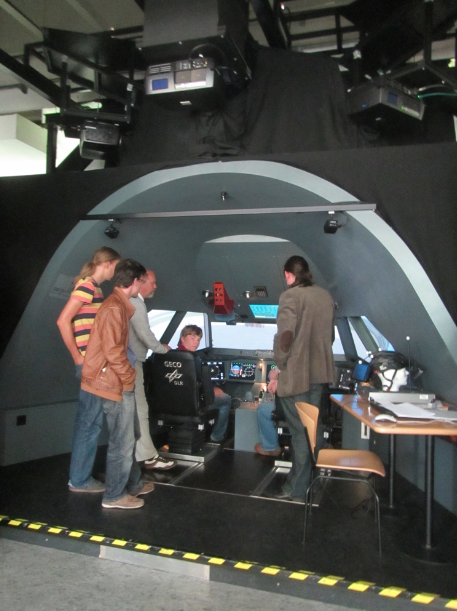
For all of you getting nervous now, let me take a step back and show you another picture:

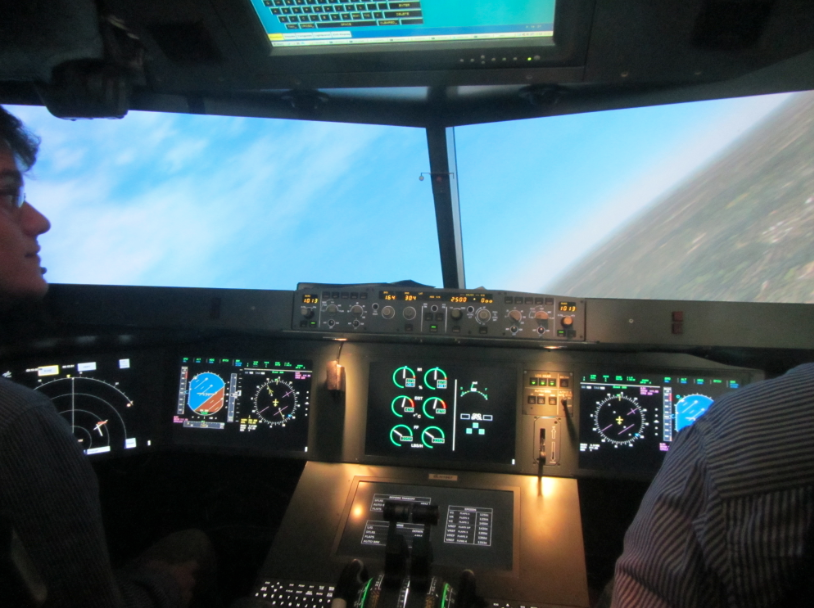
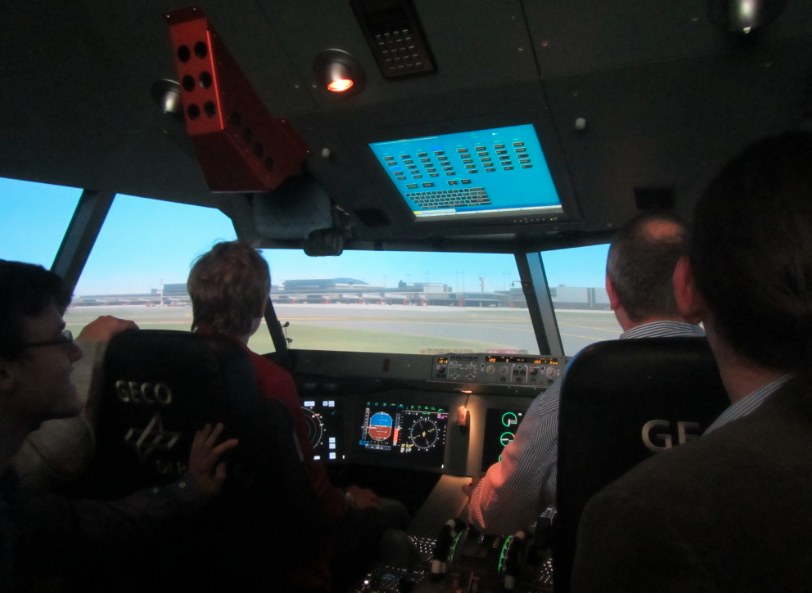
We had the amazing opportunity to visit the German Aerospace Centre (DLR) in Braunschweig. And a couple of the students actually got the opportunity to fly the flight simulator! Even though I didn’t get to (sniff!) – it was absolutely fascinating. Even though the simulator opens up into a well-lit room, as you see in the picture above, it was so easy to forget we were staring at simulated landscapes in a simulated plane. It was really exciting! Some people even started feeling sick from all the turning. And we all kept staring out of the “windows” to see which part of the town we were flying over and whether we could spot our campus. Also the technology is pretty cool: the three projectors you see in the image above project onto concave mirrors, which makes the image be far away enough so the eye doesn’t focus on the screen, which makes the whole experience feel completely realistic.

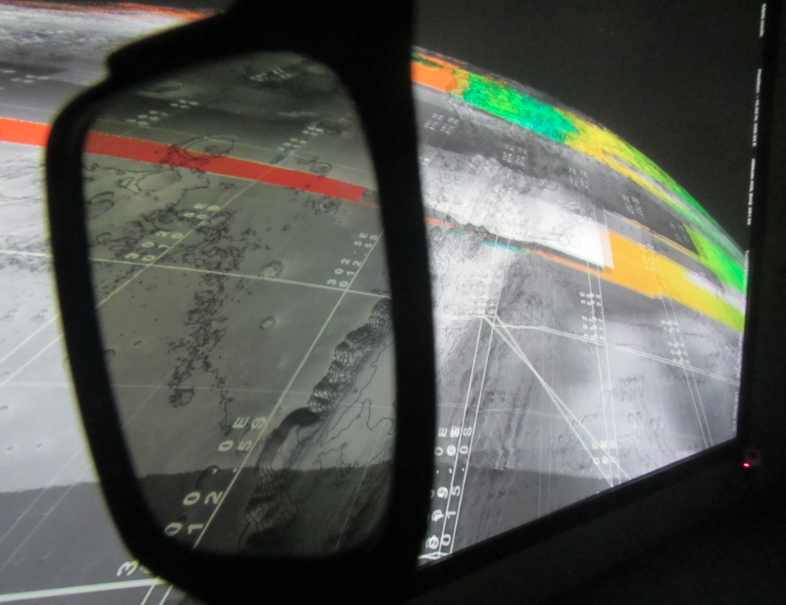
We also got to see other parts of DLR which were pretty exciting, too, like the 3D view of Mars’s surface. Did you know that the highest mountain in our solar system is on Mars, and that it’s 22 km high? I bet you did not.

Thanks, Uta and Siska, for organizing this great field trip!


Floating dry dock in the Port of Hamburg

Just because it’s fascinating.

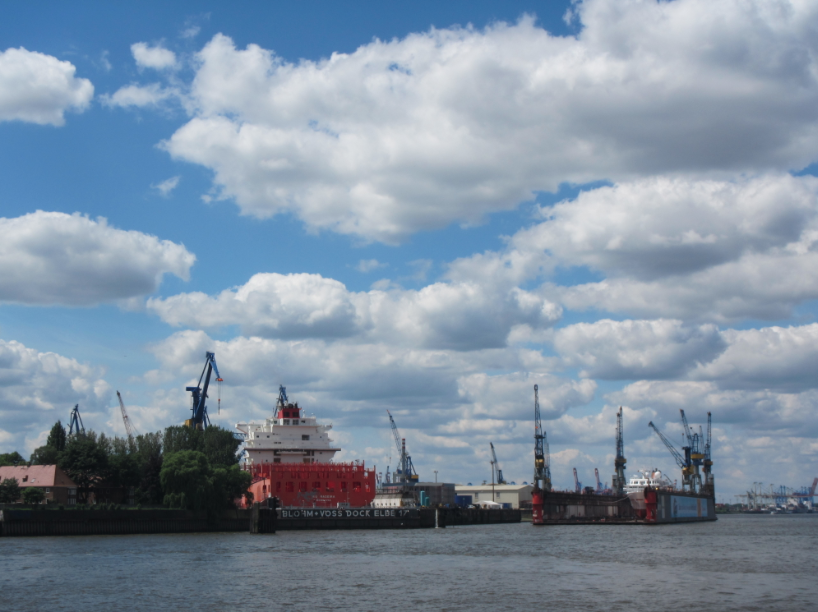
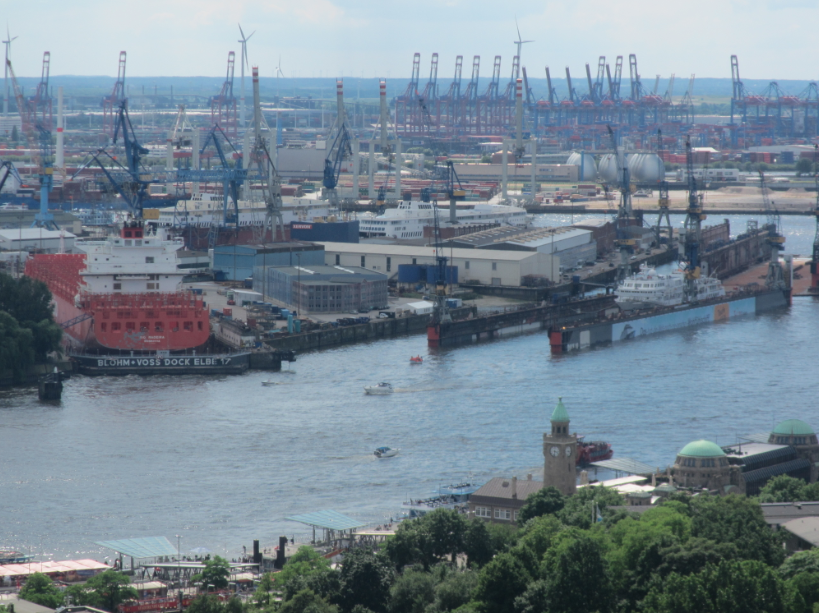
On my recent trips through the Port of Hamburg one thing has fascinated me a lot – the floating dry dock. It’s right there when you get off the tube and walk towards the port:

IMG_7209

Dry docks in the Port of Hamburg. A classical dry dock “Elbe 17” on the left, and a floating dry dock on the right.

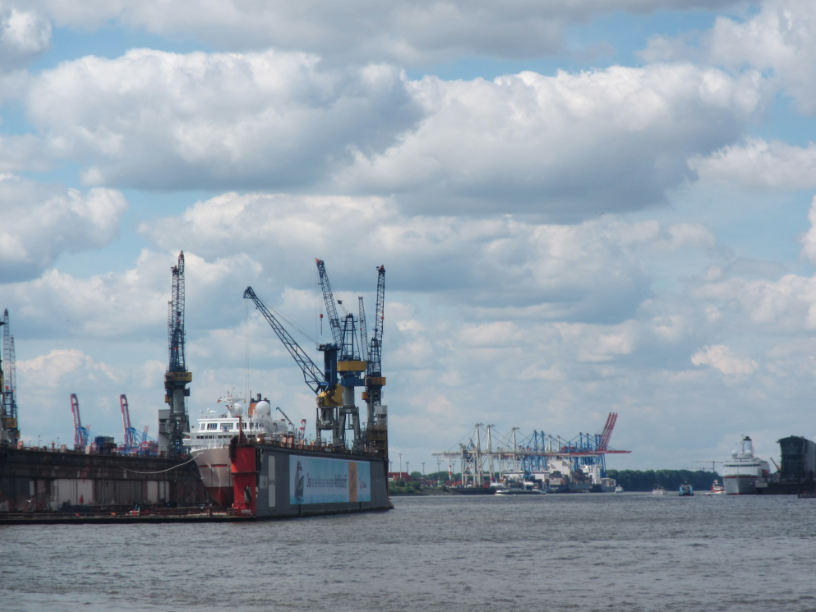
The floating dry dock basically has a u-shaped profile of water tanks that can be flooded or emptied to adjust the buoyancy of the whole structure. As the tanks are flooded, the dry dock sinks and a ship can drive in. Then the tanks are emptied, the dock floats up, carrying the ship out of the water so people can work on it above water. Voila.

In the picture above you see some kind of dark fabric blocking the view into he floating dry dock on the right. How disappointing. But when Jenny and I were there we got lucky:

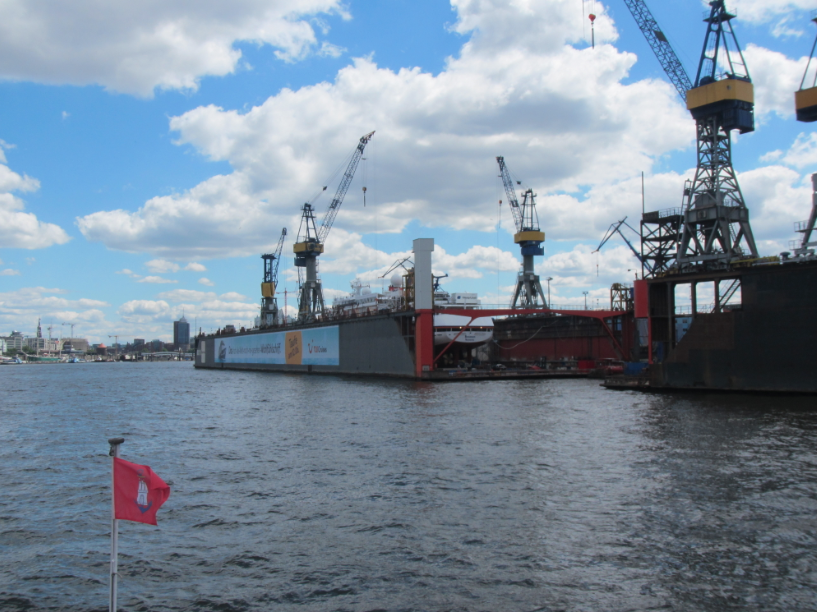
IMG_7290As we went past, we got a glimpse of the stern of the ship inside. And a little while later, the front had been opened up, too.

IMG_7307
Here we can even see the bow of the ship.

IMG_7308

I think it is really cool to be able to see a ship propped up and out of the water like that.

 And still cooler – a while later they started to flood the dock, so it was starting to sink and the ship was starting to float. (And don’t you just looooove this view of the port? No? Is it just me?)

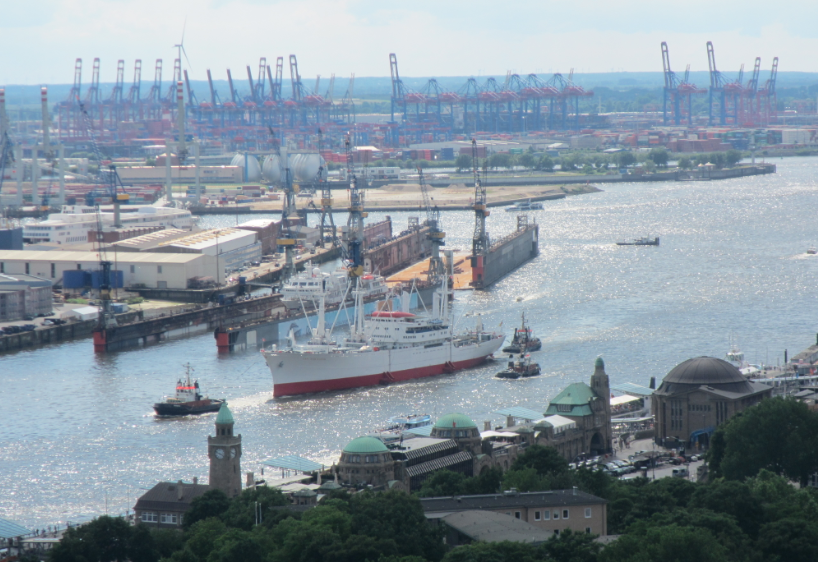
When you compare the (obviously not heavily loaded) Cap San Diego in front of the dock with the ship inside, the ship in the dock seems to be almost floating already, too. Sadly we couldn’t continue watching until the ship sailed out of the dock. But we saw plenty of other cool ships and stuff, so I guess I shouldn’t complain :-)


Currents in the Port of Hamburg

But not what you think!

I’ve been visiting the Port of Hamburg on all of my weekends recently. First when J&J&T came to visit and Torge described the huge thunderstorm, then more recently when Jenny came to visit. The Port of Hamburg is a tidal port with water levels changing approximately 3 meters between high- and low tide. Hence currents are pretty strong during ebb and flood and a lot is going on oceanographically speaking.

So Jenny and I were strolling along the water’s edge when suddenly we noticed a tug behaving strangely.

IMG_7213

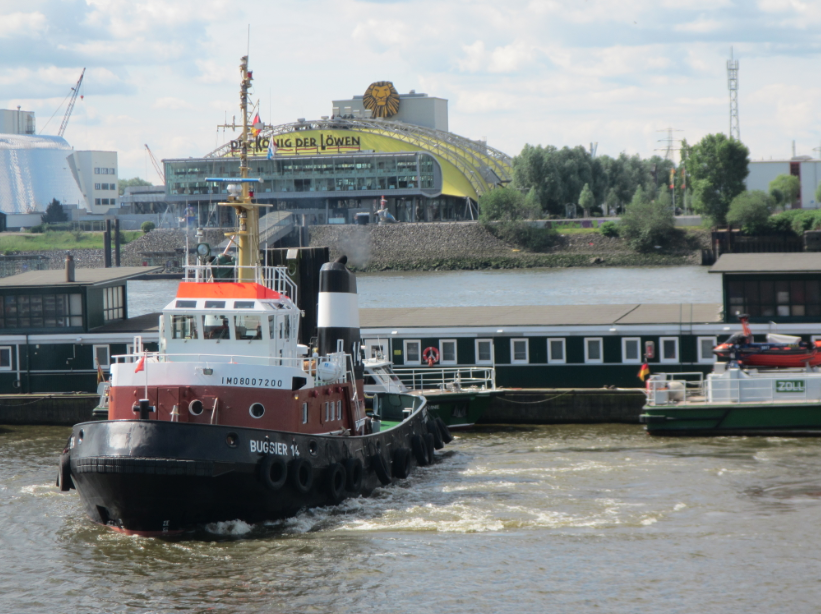
A tug in the Port of Hamburg.

It just sat in one place, but was producing a lot of turbulence for no obvious reason.

IMG_7223

Tug pushing against the Cap San Diego in the Port of Hamburg.

Then, maybe 100 meters away, a second tug was behaving even more strangely: It sat flush against the museum ship Cap San Diego and pushed against it, producing again a lot of turbulence.

What was going on?

Anyway, clearly the tugs weren’t only producing turbulence, but also pretty strong currents. Watch the movie to see what kept us entertained there for quite some time:

Seeing the first boat being swung around so badly was pretty scary (and after that first one, the tug visibly tuned down the engine), but after having watched six or so little boats pass the tug, we lost interest and went on a boat ourselves to explore the harbor from a different point of view. So maybe 45 minutes later and a bit further downstream, we suddenly spotted the Cap San Diego!

IMG_7238

The Cap San Diego on the Elbe river, downstream of the Port of Hamburg.

I wasn’t aware this ship was still sailing – I had only ever seen it as a museum ship, moored at Landungsbrücken. But I have since learned that it does indeed still sail. If you pay enough, that is. Apparently a while back it was rented by my university for a practical, where students of ship building measured the propulsion and engineering students something else. I will have to make sure I’ll be on board if that happens again!

Anyway, isn’t Hamburg beautiful?

After having finished our harbor tour, more sightseeing, lunch, and some more sightseeing, Jenny and I went up on St. Michael’s Church for its nice view over the whole city. And guess what we saw?

No thunderstorms this time, but Cap San Diego coming back into port!

Sailing into the sunset.

I was going to take pictures for a specific blog post I wanted to write…

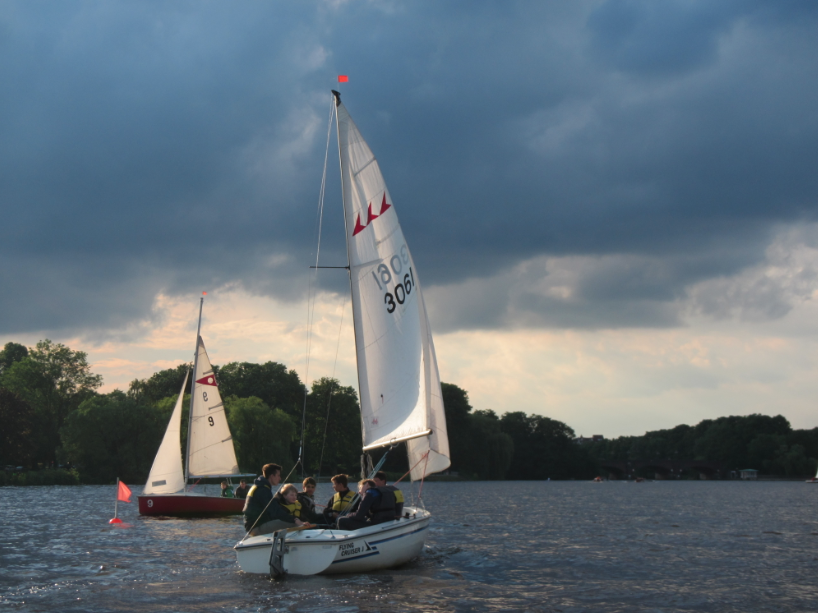
…but then life happened and I had to concentrate on other things. We were sailing with kids and it was quite windy…

Screen shot 2014-06-06 at 10.03.38 PM

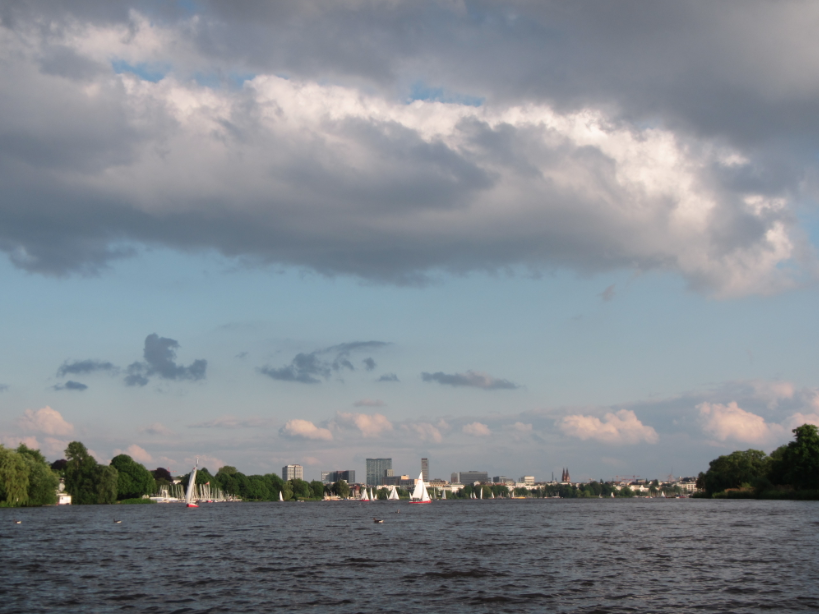
Alster in Hamburg

Luckily they are all pretty skilled sailors already, and were sensible enough to accept the restrictions on sail area that we imposed without too much grumbling.

Screen shot 2014-06-06 at 10.03.17 PM

More Alster

But the bad weather approaching when I took those pictures is nothing compared to the bad weather approaching when my friends J&J&T came to visit Hamburg a while back. But that’s a topic for another post.

Screen shot 2014-06-06 at 10.00.55 PM

Regatta training.

In the end all we had to do that day was watch the kids sail into the sunset.

Interference from other demonstrations.

Why interpreting one aspect Marsigli’s experiment might be so difficult.
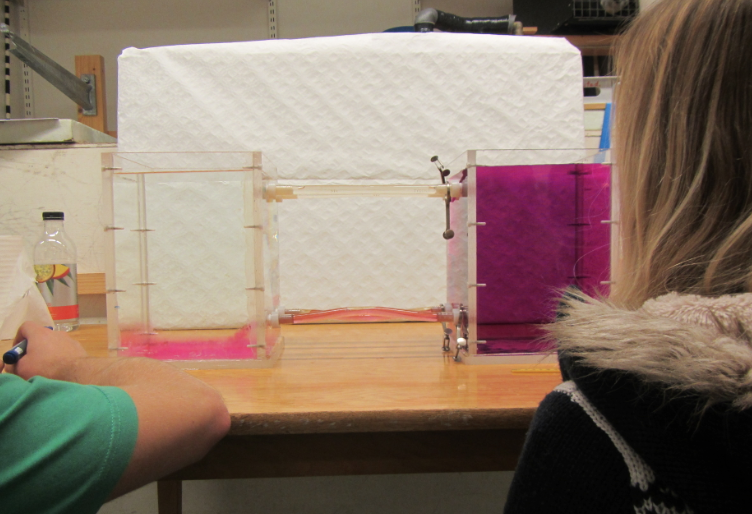
Remember how, in this post, I discussed Marsigli’s experiment and asked why the volume of pink water seemed to have increased in the end? I think the reason students have such a hard time answering that question might be related to dimension 3 “interference from other demonstrations” in the Roth et al. (1997) paper on 6 dimensions that might hinder student learning from demonstrations (discussed in this post).
In the experiment itself, there is really nothing mysterious happening – we are not creating or destroying water. All that happens is easily observable if one knows what one is looking for:

We have both pink water mixing into clear, and clear water mixing into pink. The product of both processes is pink water. The interface between clear and pink is always much more easily observable than that between more pink and less pink, hence, most of the mixing products are counted towards pink: we seem to have increased the pink volume.
However this is apparently not straight forward to understand. One reason, that only occurred to me today, is that there might be interference with other observations. Before running this experiment, I’ve always shown experiments where mixing was negligible, or, in some cases, even specifically prohibited. Examples are internal waves showed at a really strong salinity interface, or at the interface between water and oil. In the latter case, the bottle is often even shaken, and water and oil never mix (or only for a very short time). Yet all I am focussing on when showing the internal wave experiment are the internal waves, not the absence of mixing. Of course, students should know that water and oil don’t mix, and I am sure that at some point I point out that it is water and oil in the bottle. But the focus of my discussions is clearly on the different densities across the interface. So I can see how mixing might not be the first thing that comes to the students’ minds in the context of recent oceanography experiments. A case of interference from other experiments making the interpretation of this one more difficult than it needs to be?

Separating signal from noise

It might hinder student learning when demonstration with a low signal-to-noise ratio are shown.

In this post, I talked about the Roth et al. (1997) paper on 6 dimensions that might hinder student learning from demonstrations. One dimension that I have neglected in the past is the one about “separating signal from noise”.

This dimension is about how all observation is interpreted, and that it depends on existing understanding and its interplay with the world. Students perceive science demonstrations from a different perspective than that of teachers and scientists.
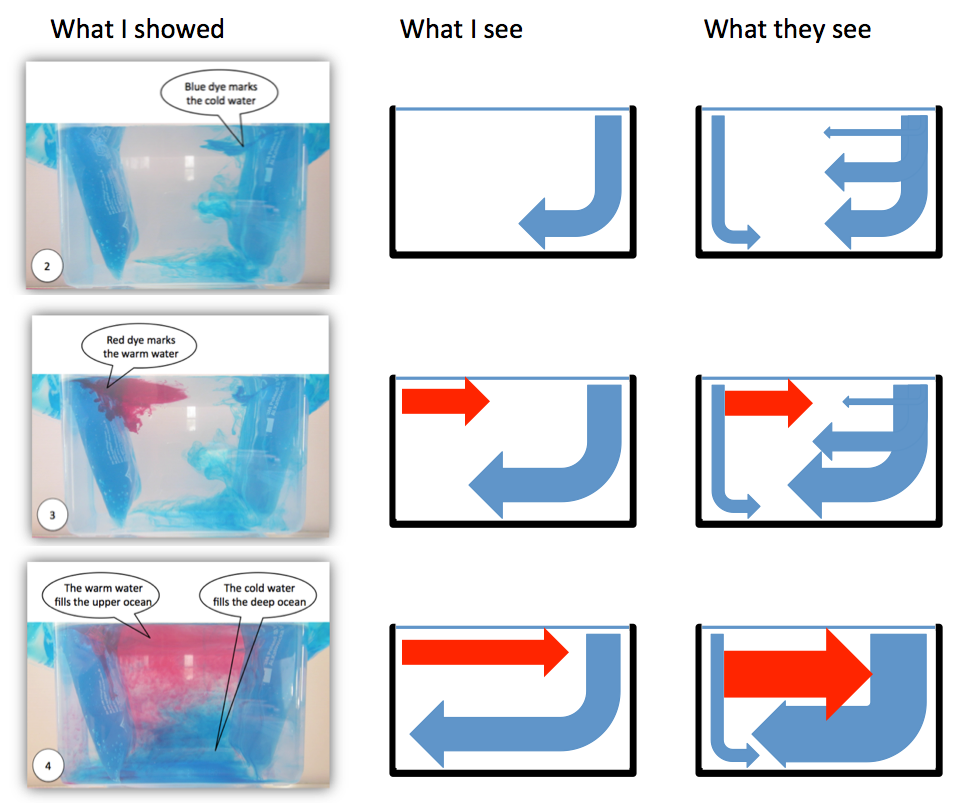
I am definitely guilty of assuming that students see what I want them to see. One example of where this might totally not have worked in the figure below.
The left column in the figure above is taken from an instruction for educators and parents of primary school kids I wrote a while back. When taking the pictures I was aware that the quality in terms of signal-to-noise was not very good (and in fact people [i.e. my parents] even told me). In my defense: The pictures of this experiment I shared on this blog are all less noisy, and I even explicitly addressed and discussed some of the noise! But still, only when reading that article today I fully appreciated how difficult it might be to see the signal through the noise (especially when the speech bubbles in the picture don’t even point exactly to the right places!), and how distracting it probably is when I implicitly assume that students see the signal and even start discussing the noise more than the signal.

So what we see above are, in the left column, the pictures I originally shared in that manual. In the middle column, I’m showing what I see when I look at the pictures on the left. And then in the right column I’m drawing what people might be seeing when looking at that same experiment. No idea if that really is what students see, but looking at the pictures now, there is actually no reason why they should see what I see. See?
One indicator of the signal-to-noise ratio and of what students actually perceive as important can be found in the three little essays the primary school kids wrote after my visit in December 2012: Two out of the three explicitly mention that I used a yoghurt beaker as heating on the one end of the tank (while the third only refers to a beaker). Clearly that seems to have been a very important observation to them.
So what do we learn from this? I, for one, am going to make sure to pay more attention to the signal-to-noise ratio when showing demonstrations. And if there happens to be a lot of noise, I am going to make it a lot clearer which part of the signal is actual signal, and which is noise. Lesson learned.

On asking questions

How do you ask questions that really make students think, and ultimately understand?

I’ve only been working at a center for teaching and learning for half a year, but still my thinking about teaching has completely transformed, and still is transforming. Which is actually really exciting! :-) This morning, prompted by Maryellen Weimer’s post on “the art of asking questions”, I’m musing about what kind of questions I have been asking, and why. And how I could be asking better questions. And for some reason, the word “thermocline” keeps popping up in my thoughts.

What a thermocline is, is one of the important definitions students typically have to learn in their intro to oceanography. And the different ways in which the term is used: as the depth range where temperatures quickly change from warm surface waters to cold deep waters, as, more generally, the layer with the highest vertical temperature gradient, or as seasonal or permanent thermoclines, to name but a few.

I have asked lots of questions about thermoclines, both during lectures, in homework assignments, and in exams. But most of my questions were more of the “define the word thermocline”, “point out the thermocline in the given temperature profile”, “is this a thermocline or an isotherm” kind, which are fine on an exam maybe, than of a kind that would be really conductive to student learning. I’ve always found that students struggled a lot with learning the term thermocline and all the connected ones like isotherm, halocline, isohaline, pycnocline, isopycnal, etc.. But maybe that was because I haven’t been asking the right questions? For example, instead of showing a typical pole-to-pole temperature section and pointing out the warm surface layer, the thermocline, and the deep layer*, maybe showing a less simplified section and having the students come up with their own classification of layers would be more helpful? Or asking why defining something like a thermocline might be useful for oceanographers, hence motivating why it might be useful to learn what we mean by thermocline.

In her post mentioned above, Maryellen Weimer gives several good pieces of advice on asking questions. One that I like a lot is “play with the questions”. The main point is that “questions promote thinking before they are answered”. So rather than trying to make students come up with the correct answer as quickly as possible after the question has been posed, why not let them produce multiple answers and discuss the pros and cons before settling on one of the answers? Or why not ask a question, not answer it right away, and come back to asking it over the course of the lesson or even over several lessons? I think the fear is often that if students don’t hear the right answer right away, they’ll remember a wrong answer, or lose interest in the question. However, even though this does sound plausible, this might not be how learning actually works.

A second piece of advice that I really liked in that post is “don’t ask open-ended questions if you know the answer you’re looking for”. Because what happens when you do that is, as we’ve probably all experienced, that we cannot really accept any answer that doesn’t match the one we were looking for. Students of course notice, and will start guessing what answer we were looking for, rather than deeply think about the question. This is actually a problem with the approach I suggested above: When asking students to come up with classifications of oceanic layers from a temperature section – what if they come up with something brilliant that does unfortunately not converge on the classical “warm upper layer, thermocline, cold deep layer” classification? Do we say “that’s brilliant, let’s rewrite all the textbooks” or “mmmh, nice, but this is how it’s been done traditionally”? Or what would you say?

And then there is the point that I get confronted with all the time at work; that “thermocline” is a very simple and very basic term, one that one needs to learn in order to be able to discuss more advanced concepts. So if we spent so much of our class time on this one term, would we ever get to teach the more complicated, and more interesting, stuff? One could argue that unless students have a good handle on basic terminology there is no point in teaching more advanced content anyway. Or that students really only bother learning the basic stuff when they see its relevance for the more advanced stuff. And I actually think there is some truth to both arguments.

So where do we go from here? Any ideas?

* how typical a plot to show in an introduction to oceanography that one is, is coincidentally also visible from the header of this blog. When I made the images for the header, I just drew whatever drawings I had made repeatedly on the blackboard recently and called it a day. That specific drawing I have made more times than I care to remember…
Learning by thinking

Di Stefano et al. find that reflection is an important step in the learning process.

I’ve always liked learning by teaching. Be it in sailing as a teenager or more recently in oceanography – I have always understood concepts better when I had to teach them to others. I have also heard tales from several professors I work with about how many concepts are only understood by students once they start working as student tutors. Intuitively, that has always made sense to me: Since I had to explain something to others, I had to think more deeply about it in order to make sure I had a comprehensive explanation ready. In other words, I was forced to reflect on what I had learned and that improved my learning.

Recently, I came across this study by Di Stefano et al. (2014), titled “Learning by Thinking: How Reflection Aids Performance”. There the authors describe the same thing: “learning can be augmented by deliberately focusing on thinking about what one has been doing”. But, contrary to what they were expecting, they did not find that sharing the reflection did have a significant effect on performance, at least not when it happened in addition to reflection – the main factor always seemed to be the reflection.

Interestingly, this seems to work through the reflection’s effect on self-efficacy: Reflection builds confidence that one is able to use the new skills to achieve a goal. This, in turn, leads to more learning.

This is again something that intuitively makes sense to me: Whenever I have been writing learning journals or been doing portfolios for one course or another, I felt like I was  constantly learning new things and achieving larger or smaller goals, whereas without documenting all those small victories they never stood out enough to be remembered even minutes later. So documenting them then, of course, made me feel more confident in my ability to work with whatever specific set of skills I was working on at that time.

So for me, the take-home message of this study is to encourage reflection whenever I get the chance. This sounds platitudinous, but what I mean is that am going to take every opportunity I get to encourage the use of learning journals, of blogs, of teaching. Both for the learning gain and for the feeling of gained self-efficacy.

Surface tension and washing-up liquid

How to destroy surface tension.

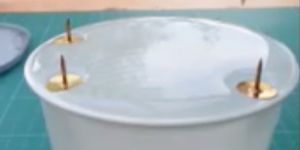
Remember how in this post my parents sent me a picture of the experiment that I didn’t get to work out?

Screen shot 2014-04-27 at 8.08.39 PM

Stuff floating on an overfull cup of water. All because of surface tension.

Later the same day they sent me the movie below, demonstrating first how to put stuff on the surface without it sinking, and then how to destroy the surface tension using a tooth pick that is dipped in washing-up liquid.

Isn’t it curious how sometimes the surface tension breaks down right away and sometimes it doesn’t? I need might have to try this for myself again. Like right now. It’s bugging me so much that it didn’t work the first time round!

Dandelions

Making dandelion stem spirals.

It’s sunny, dandelions are everywhere and not every post on this blog has to be about oceanography in the strictest sense (although you’ll see the connection at the end of this post, I promise!).

But first, pretty pictures of pretty flowers.

IMG_6495

Dandelion.

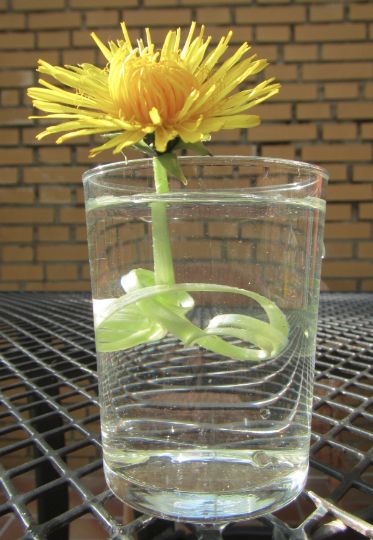
As a kid, I could never understand why nobody wanted dandelions in their lawns – they are so pretty! Now I have my own lawn to look after and I am kind of starting to see the point, but still – they are so pretty! Plus you can do all kinds of cool experiments with them.

IMG_6503

Dandelion with cut stem

Which I did.

I forget how quickly the stem slices spiral up. Look here!

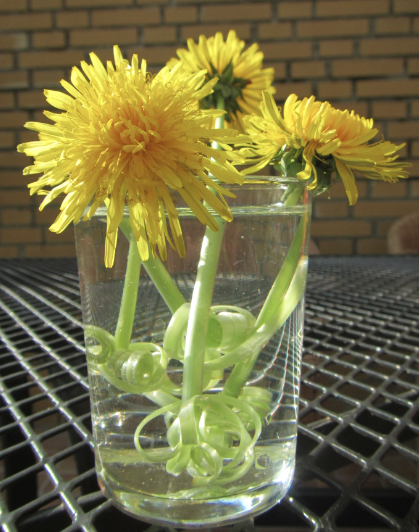
And if you kinda like doing this, but still want a connection to oceanography, look more closely at these pretty pictures.

IMG_6519

More dandelions with cut stems.

Can you see it? Let me give you a clue:

IMG_6521

Dandelions.

See it now? No? Oh well, you might just have to wait for the next post then…