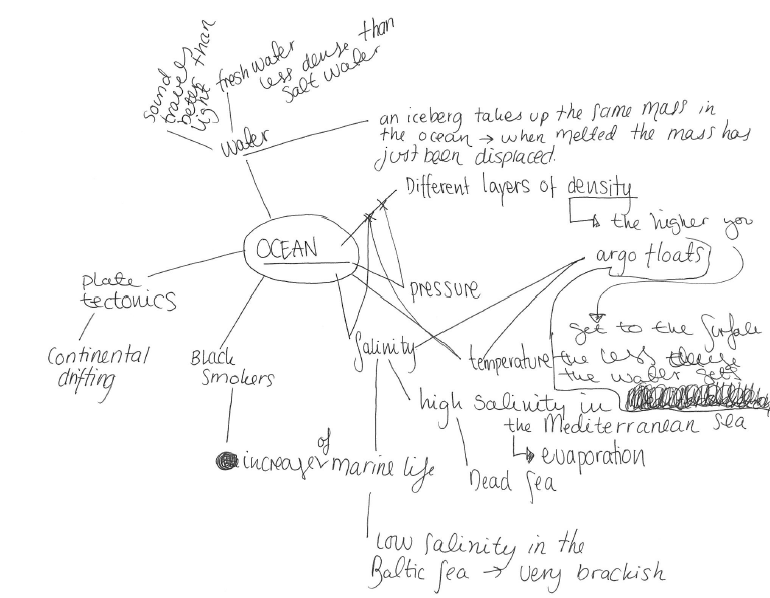
Concept maps II
A couple of pointers on how to use concept maps in class.
I recently presented concept maps as a tool both here and in a workshop I co-taught. And I was pleasantly surprised by how many people said that they were considering employing this tool in their class! So for those of you who might want to use it – here are some more pointers of how I used it. But beware – there is a whole body of literature on this method out there – these are only my own experiences!
So. Firstly – for concept maps to work in class you will have to introduce them the first time round you are using them. What I did was to start drawing a concept maps on the board, and have students tell me what else to add to it and how. I used “roses” as my example, with the question of how roses and people interact.
The way it developed was that students named different parts of roses (stems, petals, thorns, …) and that roses can both hurt people (with their thorns) and make people happy (because of the way they look, because of what they symbolize, because of the context they are presented in, …), that roses use up CO2 and produce O2 which is relevant for us, that roses need soil, that they might need fertilizer, that they become soil again when they die. As you can see, even this very simple example can already produce quite a complex concept map. And it gave me the chance to point out all the different features I wanted the students to include, but without me actually having to give away concepts and connections that I thought were important for the topic they were later working on.
Another very important point: Bring sheets of paper. There will already be enough resistance against trying this (and any) new method – don’t give the students the chance to boycott it because they don’t have anything to write on!
And most importantly – enjoy. It is really amazing to see concept maps develop over time, and it is even more amazing to see how students enjoy seeing their progress mapped out by their maps.