We have water in our rotating tank! Now testing the lasers
Above you see the very first water coming into our tank. Only a couple of hours, and the tank was full! And in solid body rotation (since it has been spinning all the time while being filled) which means that we can start doing the real experiments very soon! :-)
Most of the afternoon has been spent testing the lasers that will be used later to measure flow velocities inside the water around our topography. Laser testing isn’t something where we can help with, but that doesn’t keep us from having fun with safety goggles! Although it took us a little while to figure out that while the goggles made the laser invisible (or, hopefully, blocked it from coming anywhere near our eyes) we could see on the displays of our cameras whether the laser was on or off!
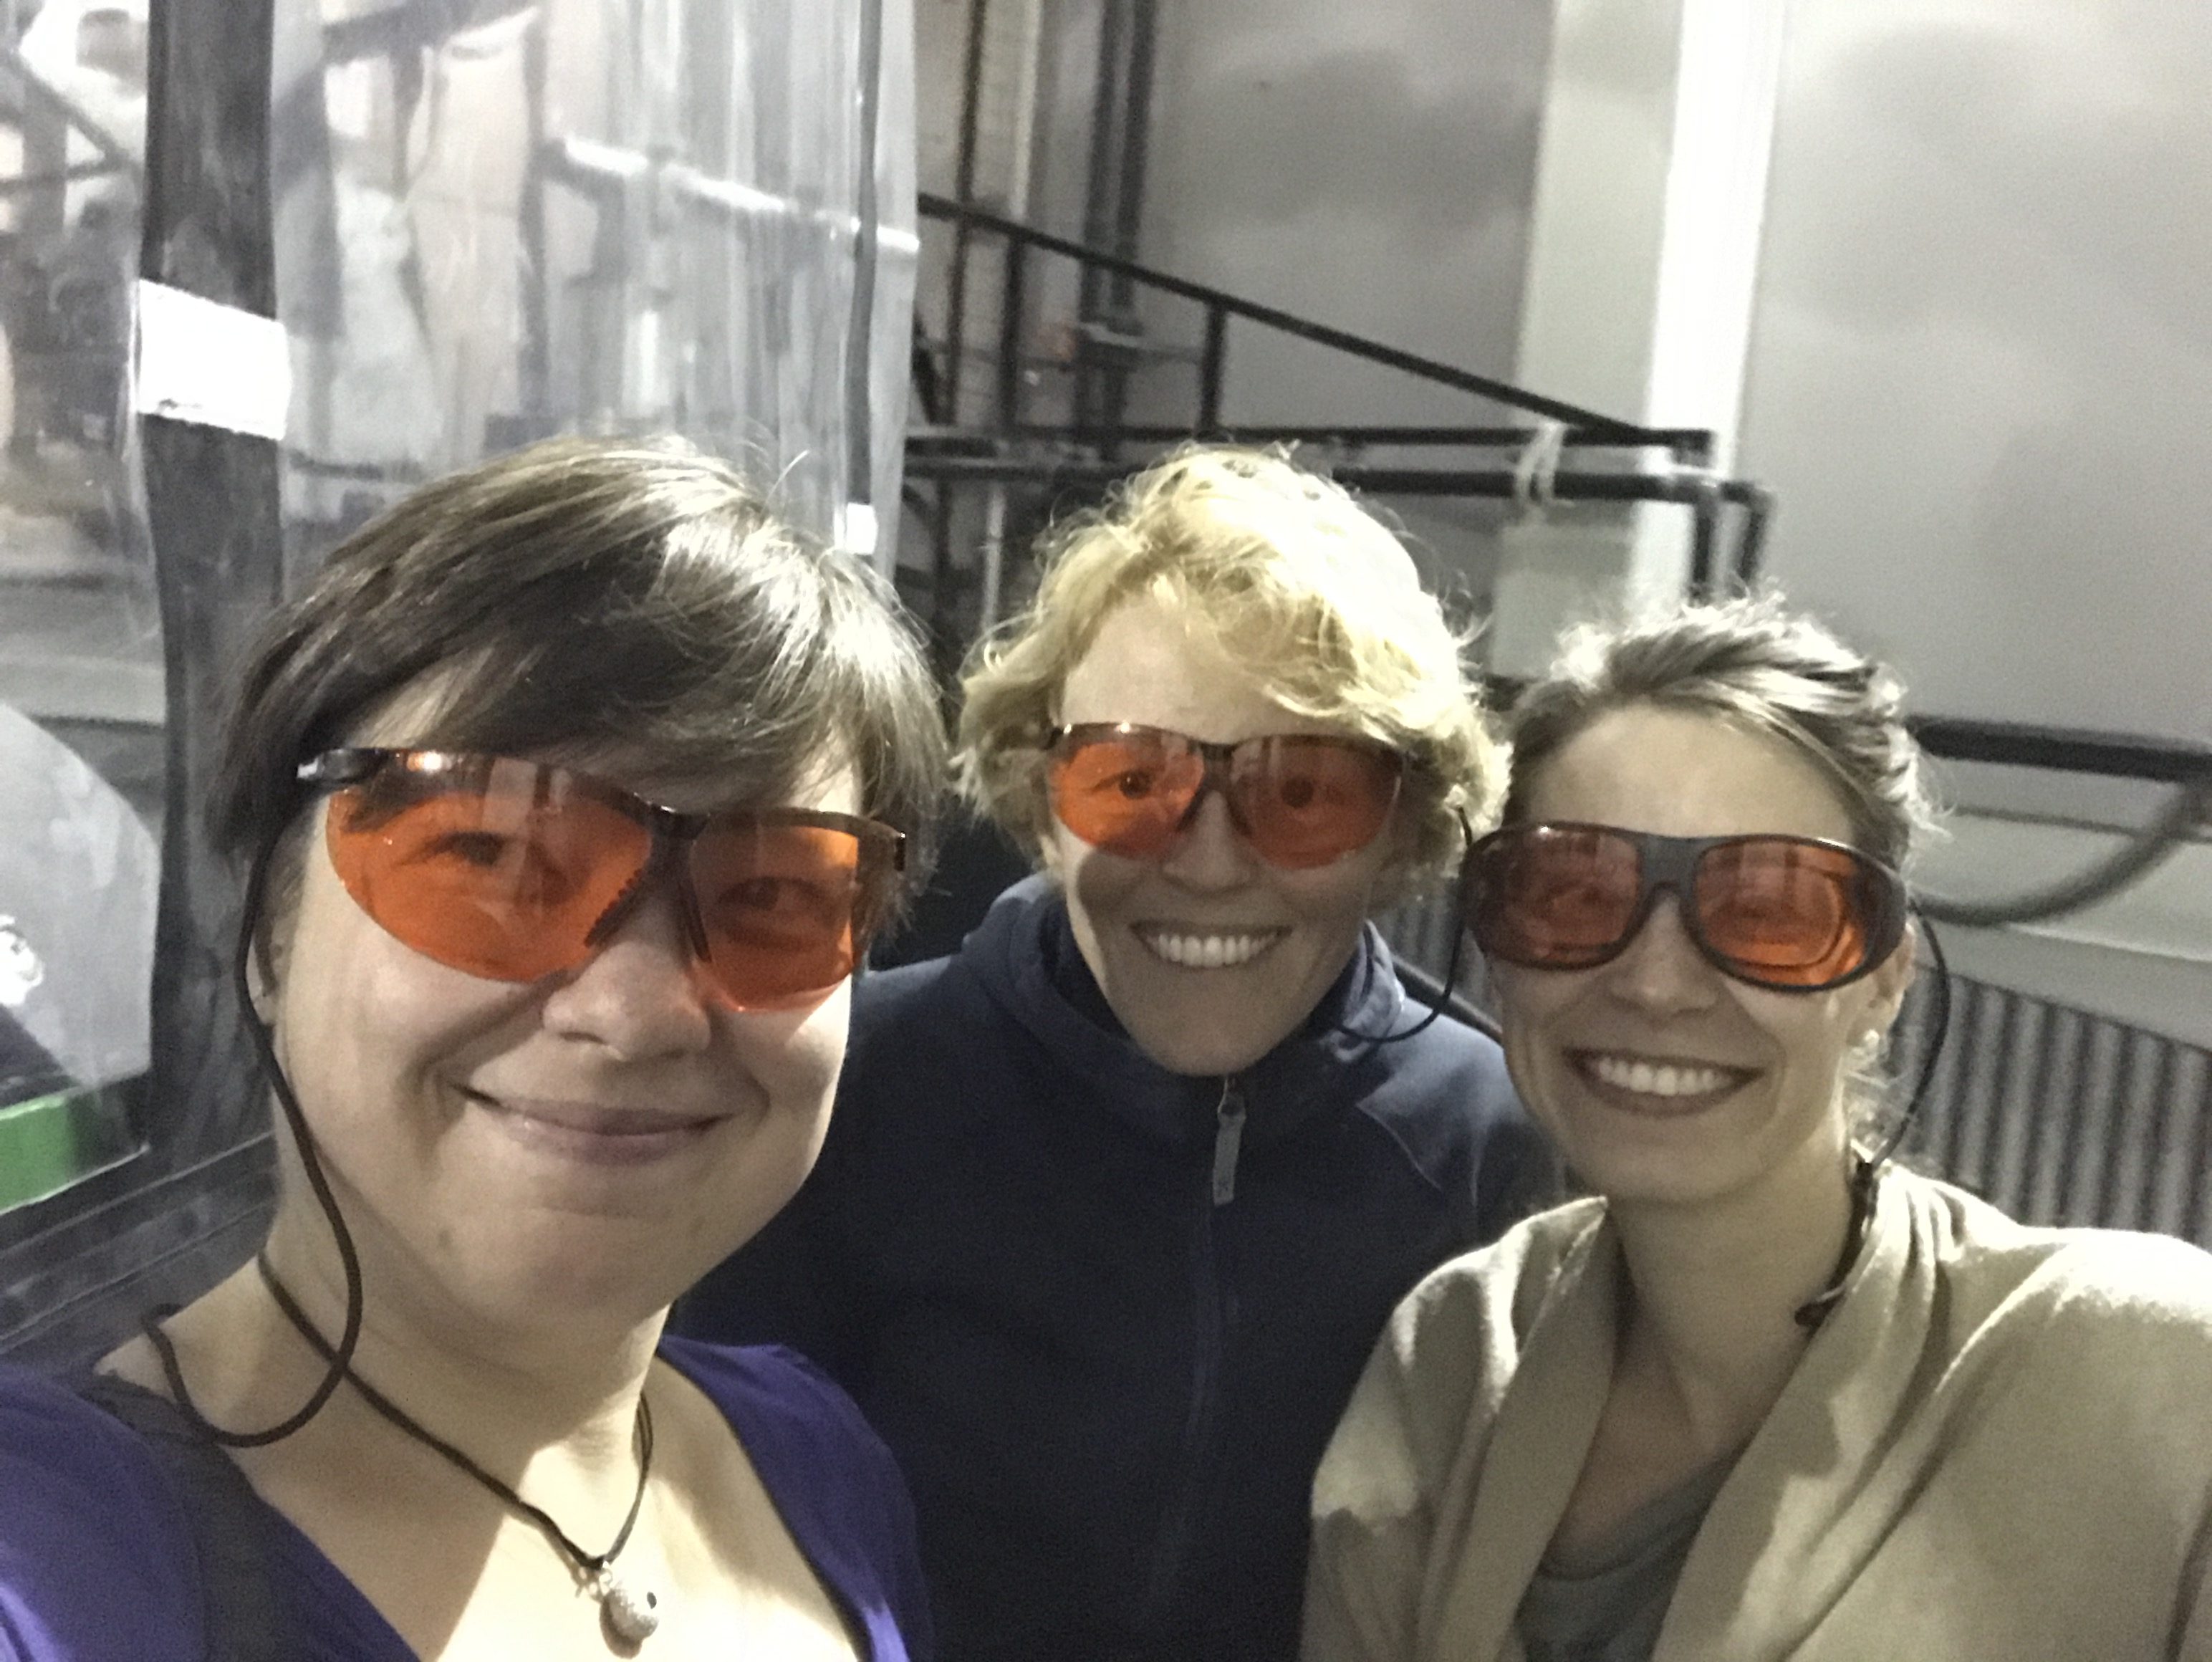
Safety first! Fancy goggles protecting Mirjam, Elin and Nadine’s eyes from the lasers
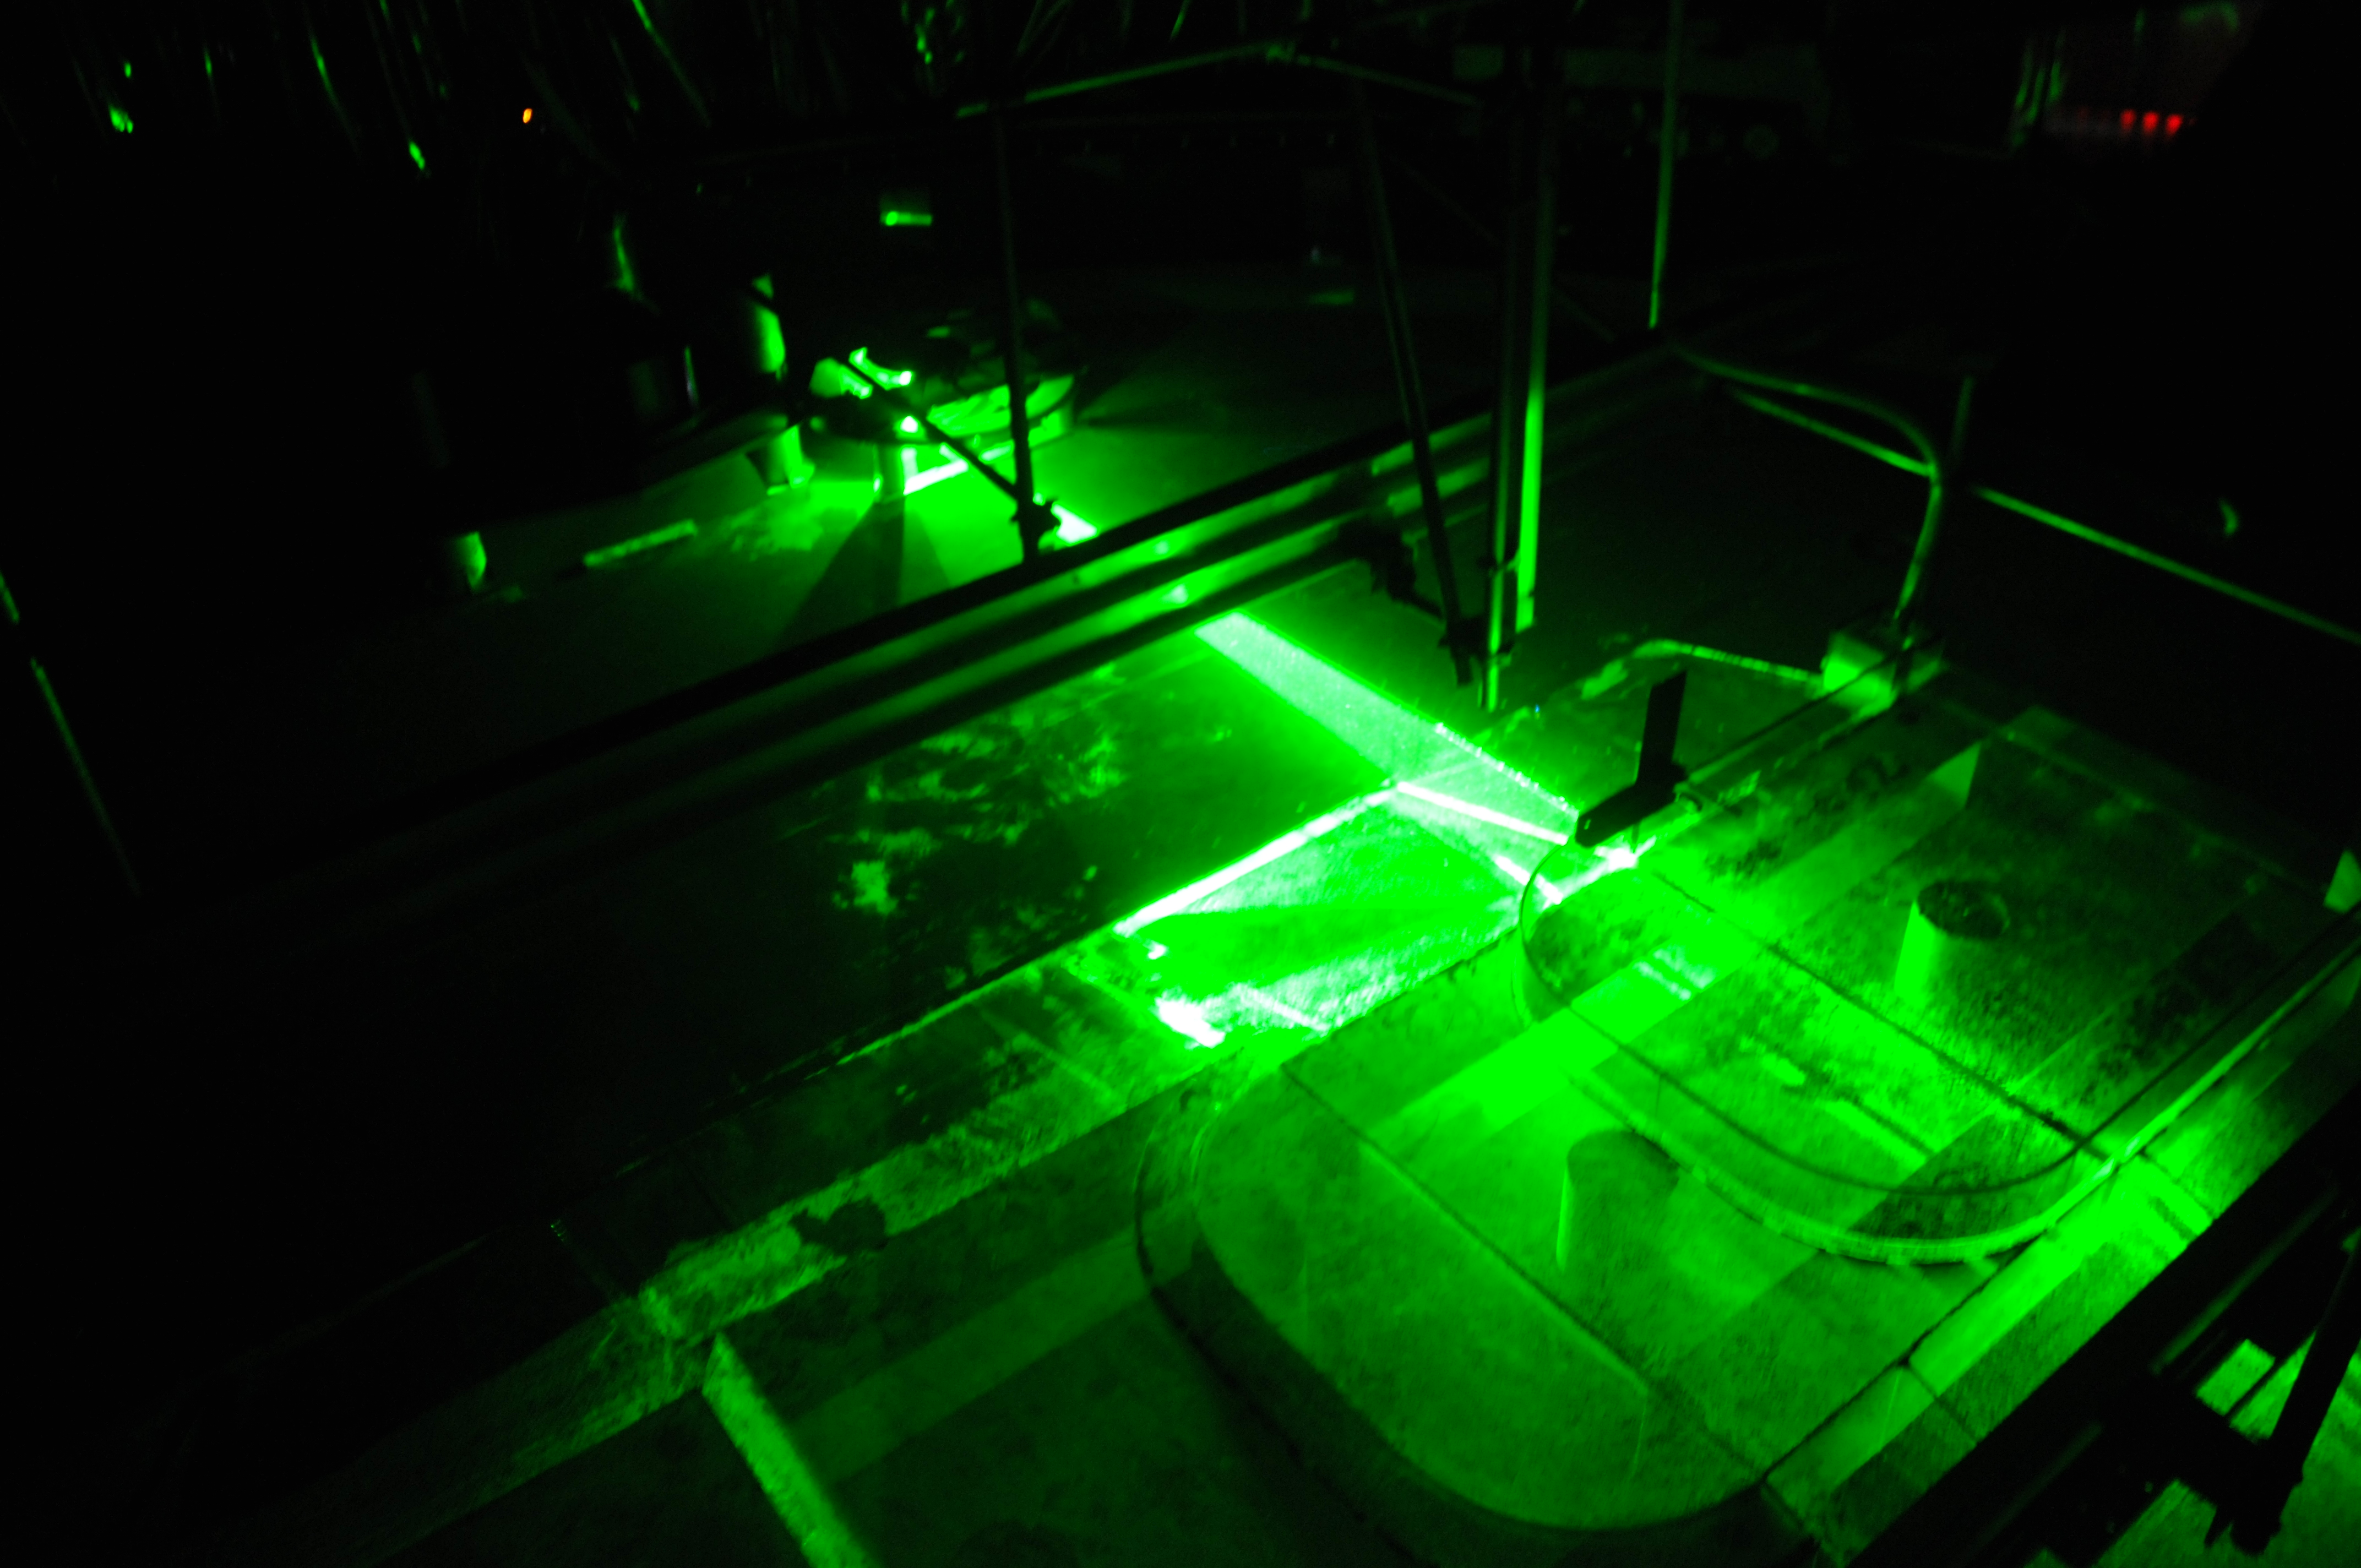
Below you see the laser going through the water and illuminating the topography in the lower right corner of the image.

Green laser beams in the water!
What needed to be done then was to make sure that the laser sheet is actually at exactly the position we want it to be.
When you look in from the side through the water, you see the shape of our topography illuminated and the vertical laser sheet coming in from the right.

Green laser beams in the water, reflecting off of our topography
Same if you look in from the top: Do you recognise our little Antarctica? Below we see a vertical laser sheet.
Green laser beams in the water, illuminating “Antarctica”
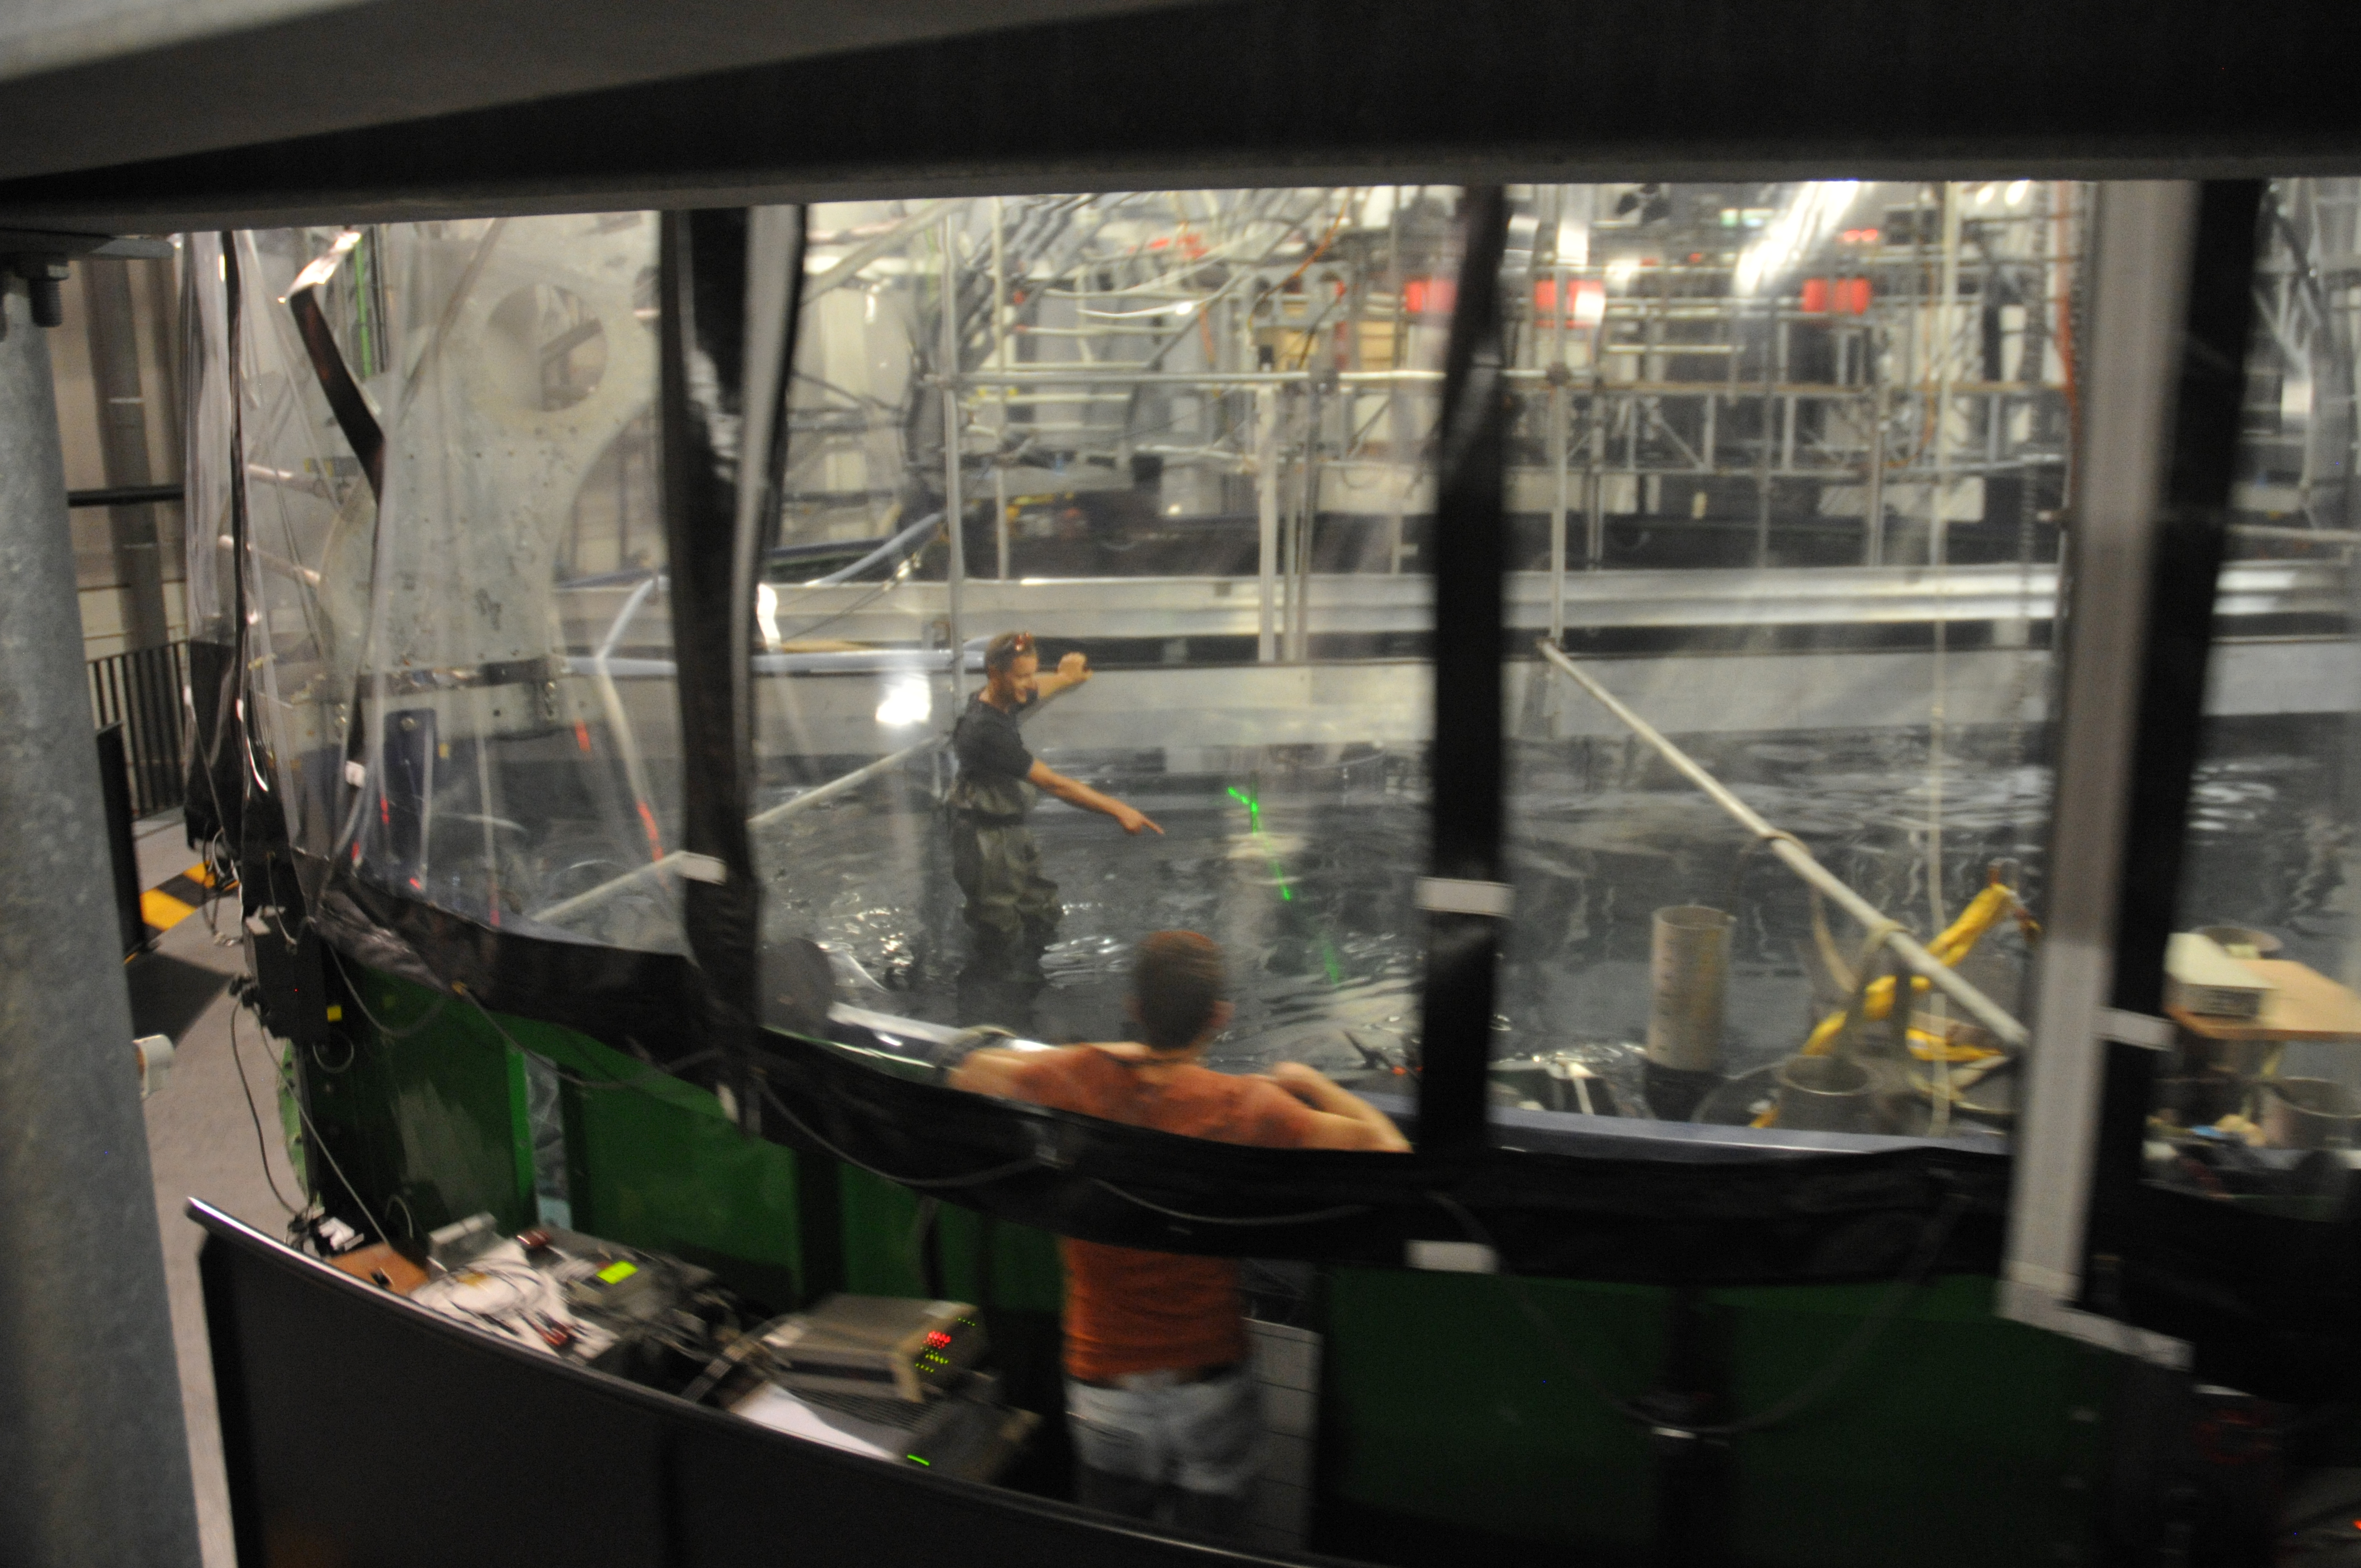
What the “official” camera sees can be observed on a screen in our second-floor office:
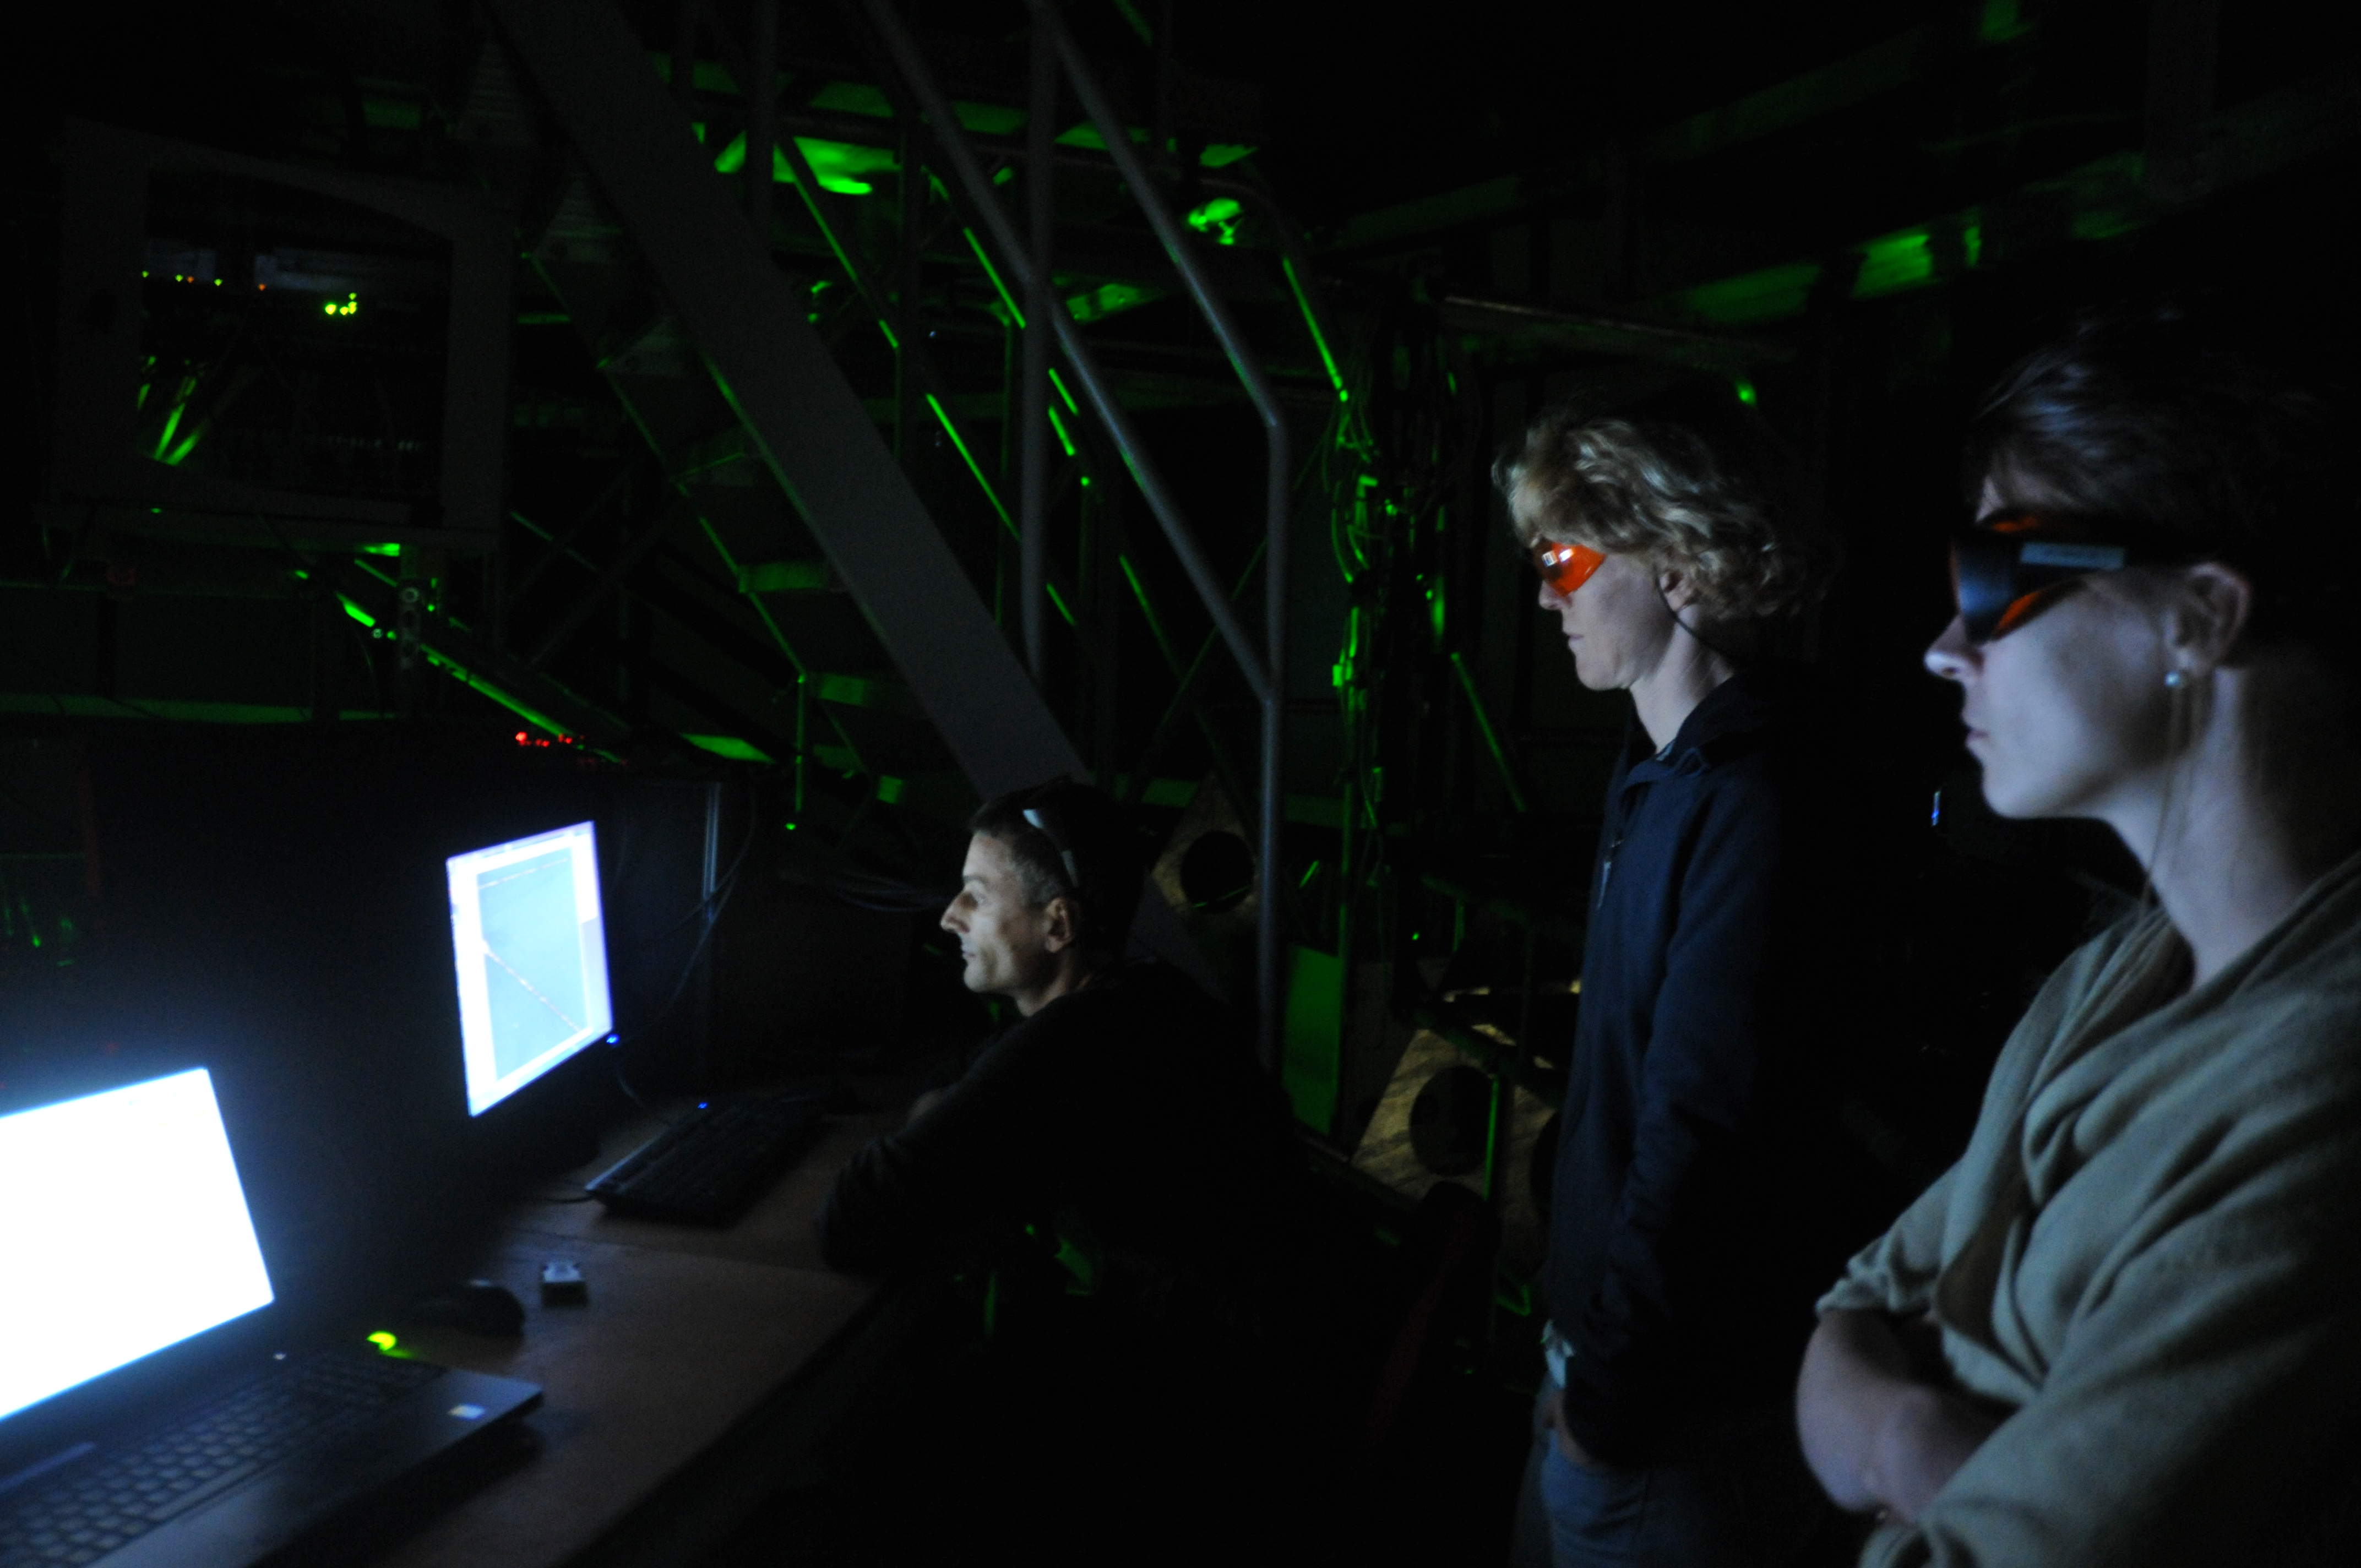
Checking out the recordings from the second floor (co-rotating) office
And what we saw is that there are way too many bubbles on the topography still, that show up as bright spots (which distract from the particles that we specifically seed to visualize currents). So: Someone needed to go in and clean…
Samuel cleaning bubbles off the topography so they don’t distort the laser beam
We could observe on the screen how the bubbles were swept away!

Bubble-sweeping being observed on the screen
Next, it was time to set the exact positions we want the laser sheets at.

Nadine helps Samuel program the laser sheets to the perfect positions
For the horizontal sheets, this is done by having someone stand in the tank and actually measure the height at which the laser hits a ruler for a given setting.
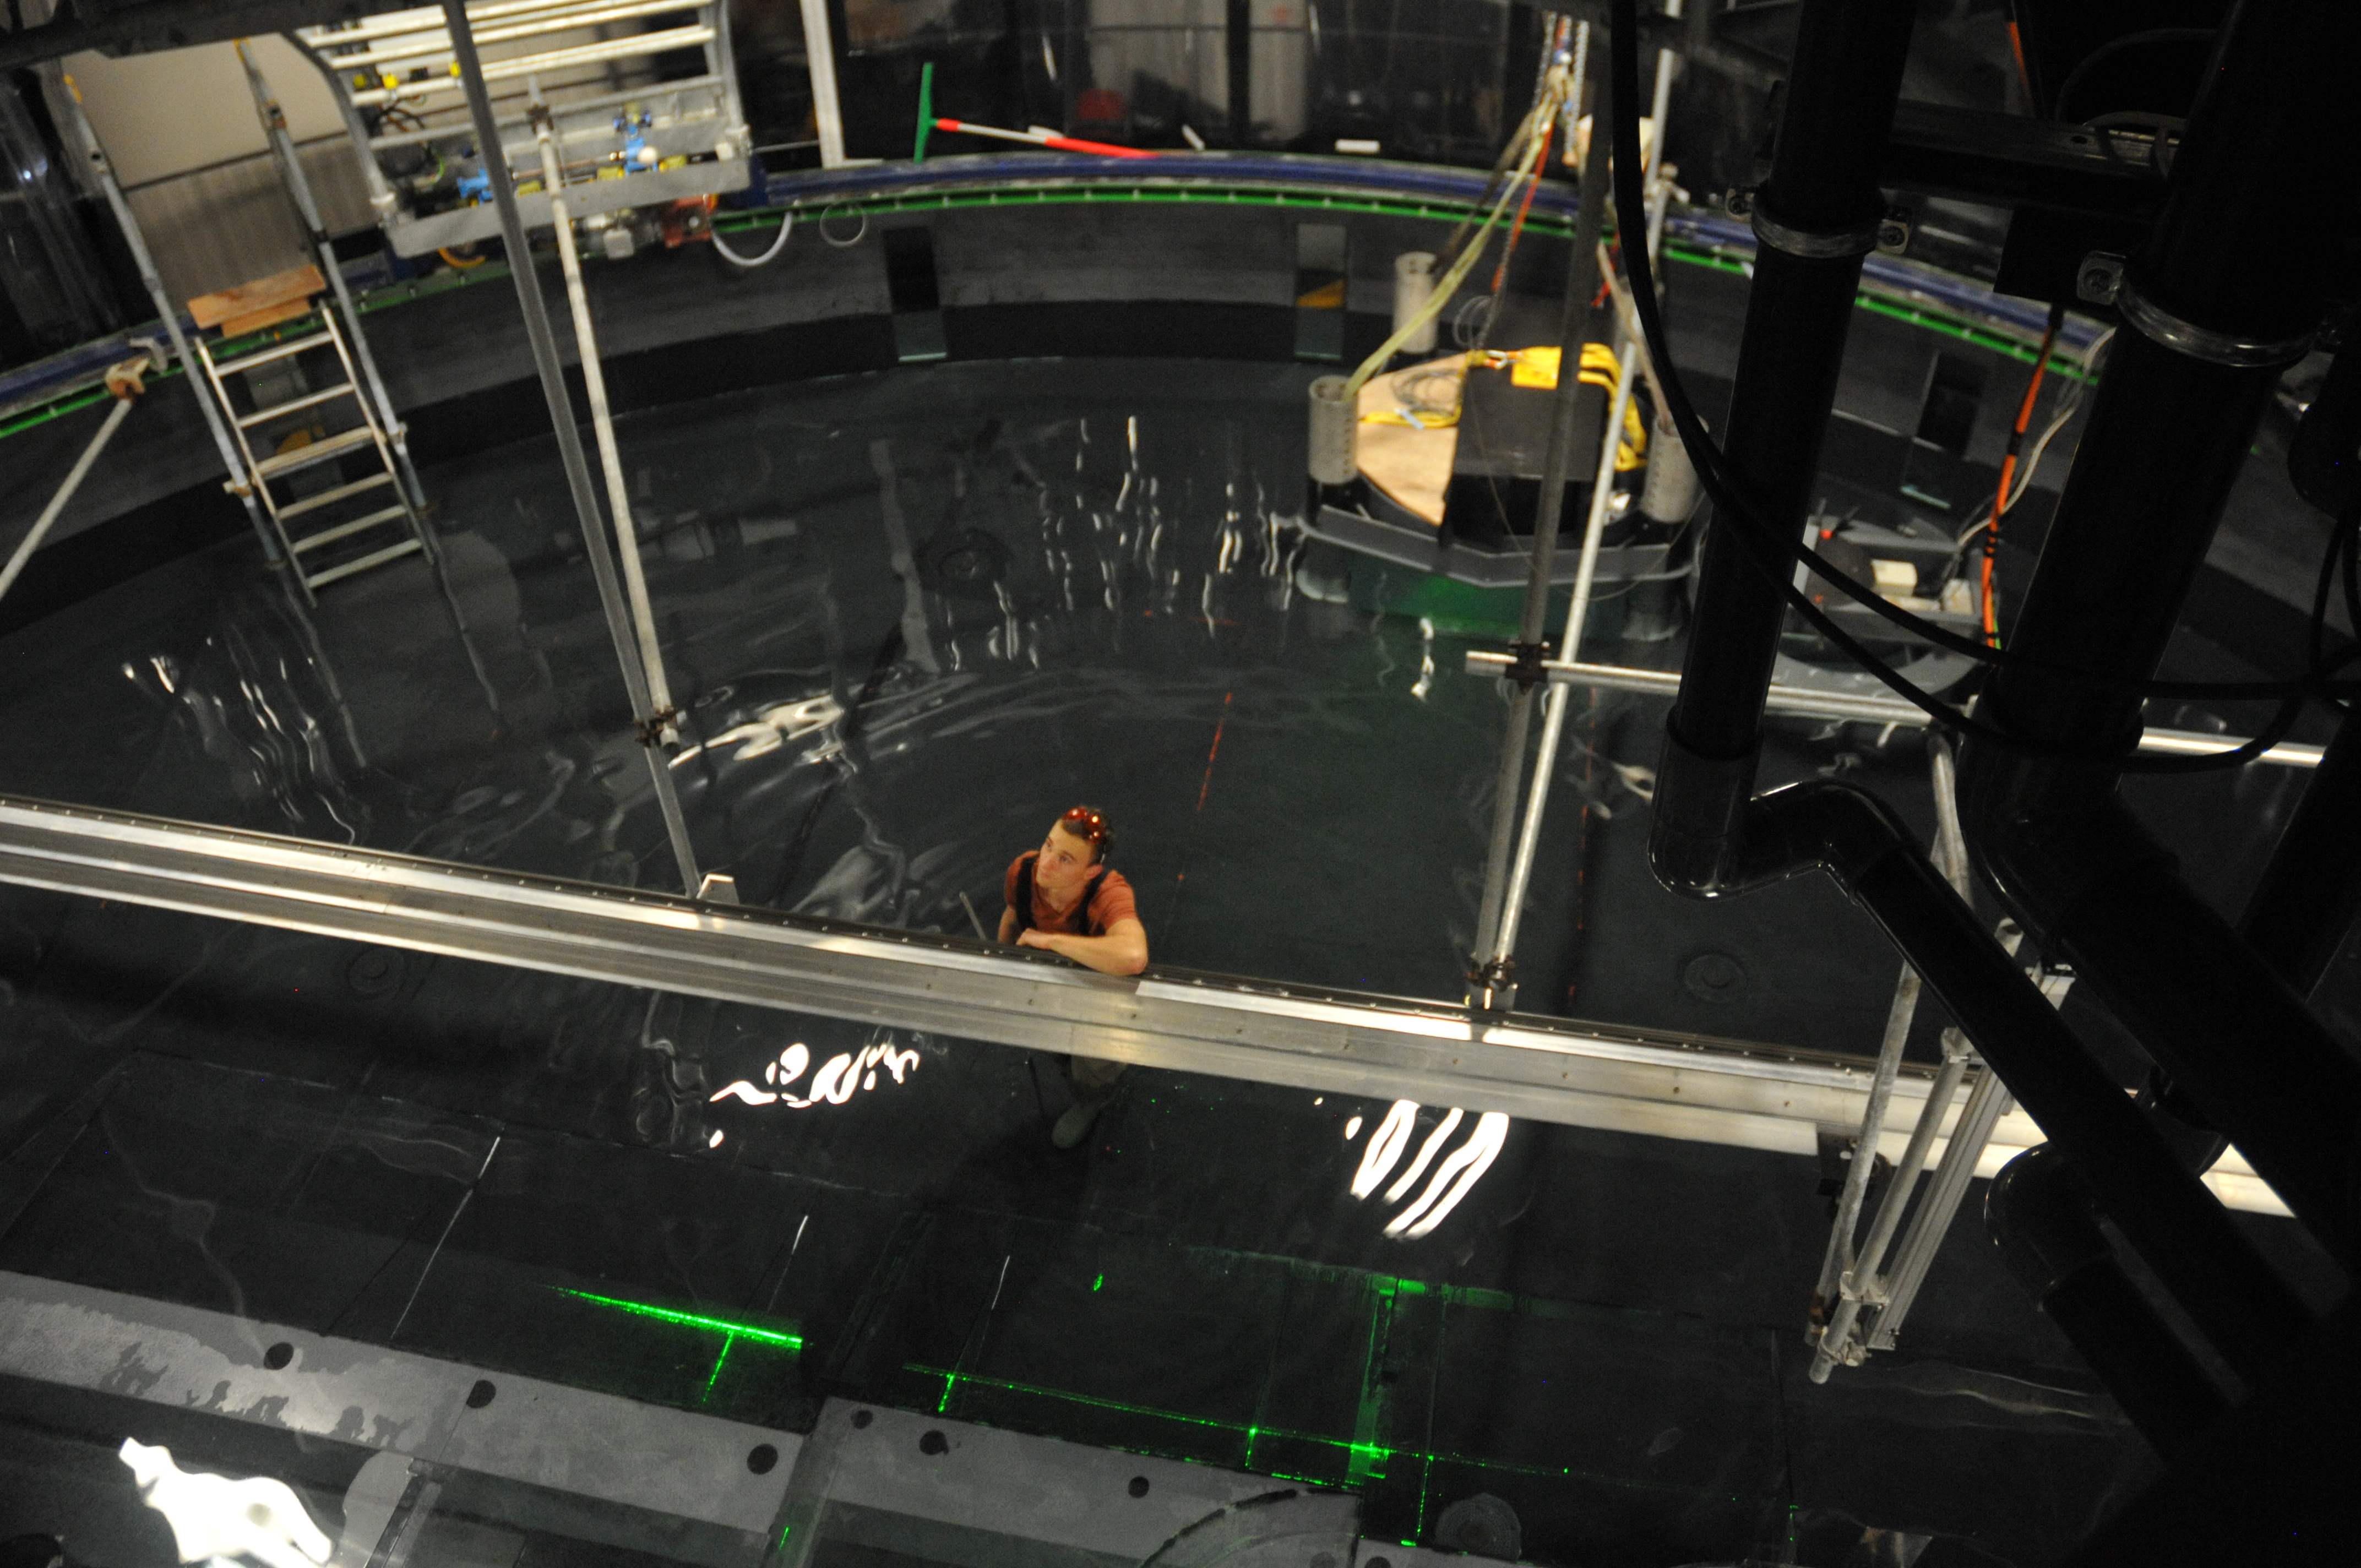
Thomas measuring the height of the laser sheets in the tank
But now I am going to pick up Lucie, or new team member, at the tram stop and hope that we are ready to start the real experiments first thing tomorrow morning! :-)