Where has all the water gone?

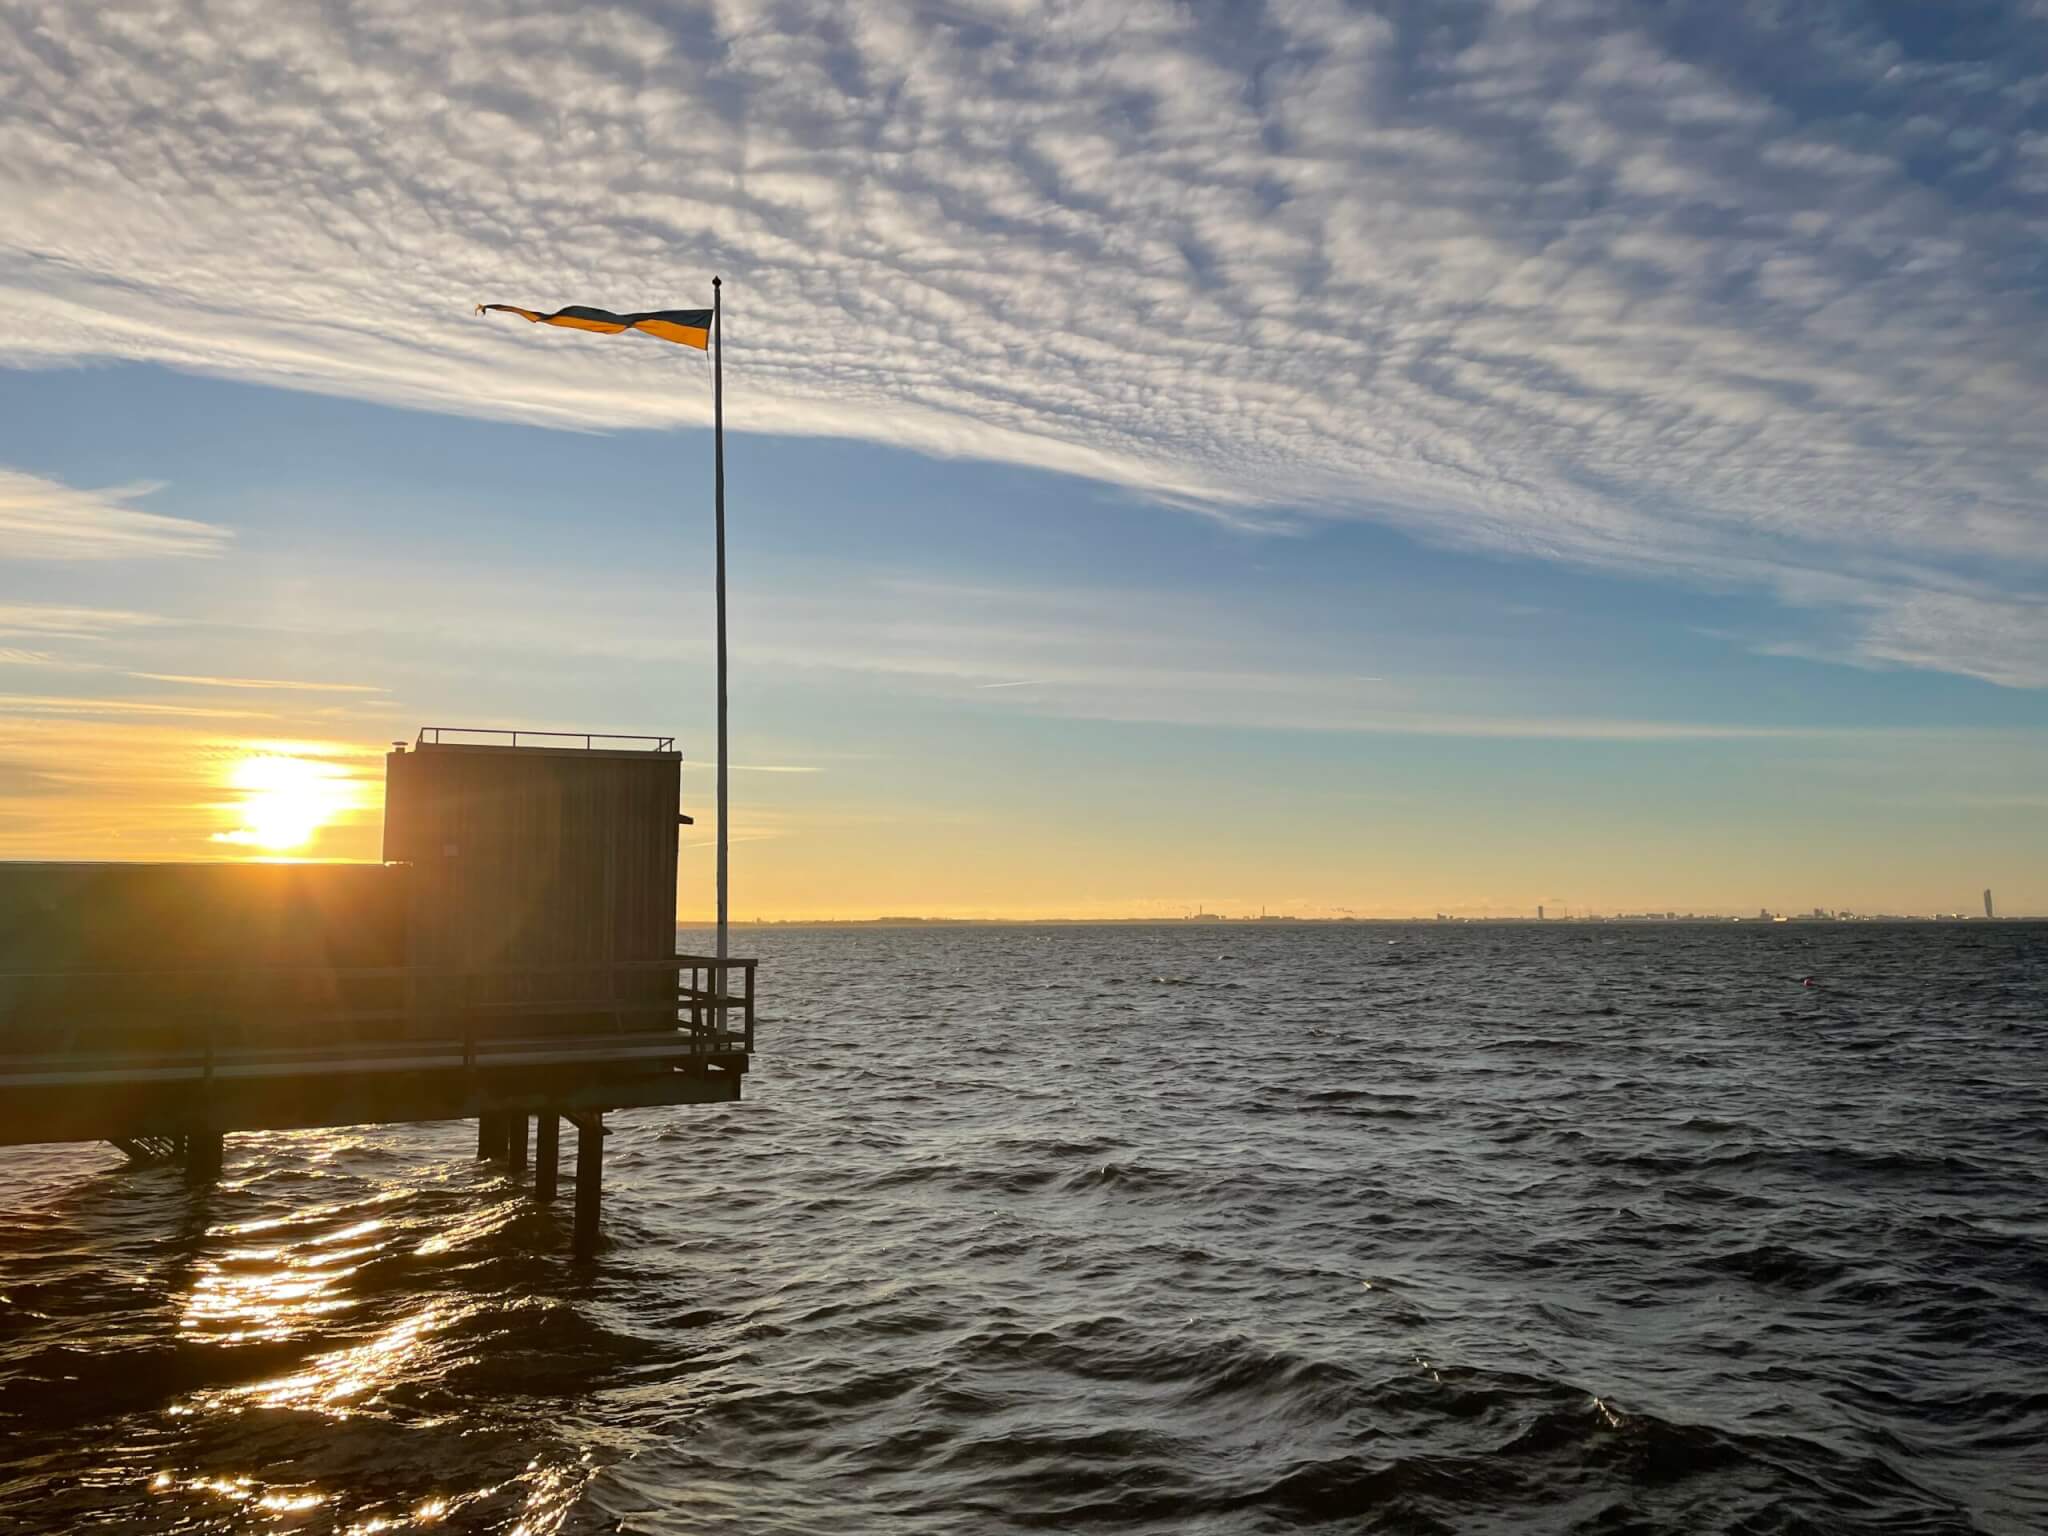
You might have noticed that in today’s first post there was a lot less water in the Kiel fjord than in yesterday’s post (starting this year strong on the blogging front! I like it! And don’t worry, I won’t be keeping up this pace :-D). But look how little water there actually is!

In the picture above you see two navigation signs that are usually necessary there, because the rock in the middle is submerged far below the water surface. But not today!

And also in these locations you would typically see water coming all the way to the sea wall and sometimes even higher than that. So what happened? Strooong winds!

And the even more interesting thing will happen in a day or so, when the winds die down and all the water that got pushed out into the Baltic Sea comes rushing back into Kiel Fjord! Unfortunately I will most likely not be able to document it due to travel. Someone should pay me for documenting important oceanographic events in Kiel Fjord all day every day :-)

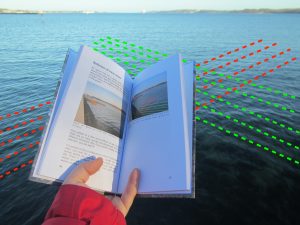
Ferry sailed past, wake perpendicular to wind. Cool interference pattern!

Guess the title says it all today ;-)

Just kidding. Below you see a movie of a neat interference pattern I observed this morning. The situation is similar to yesterday in that the ferry has sailed past and the wake runs up on those bathing steps. But: today it’s quite windy and the wind waves’ crests are perpendicular to the crests of the ferry’s wake. Check it out:

That’s the kind of stuff I loooove watching! Happy New Year, everybody, may there be plenty of wave watching in 2019!

P.S.: Am I the only one who always wants to write fairy when writing about ferries? :-D

When the ferry has long sailed past and the waves start appearing out of the fog…

Ending 2018 in style and exactly the way I want to continue in 2019: wave watching and dipping into Kiel fjord!

2018 has been an exciting year and a lot of changes that will shape 2019 to be very different from anything I have ever done before have already been set in motion. But despite all the new adventures, some things will stay the same: Stay tuned for ever more adventures in oceanography and teaching that I look forward to bringing to you!

Happy and healthy 2019!

Visiting the ruins of a wave power plant — waves running up a funnel to fill a reservoir

Using wave energy to generate electricity sounds very attractive, after all there are tons of waves and all they do (in addition to looking pretty) is eroding coast lines. But that’s exactly the problem: There is a lot of energy in waves, so wave power plants have to be extremely tough.

Here is another post about the ruins of the wave power plant I visited on Toftøy. For an idea on the size of the waves on this not-very-windy day with fairly moderate waves, check out the movie at the end of this post (there are two people that you might be able to spot on the rocks on the other side, and those pillars used to carry a bridge). 

Below you see the waves entering a funnel that will lead them slightly uphill…

…so the water can fill up reservoir which is located higher than sea level…

…in order to drive turbines when the reservoir is emptied out again into the sea.

You already see the huge amount of energy stored in those waves, and looking at how little is left of the power plant, it’s definitely safer to stay well clear of those waves!

Check out in the movie below what it looks like when waves enter this power plant (and pay attention to the two people on the rock on the other side — they clearly didn’t expect that much energy in the waves! :-D)

Visiting the ruins of a wave power plant — waves driving a turbine

After posting about how longer fetch leads to higher waves yesterday, here is why I was in that exact spot in the first place: To visit an old wave power plant on Toftøyna! The power plant was built in the 80s but destroyed only a couple of years after it had been built, so all there is to see now are some pretty exciting ruins!

Below, you see a cylinder that is a couple of meters high and some meters across, and that connects the air above the water with the water below. There used to be a turbine sitting at the top of that cylinder that used to be driven by the air column moved by waves at the base of the cylinder. The turbine is long gone, but what still happens is waves putting the water inside the cylinder into motion. And that looks pretty impressive as you see in the movie below!

Looking at those fountains shooting out of the cylinder, it’s not difficult to imagine what enormous kinds of forces the turbine had to endure before it got destroyed. Super impressive!

But what’s similarly impressive to me is how there are tiny flowers growing in this harsh environment. I guess it’s true: “life, eh, finds a way” :D

Same wind, different waves, or: the influence of fetch length on the size of waves

I just found this picture that I took back in May near my friend Elin’s cabin on an island in western Norway, and it’s a really nice illustration of how the same wind will cause very different waves depending on whether it’s blowing over the sea for many kilometres, or over a puddle for only a couple of centimetres.

“Continue. Start. Stop.”. An article supporting the usefulness of my favourite method of asking for student feedback on a course!

I’ve been recommending the “Continue. Start. Stop.” feedback method for years an years (at least since my 2013 blog post), but not as a research-backed method but mostly based on my positive personal experience with it. I have used this method to get feedback on courses I’ve been teaching a couple of weeks into the course in order to improve my teaching both within the course as well as over the years. If there was anything that students thought would improve their learning, I wanted to be able adapt my teaching (and also, in a follow-up discussion of the feedback, be able to address student expectations that might not have been explicit before that I might or might not want to follow). I like that even though it’s a qualitative method and thus fairly open, it gives students a structure along which they can write their feedback. Also by asking what should be continued as well as stopped and started, it’s a nice way to get feedback on what’s already working well, too! But when I was asked for a reference for the method today, I didn’t really have a good answer. But then I found one: an article by Hoon et al. (2015)!

Studies on the “continue. start. stop.” feedback vs open feedback

In the first study in the article, two different feedback methods are compared over three different courses: a free form feedback and a structured format, similar to “continue. start. stop.”. From this study, the authors draw pointers for changing the feedback method in the free form course to a more structured feedback. They investigate the influence of this change in a second study.

In that second study, the authors find that using a structured feedback led to an increasing depth of feedback, and that the students liked the new form of giving feedback. They also find indications that the more specific the questions are, the more constructive (as compared to more descriptive texts in the open form; not necessarily more positive or negative!) the feedback is.

My recommendations for how to use the “continue. start. stop.” feedback

If anything, this article makes me like this feedback method even more than I did before. It’s easy and straight forward and actually super helpful!

Use this as formative feedback!

Ask for this feedback early on in the course (maybe after a couple of weeks, when students know what to expect in your course, but with plenty of the course left to actually react to the feedback) and use the student replies to help you improve your teaching. While this method can of course also be used as summative feedback at the end of the course, how much cooler is it if students can benefit from the feedback they gave you?

Ask full questions

One thing that I might not have been clear about before when talking about the “continue. start. stop.” feedback method is that it is important to actually use the whole phrases (“In order to improve your learning in this course, please give me feedback on the following points

  1. Continue: What is working well in this course that you would like to continue?
  2. Start: What suggestions do you have for things that could improve the course?
  3. Stop: What would you like us to stop doing?”

or similar) rather than just saying “continue. start. stop.” and assuming the students know what that means.

Leave room for additional comments

It is also helpful to give an additional field for other comments the students might have, you never know what else they’d like to tell you if only they knew how and when to do it.

Use the feedback for several purposes at once!

In the article’s second study, a fourth question is added to the “continue. start. stop.” method, and that is asking for examples of good practice and highlights. The authors say this question was mainly included for the benefit of “external speakers who may value course feedback as evidence of their own professional development and engagement with education”, and I think that’s actually a fairly important point. While the “continue. start. stop.” feedback itself is a nice addition to any teaching portfolio, why not think specifically about the kind of things you would like to include there, and explicitly ask for them?

Give feedback on the feedback

It’s super important that you address the feedback you got with your class! Both so that they feel heard and know whether their own perception and feedback agrees with that of their peers, as well as to have the opportunity to discuss what parts of their suggestions you are taking on, what will be changing as a result of their suggestions, and what you might not want to change (and why!). If this does not happen, students might not give you good feedback the next time you ask for it because they feel that since it didn’t have an effect last time, why would they bother doing it again?

Now it’s your turn!

Have you used the “continue. start. stop.” method? How did it work for you? Will you continue using it or how did you modify it to make it suit you better? Let me know in the comments below! :-)

Reference:

Hoon, A. and Oliver, E.J. and Szpakowska, K. and Newton, P. (2015) ‘Use of the ‘Stop, Start, Continue’ method is associated with the production of constructive qualitative feedback by students in higher education.’, Assessment and evaluation in higher education., 40 (5). pp. 755-767. [link]

Dipping my toes into podcasting: “Treibholz” with Maxie and Ronja!

Last month I got the super exciting opportunity to participate in a podcast! Maxie and Ronja are running the oceanography podcast Treibholz (“driftwood”) and I got to be in it! Very exciting for someone who tends to speak extremely fast and prefers writing over public speaking. But I had a great experience, Maxie and Ronja and their producer Freerk made me feel super welcome and at ease, and chatting to them was so much fun!

Treibholz producer Freerk, Maxie, myself, and Ronja

Since Ronja and Maxie had tons of questions, and I don’t stop talking once I’ve started, we ended up with two full episodes as well as some “advent specials”.

In the first episode, we talk about what made me want to study oceanography, what drives the gulf stream, the importance of eddies in the ocean, and a lot more. Listen to it here (in German).

In the second episode, we talk about my favourite topic: Double-diffusive mixing! This episode isn’t online yet, but I will let you know once it is!

And then there are the advent specials, each approximately 10 minutes long, talking about being at sea on research cruises (1. Advent on why it’s awesome to be at sea, 2. Advent on what is being measured on oceanographic cruises, 3. Advent on what it’s like at sea). I’m not actually sure what else I talked about, but there is probably a fourth one coming!

Cute gift I got from Maxie and Ronja, featuring their cool postcard

Maxie and Ronja were such amazing hosts, not only being super well prepared for the interview in terms of what questions they had, but making sure there were food and drinks available and giving me a cute gift: a bag decorated with their new merchandise! They have these super cool postcards, asking “Do you like the sea?”. Well yes, I do! :-)

Bottom Ekman layer without a rotating table

Can you do a bottom Ekman layer demonstration without a rotating table? That’s the kind of challenge I like :-)

The way I’ve previously showed bottom Ekman layers is by spinning up a cylindrical tank on the rotating table until it reaches solid body rotation, adding dye crystals to visualise the circulation later, and then stopping the tank to create friction at the bottom (and the sides, but we are mainly interested in the bottom since we want a bottom Ekman layer) as the water continues moving but comes under the influence of friction. But what if we just invert the whole thing?

Move the “bottom”, not the water

My initial idea was to use a Lazy Susan (you know, the kind of tray on a swivel base that you can use for your jam and honey etc on your breakfast table, but which you shouldn’t turn too rapidly (ask me how I know)) and to have a cylindrical vase sit on it, which will then be put in rotation and will rotate around and under the (initially still stagnant) water. The friction with the moving vase will then lead to a bottom-intensified circulation.

Problem here: While I have a Lazy Susan at home as well as a vase that would work as “tank”, I am currently in Bergen where I don’t have access to my own equipment. Instead, though, I have access to a rotating table in GFI’s basement which I used to simulate my Lazy Susan idea (Cool, eh? Simulating a non-rotating-table situation on a rotating table ;-)).

That worked quite well, didn’t it?

This, btw, is what the setup looked like:

So how would that work as kitchen oceanography without an actual rotating table?

The physics themselves obviously work in this setup. However, they will be really difficult to observe for several reasons:

  • Scales. A small dish (like the one I used; for comparison see the usual tank in the background in the picture above) makes it a lot more difficult to see what’s going on, and in my case the circulation is quickly influenced by the sides of the dish (which is obviously not what we wanted).
  • Rotation. It’s not difficult to set a Lazy Susan into rotation, but I imagine it will be quite difficult to keep it at a constant rotation for any length of time. But you will only see the nice spiral for as long as you keep the rotation constant. As soon as it changes, so will your currents and that will be clearly visible in the dye (which is why you put it in in the first place).
  • Documentation. If you want to document your experiment, if want to have your cameras co-rotating with the Lazy Susan, it’s going to be quite difficult to install them (but maybe you would just want one that sits stationary above the center of rotation? That would obviously be easy to do with a tripod)

So all in all: it was a nice idea, but either I haven’t thought it through well enough, or it is a whole lot easier to do with a rotating table. I would imagine that it’s quite hard to observe when you don’t know very well what you are looking for, so it is unfortunately not useful as a demonstration to introduce people to the topic. What do you think? Any suggestions on how to improve this and make it work at home?