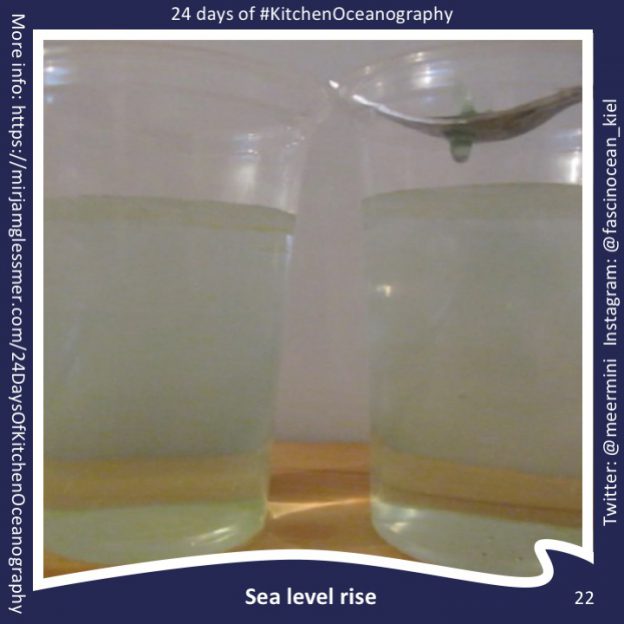
24 Days of #KitchenOceanography — Sea level rise
Leave a reply

I ran my new favourite experiment again, the planetary Rossby waves. They work super well on the DIYnamics table we built in Kiel and they also worked really well the other day in Bergen.
I mainly ran it today because I wanted to get an idea of how robust the experiment is, i.e. what to prepare for when running it with students in terms of weird results that might have to be explained.
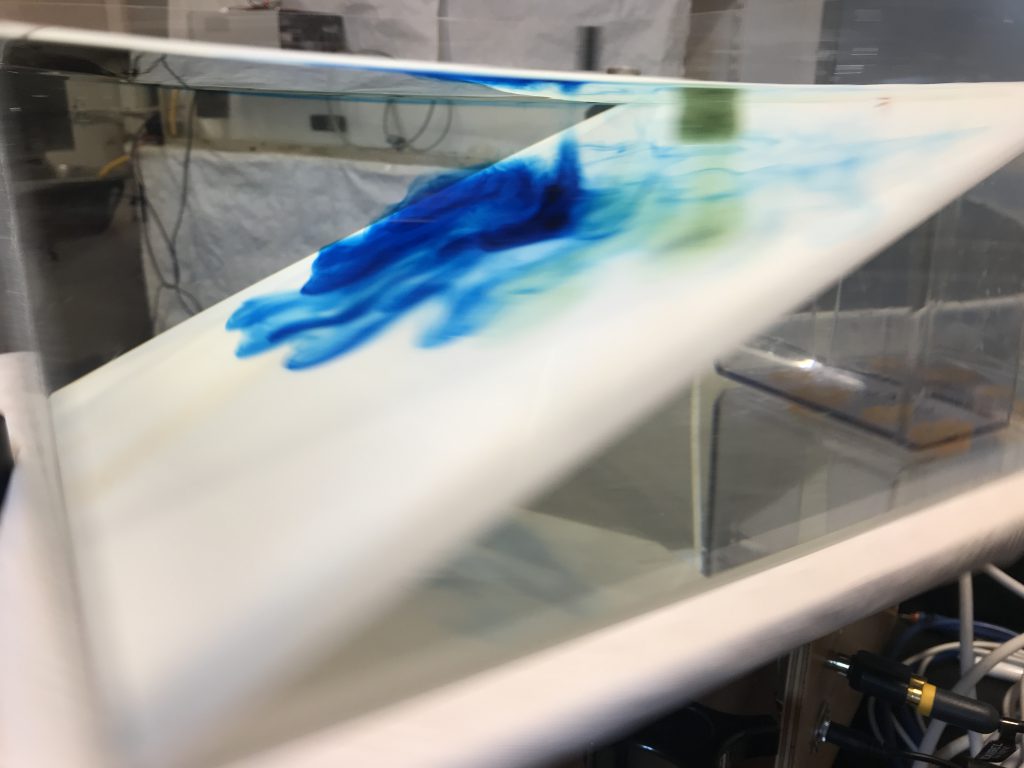
Here is a side view of the square tank with a sloping bottom. The blue ice cube is melting. The melt water is forming a Taylor column down to the bottom of the tank. Some of it then continues down the slope.
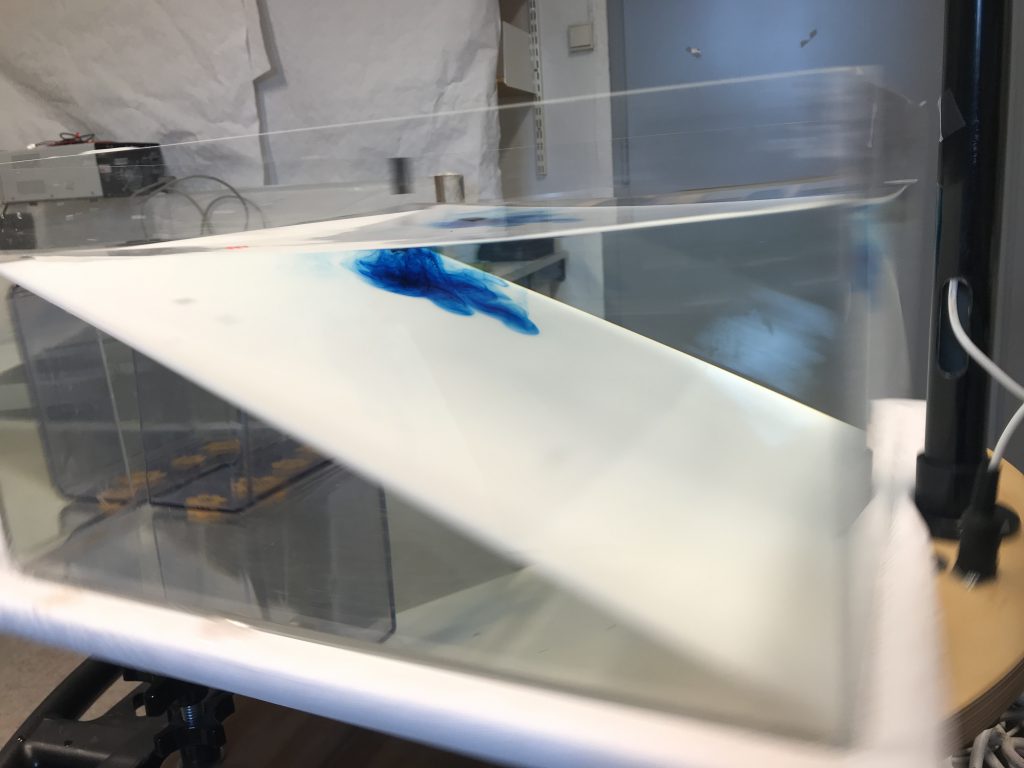
Here we are looking at the slope and see the same thing (plus the reflection at the surface). Note how the ice cube and its meltwater column have already moved quite a bit from the corner where I released it!
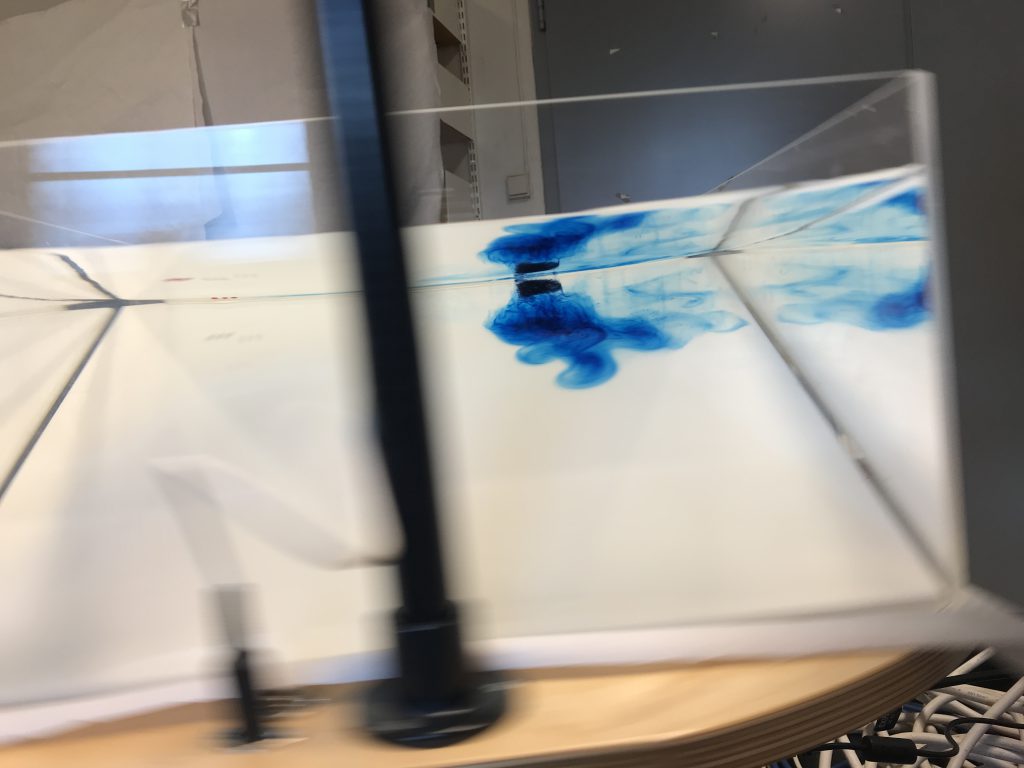
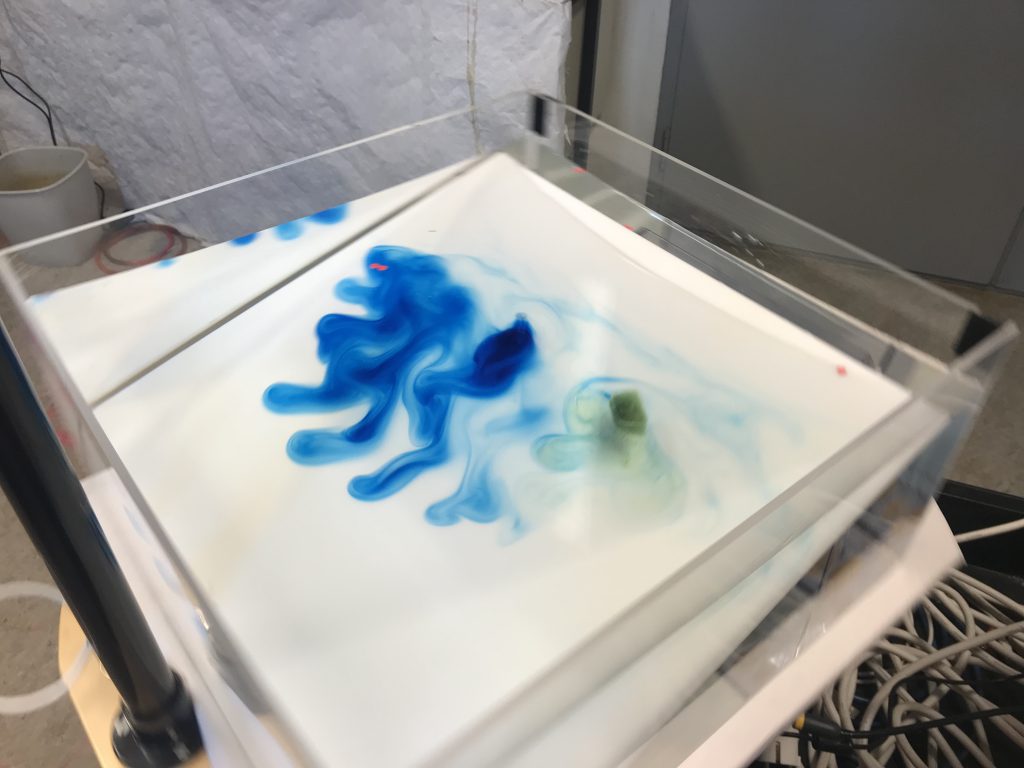
When the blue ice cube had crossed half the width of the tank and the blue melt water had almost reached the other edge, I released a green ice cube. Sadly the dye wasn’t as intense as the blue one. But it’s quite nice that the wave length between the individual plumes going down the slope stays the same, for all the blue plumes as well as for the new green ones.
Here in the side view we see the columns of the blue and green ice cube, and we also see that each of the plumes going down the slope still has Taylor columns attached at its head.
Here is an accelerated movie of the experiment, 20x faster than real time. Not sure why there is still sloshing in the tank (this time I made sure it was level), but it’s very nice to see that the ice cubes are spinning cyclonically, faster than the tank! As they should, since they are sitting on Taylor columns…
I think next time I really want to make a side view movie of the Taylor columns and plumes. Not quite sure yet how I will manage the lights so they don’t get super annoying…
Yes, I had to test that! :-D
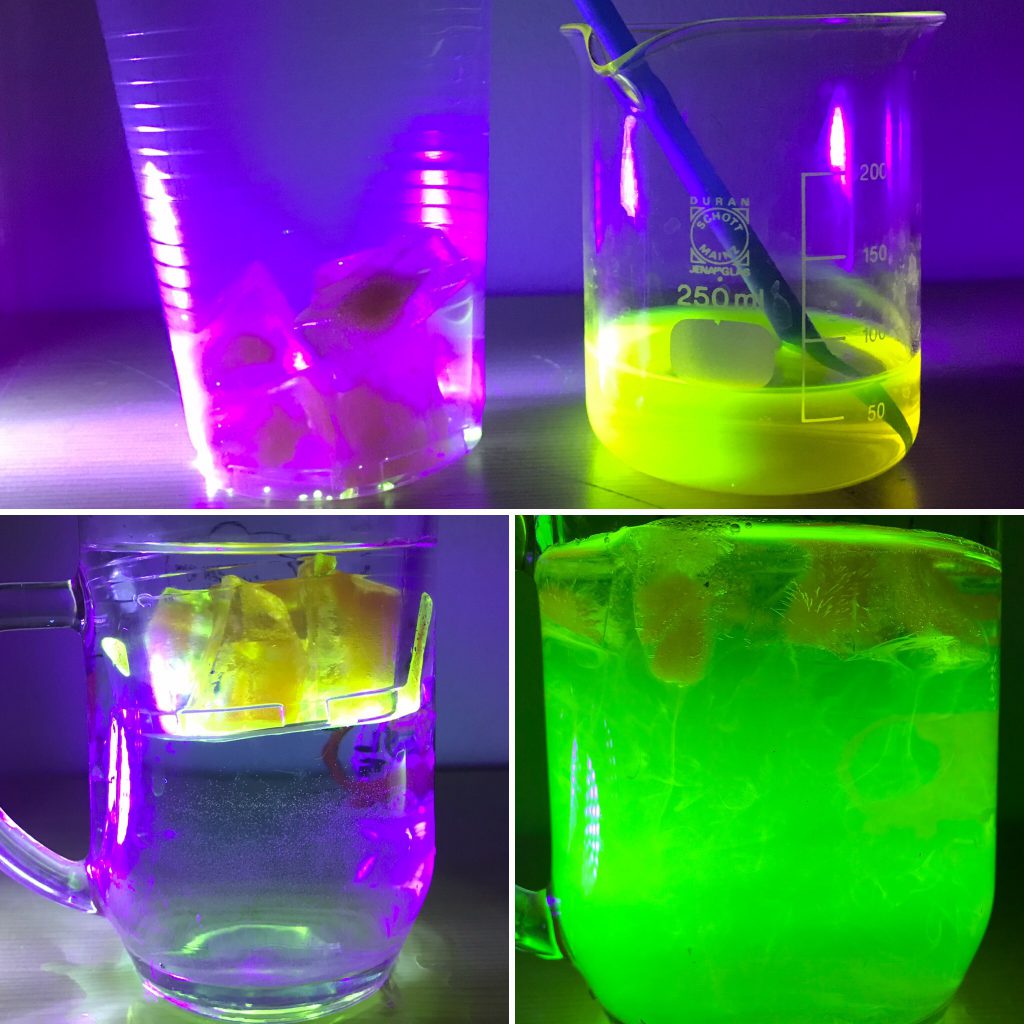
Top pic: Ice cubes (left) and leftover uranine solution from when I was preparing those ice cubes Bottom left pic: Melting the ice cubes in a water bath to see if they start glowing again when melting. Bottom right pic: Yes, they do! :-)
Why do I find this exciting? Because that means that a phase change of the water switches fluorescence as a tracer of that water on and off. Or the other way round: Seeing water fluoresce (or not) tells you what state the water is in without having to figure out anything else about that water.
…and funny how that the apprenticeship as chemical technician that I started in parallel to finishing high school (and didn’t finish because other stuff — oceanography — became more interesting) does come into play in the most unexpected moments :-)
Something else I found out when checking on my ice cubes yesterday:
I had frozen a second tray* with ice cubes dyed with uranine (you know, the green stuff I found in the lake near my house the other day?). Like the other ones, they clearly froze back-of-the-freezer-forward, and the most interesting thing to me: Only the parts that weren’t frozen were fluorescing in the fridge!
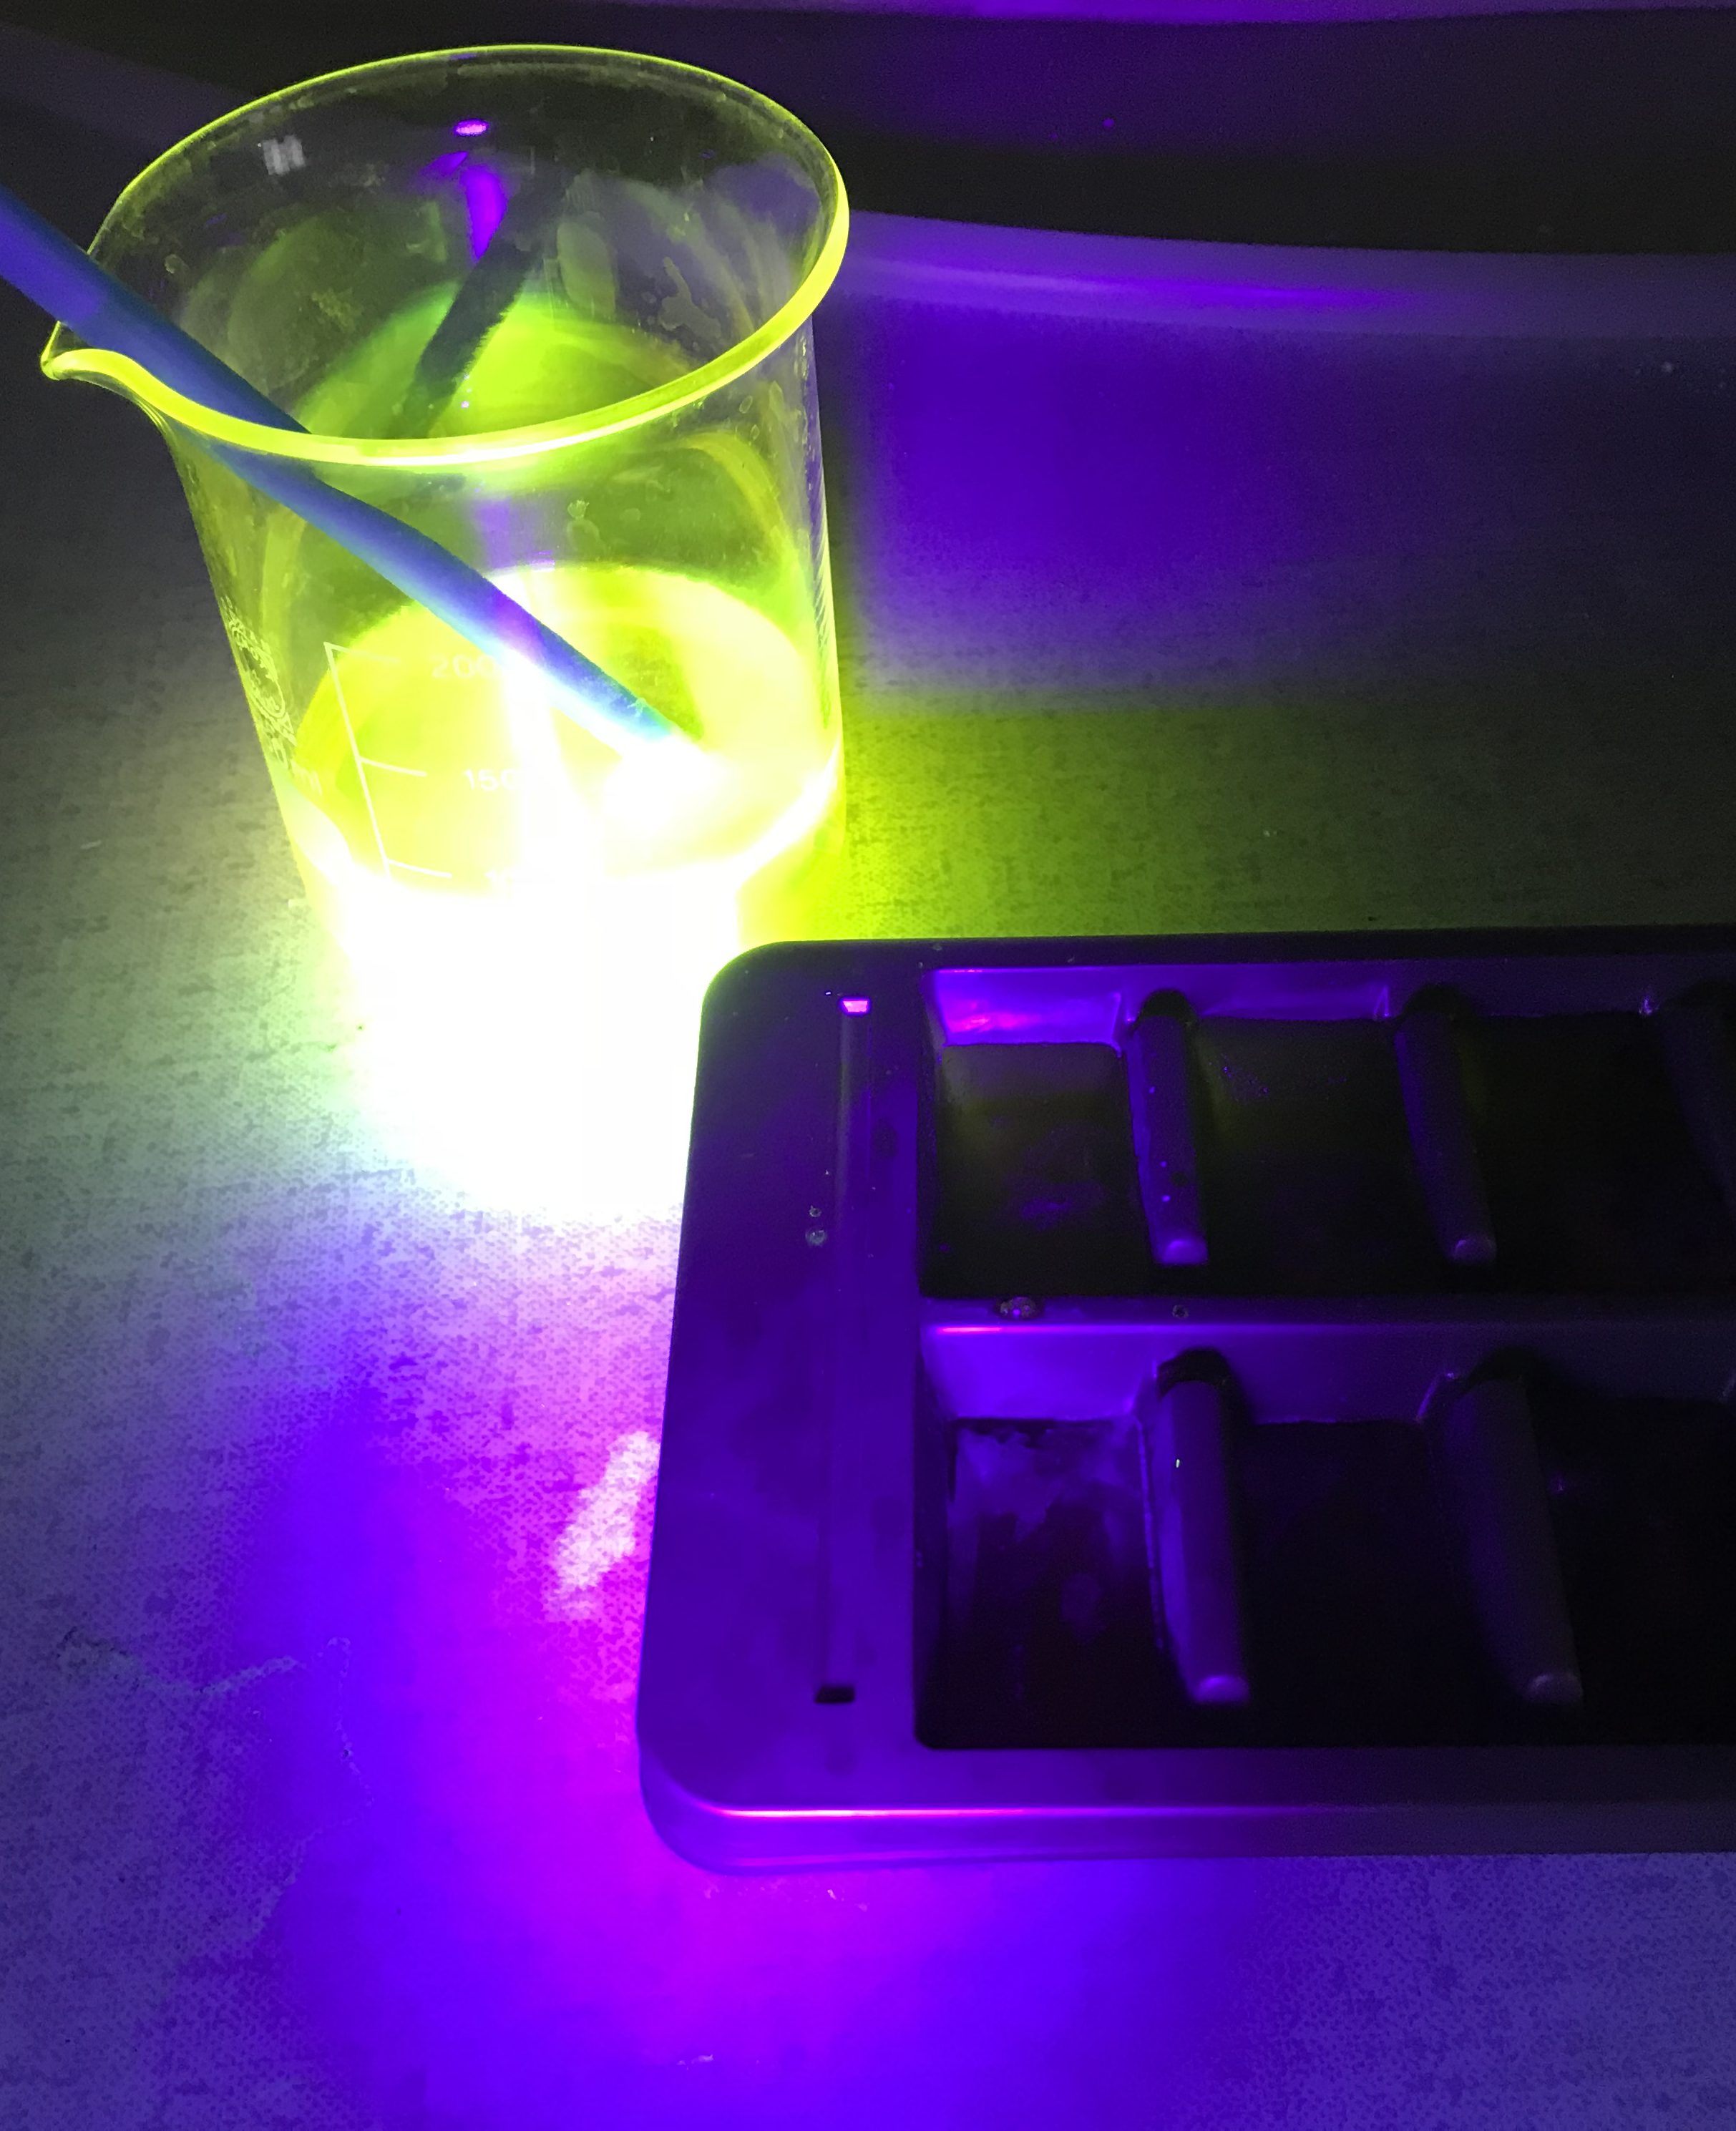
For comparison, here a picture of the leftover water (so same dye concentration as the ice cubes) in the beaker, and the tray with frozen ice cubes next to it. You can see the beam of the UV lamp on the table* so you believe me that the ice cubes were lit with UV light, too, they just don’t fluoresce!
*Ailin and Steffi, did you see I got you a gold colored ice cube tray? :D Although, had I thought that I would be looking at the ice cubes themselves this much, I would probably have gotten two whites instead of a white and a gold one… But now you at least have a pretty ice cube tray in the lab :-)
**and a stain that I am only now noticing, but it wasn’t me; I was working super carefully since today I am not dressed for the lab and I don’t want that stuff on my clothes!
After writing the blog post on sea ice formation, brine release and what ice cubes can tell you about your freezer earlier today, I prepared some more ice cubes (because you can never have too many ice cubes for kitchen oceanography!), and then happened to look into the freezer a couple of hours later. And this is what I found:
Isn’t that beautiful?
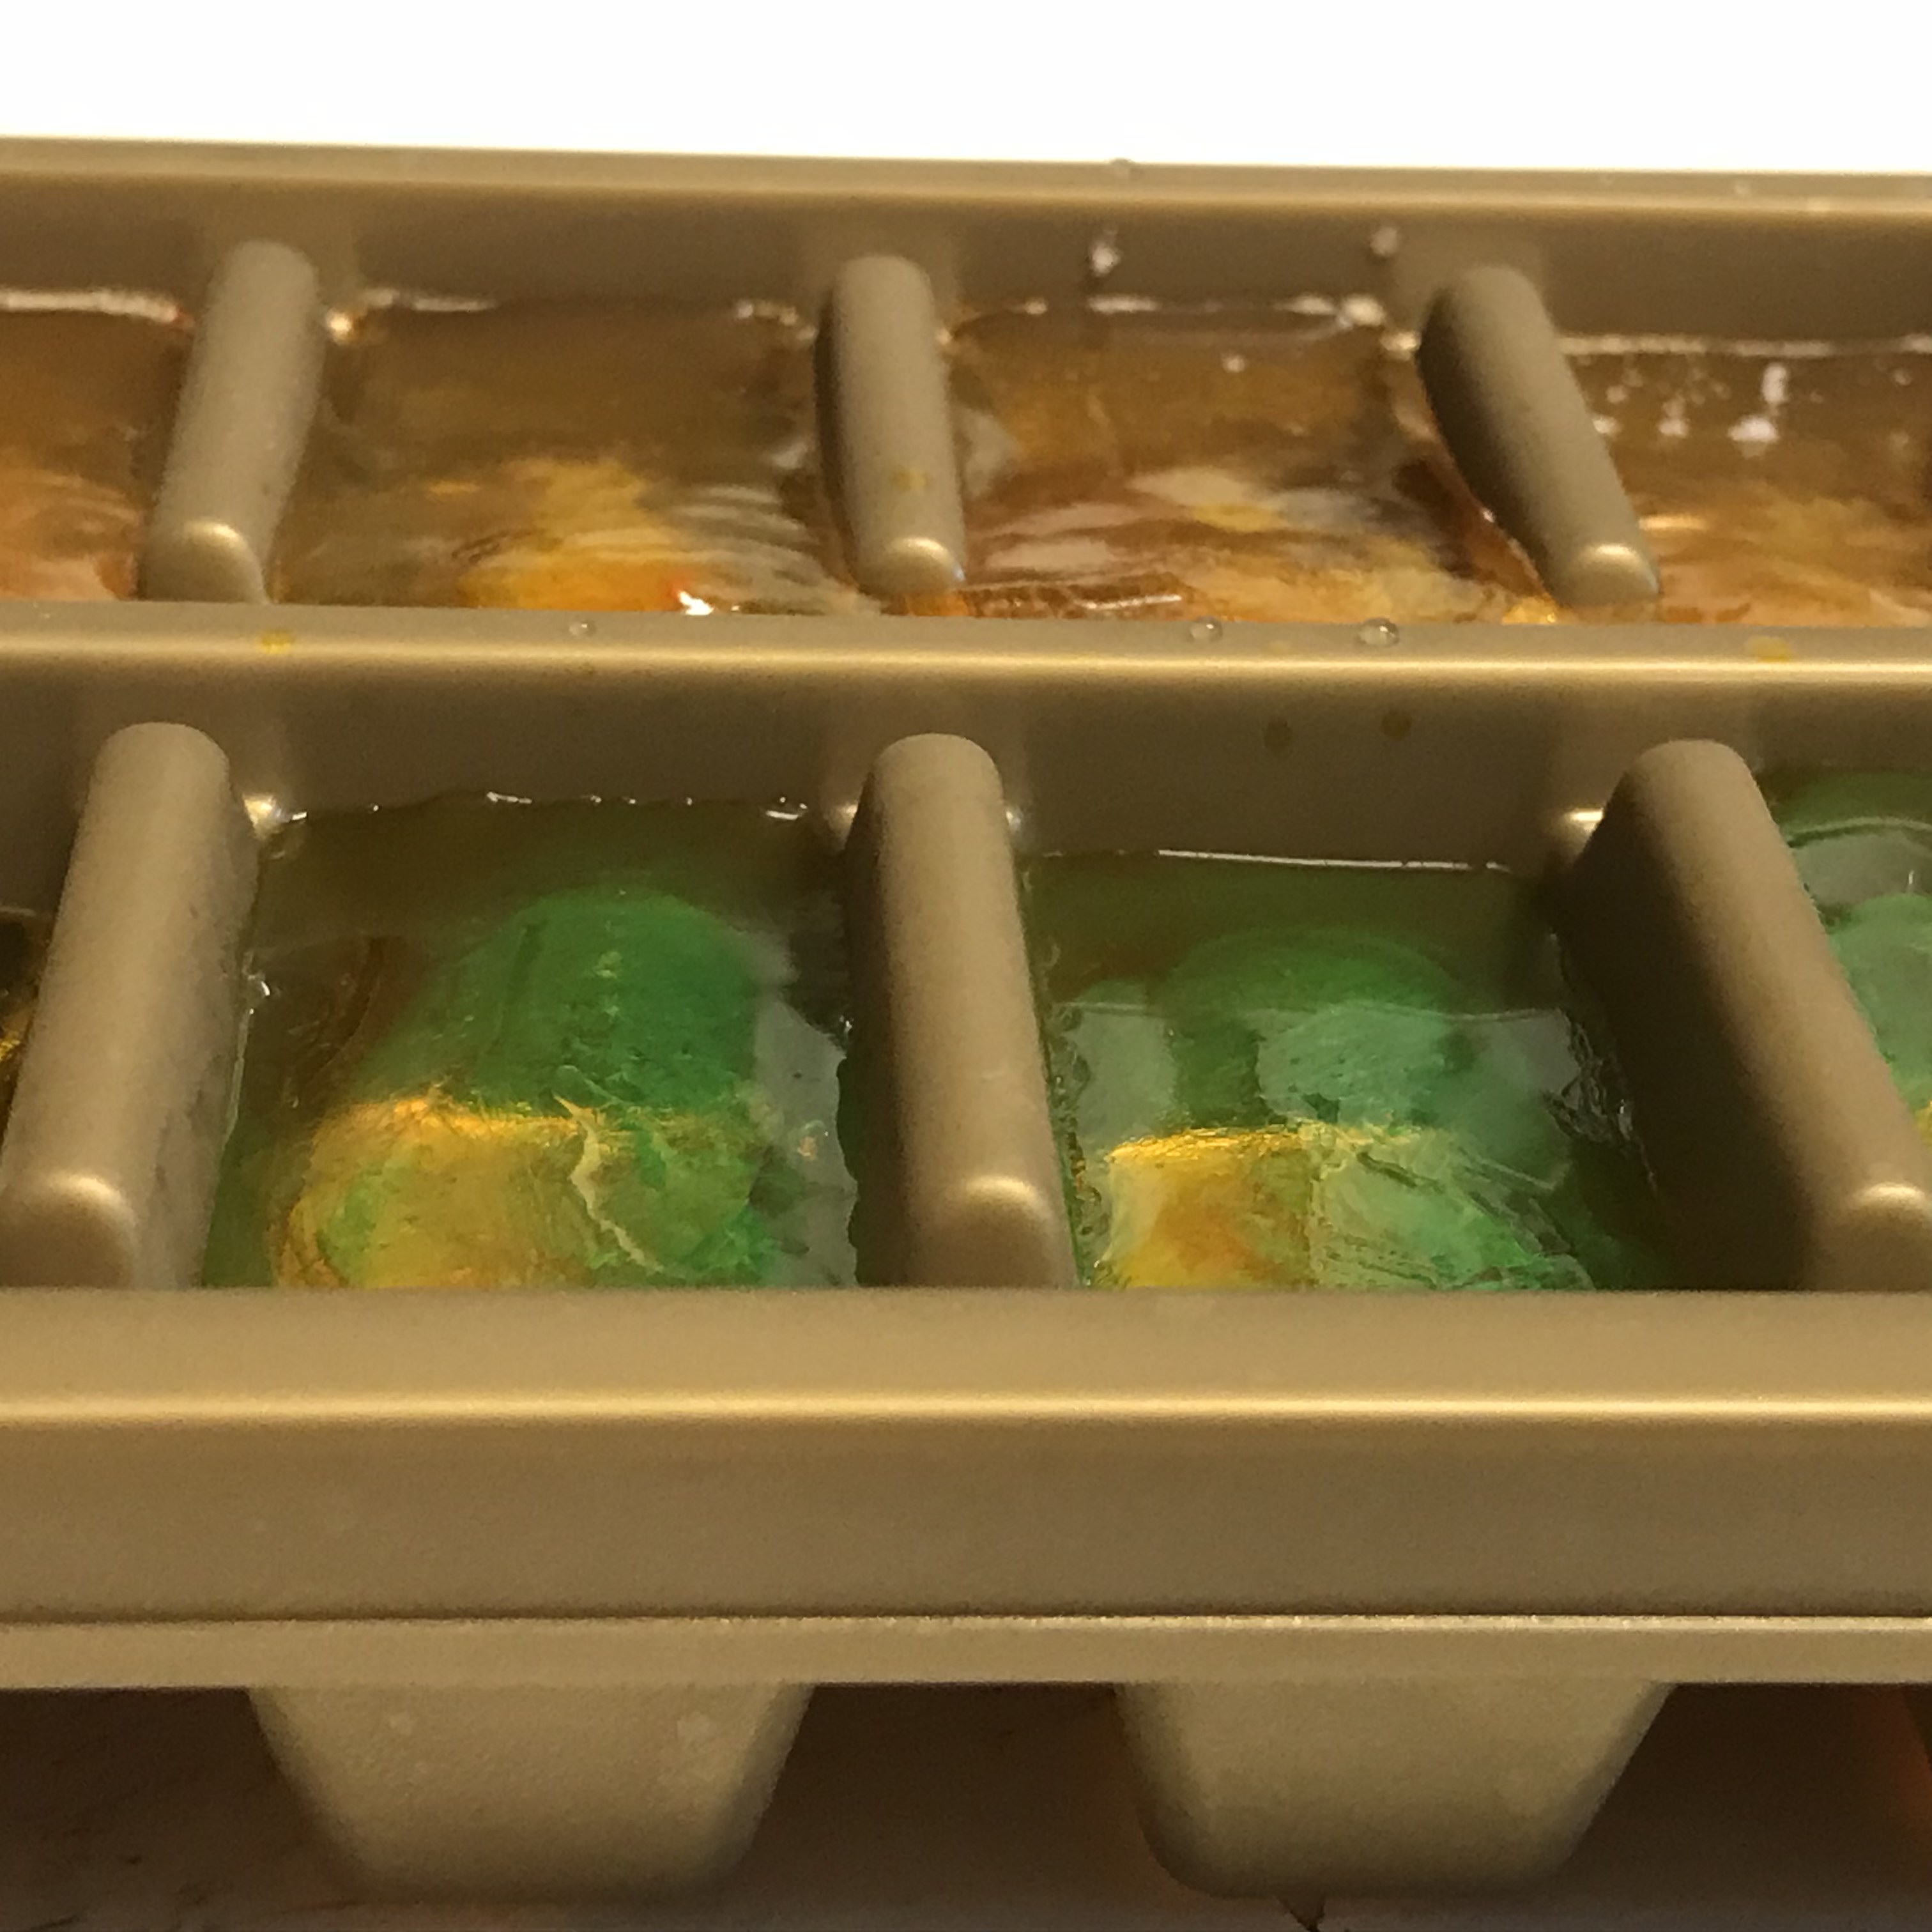
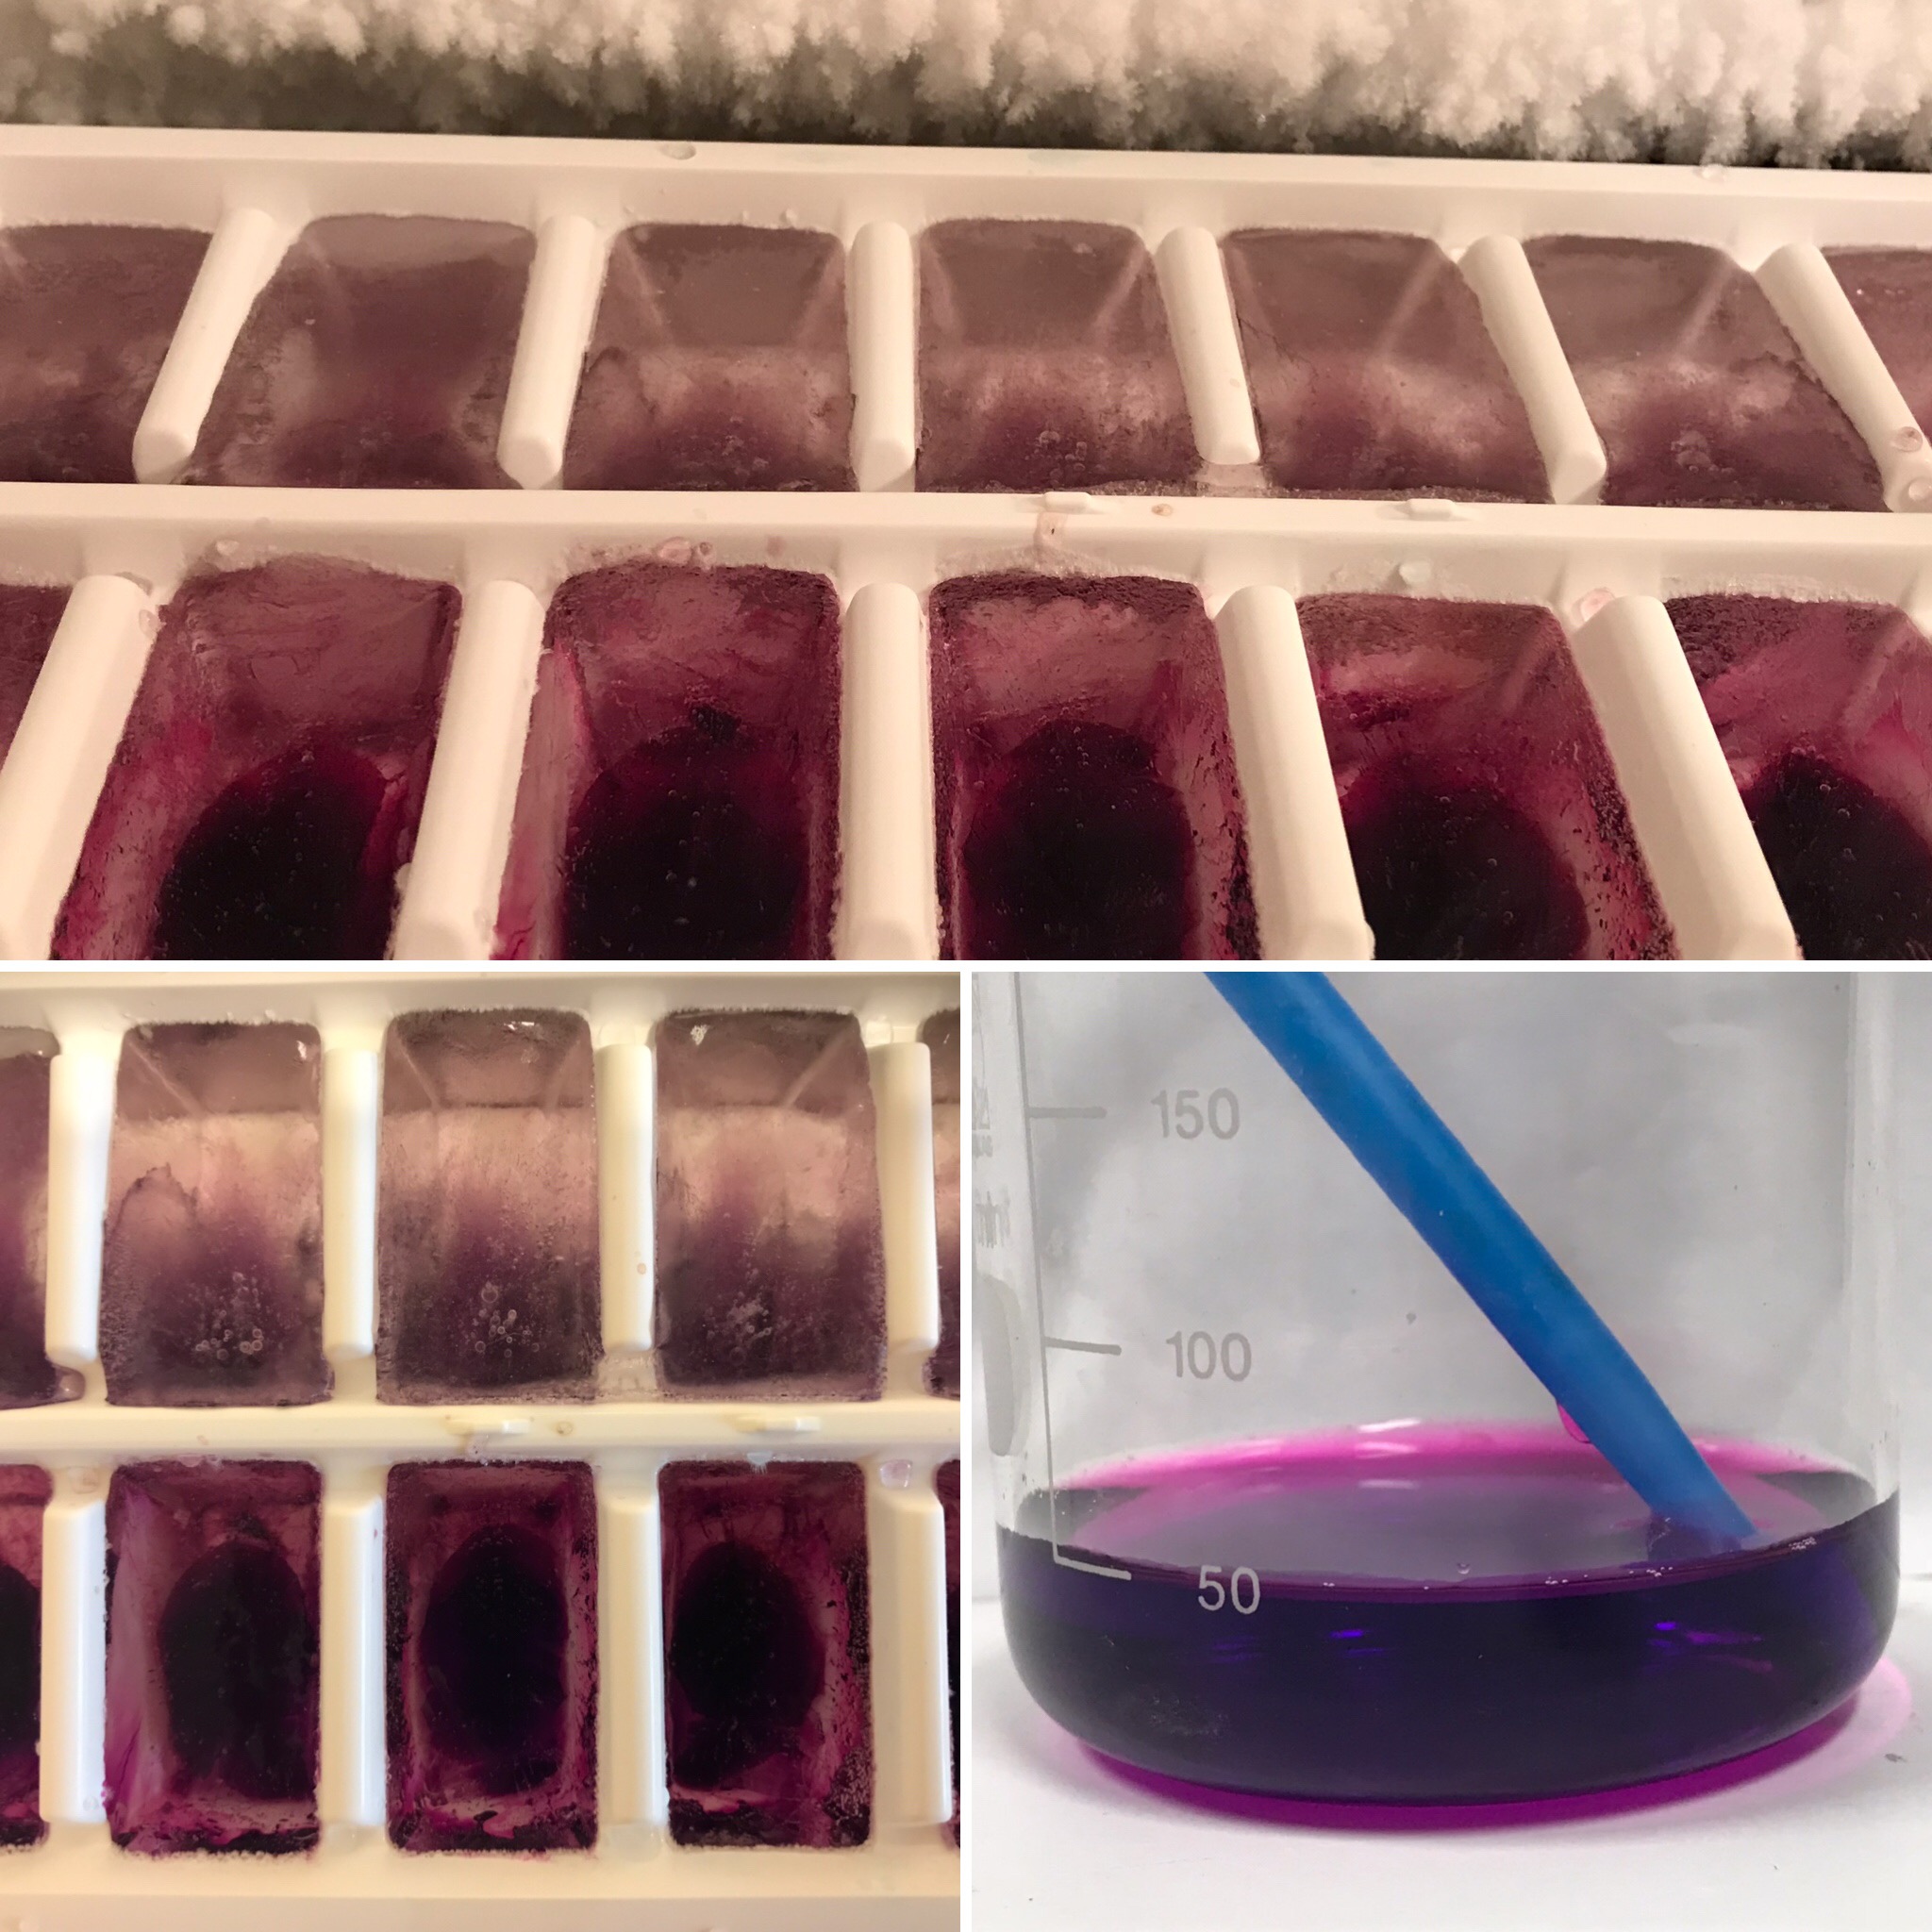
Top pic shows the ice cubes “in situ”, clearly showing the cold back wall of the freezer where they were sitting.
Bottom left pic shows a top view of those ice cubes and it is very obvious that they have been starting to freeze from the back wall of the freezer forward: The upper row of ice cubes in the pic has formed clear ice in the direction towards that wall and has pushed the dye forward, whereas the bottom row in the pic is still not completely frozen and ice cubes seem to be freezing from all sides towards the middle and not as distinctly from back to front.
Bottom right pic: The rest of the water I prepared for the ice cubes that I left sitting on the counter for future use — still looks well mixed, no sinking of the dye to be observed!
And with these exciting updates I’ll leave you for now, so start playing with your own ice cubes! :-)
Many of my kitchen oceanography experiments use dyed ice cubes, usually because it makes it easier to track the melt water (for example when looking at how quickly ice cubes melt in freshwater vs salt water, or for forcing overturning circulations).
But the dyed ice cubes tell interesting stories all by themselves, too!
“Salt water doesn’t freeze”? Then how do we get sea ice in the Arctic, for example?
When freshwater freezes, the water molecules arrange in a hexagonal crystal structure. If there is salt (or anything else) in the water, however, the ions don’t fit into the regular structure. Ice freezes from the water molecules, and all the disturbances like salt get pushed in the last remaining bits of liquid water, which therefore gets higher and higher concentrations of whatever was dissolved in it. As those little pockets with high concentrations of salt get cooled further, more and more water molecules will freeze to the surrounding freshwater ice, leading to even higher concentrations of salt in the remaining liquid water. So the freshwater is freezing, while rejecting the salt.
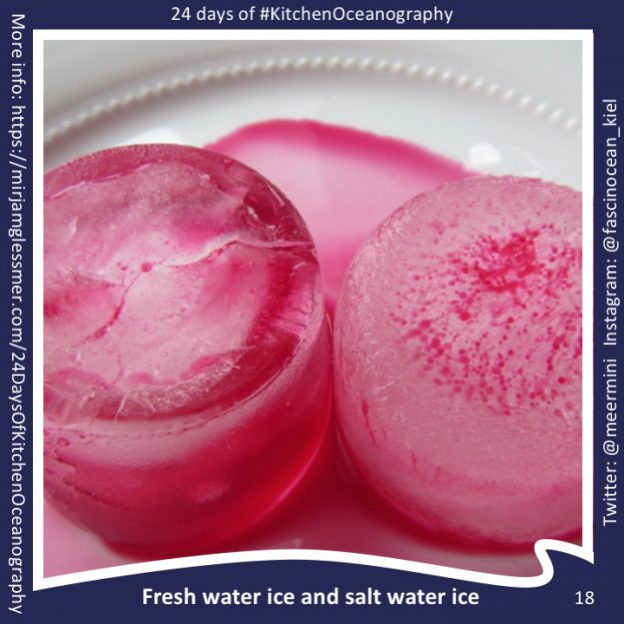
Of course if you cool for long enough, also the last bit of remaining water will freeze eventually, but that takes surprisingly long (as you can try by freezing salt water in some of the cups ice cube trays and freshwater in others, for comparison. Also the structures of freshwater vs saltwater ice look very different and are interesting to look at, see how here).
When the ocean freezes, this rejection of high-salinity water leads to interesting phenomena: Even when you melt it again to include all the pockets of high salinity water, sea ice will have salinities way lower than the water it froze from. This is because of a process called brine release. Since you are cooling the ocean from above, sea ice also forms from the surface downwards. This means that it is easy for the salty water to be pushed, “released”, or “rejected”, downwards, into the liquid ocean below. That ocean will then of course get more salty right below the ice!
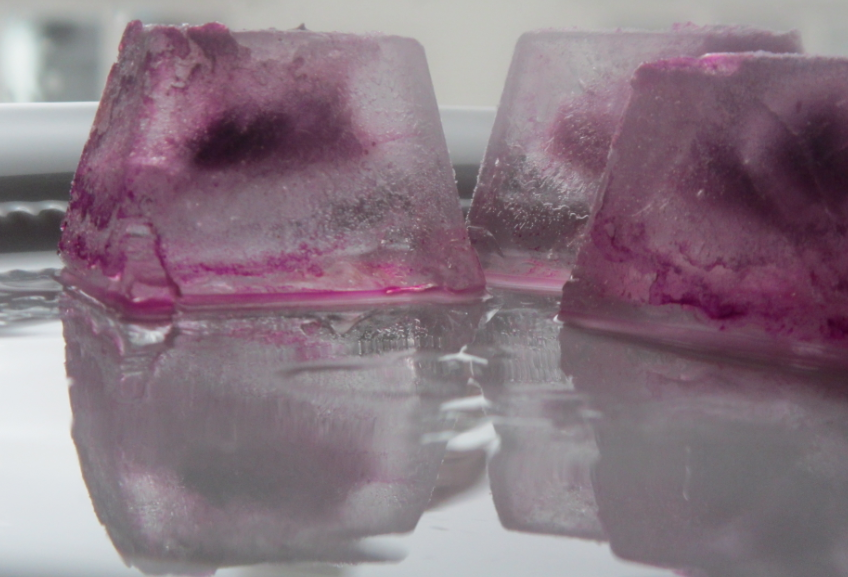
In the picture below you see something similar happening in the left pictures. Instead of salt, I have used blue food dye for visualization purposes. In the top left, you see an ice cube exactly as it looked when I took it out of the ice cube tray it froze in, and in the bottom left you see the same one after I let it melt a little bit so the surface got smoother and it got easier to look inside (a lot more difficult to hold on to, though!).
Do you see how the top part of the ice cube is pretty much clear, while the bottom part is blue? That’s because it froze top-to-bottom and the dye got pushed down during the initial freezing process!
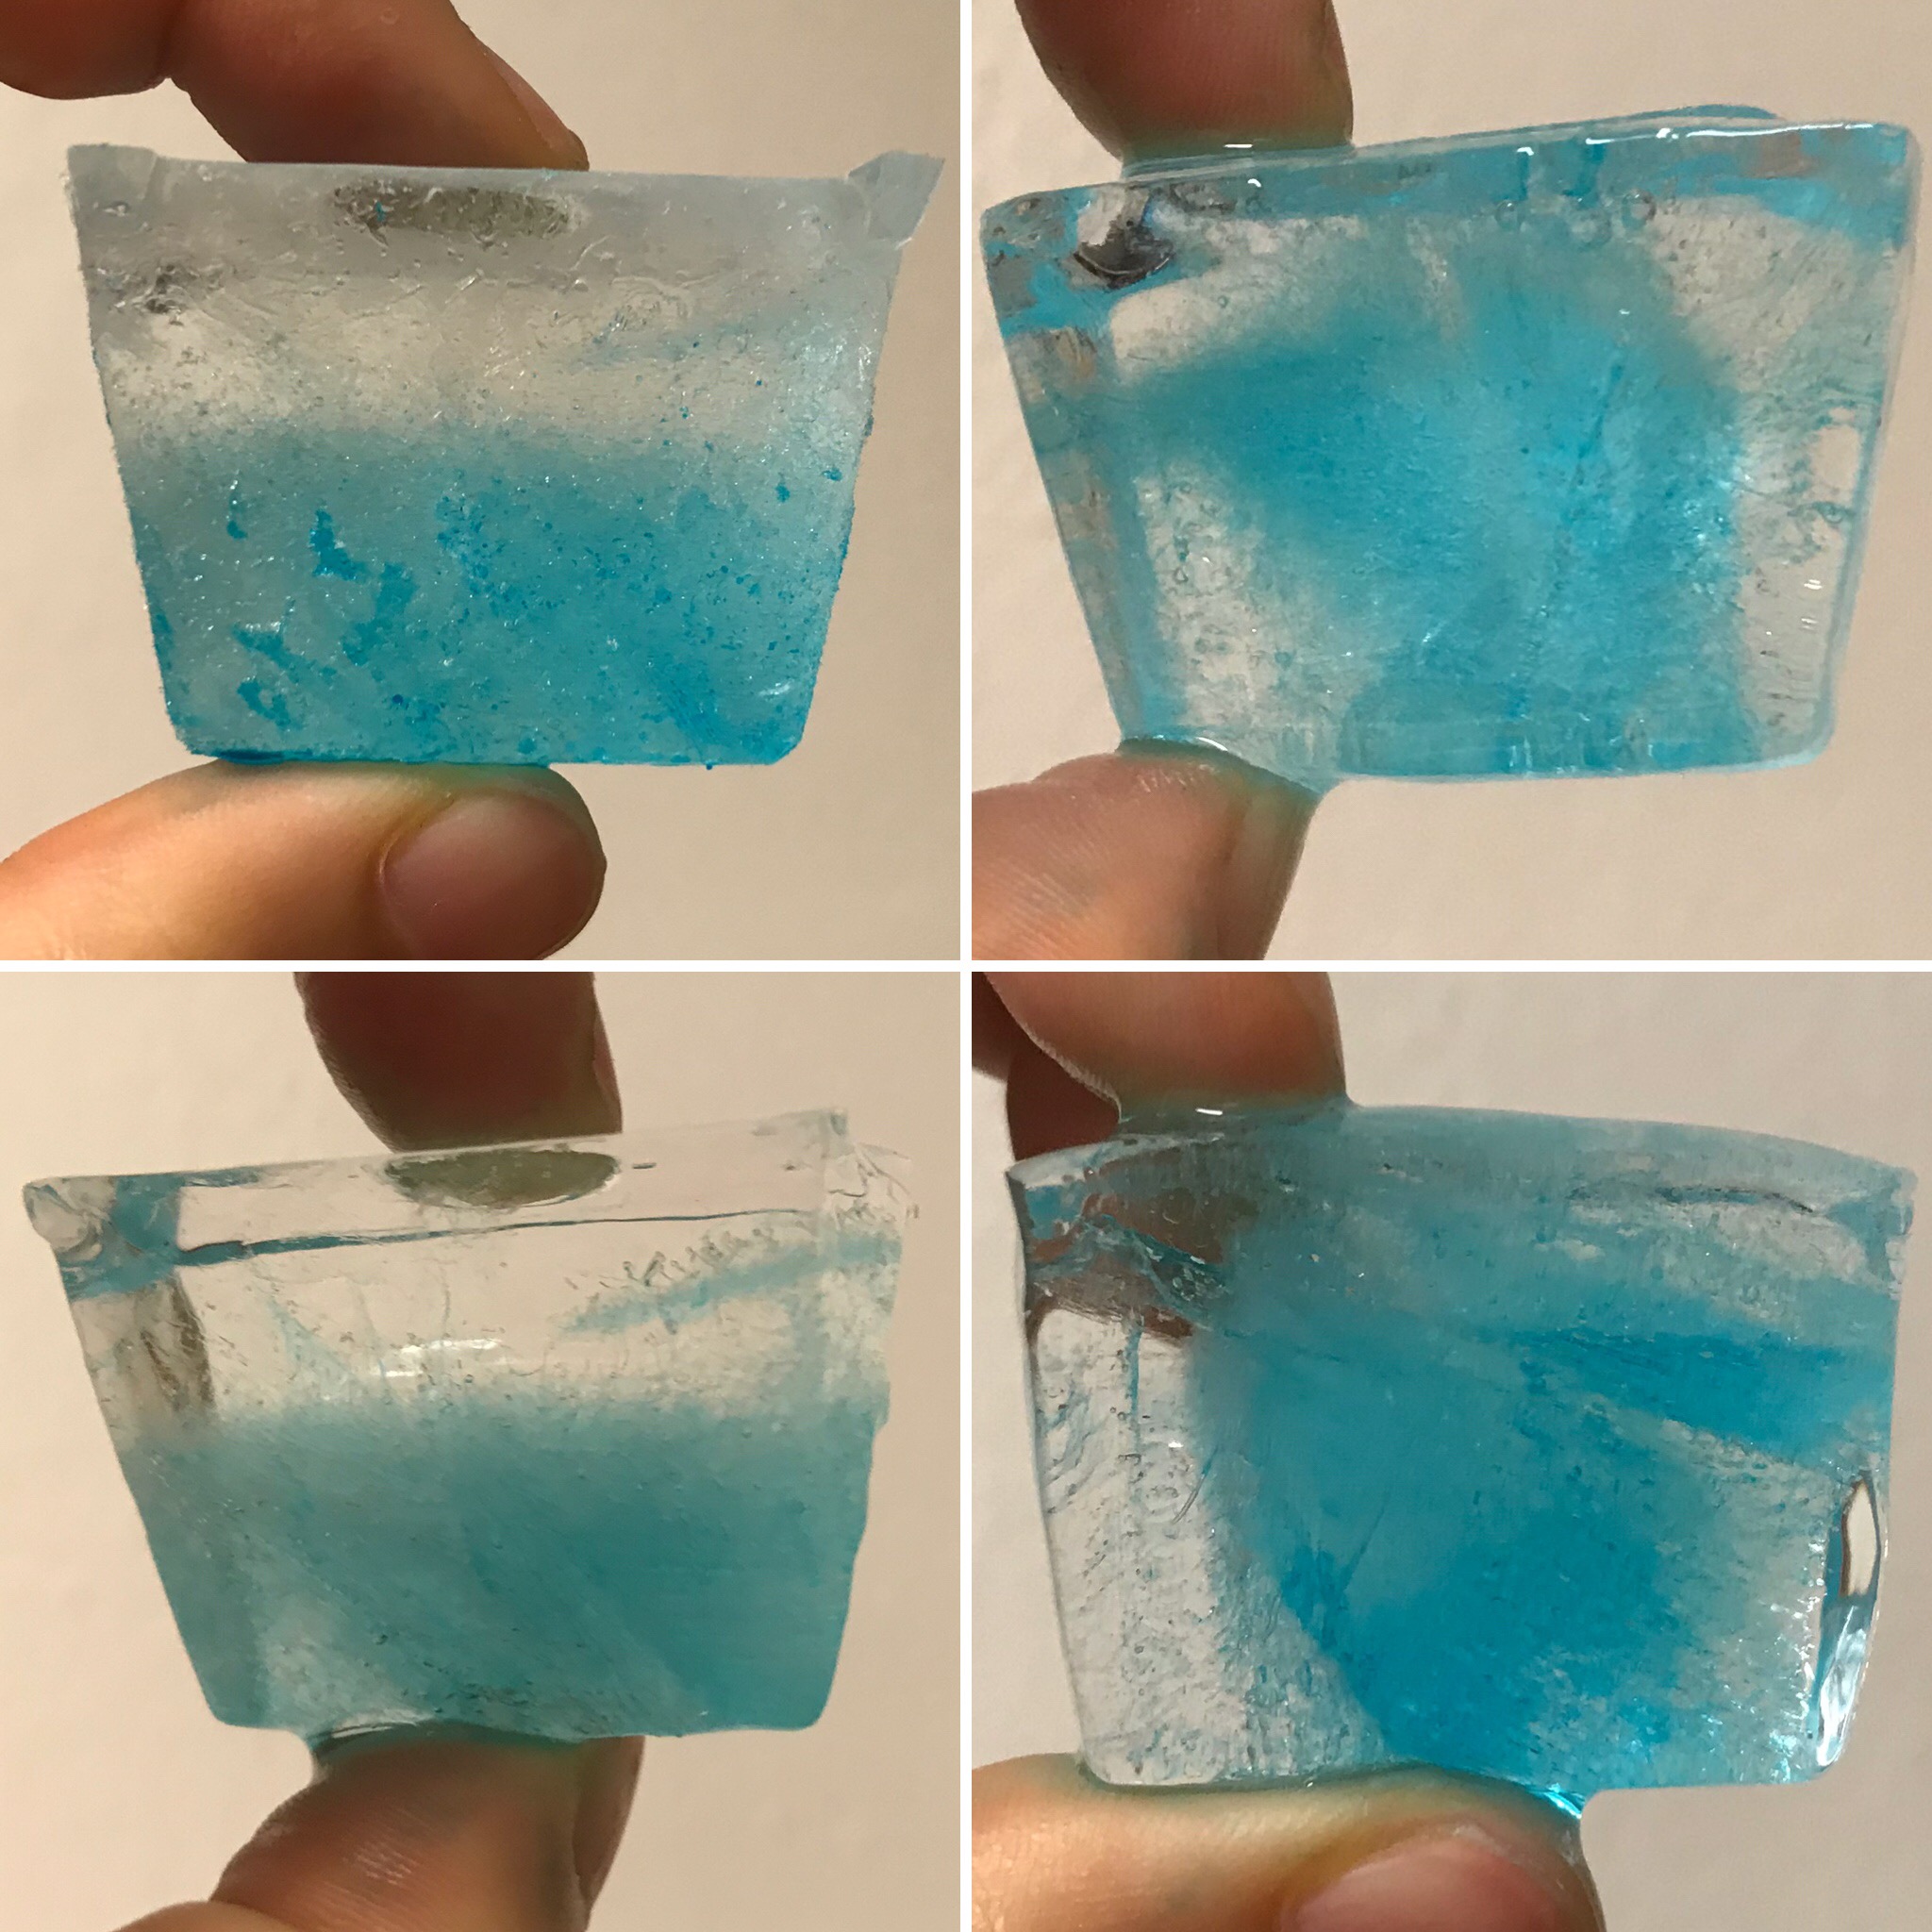
Something else that you see in the top left picture is the effect of the ice cube being stuck in the ice cube tray as it froze: Pores filled with blue dye that had nowhere to escape!
Had I taken out those ice cubes earlier, when they had just frozen half way through, we would have found a clear ice layer floating on a cold, blue ocean. Maybe I should do that next time!
Something else fun we can observe from the right pictures: Here, the dye was concentrated towards the center of the ice cube rather than the bottom! How did that happen?
My theory is that those ice cubes were located in an area of the freezer that was cooling from all sides (more or less) equally, whereas the ones shown on the left must have been placed somewhere where cooling happened mainly from the top.
So if you ever want to know where the cooling in your freezer happens, just put lots of dyed little water containers everywhere and check from which side the dye gets rejected — that’s the cooling side! Actually, I might check that for the freezer below just for fun. Would you be interested in seeing that done?
Let’s look back at the ice cubes I froze yesterday in the picture above. I’ve now written about a lot of things I see when I look at them. What else do you see? Do you think it’s interesting to use with kids, for example? I’ve used those experiments with first year university students, too, I think there is plenty to observe and explain here!
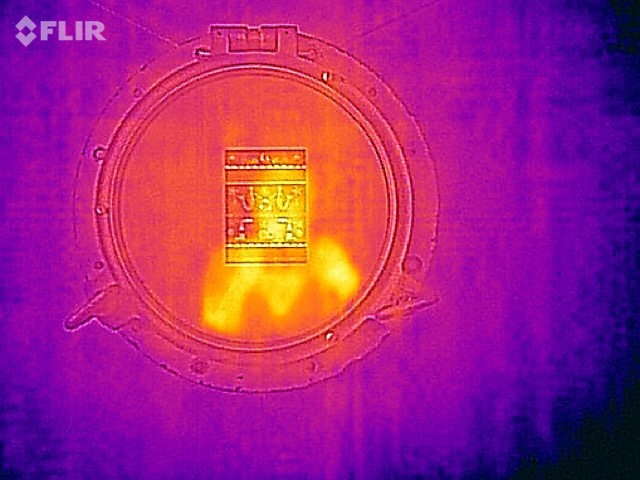
Today I’ve been playing with a thermal imaging camera. Below you see a snapshot of my experimental setup, but before I tell you more about that experiment, a little bit of playing around.
See my reflection in my porthole below? (Btw, how awesome is it that I found a porthole to decorate my living room with???)
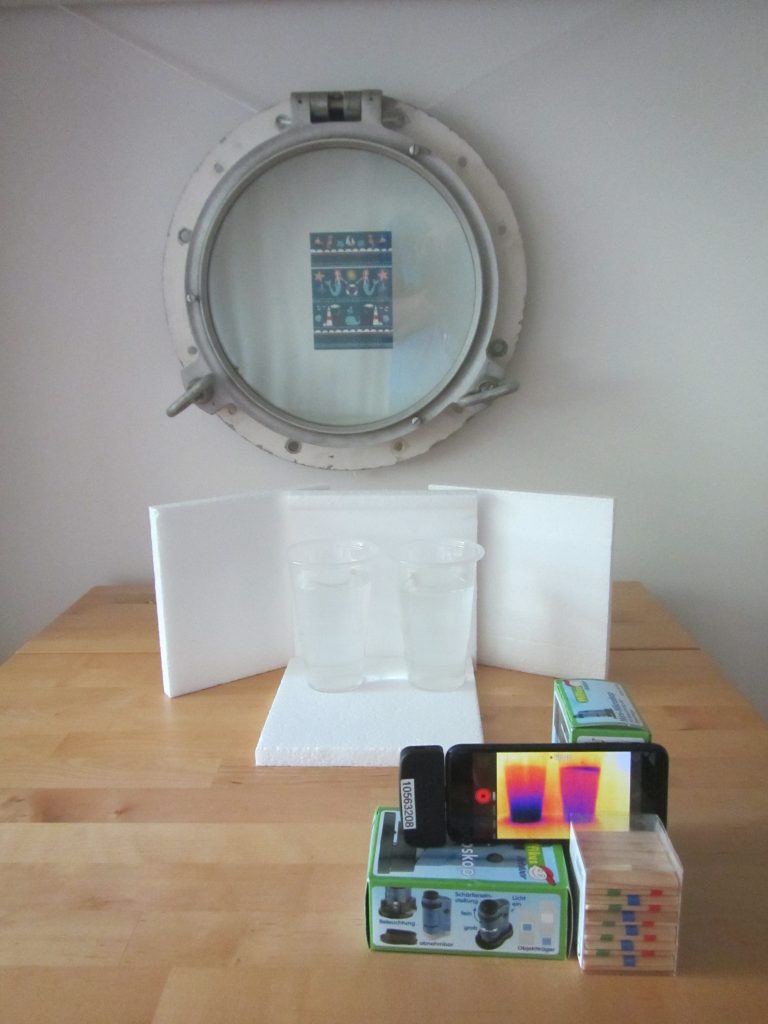
That reflection also shows up with the thermal imaging camera.
And since I was taking pictures of myself: Here I am with “ice-cube make-up” and glasses that I had taken off for a while and then picked up again just before taking that picture. Do you see the endless possibilities of playing with a thermal imaging camera?

Weird things happening when ice cubes melt.
Remember I said that there were weird and wonderful things going on when I last ran the melting ice cubes in salt and fresh water experiment? It is really difficult to see in the picture below (sorry!) but you can probably spot the ice cube floating at the surface and the melt water sinking down, inducing some turbulence? And then there is a small ice bit a bit to the right of the center of the picture. And that ice bit is floating upwards.

Dyed ice cube floating at the surface, and small ice bits floating up
Watch the melting ice cubes video below to see all the thing in action, it is visible really well as soon as the picture is moving:
So what is going on there? I think the solution to this riddle lies in me forcing ice to freeze even though it contains more salt (or in this case, red food dye) than it is happy with. Remember how dyed ice cubes look?
Ice cubes frozen from colored water
So basically there is dye trapped in the middle of the cube, because cooling is happening from all sides, hence ice is starting to form from all sides, pushing the dye to the center of the ice cube. In the ocean, cooling would of course only happen from above, so salt is being rejected as brine.
Anyway, since I wanted to dye the ice cubes to make things more visible for this blog, I am adding a dissolved substance to the water that would usually not be there. Hence I am making the ice slightly denser than it would otherwise be. So when small ice bits chip away from the main cube (which still contains large parts of pure fresh water ice from the sides of the cube where, during the freezing, the dye could still be rejected; and which therefore still floats), they are denser than the water and sink. But as they melt, the dye washed out, and eventually the remaining ice is fresh, hence less dense, enough to float up again.
The whole thing looks pretty fascinating.
What do you think, is that the correct explanation? Or can you come up with a better one? Let me know!
P.S.: Everybody I showed this video to was fascinated by how the little piece of ice is floating up. But what I find a lot more fascinating is how it came to be at the bottom of the beaker in the first place! After all, ice is supposed to float on water (or drift up again if pulled down and then released) but how did it get down there???