When you see all our pretty images of currents and swirling eddies and everything, what you actually see are the neutrally buoyant particles that get lit by the laser in a thin sheet of light. And those particles move around with the water, but in order to show the exact movement of the water and not something they are doing themselves, they need to be of the exact same density as the water, or neutrally buoyant.
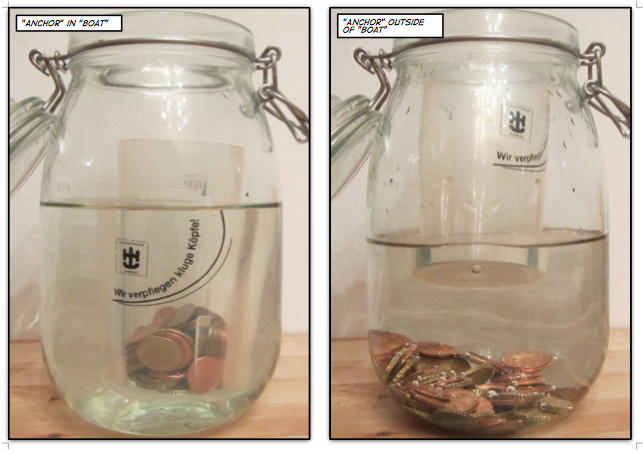
But have you ever tried creating something that just stays at the same depth in water and does neither sink to the bottom or float up to the surface? I have, and I can tell you: It is not easy! In fact, I have never managed to do something like that, unless there was a very strong stratification, a very dense lower layer in which stuff would float that fell through a less dense upper layer. And in a non-stratified fluid even the smallest density differences will make particles sink or float up, since they are almost neutral everywhere… One really needs stratification to have them float nicely at the same depth for extended periods of time.
But luckily, here in Grenoble, they know how to do this right! And it’s apparently almost like making popcorn.
You take tiny beads and heat them up so they expand. The beads are made from some plastic like styrofoam or similar, so there are lots of tiny tiny air bubbles inside. The more you heat them up, the more they expand and the lower the density of the beads gets.
But! That doesn’t mean that they all end up having the same density, so you need to sort them by density! This sounds like a very painful process which we luckily didn’t have to witness, since Samuel and Thomas had lots of particles ready before we arrived.
Once the particles are sorted by density, one “only” needs to pick the correct ones for a specific purpose. Since freshwater and salt water have different densities, they also require different densities in their neutrally buoyant particles, if those are to really be neutrally buoyant…
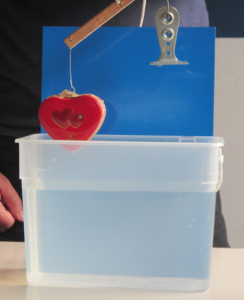
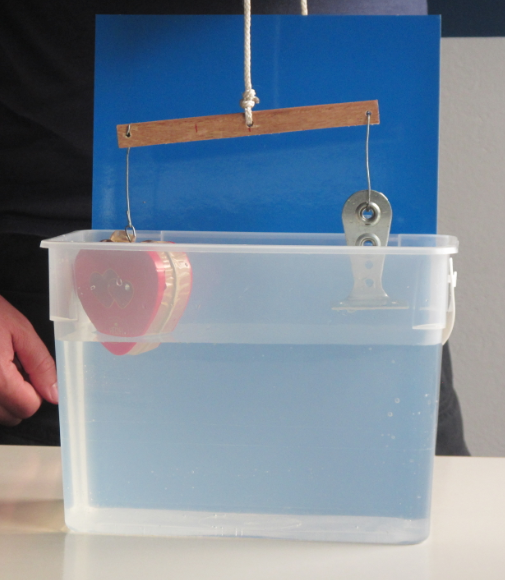
Below you see Elin mixing some of those particles with water from the tank so we can observe how long they actually stay suspended and when they start to settle to either the top or the bottom…
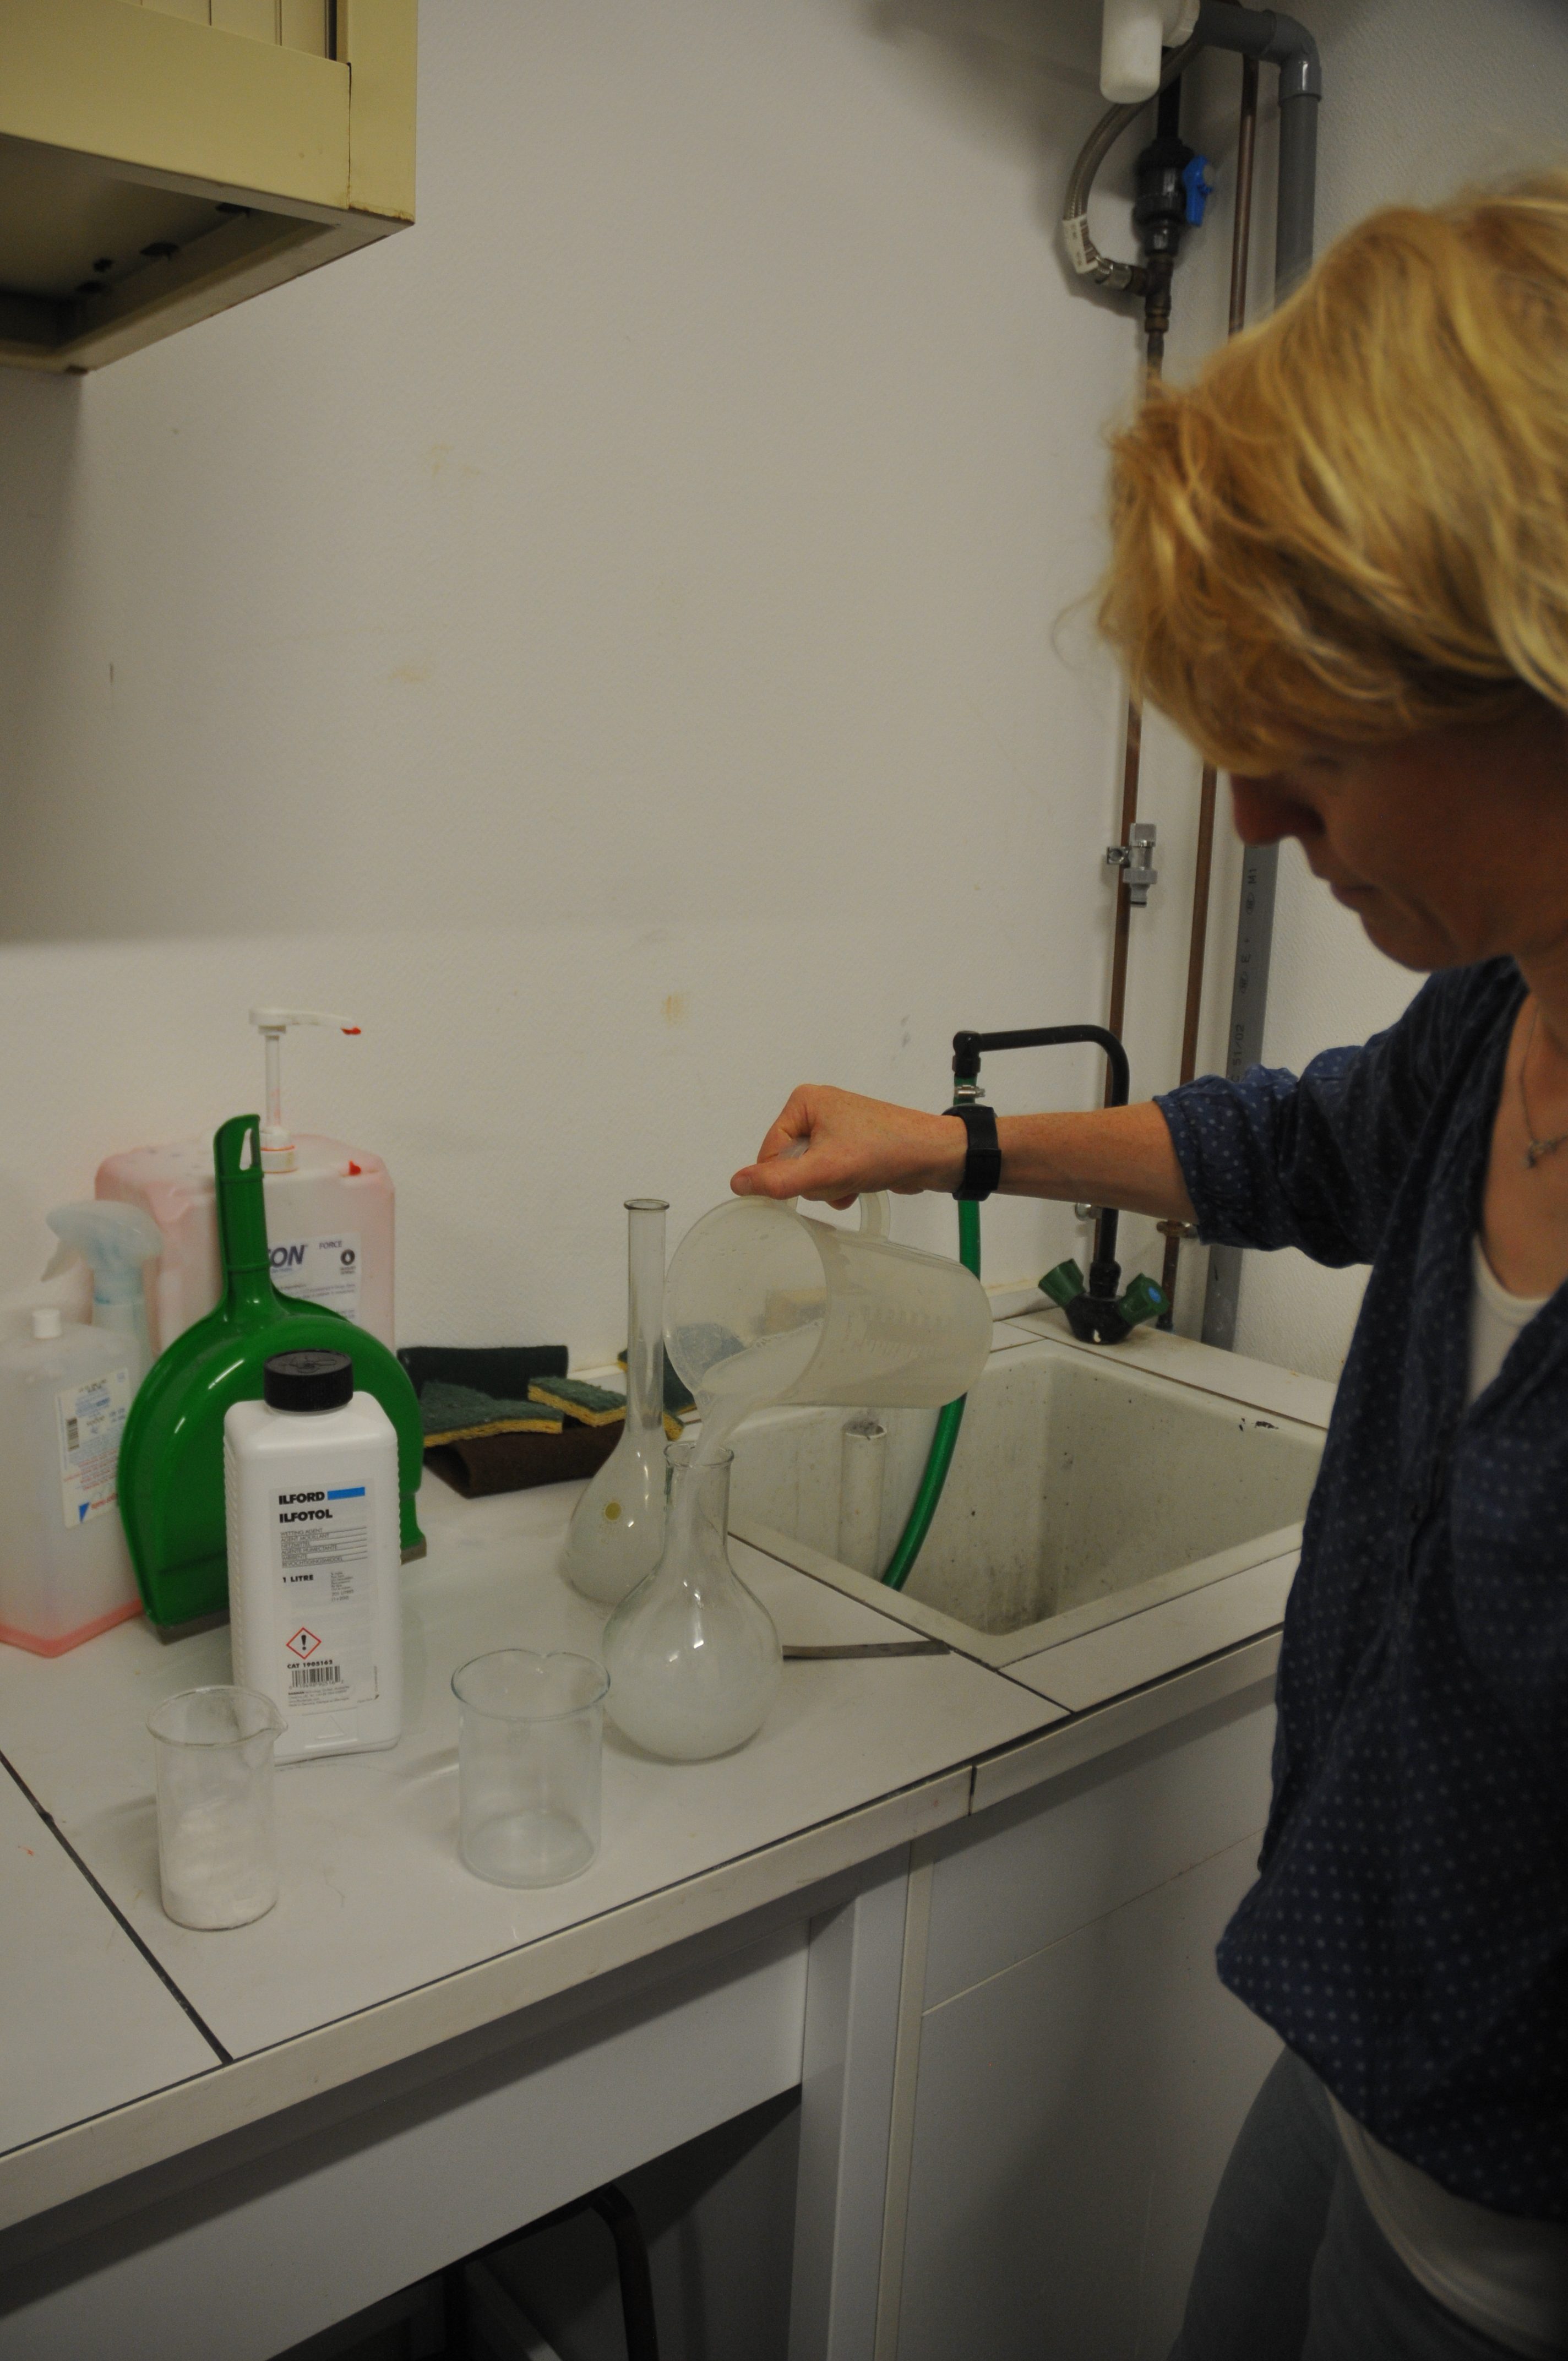
Elin experimenting with the buoyancy of our particles
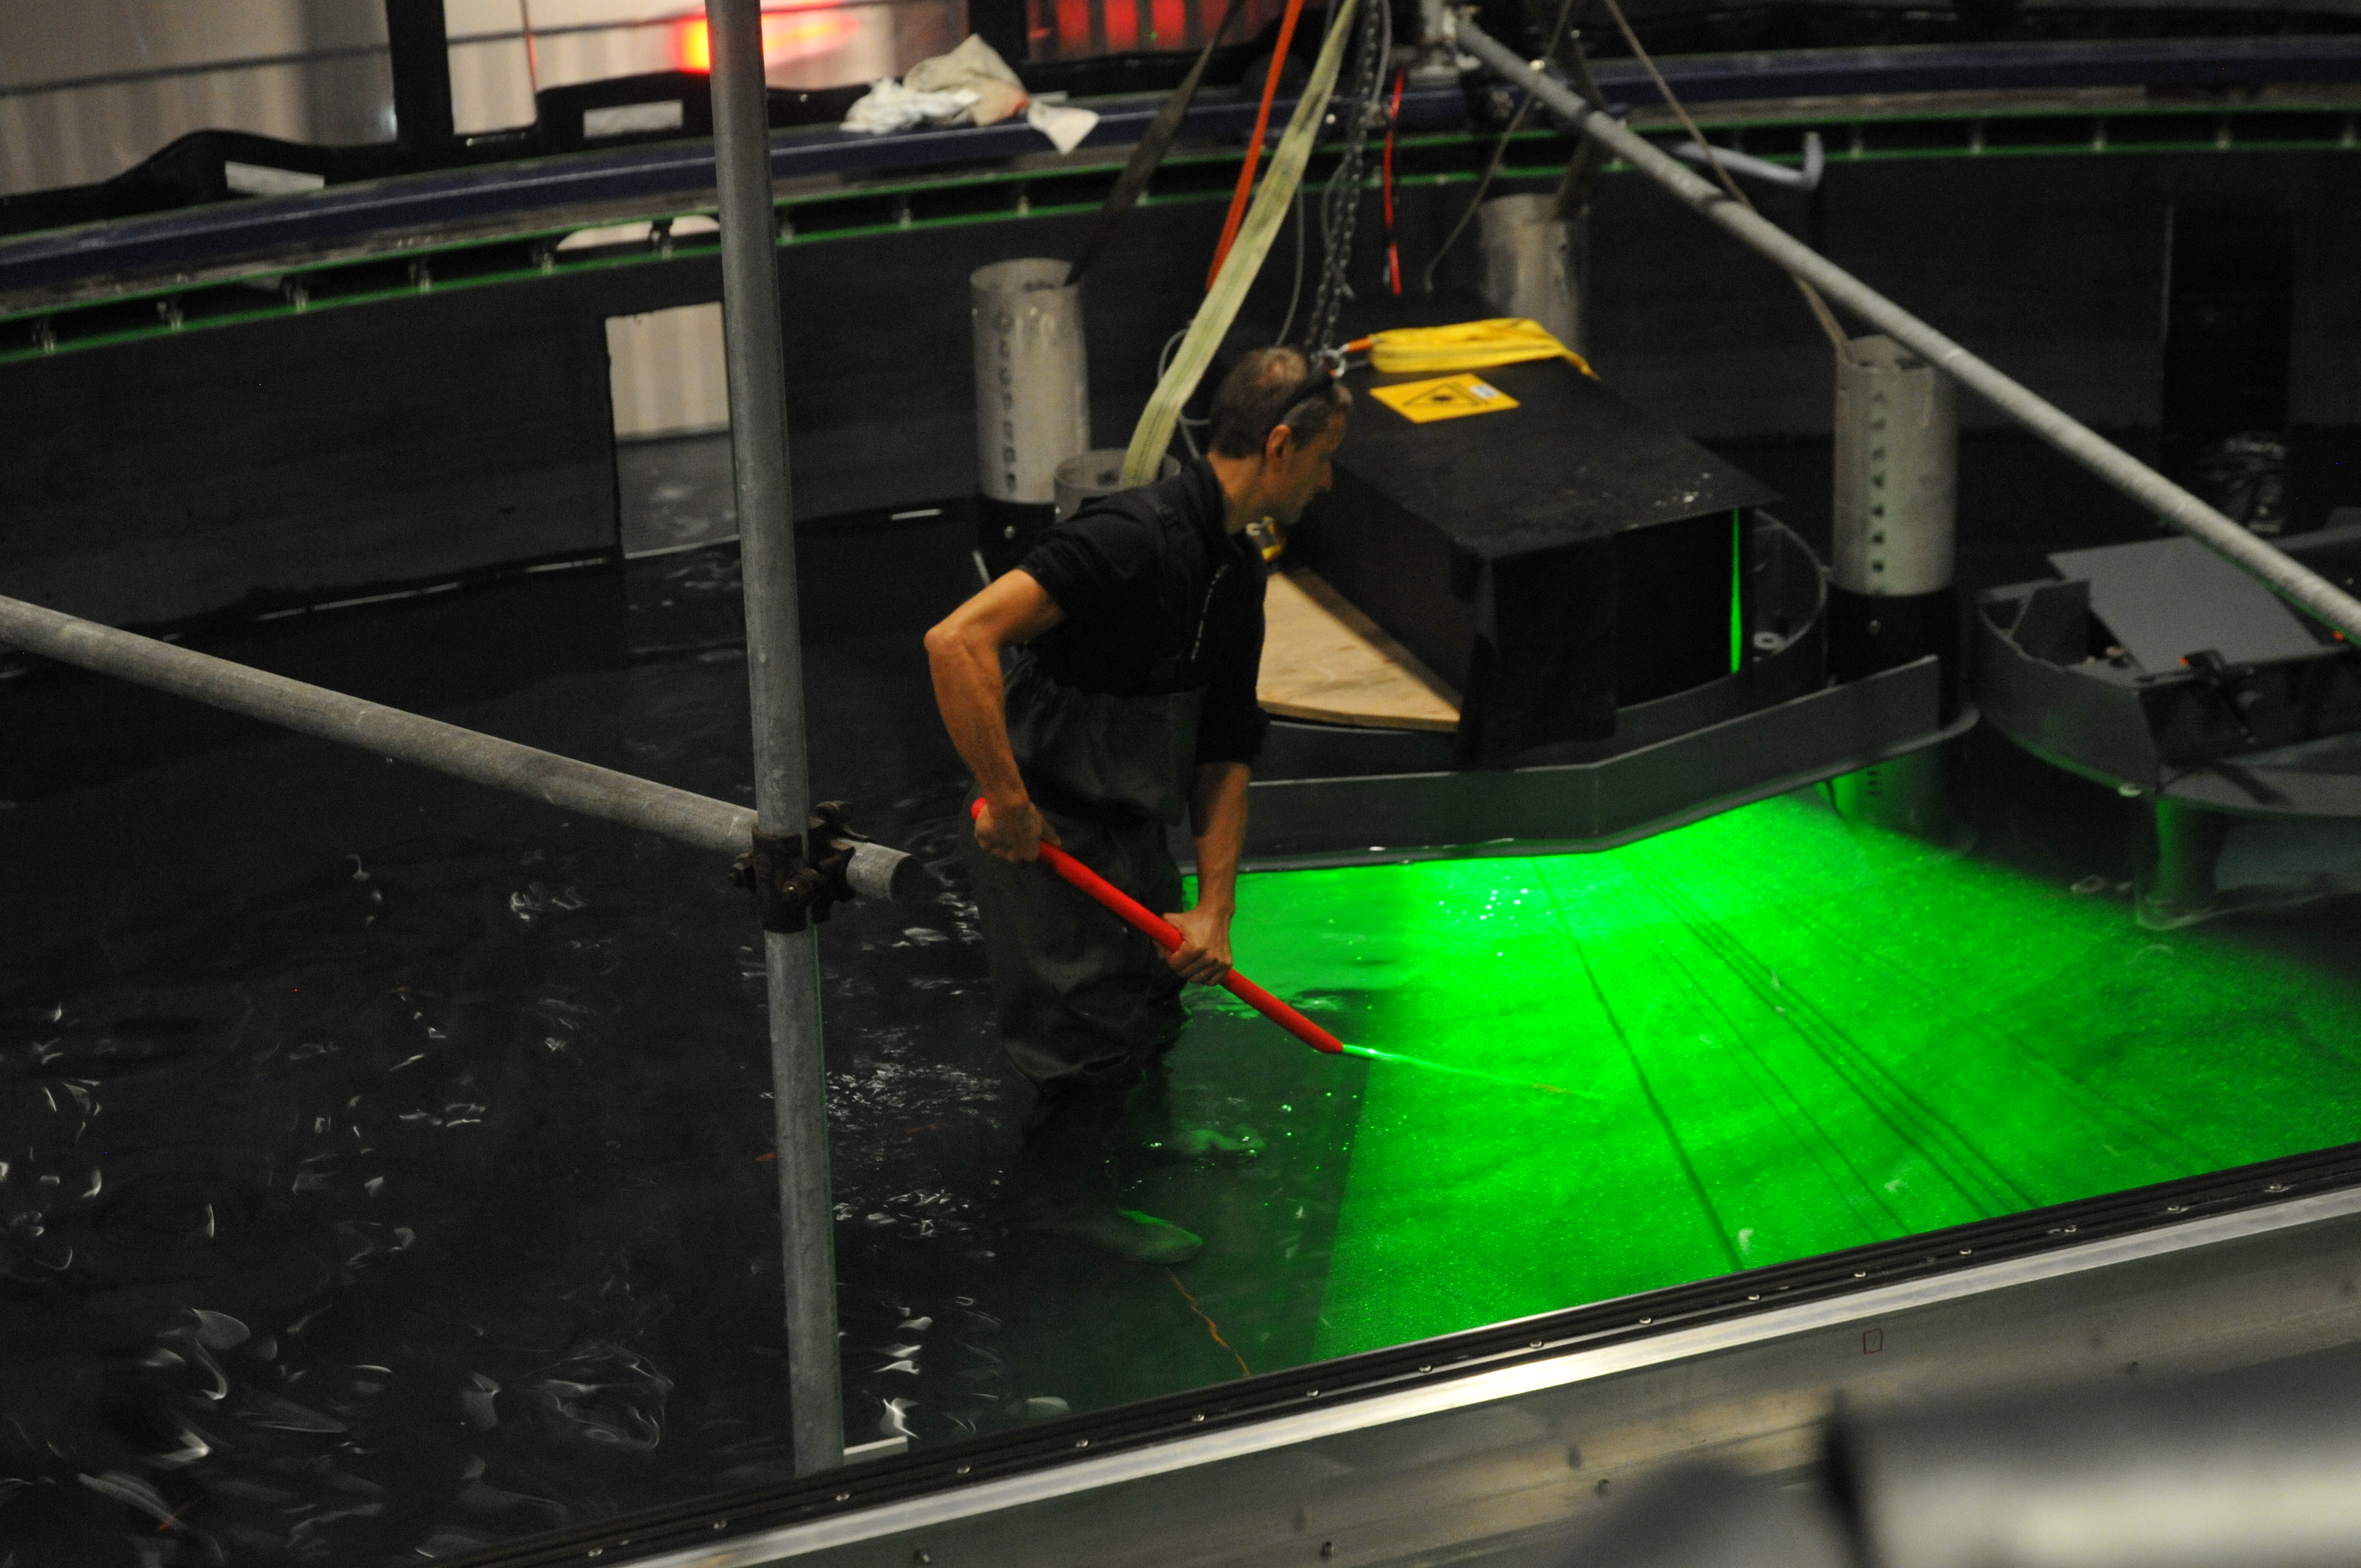
Turns out that they are actually very close to the density of the water in the tank, so we can do the next experiment as soon as the disturbances from a previous one have settled down and don’t have to go into the tank in between experiments to stir up particles and then wait for the tank to reach solid body rotation again. This only needs to be done in the mornings, and below you see Samuel sweeping the tank to stir up particles:

Samuel sweeping particles from the topography that sank to the bottom over night
Also note how you now see lots of reflections on the water surface that you didn’t see before? That’s for two reasons: one is because in that picture there are surface waves in the tank due to all the stirring and they reflect light in more interesting pattern than a flat surface does. And the other reason is that now the tank is actually lit — while we run experiments, the whole room is actually dark except for the lasers, some flashing warning signs and emergency exit signs close to the doors and some small lamps in our “office” up above the rotating tank.
But now to the “more bubbles” part of the title: Do you see the dark stripes in the green laser sheet below? That’s because there are air bubbles on the mirror which is used to reflect the laser into the exact position for the laser sheet. Samuel is sweeping them away, but they keep coming back, nasty little things…
Samuel sweeping particles from the topography that sank to the bottom over night
I actually just heard about experiments with a different kind of neutrally buoyant particles the other day, using algae instead of plastic. I find this super intriguing and will keep you posted as I find out more about it!